Doughnuts for the kids (Honest)

I've been playing around with making good doughnuts for a while with varying success.
Up until now, I've been focused on frying them, as this is how they are down on the seafront near me.
However, this has led to a fairly dynamic shape and size of doughnut, despite being pretty scientific with my delivery of dough to oil. It also meant that I was eating a lot of doughnuts, making a lot of mess and the house smelled of the oil.
Another downside is it's much harder to get the kids involved when you have a pan of hot oil on the hob, so I took a step back and decided to try the baked route.
Obviously to get the correct shape required me to acquire some kind of addition to my kitchen arsenal so I quickly narrowed down a doughnut baking tray and was good to go.
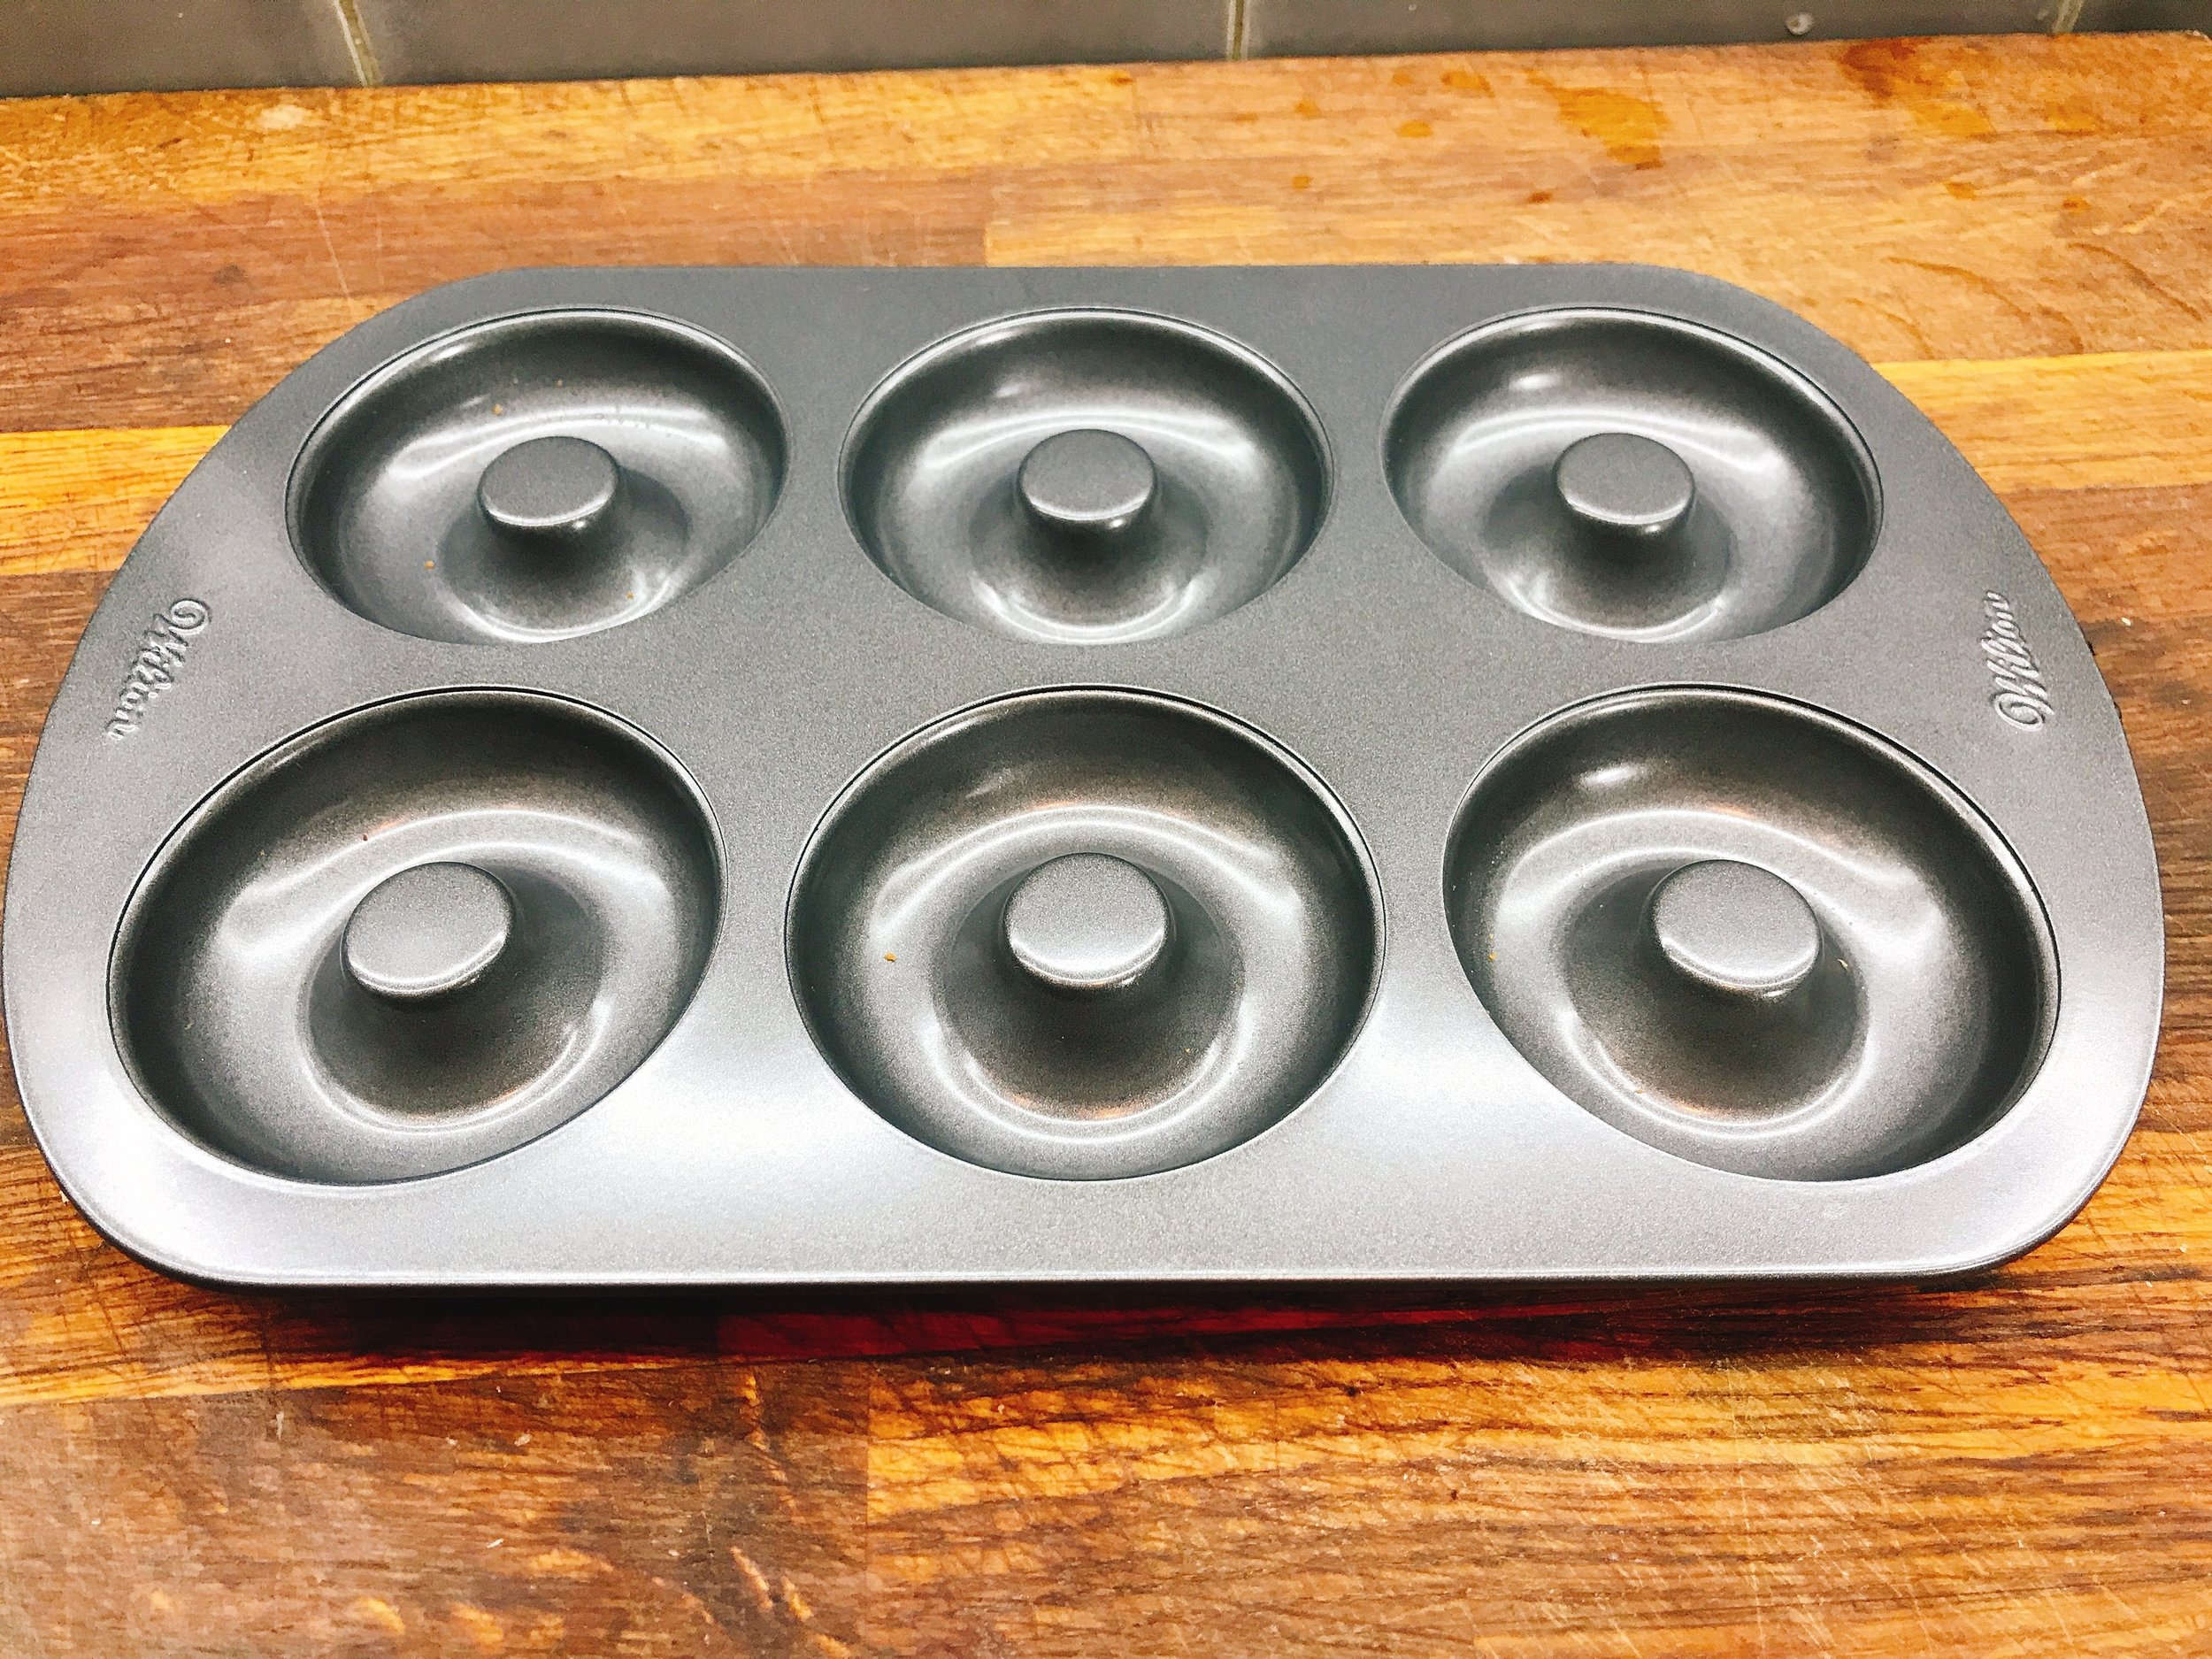
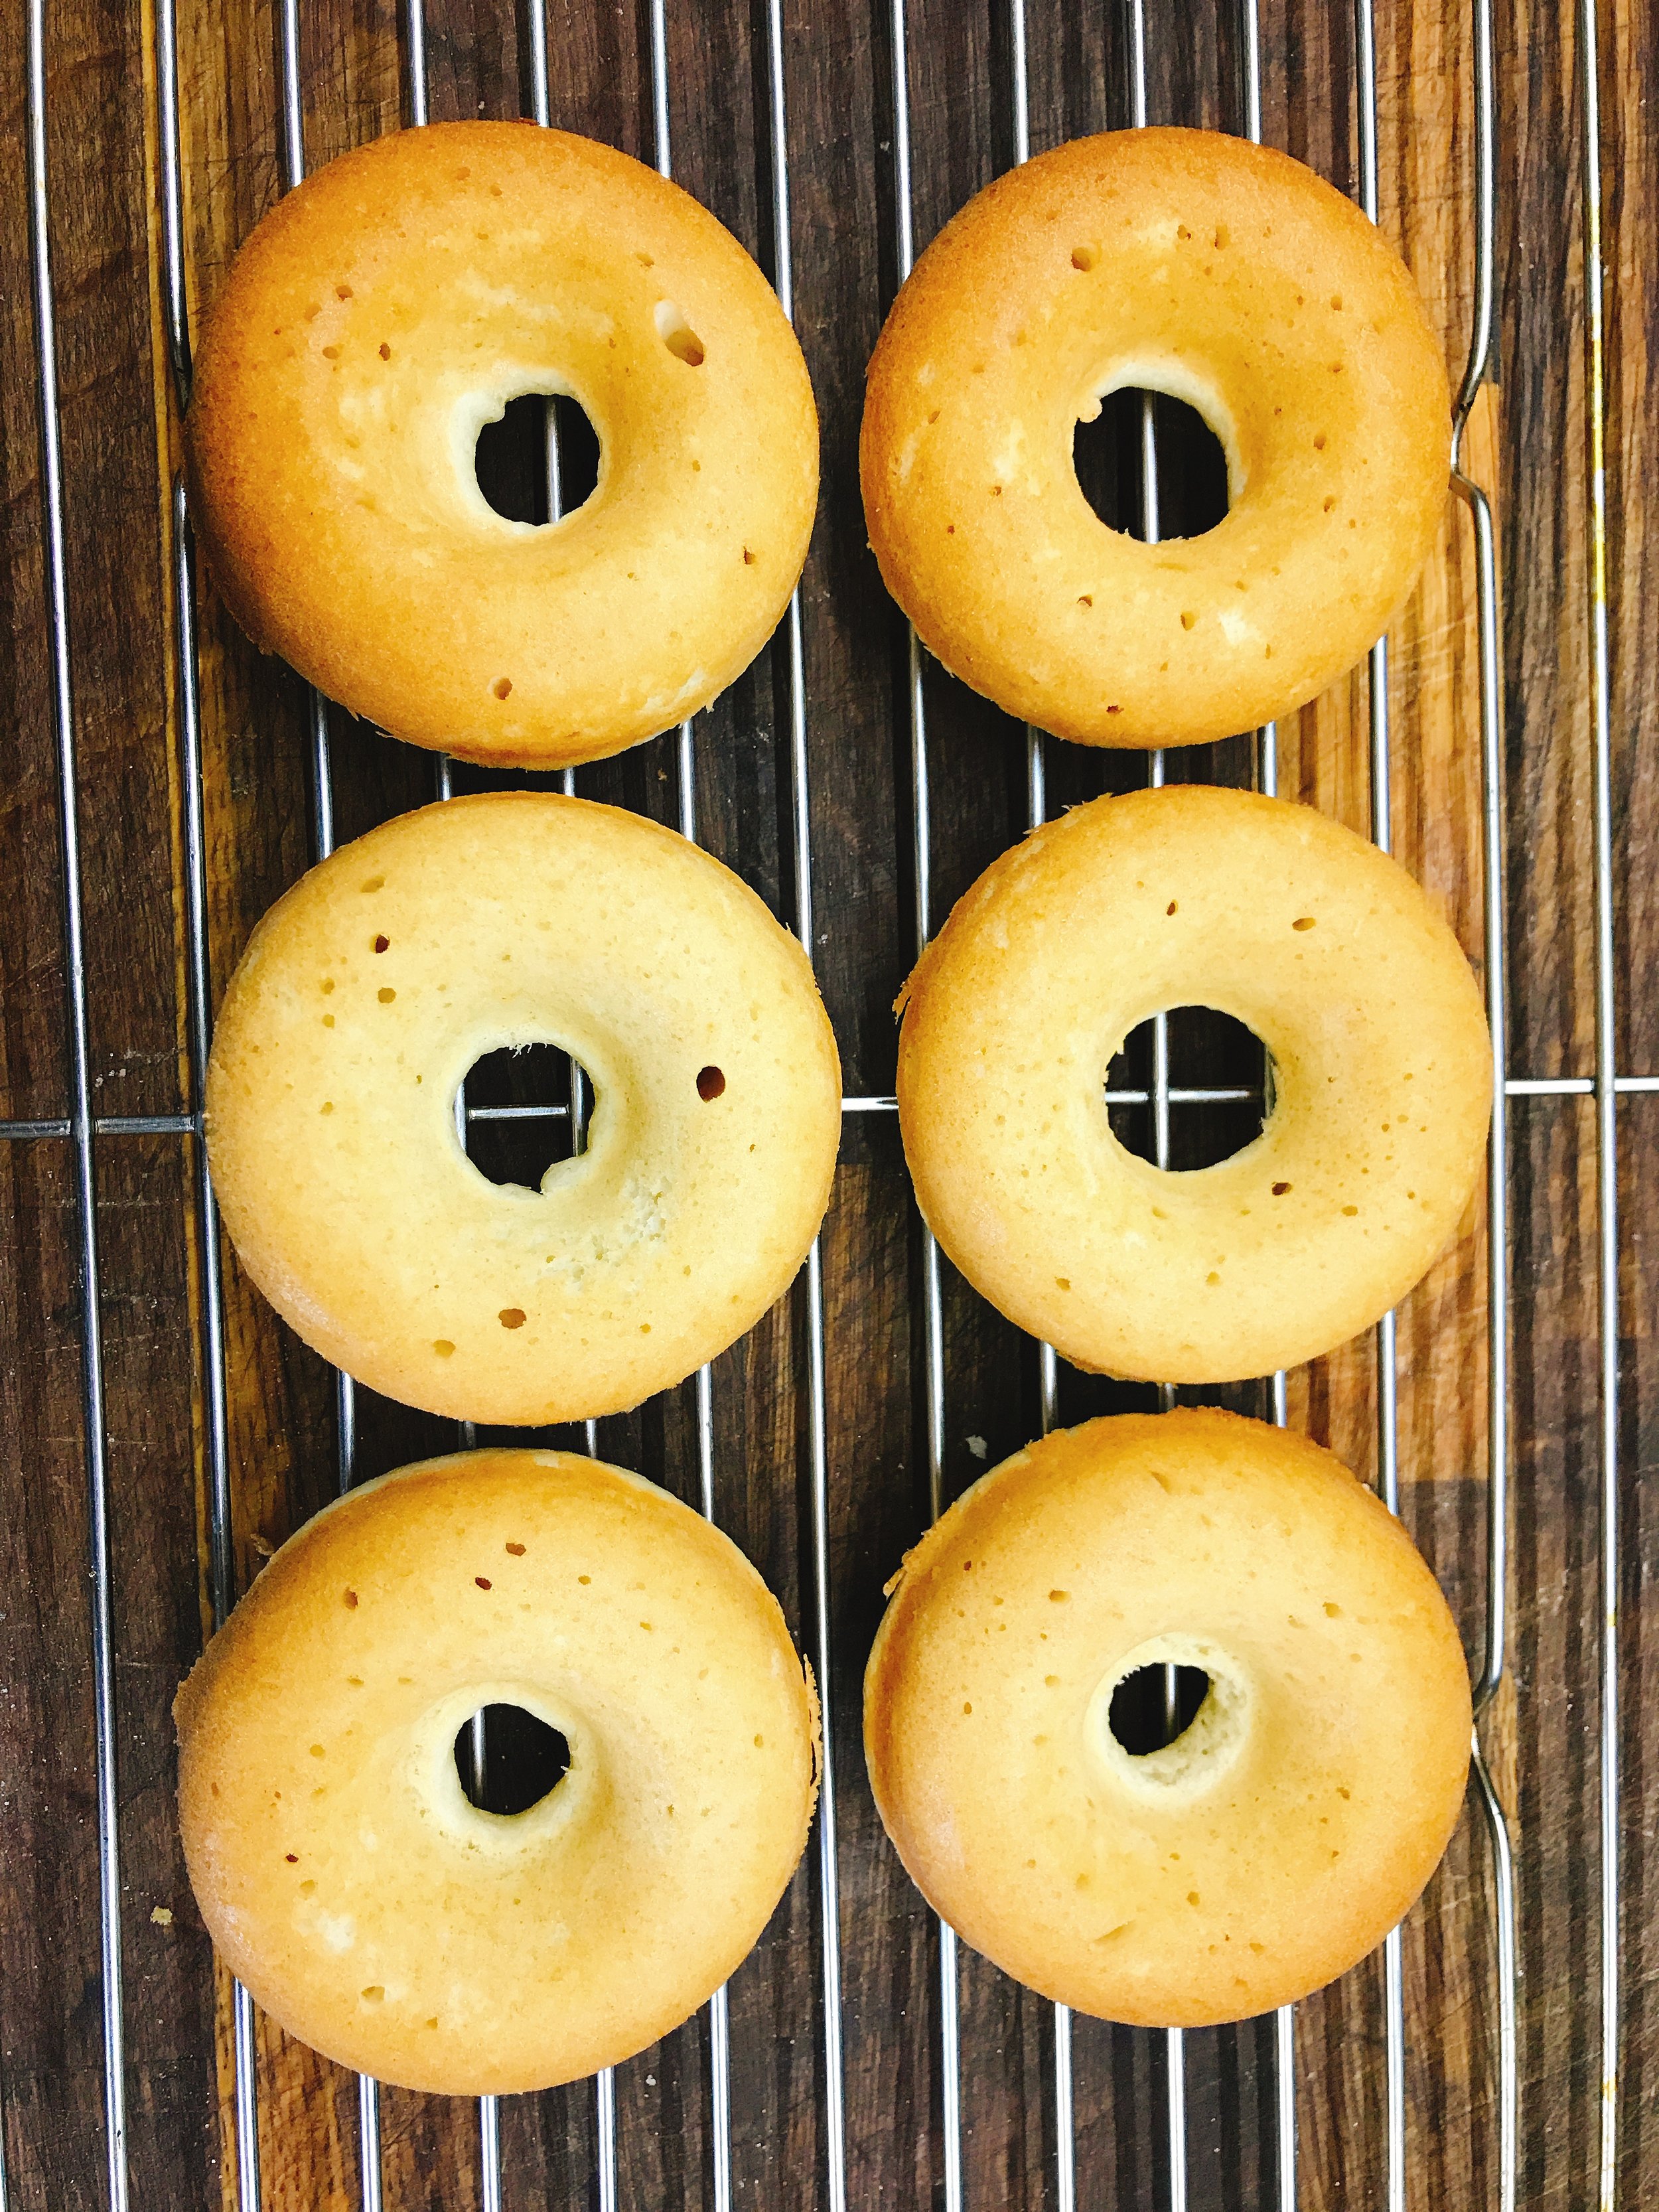
I followed the recipe on the packaging. This was enough to make 12 doughnuts across two batches. It also comes with some glazing recipes which worked well too, though application took a little trial and error.
So, is it any good? I would say yes. They are tasty, certainly as good as most you buy from the supermarket, they are healthier than their deep fried counterparts and it gets the kids into the kitchen which is always a selling point for me.
Step 1 - Batter
- Turn on the oven to 225C
- In a large bowl, sift the flour, baking powder, sugar and salt
- Lightly whisk the eggs and add to the large bowl
- Add the milk (Add the lemon juice if not using buttermilk)
- Bring it all together, gently to start with, until you have a smooth and thick batter which slowly falls off a spoon but is thin enough to not leave peaks. If it's too thick, add a splash of milk and stir again
Step 2 - Delivery
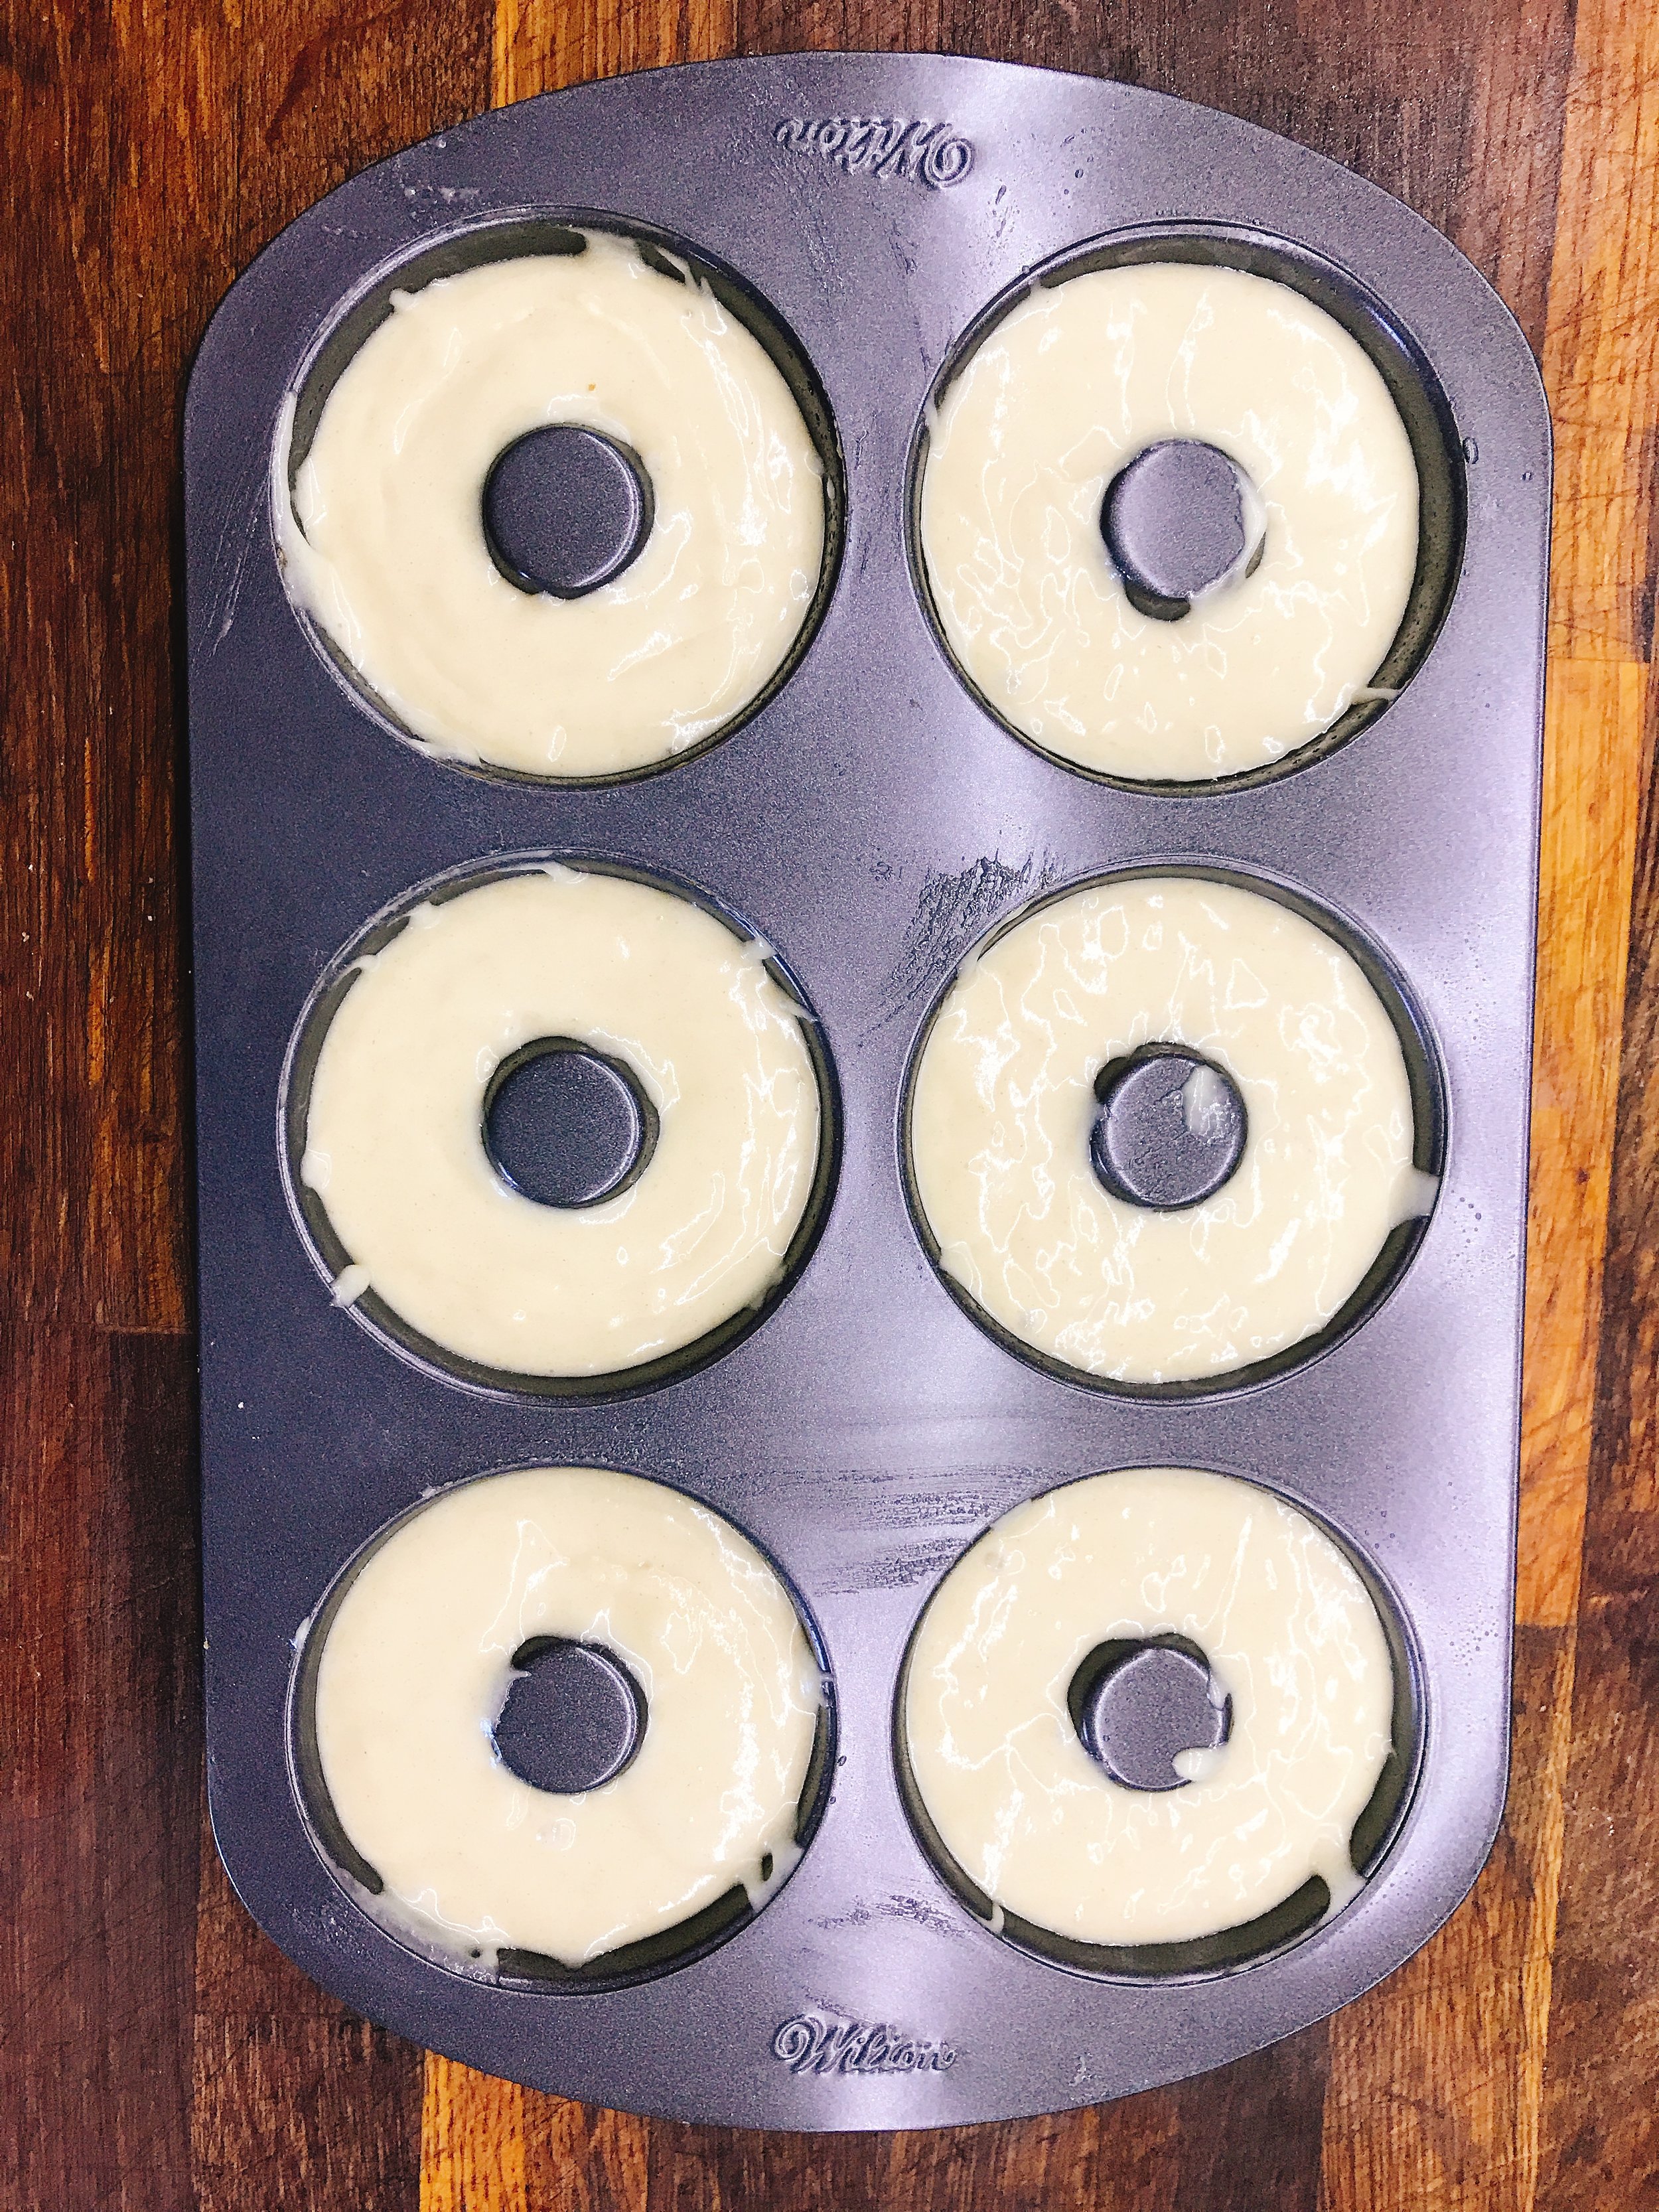
- Add a little vegetable oil to each compartment and wipe it around with some kitchen roll. Wipe the centrepiece and around the edges too
- Spoon in the batter until each mould is 3/4 full. Don't add too much otherwise, you will end up with a hole one side and not the other
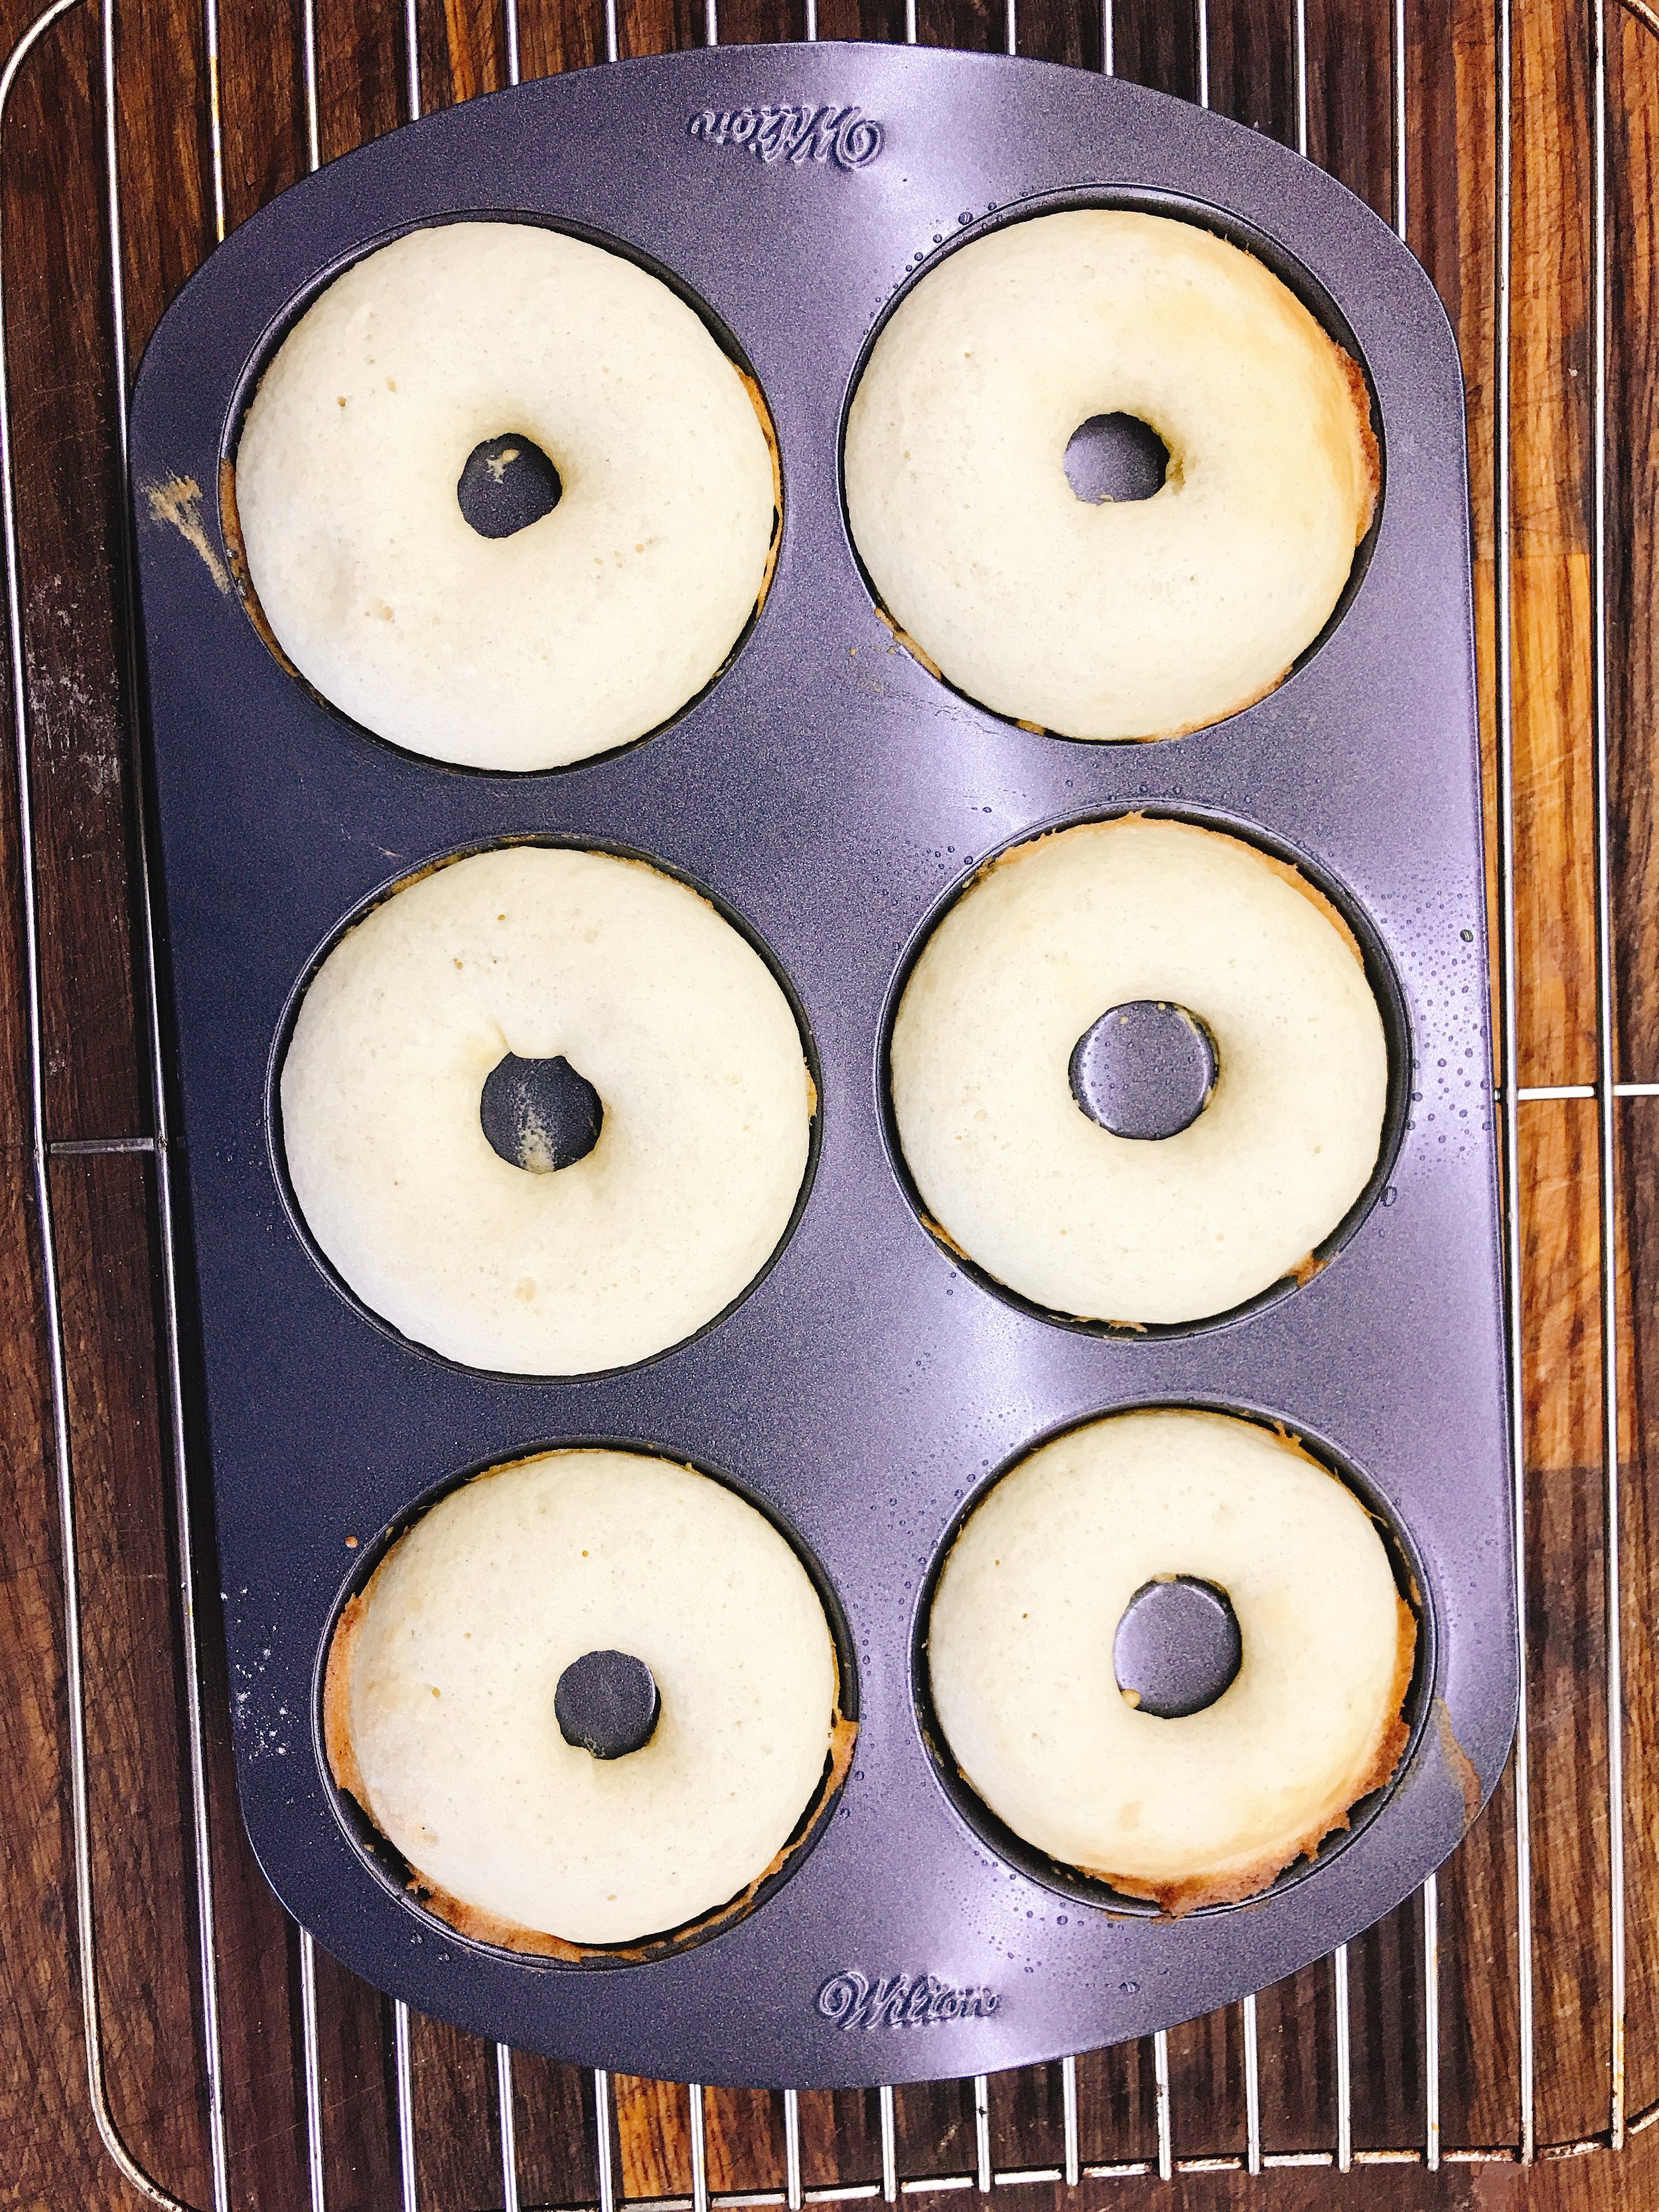
- Put in the oven for 8 minutes. Remove when they spring back
- Leave in the trays to cool for a few minutes first
- To remove gently twist them back and forth to free them up. This I found the best way. I've yet to have one stick with this method
- Top with a rack and flip. Don't put on a flat surface otherwise, the steam will make the bottoms sticky
Step 3 - Glaze
- Make your glaze of choice (I chose a simple one of water, icing sugar and food colouring)
Tip: Put a plate under the rack to catch the excess icing - Dip your doughnut in, pushing gently but careful not to go all the way to the bottom of the bowl
- Lift up, allowing excess to drip then carefully flip and return to the rack.
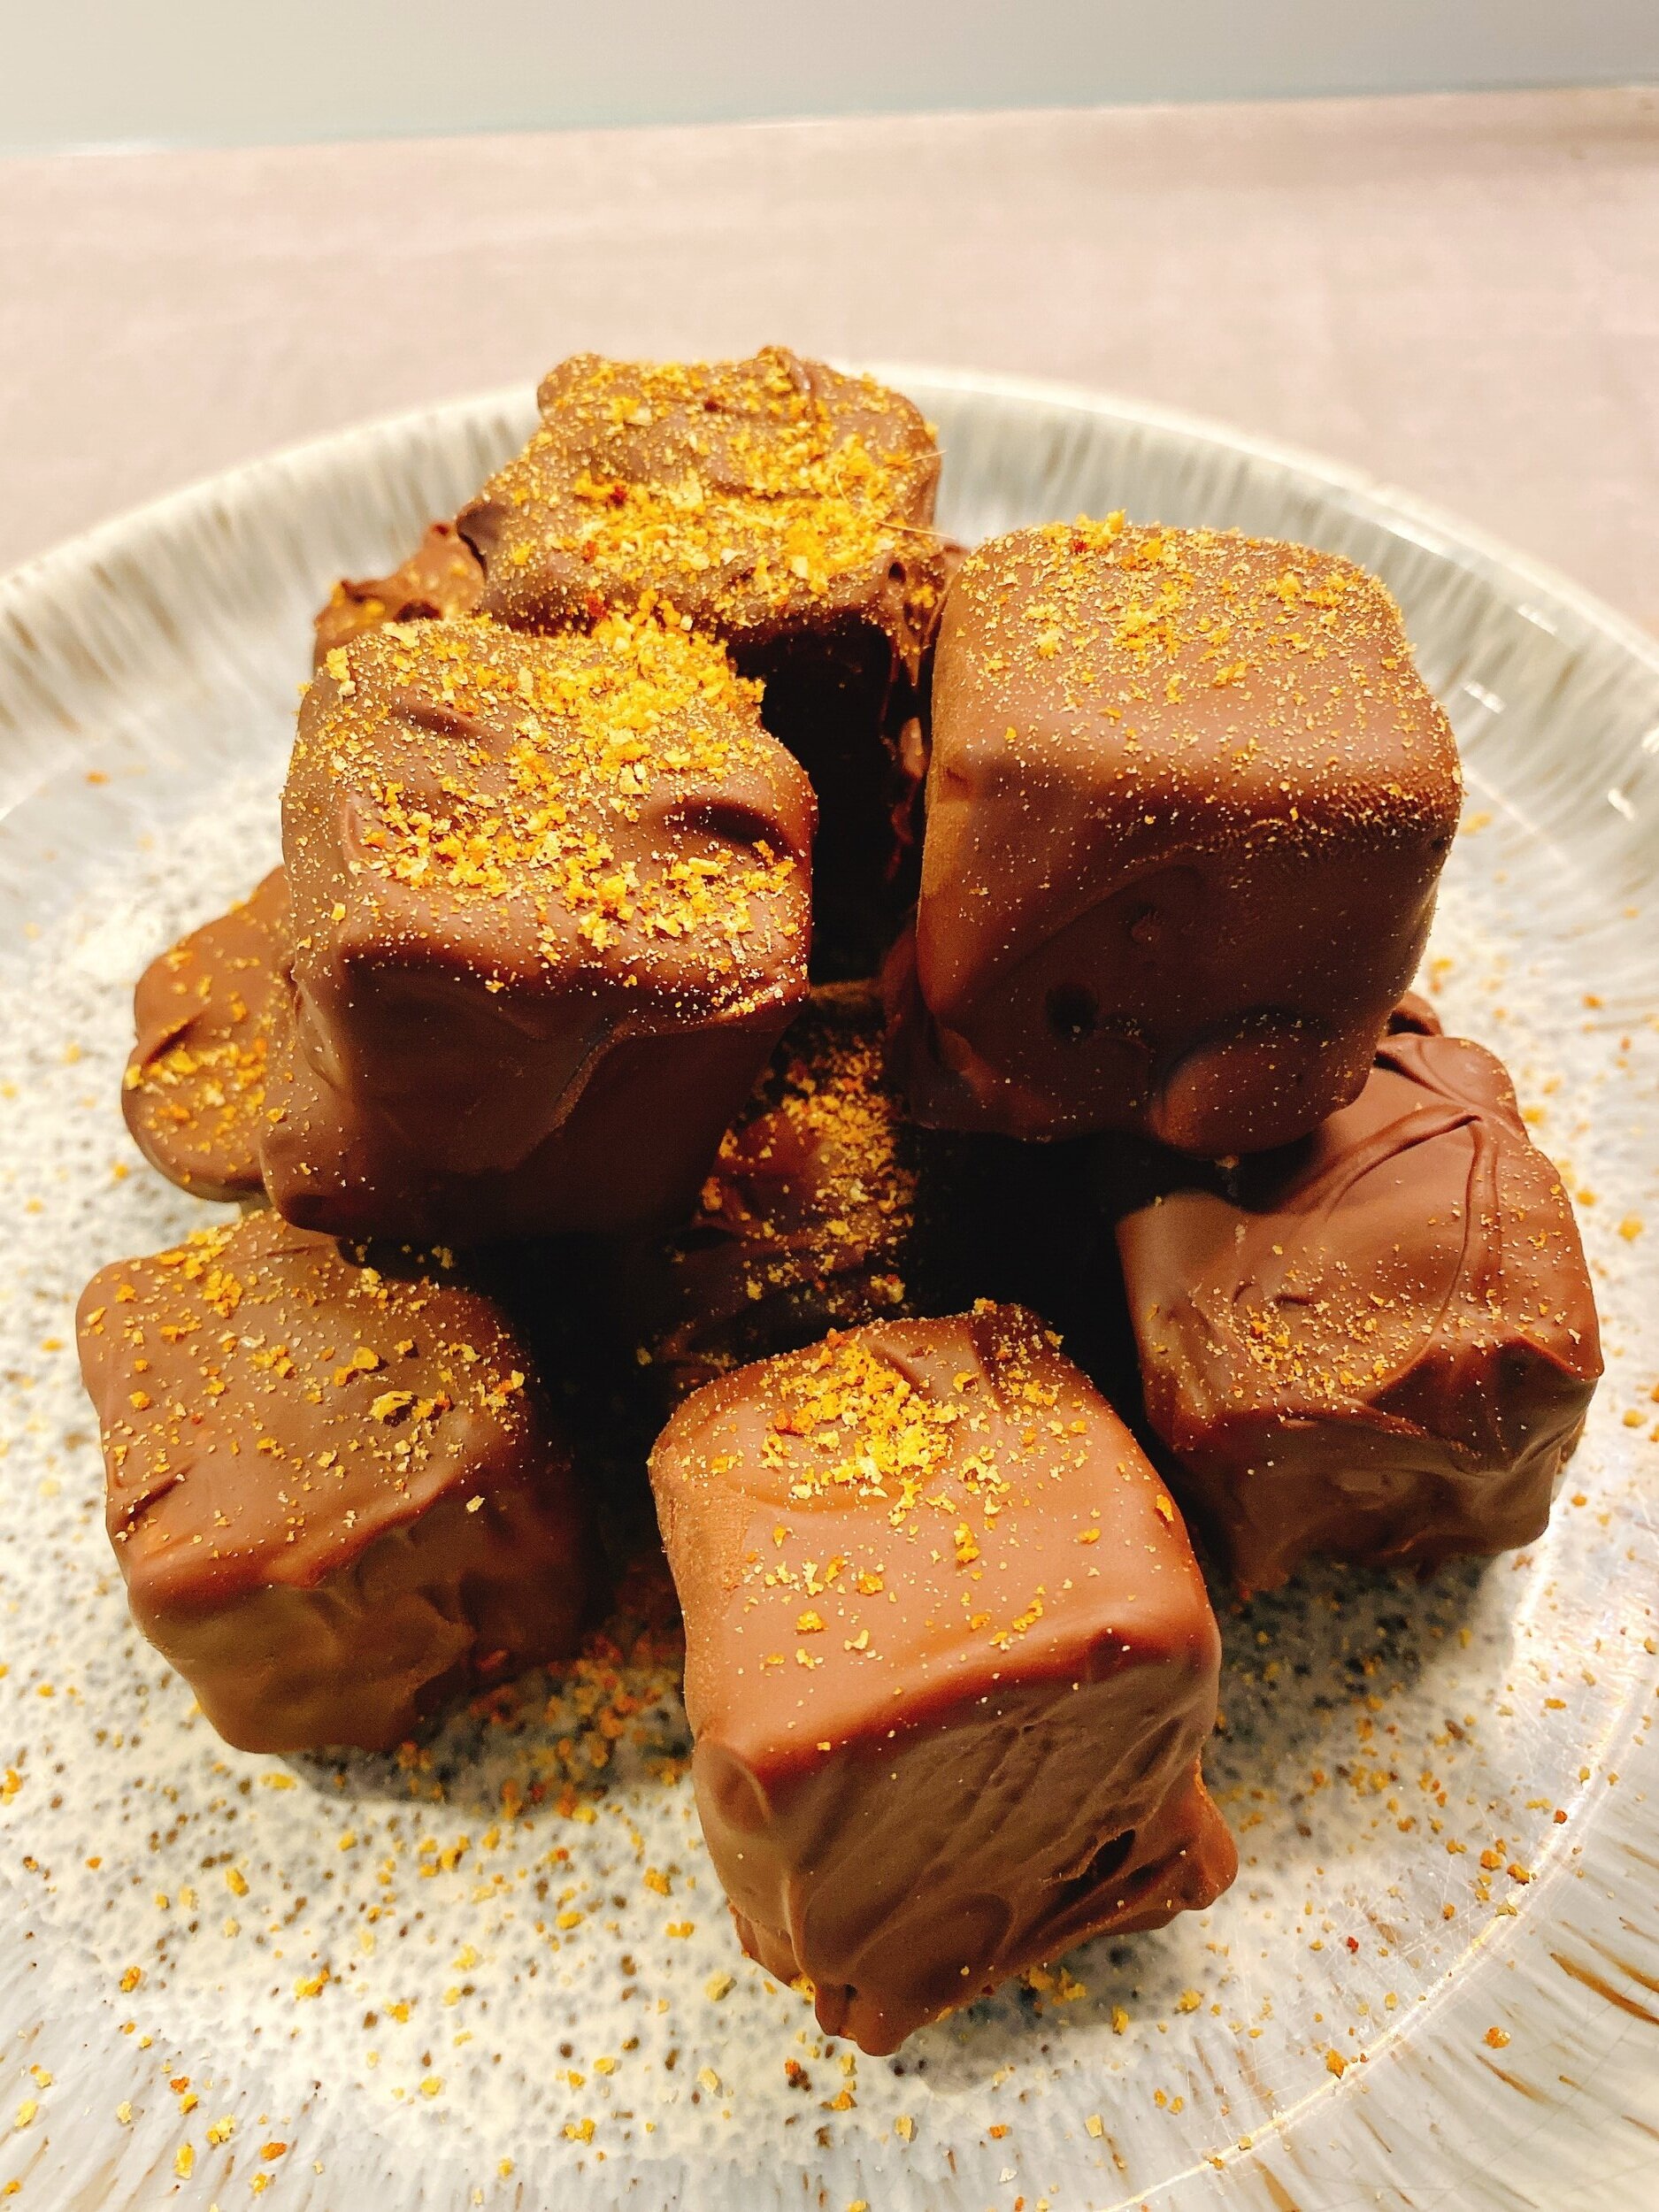
It will set within a minute so for the best results when you've done the 6th, loop back around for some double dipping - These can be left as is or decorated according to your mood. My kids love an assortment of sprinkles and I have to admit, I do too!! Just make sure they are added whilst the glaze is still wet

Baked Doughnuts
Batter
- 2 cups plain flour
- 3/4 cup caster sugar
- 1 tsp salt
- 2 tsp baking powder
- 3/4 cup buttermilk (or whole milk + 2 tsp lemon juice)
- 2 eggs, lightly whisked
- 2 tbsp melted butter
Glazes (Each one enough for 4)
- Plain sugar glaze
- 1 Cup of Icing sugar
- 2 tbsp water
- 1 tsp of food colouring
- Add 1/2 tsp of vanilla extract to the base glaze for a little extra flavour