Christmas Cake 2 - the glaze

Hopefully, you have made the easy rich chocolate fruit cake and are now looking to impress even further by decorating the cake.
This next stage can be a little daunting but challenging in a good way. I would recommend doing this over a weekend, and there are a few kitchen gadgets it is worth getting to make your life easier.
You will need a 24cm silicon cake tin like this one and some neat way of cutting your cake into three even slices. I found these little gadgets inexpensive and very useful. A cake decorating turntable also makes life easier.
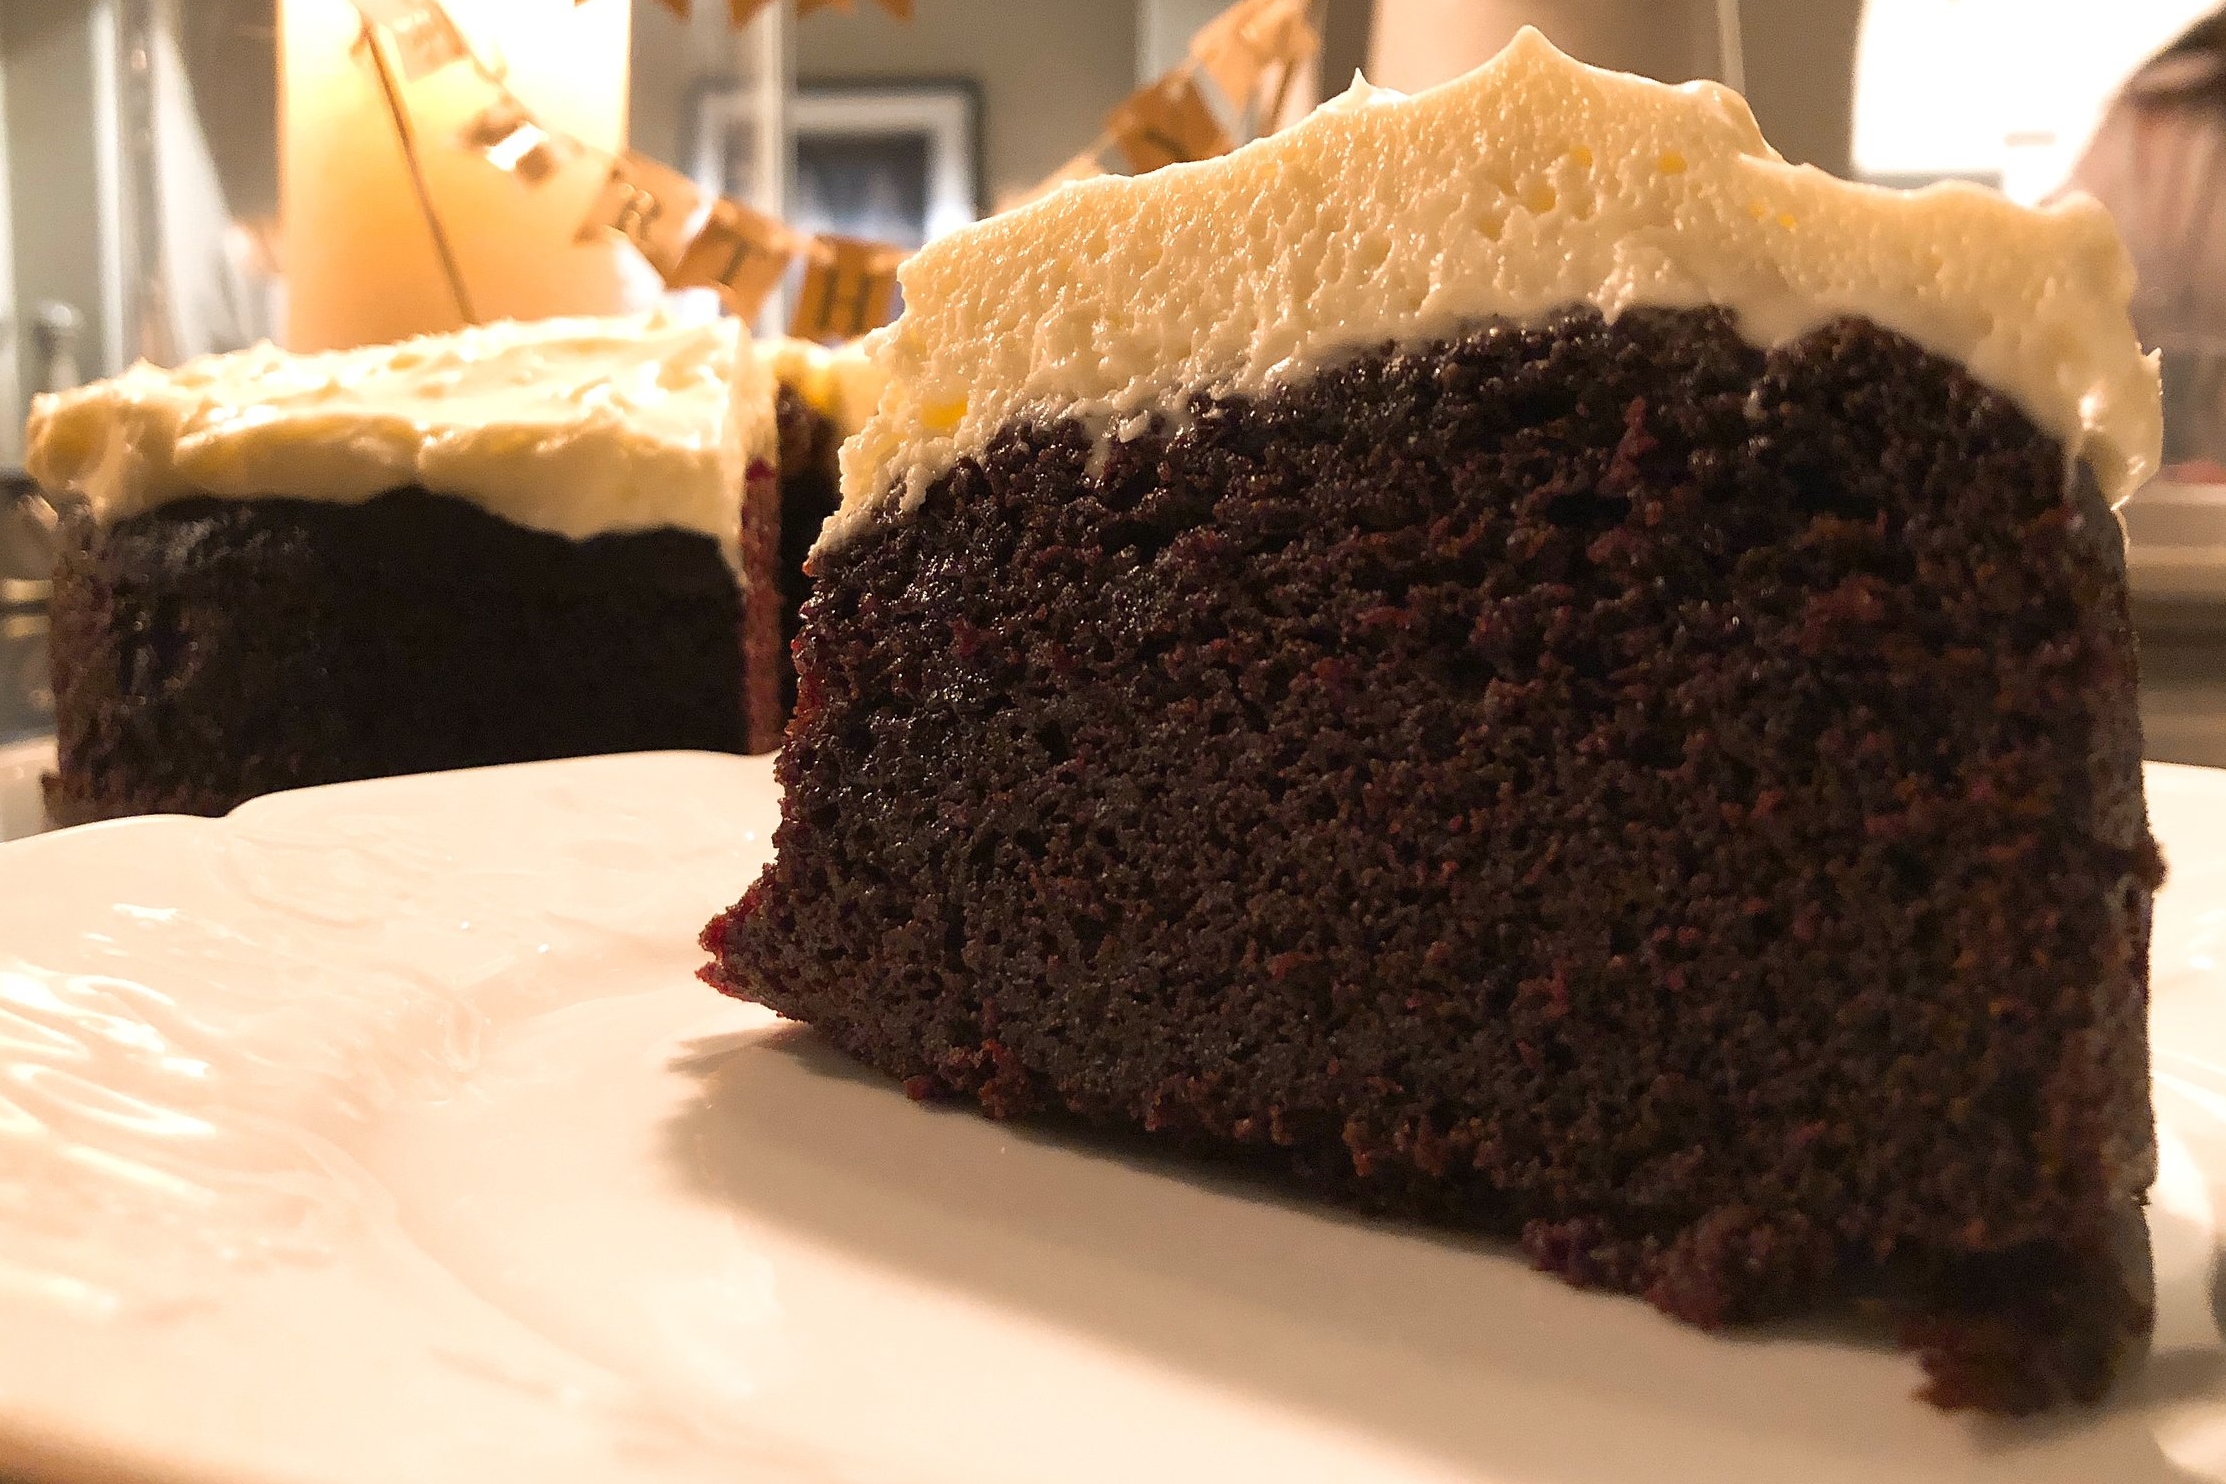
Don’t worry if the edges are a little rough or if it isn’t perfect!
Step 1 - Chocolate mousse
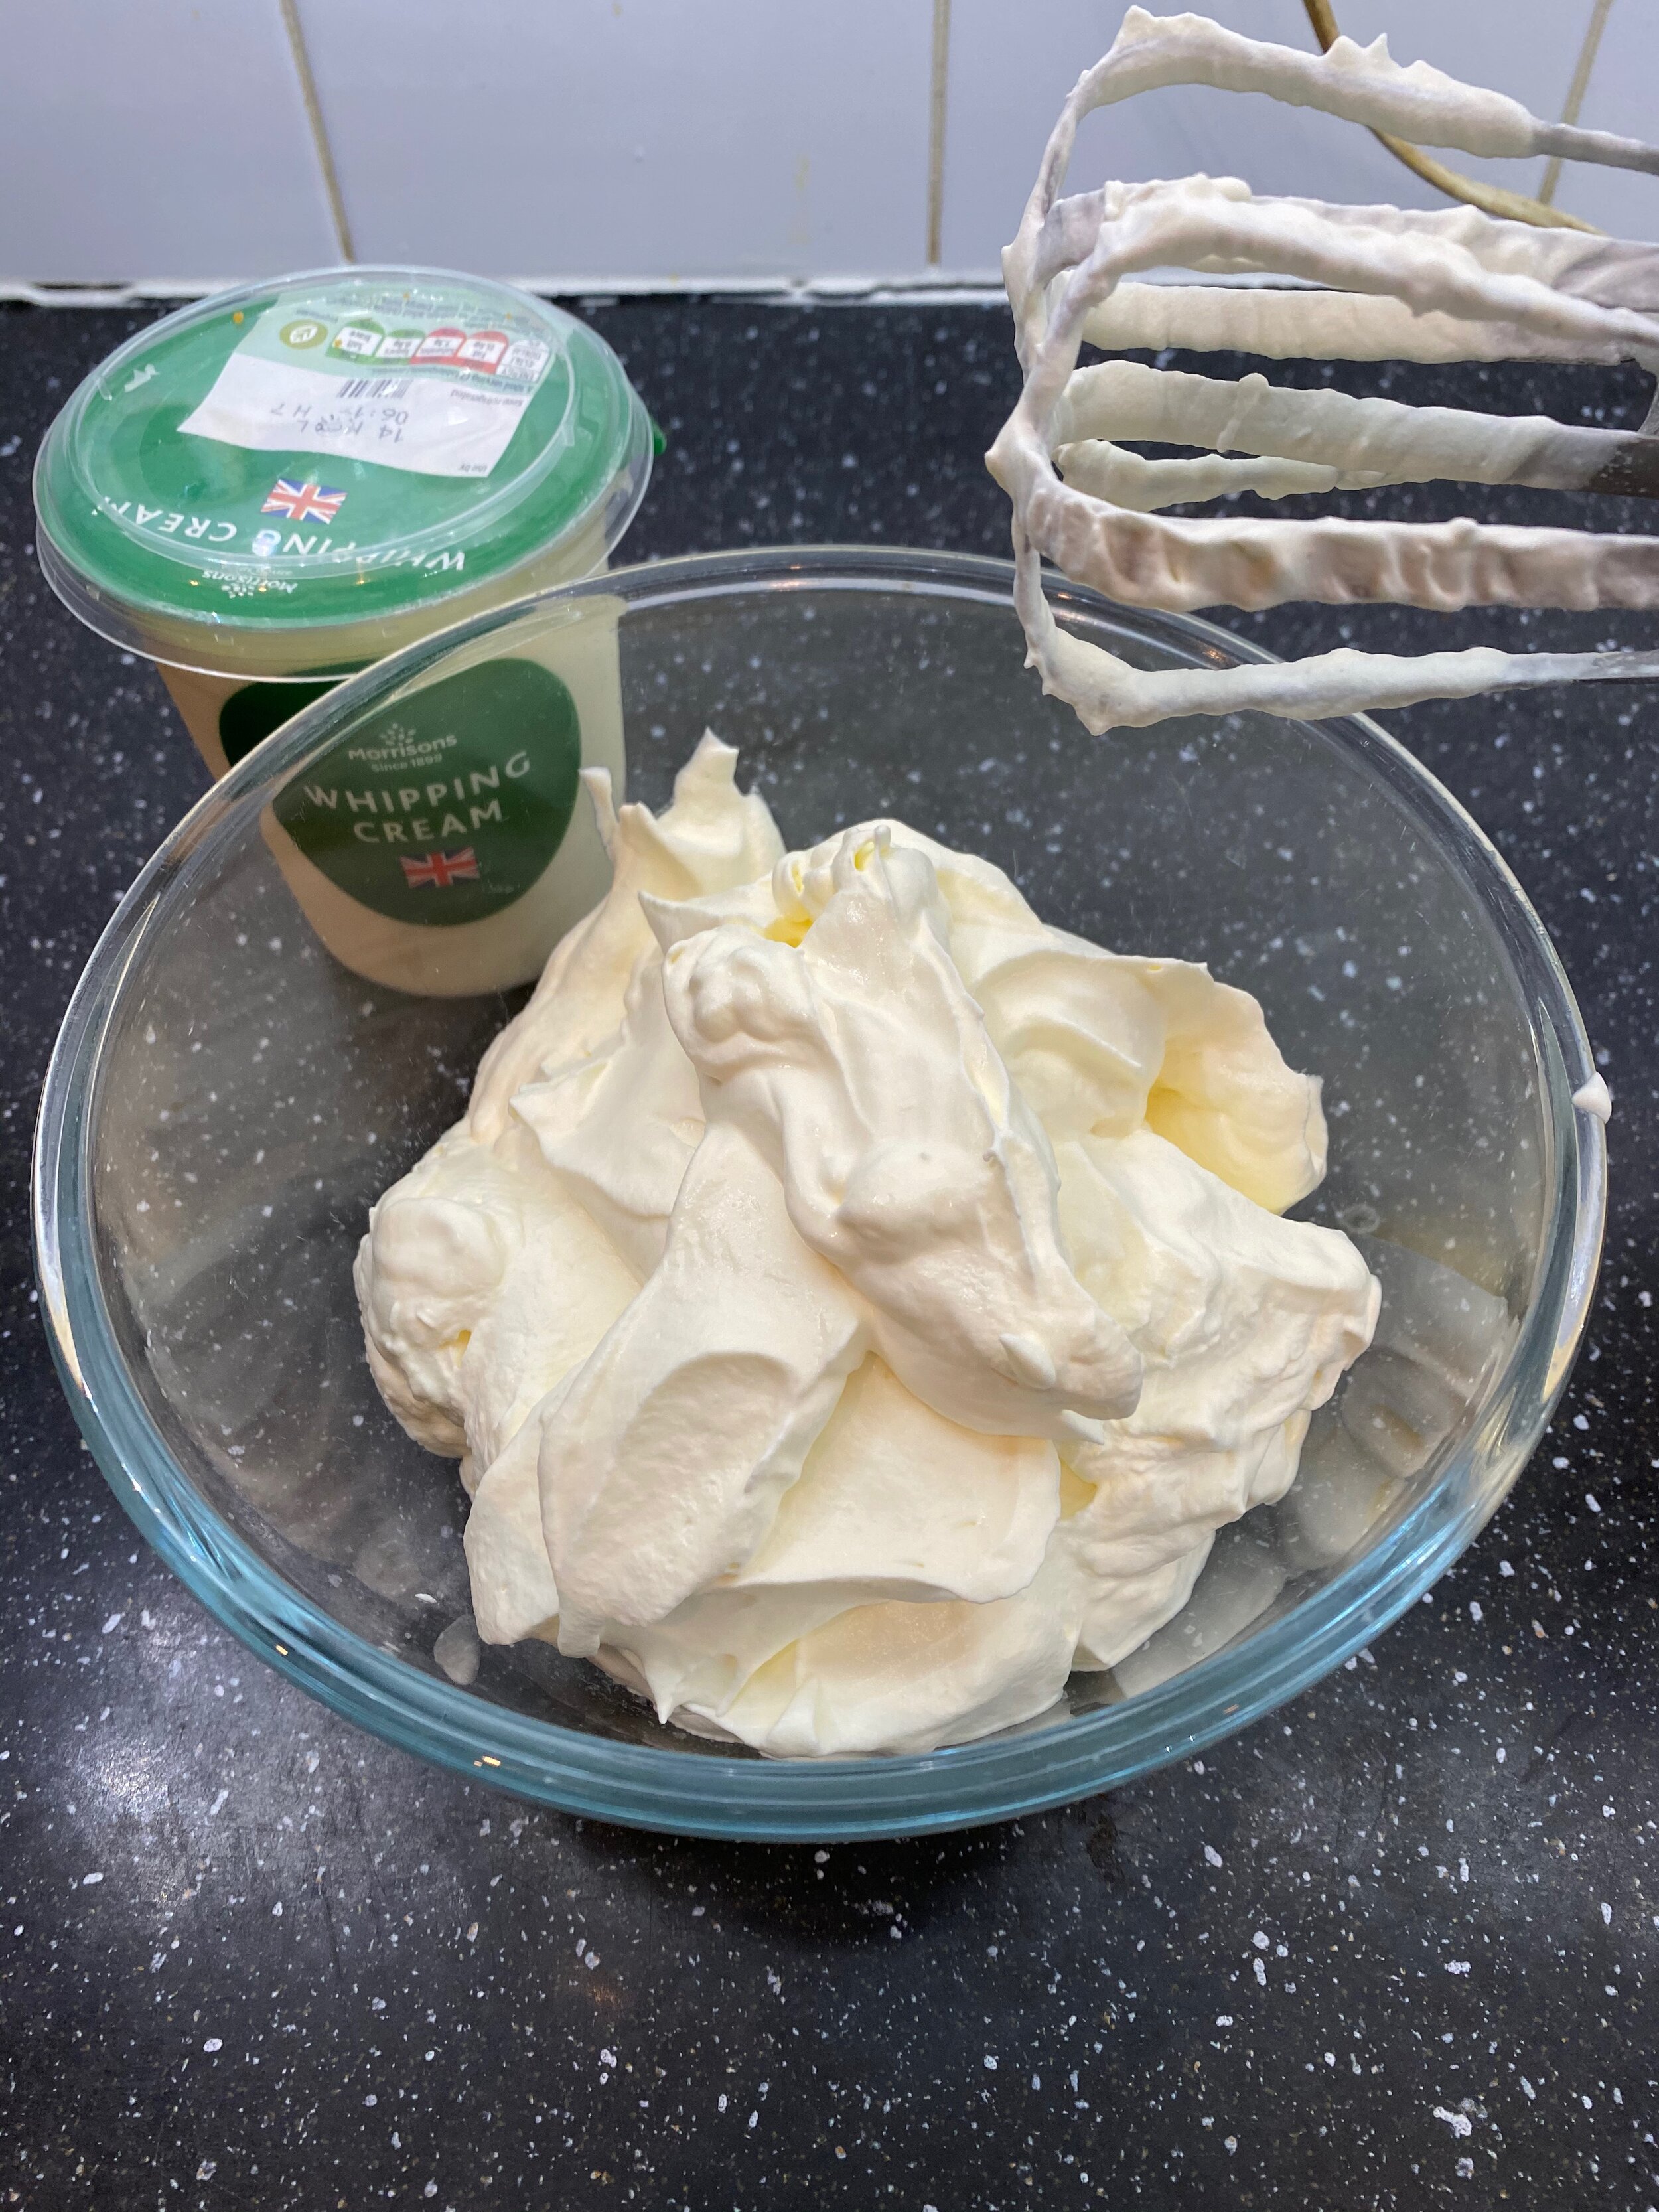
Whip half of the double cream to soft peaks, pop in the fridge to chill
Heat the rest of the cream in a small saucepan until just below boiling point
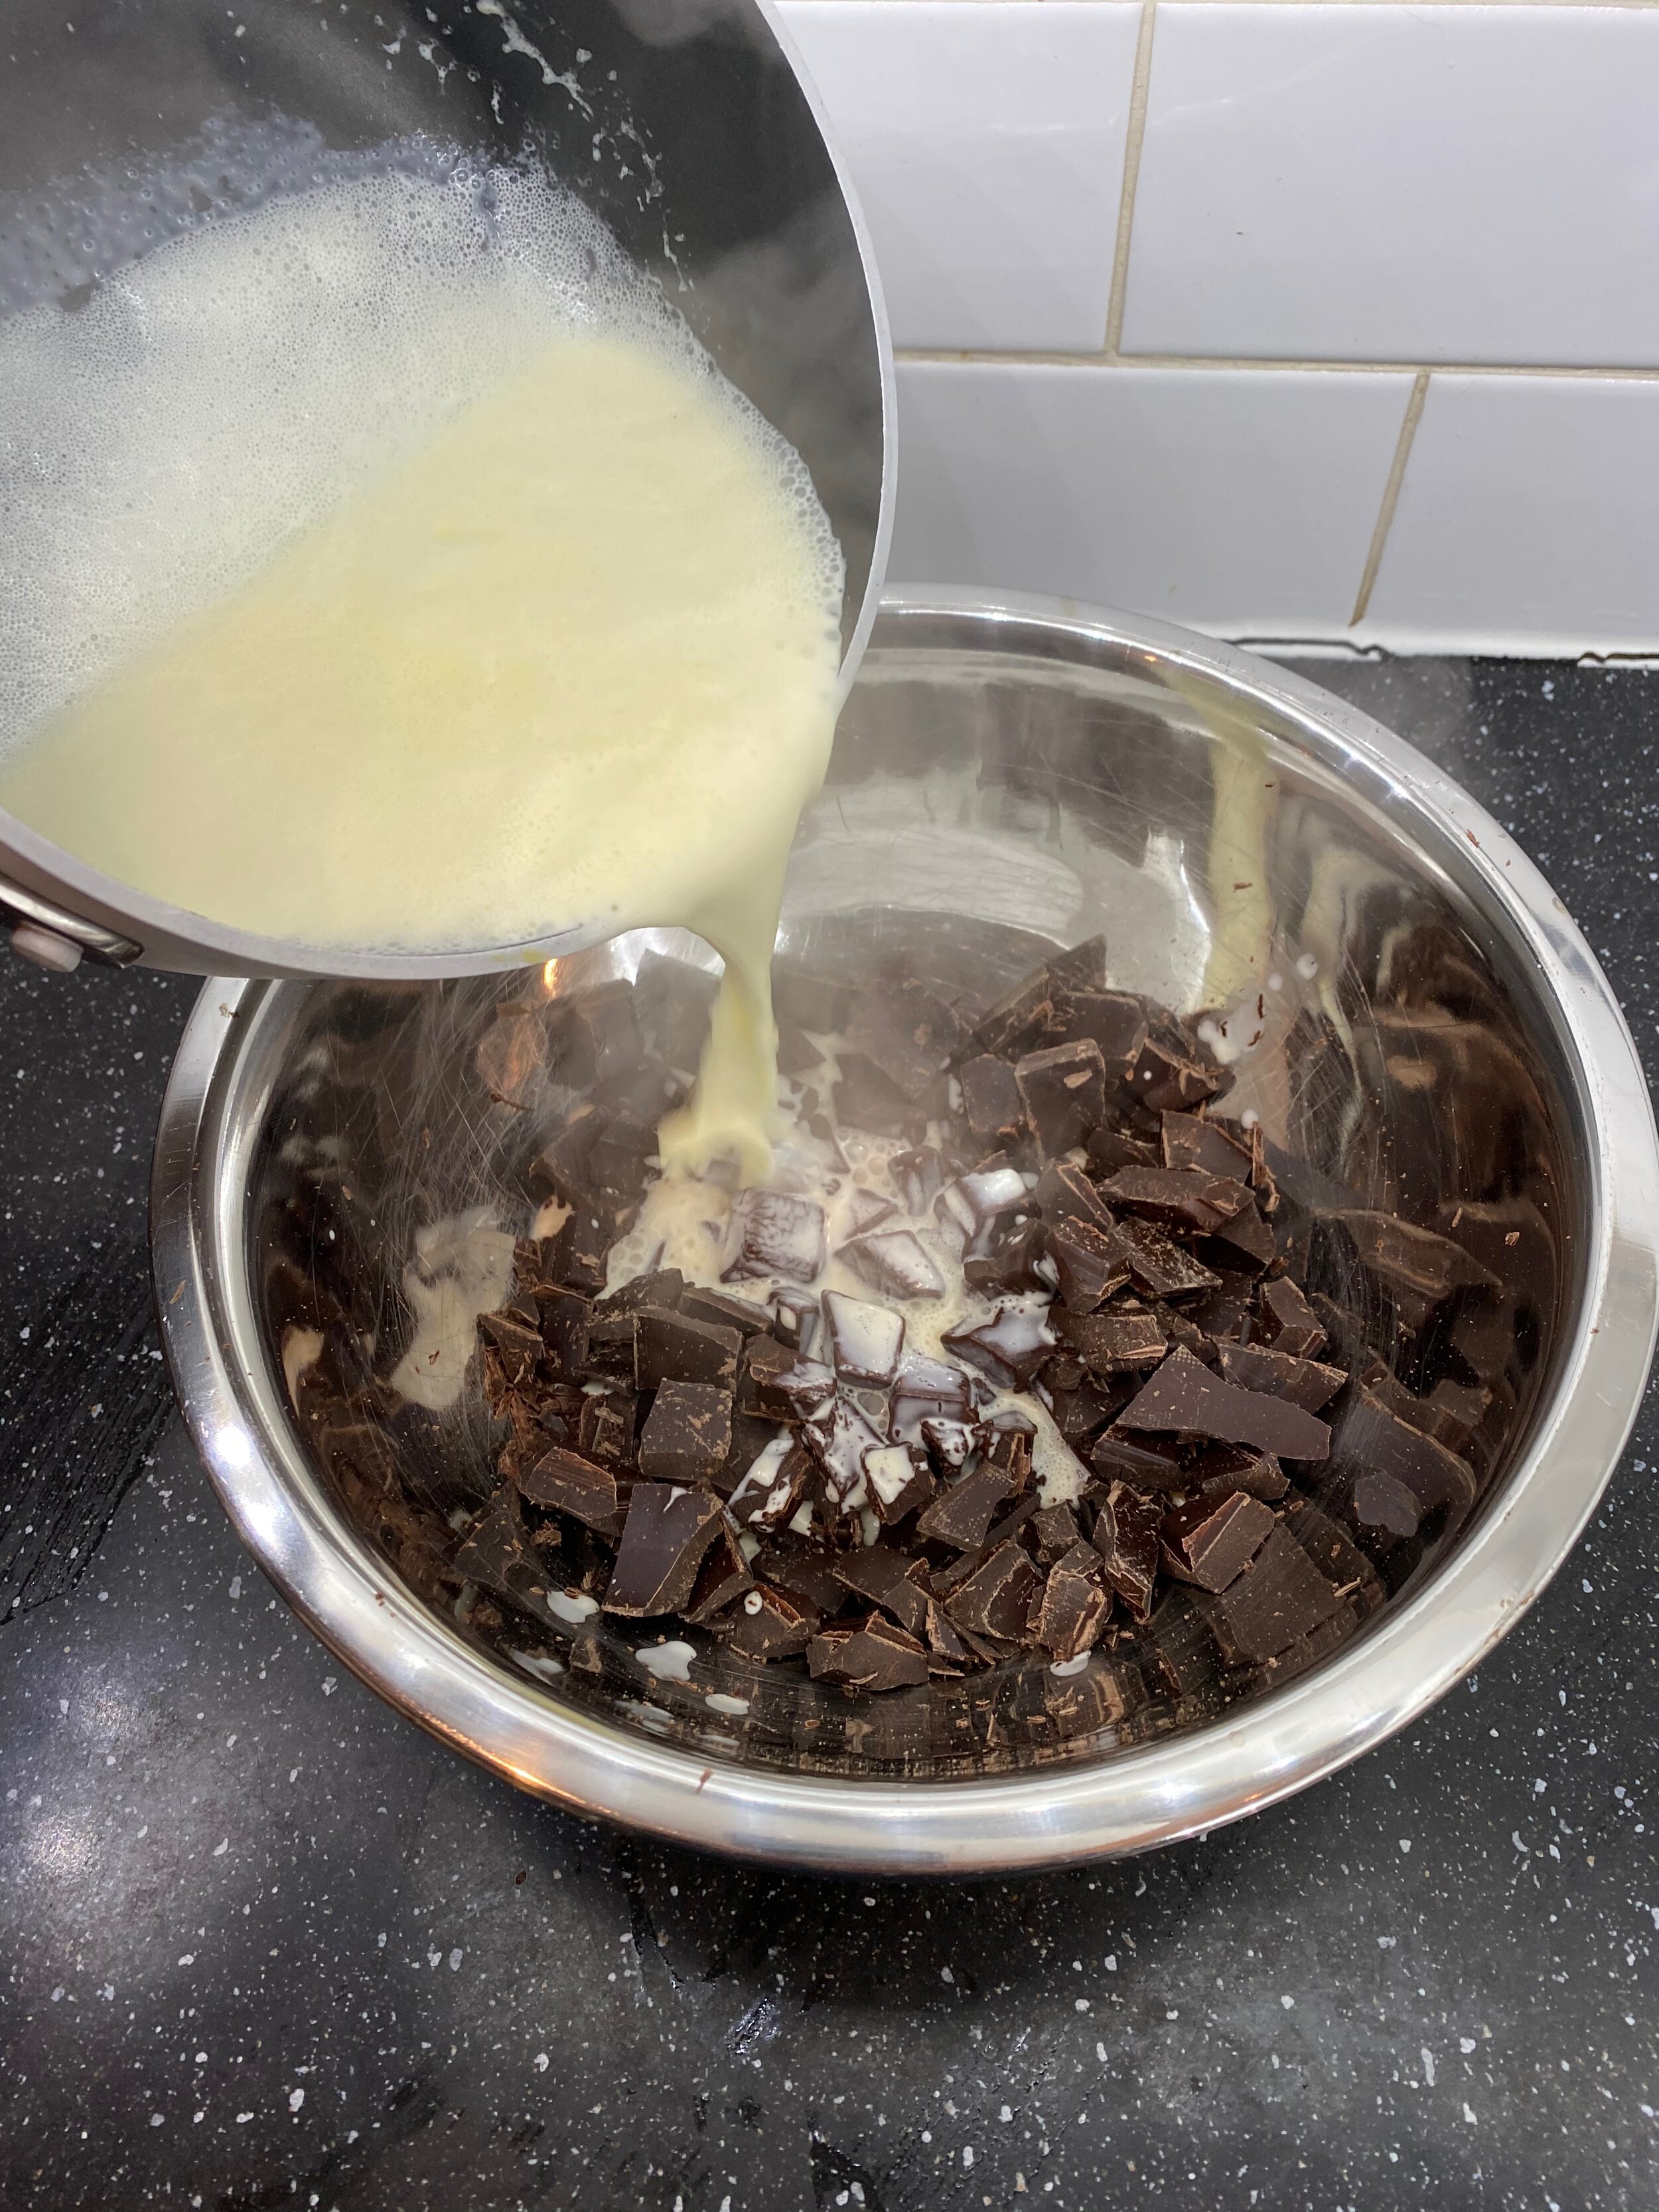
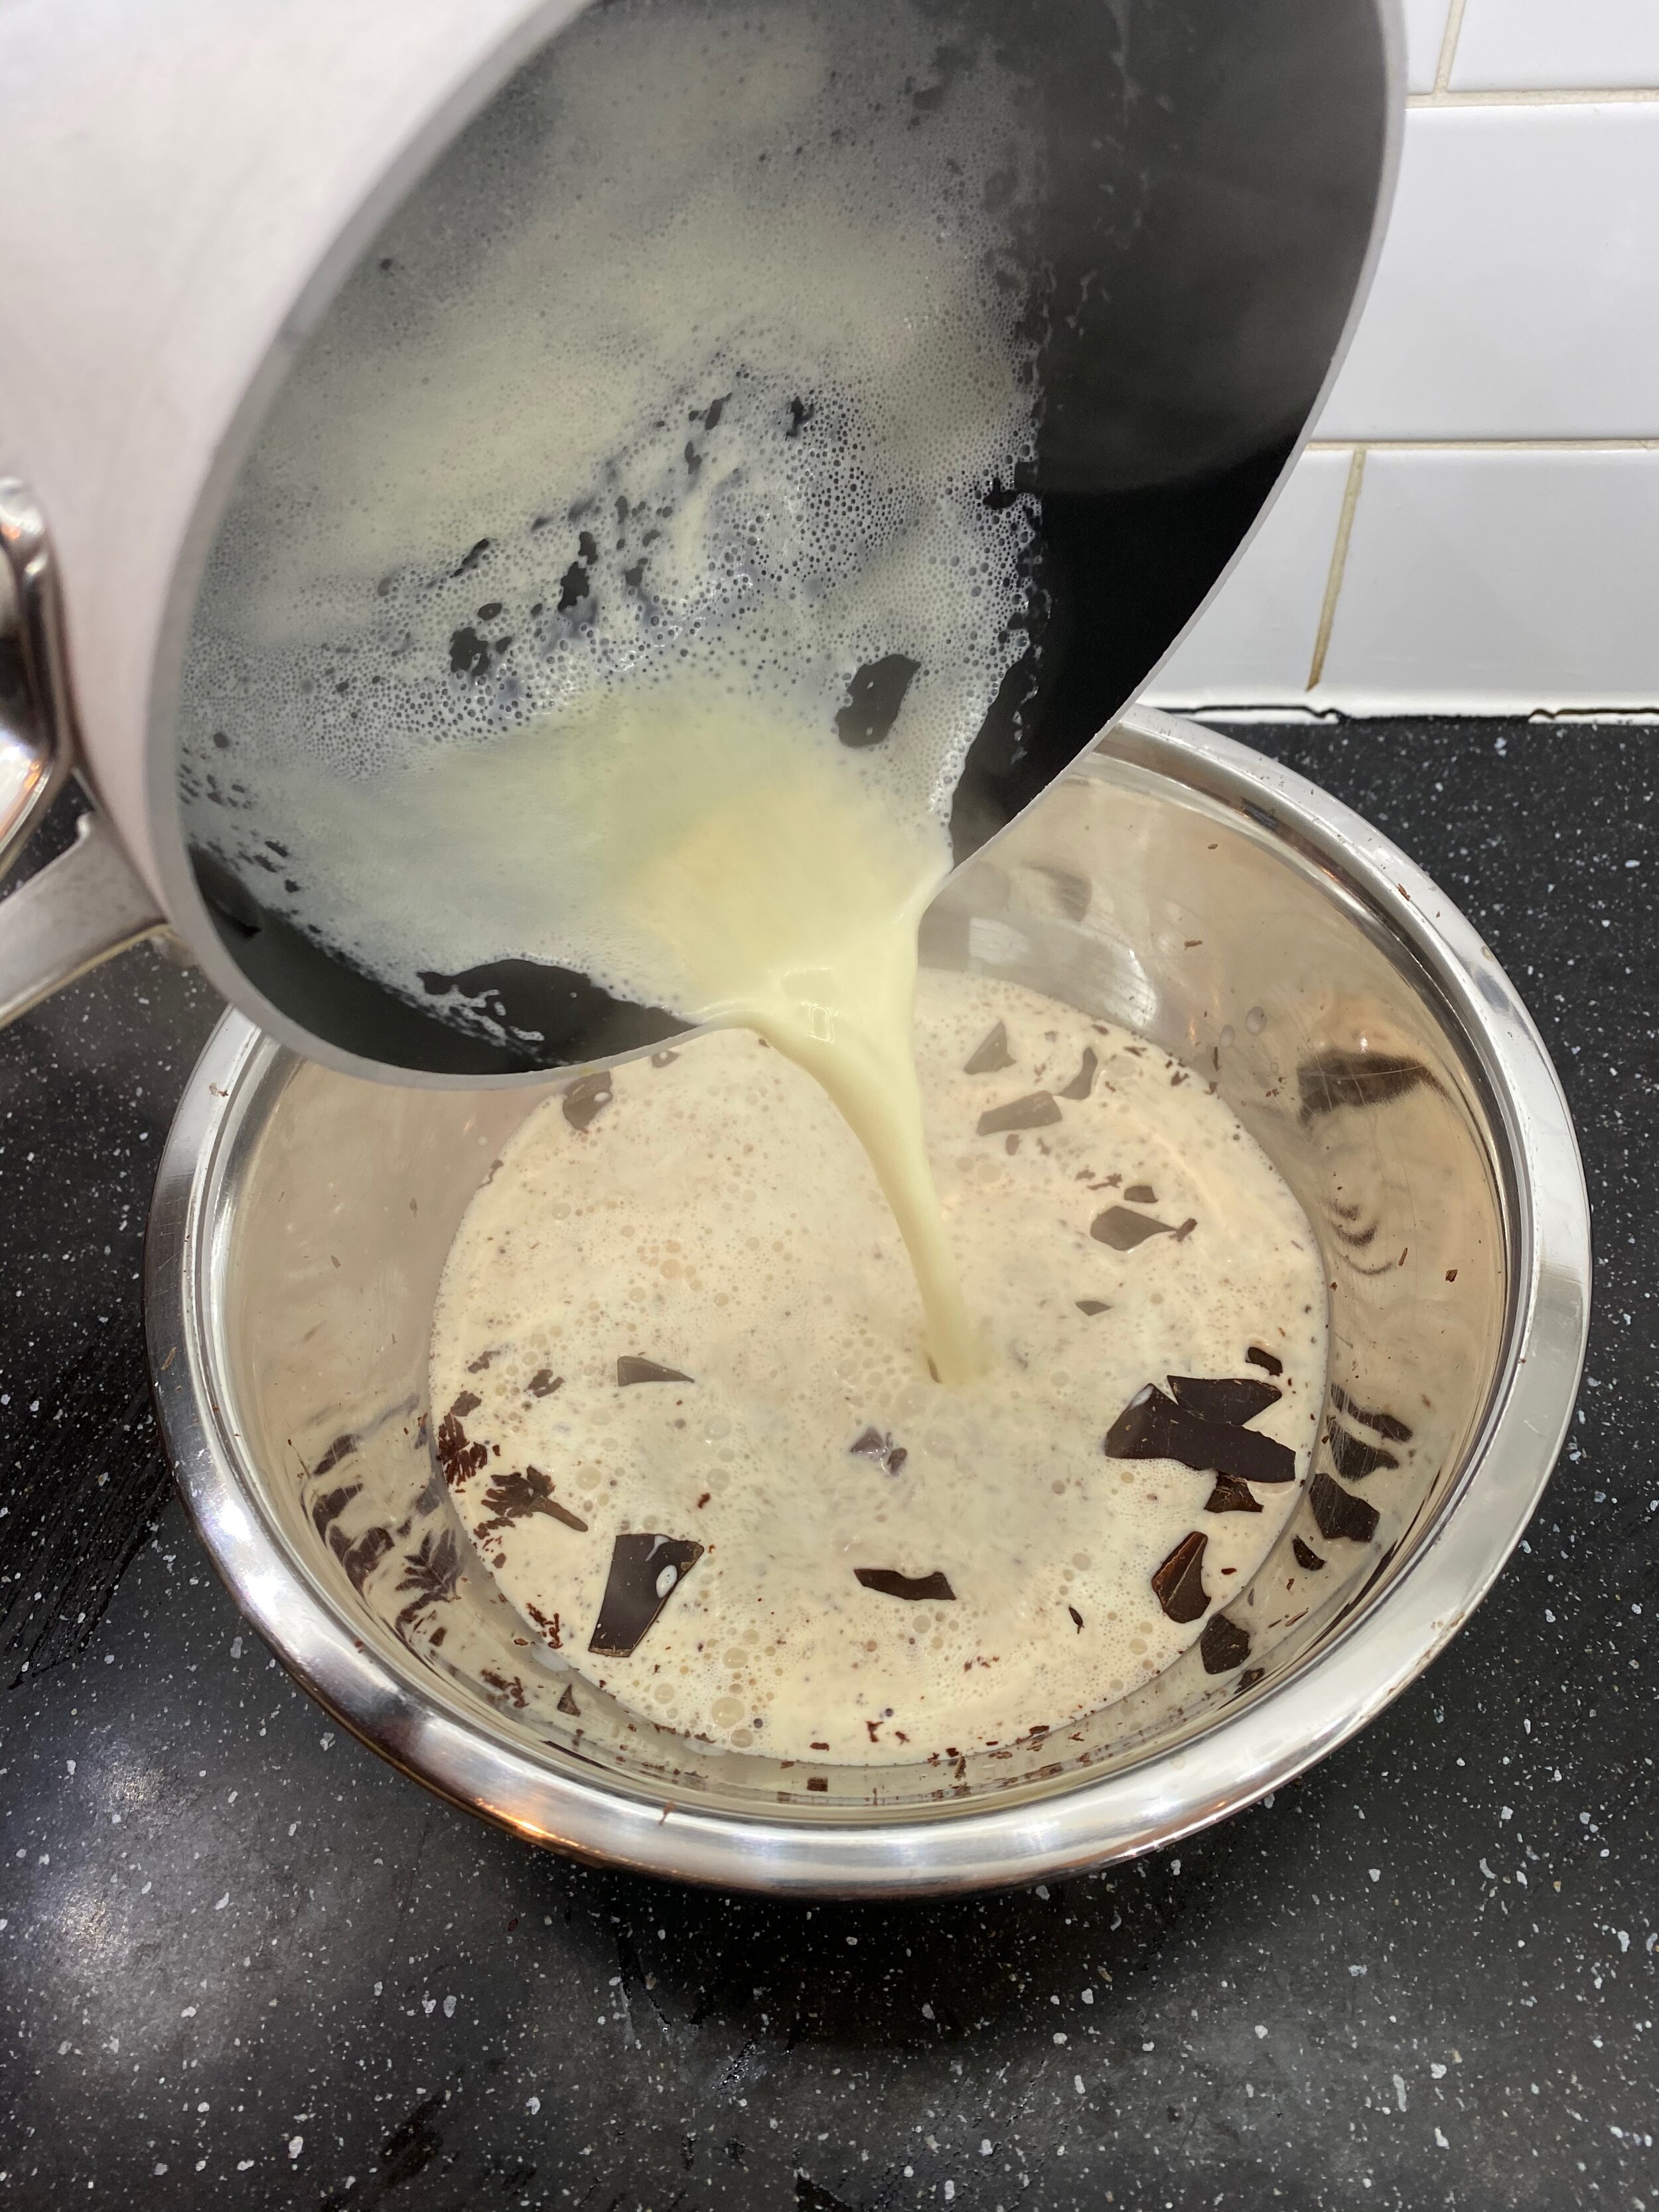
Whilst the cream is heating chop the chocolate and put into a small bowl
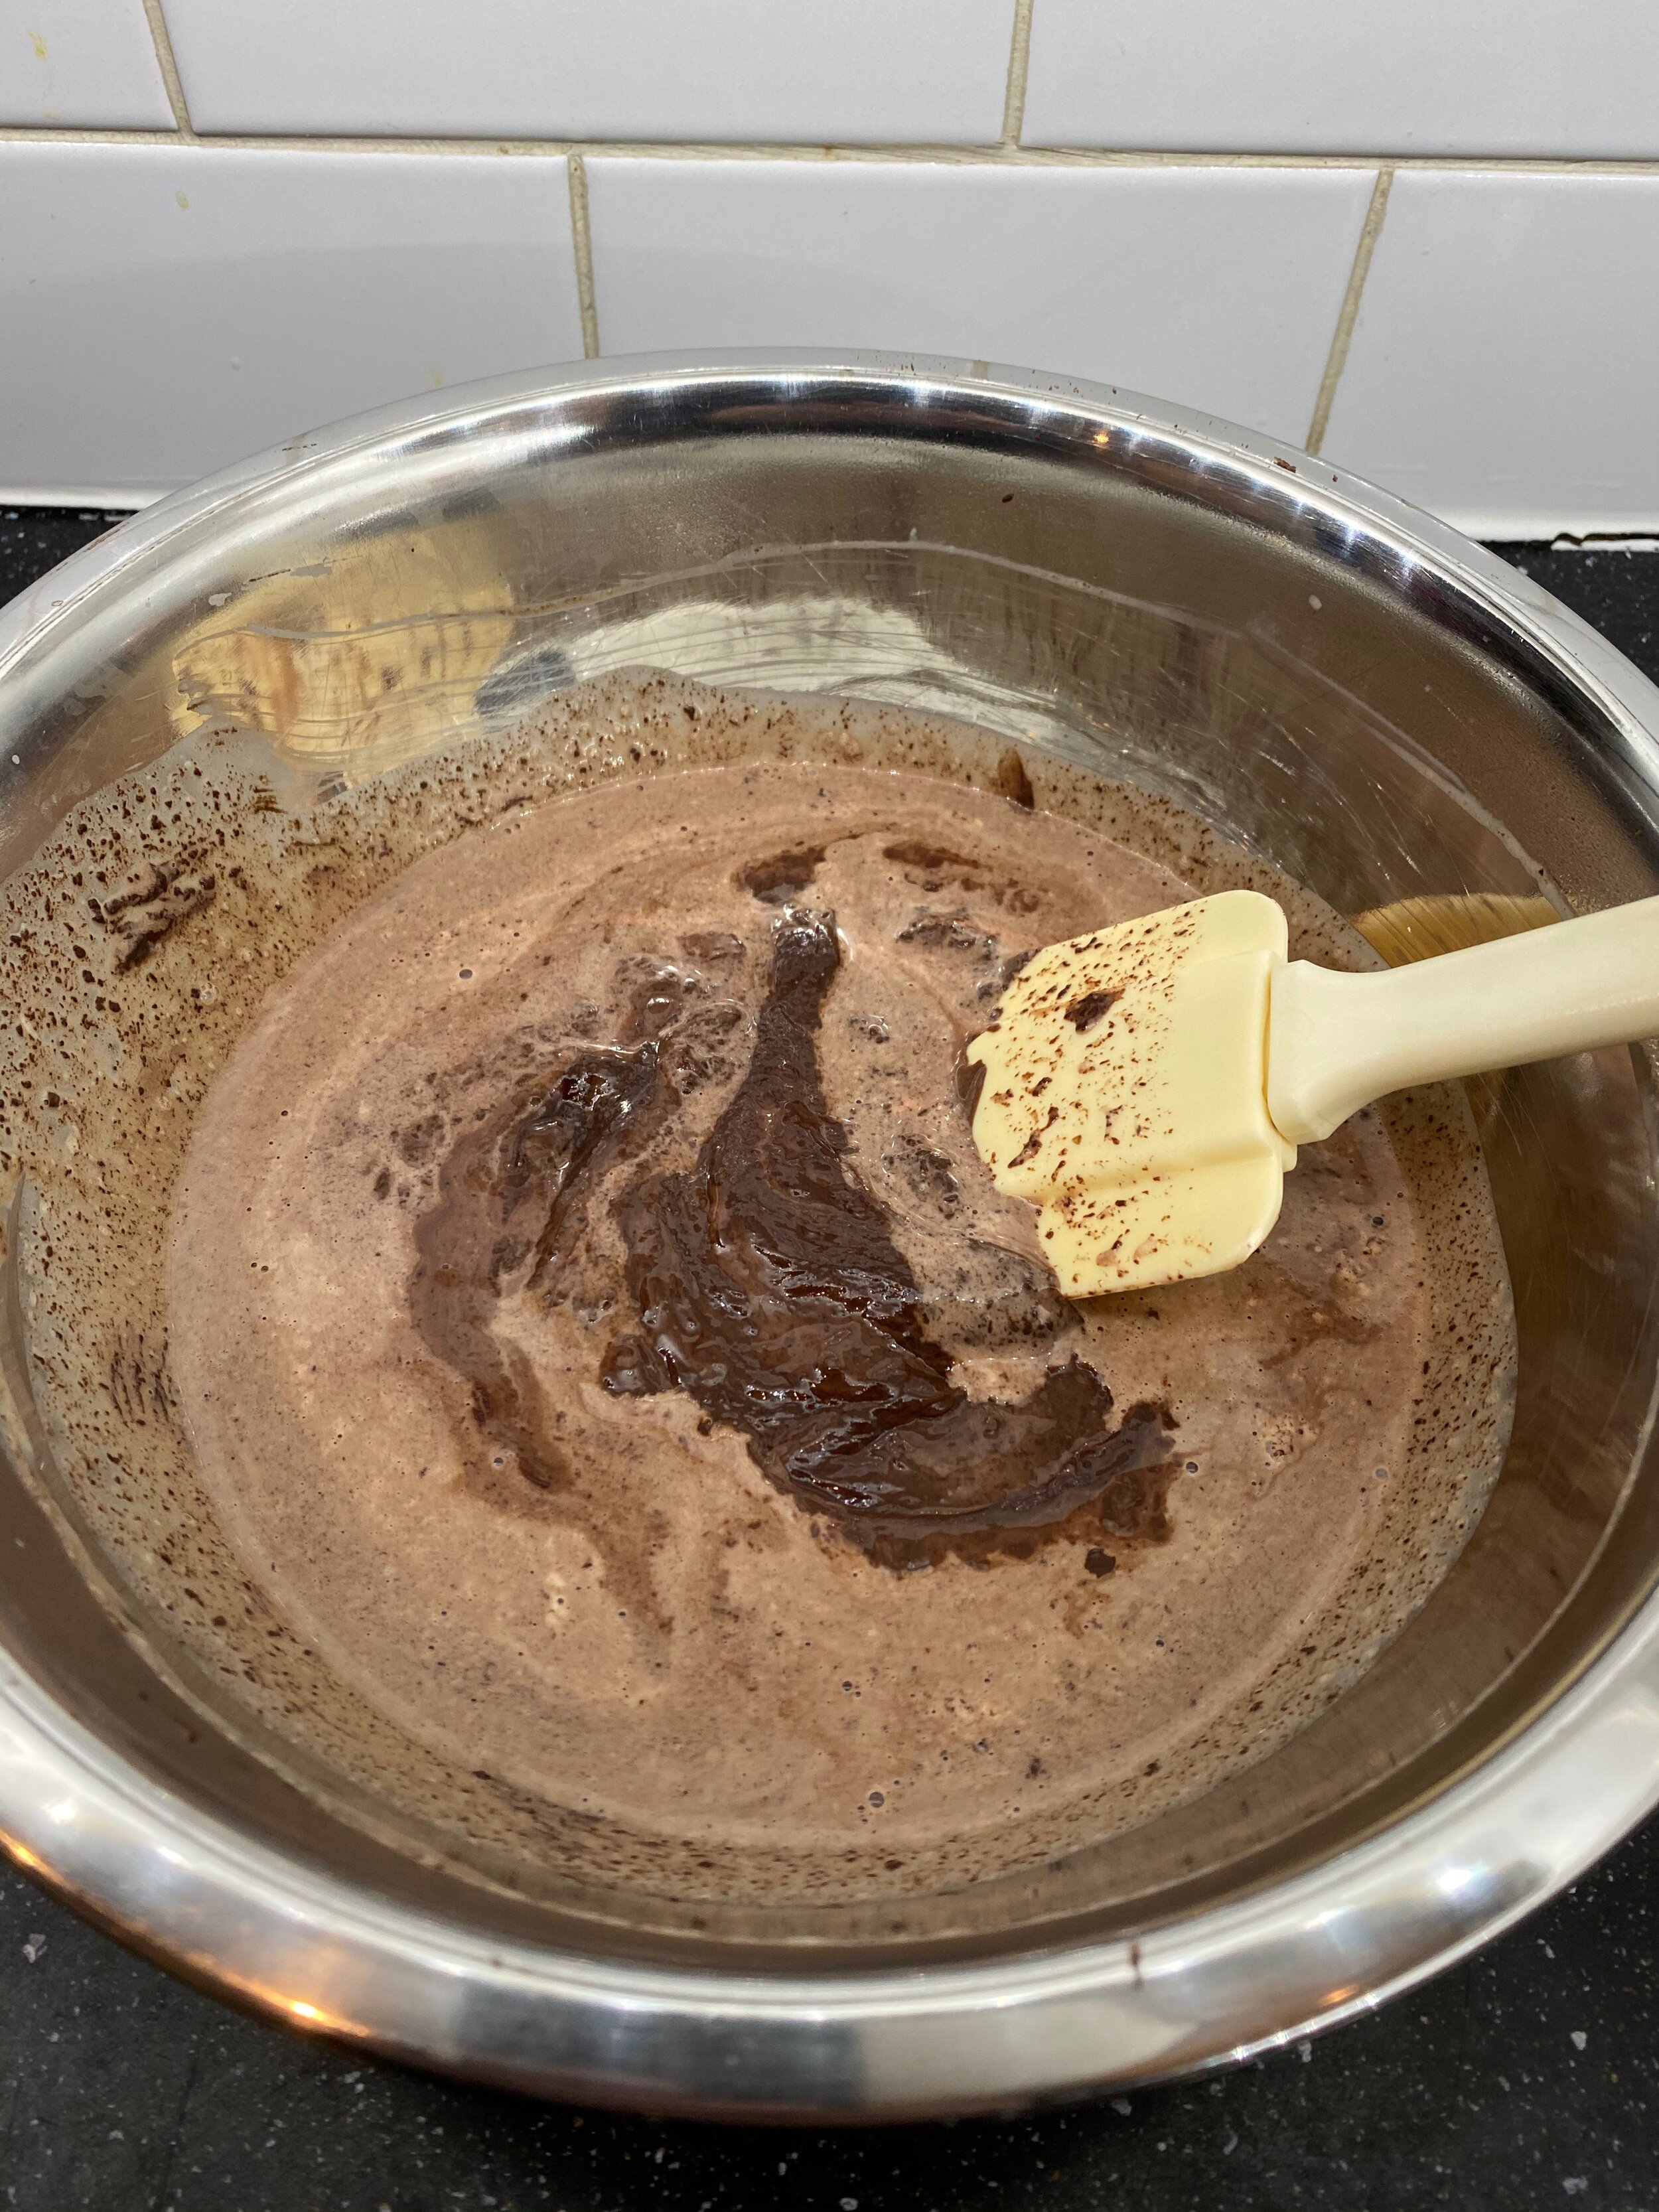
Tip the cream over the chocolate and leave to melt
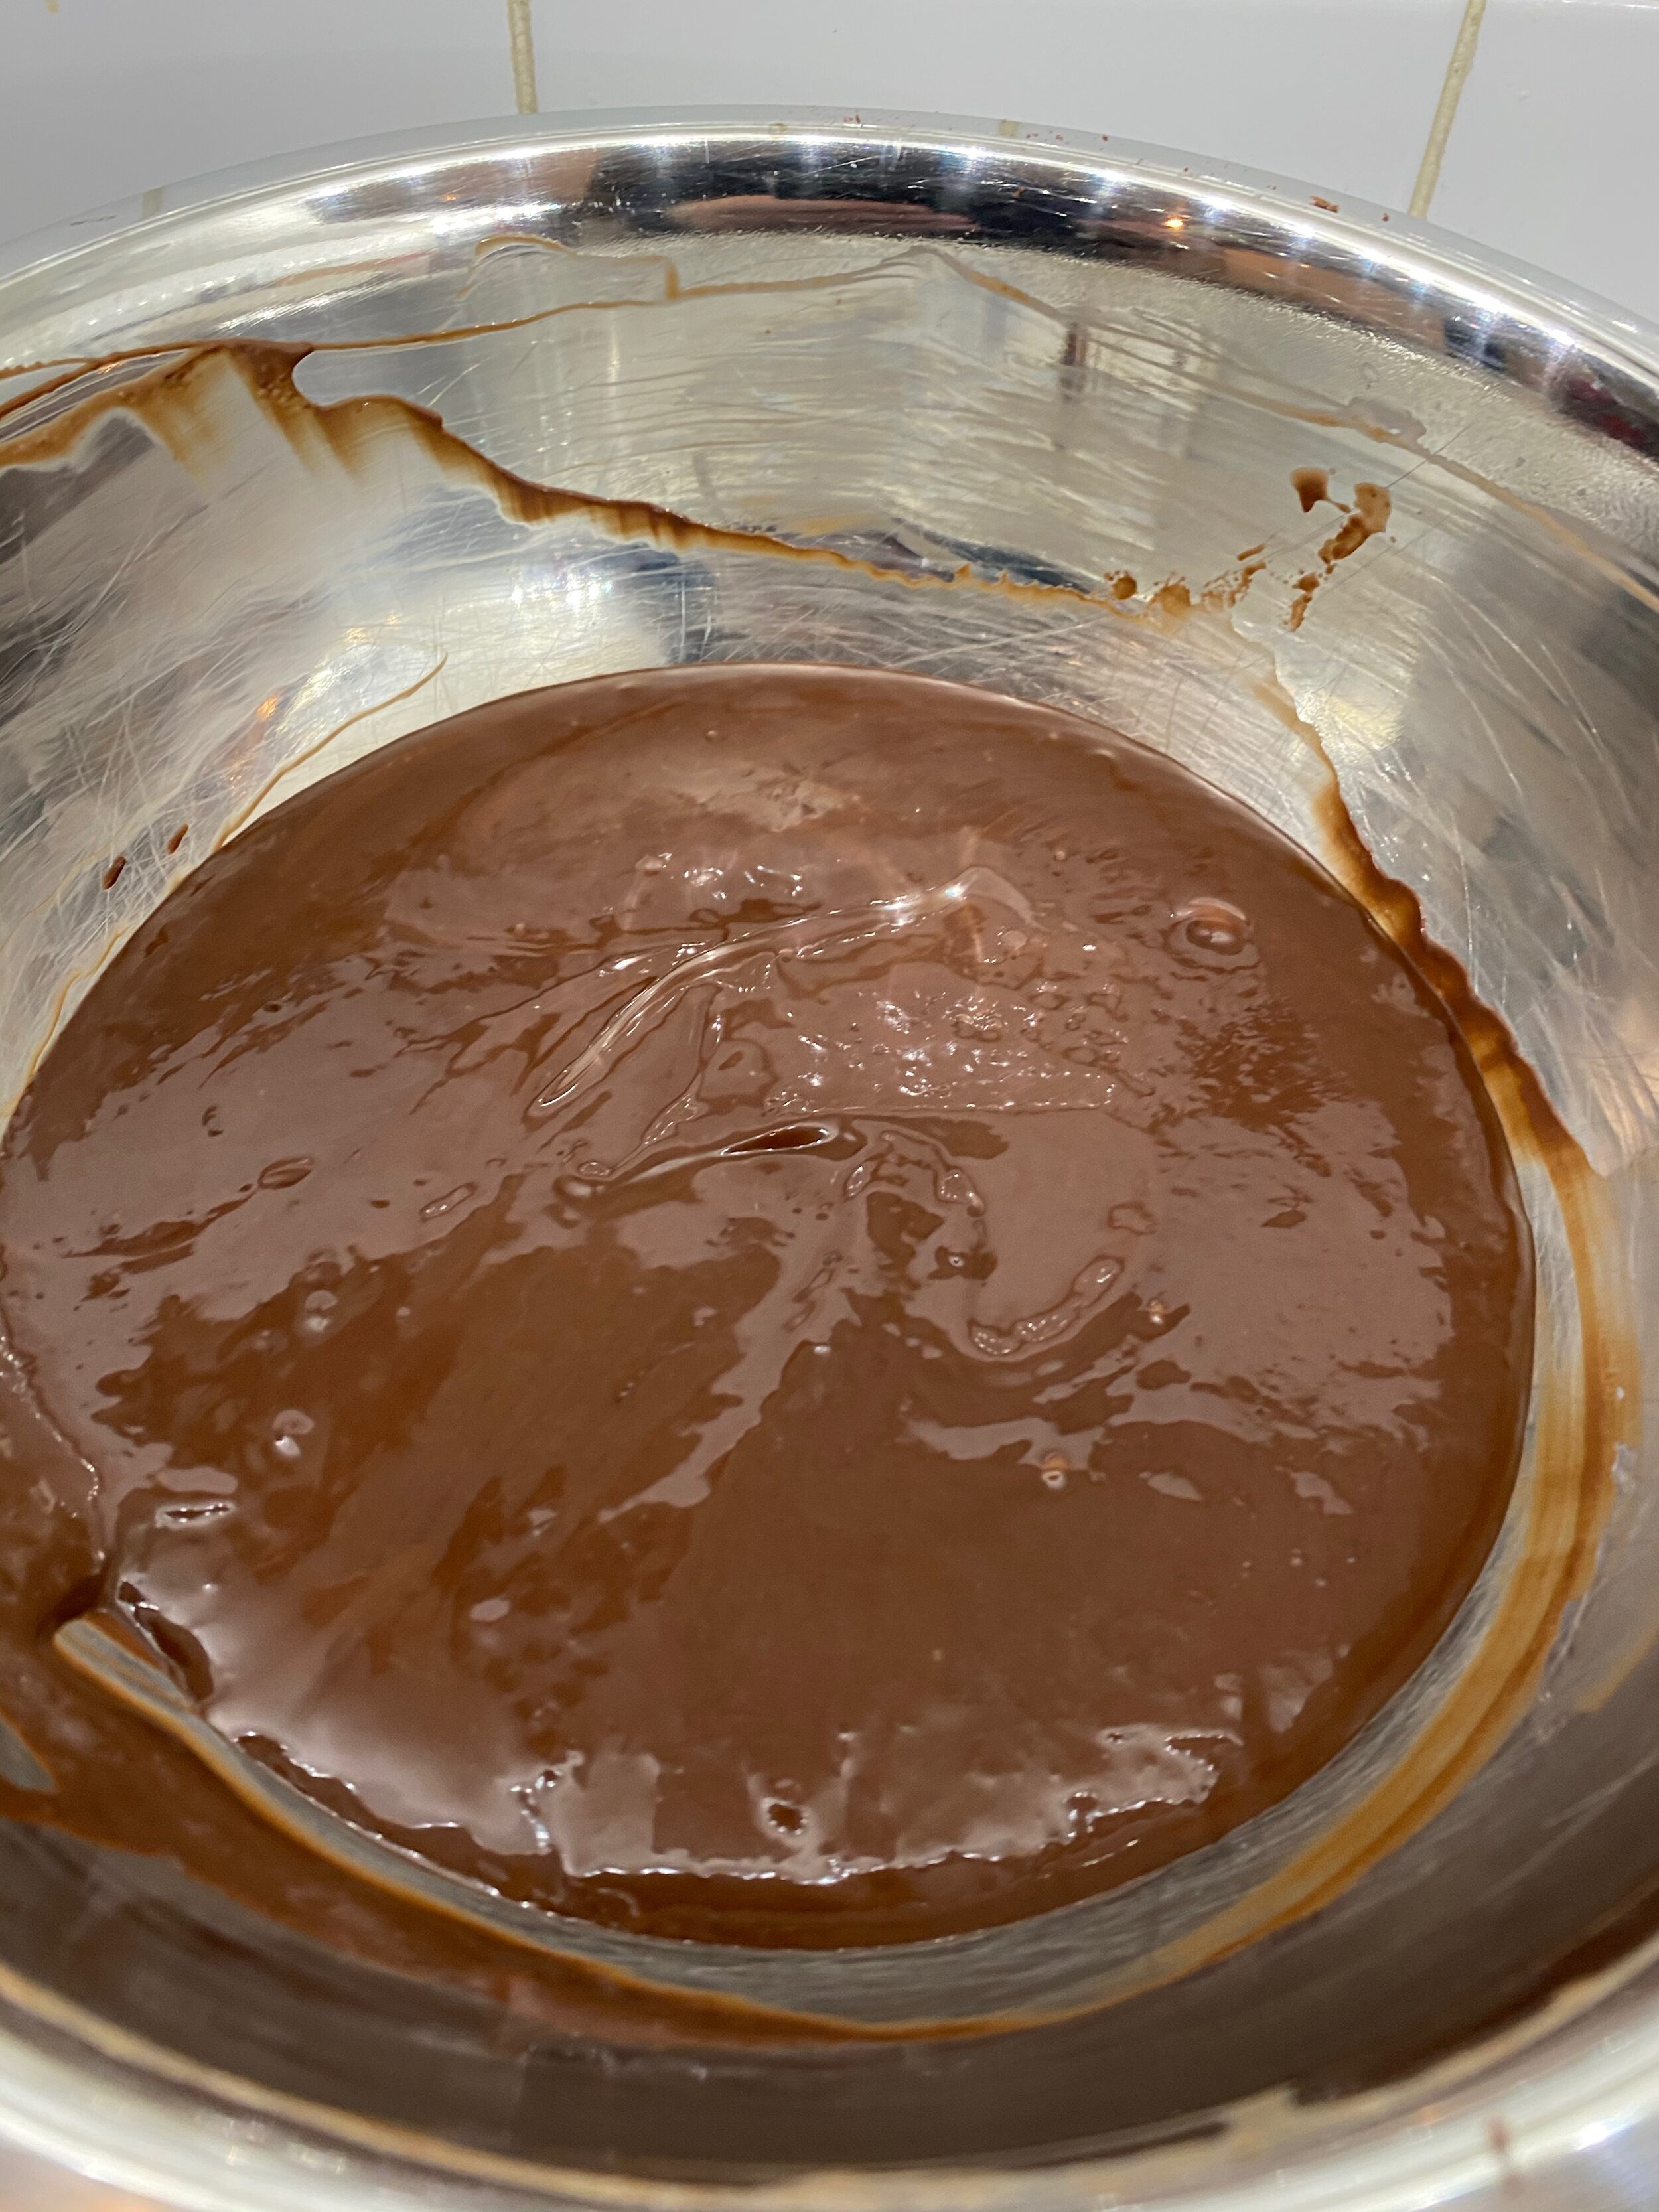
Stir until you have a smooth chocolate ganache
Pop the sugar and water in a small pan and start to heat
Using a sugar thermometer bring to 120C
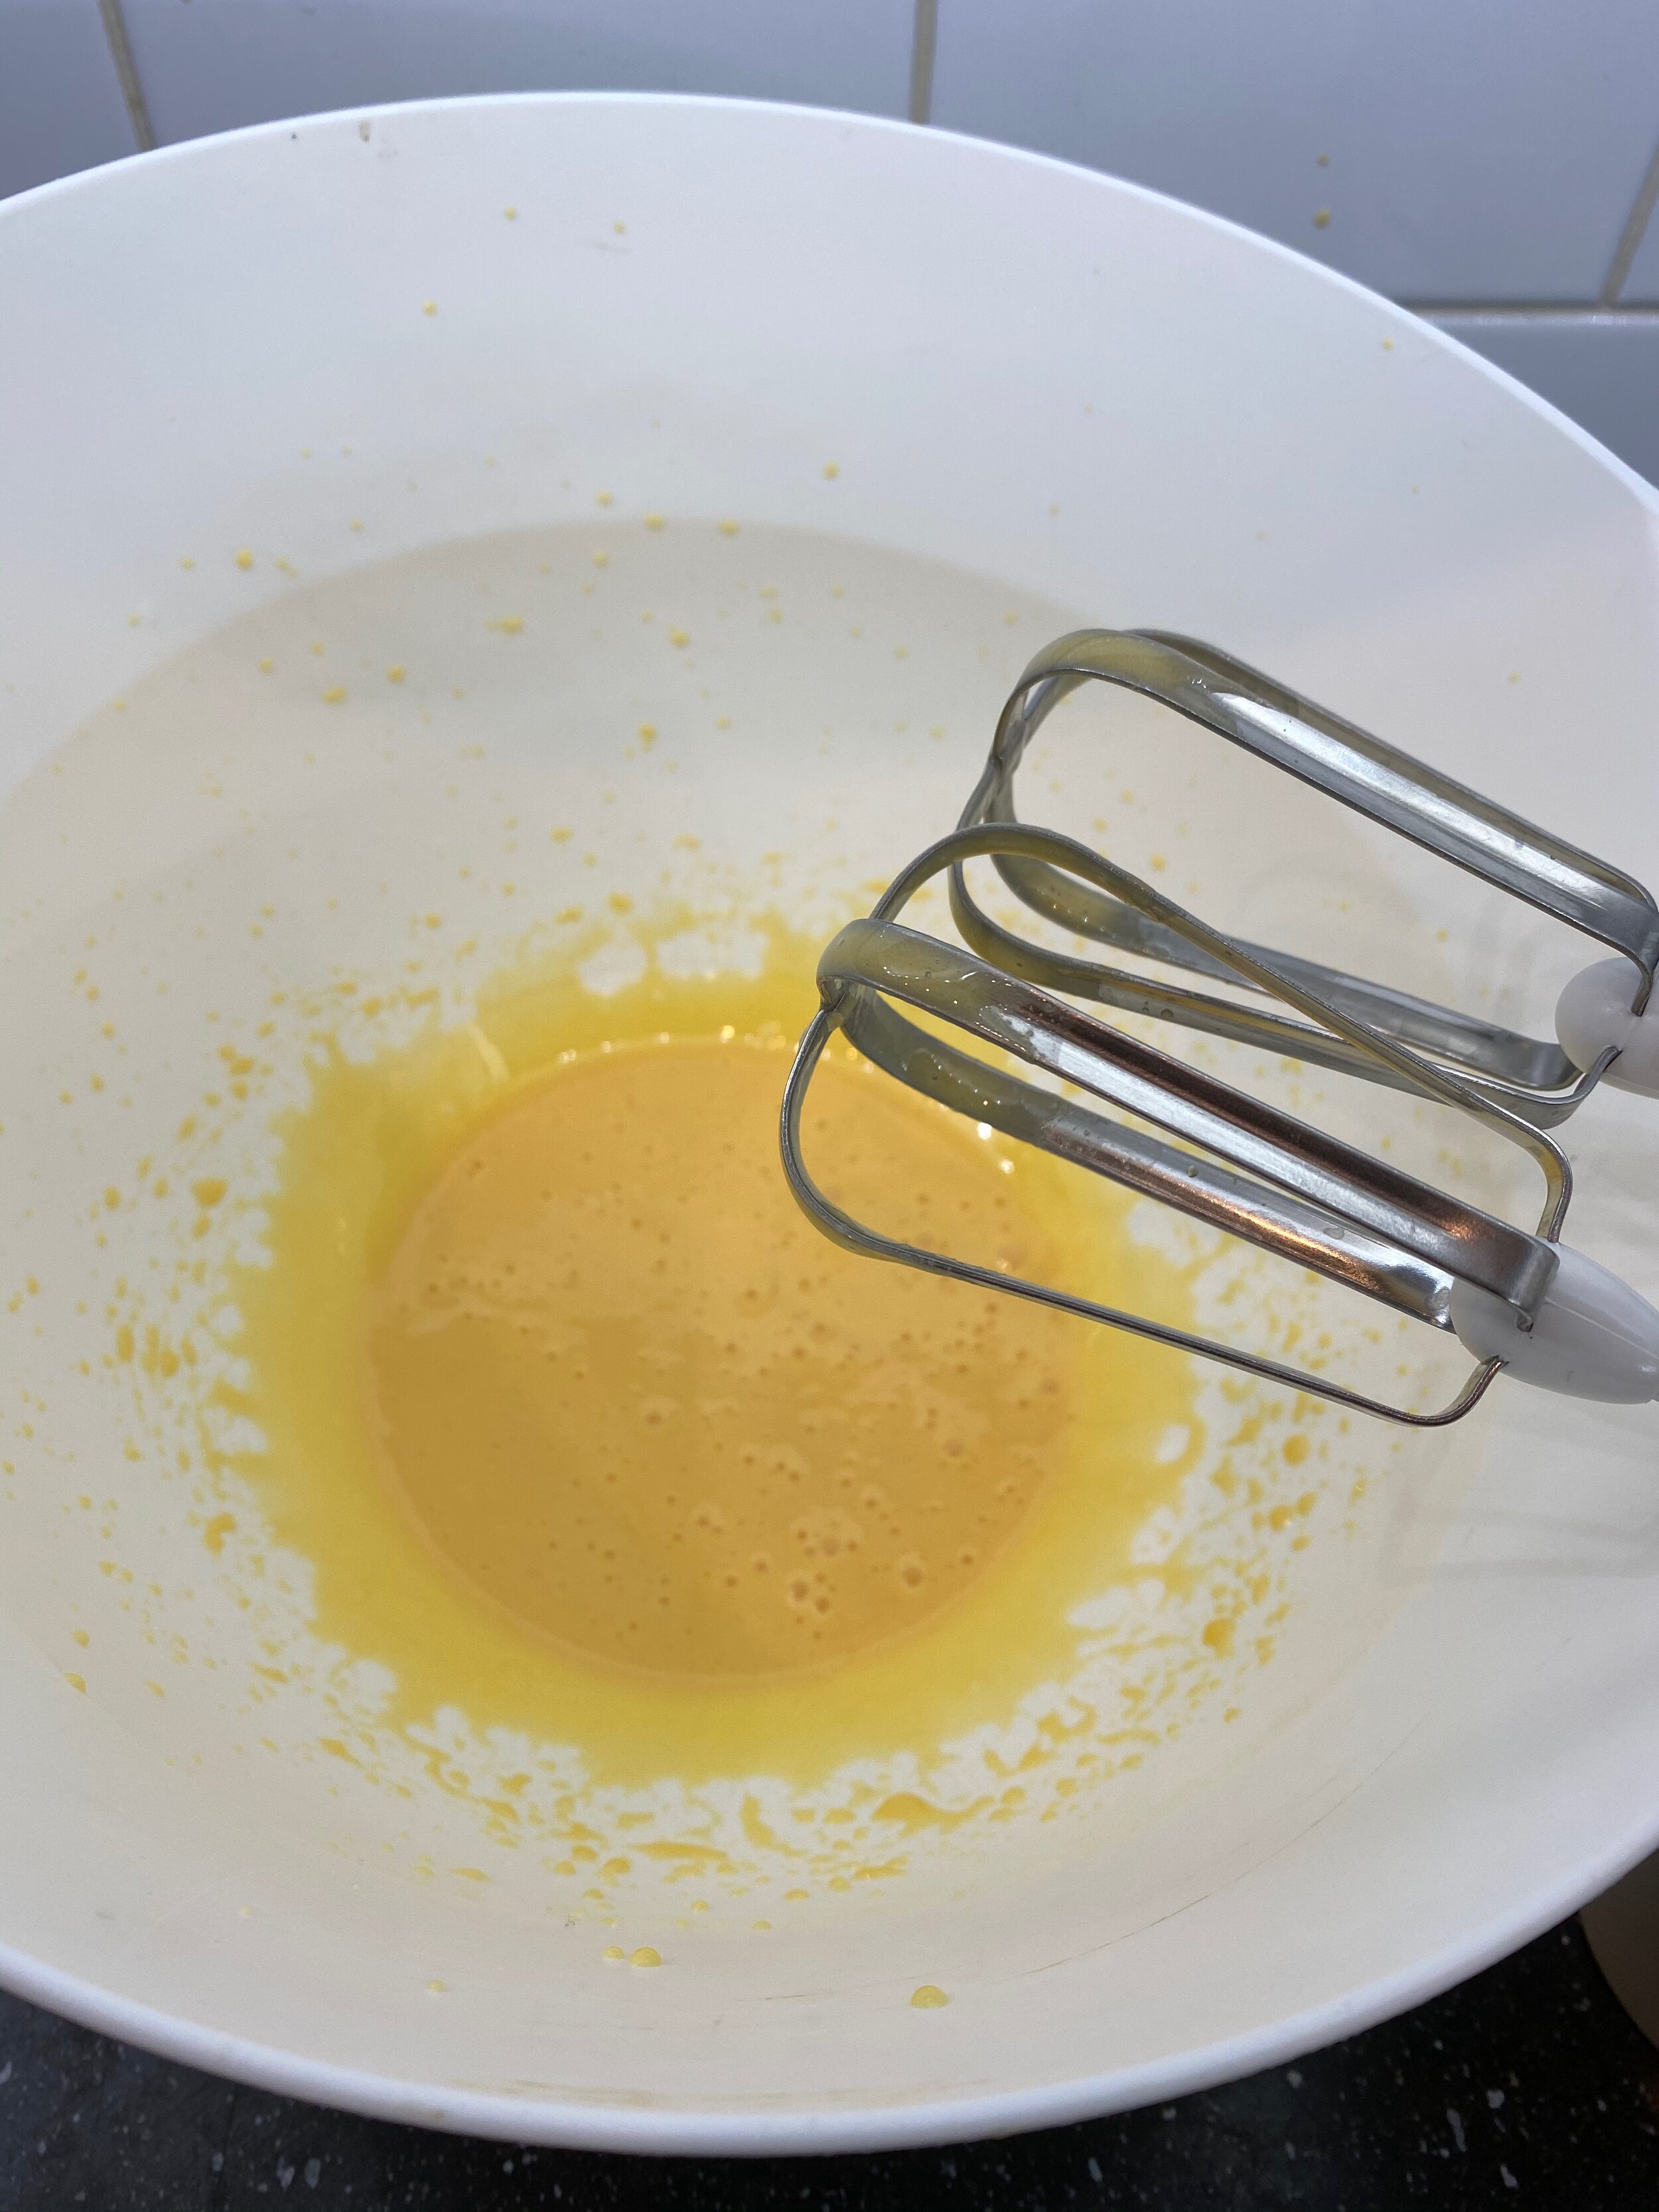
In a new bowl whip the egg yolks, until they are light in colour, you will need an electric hand or stand mixer for this
Carefully drip in the hot sugar syrup whilst continually whisking, you might need a second pair of hands for this stage!
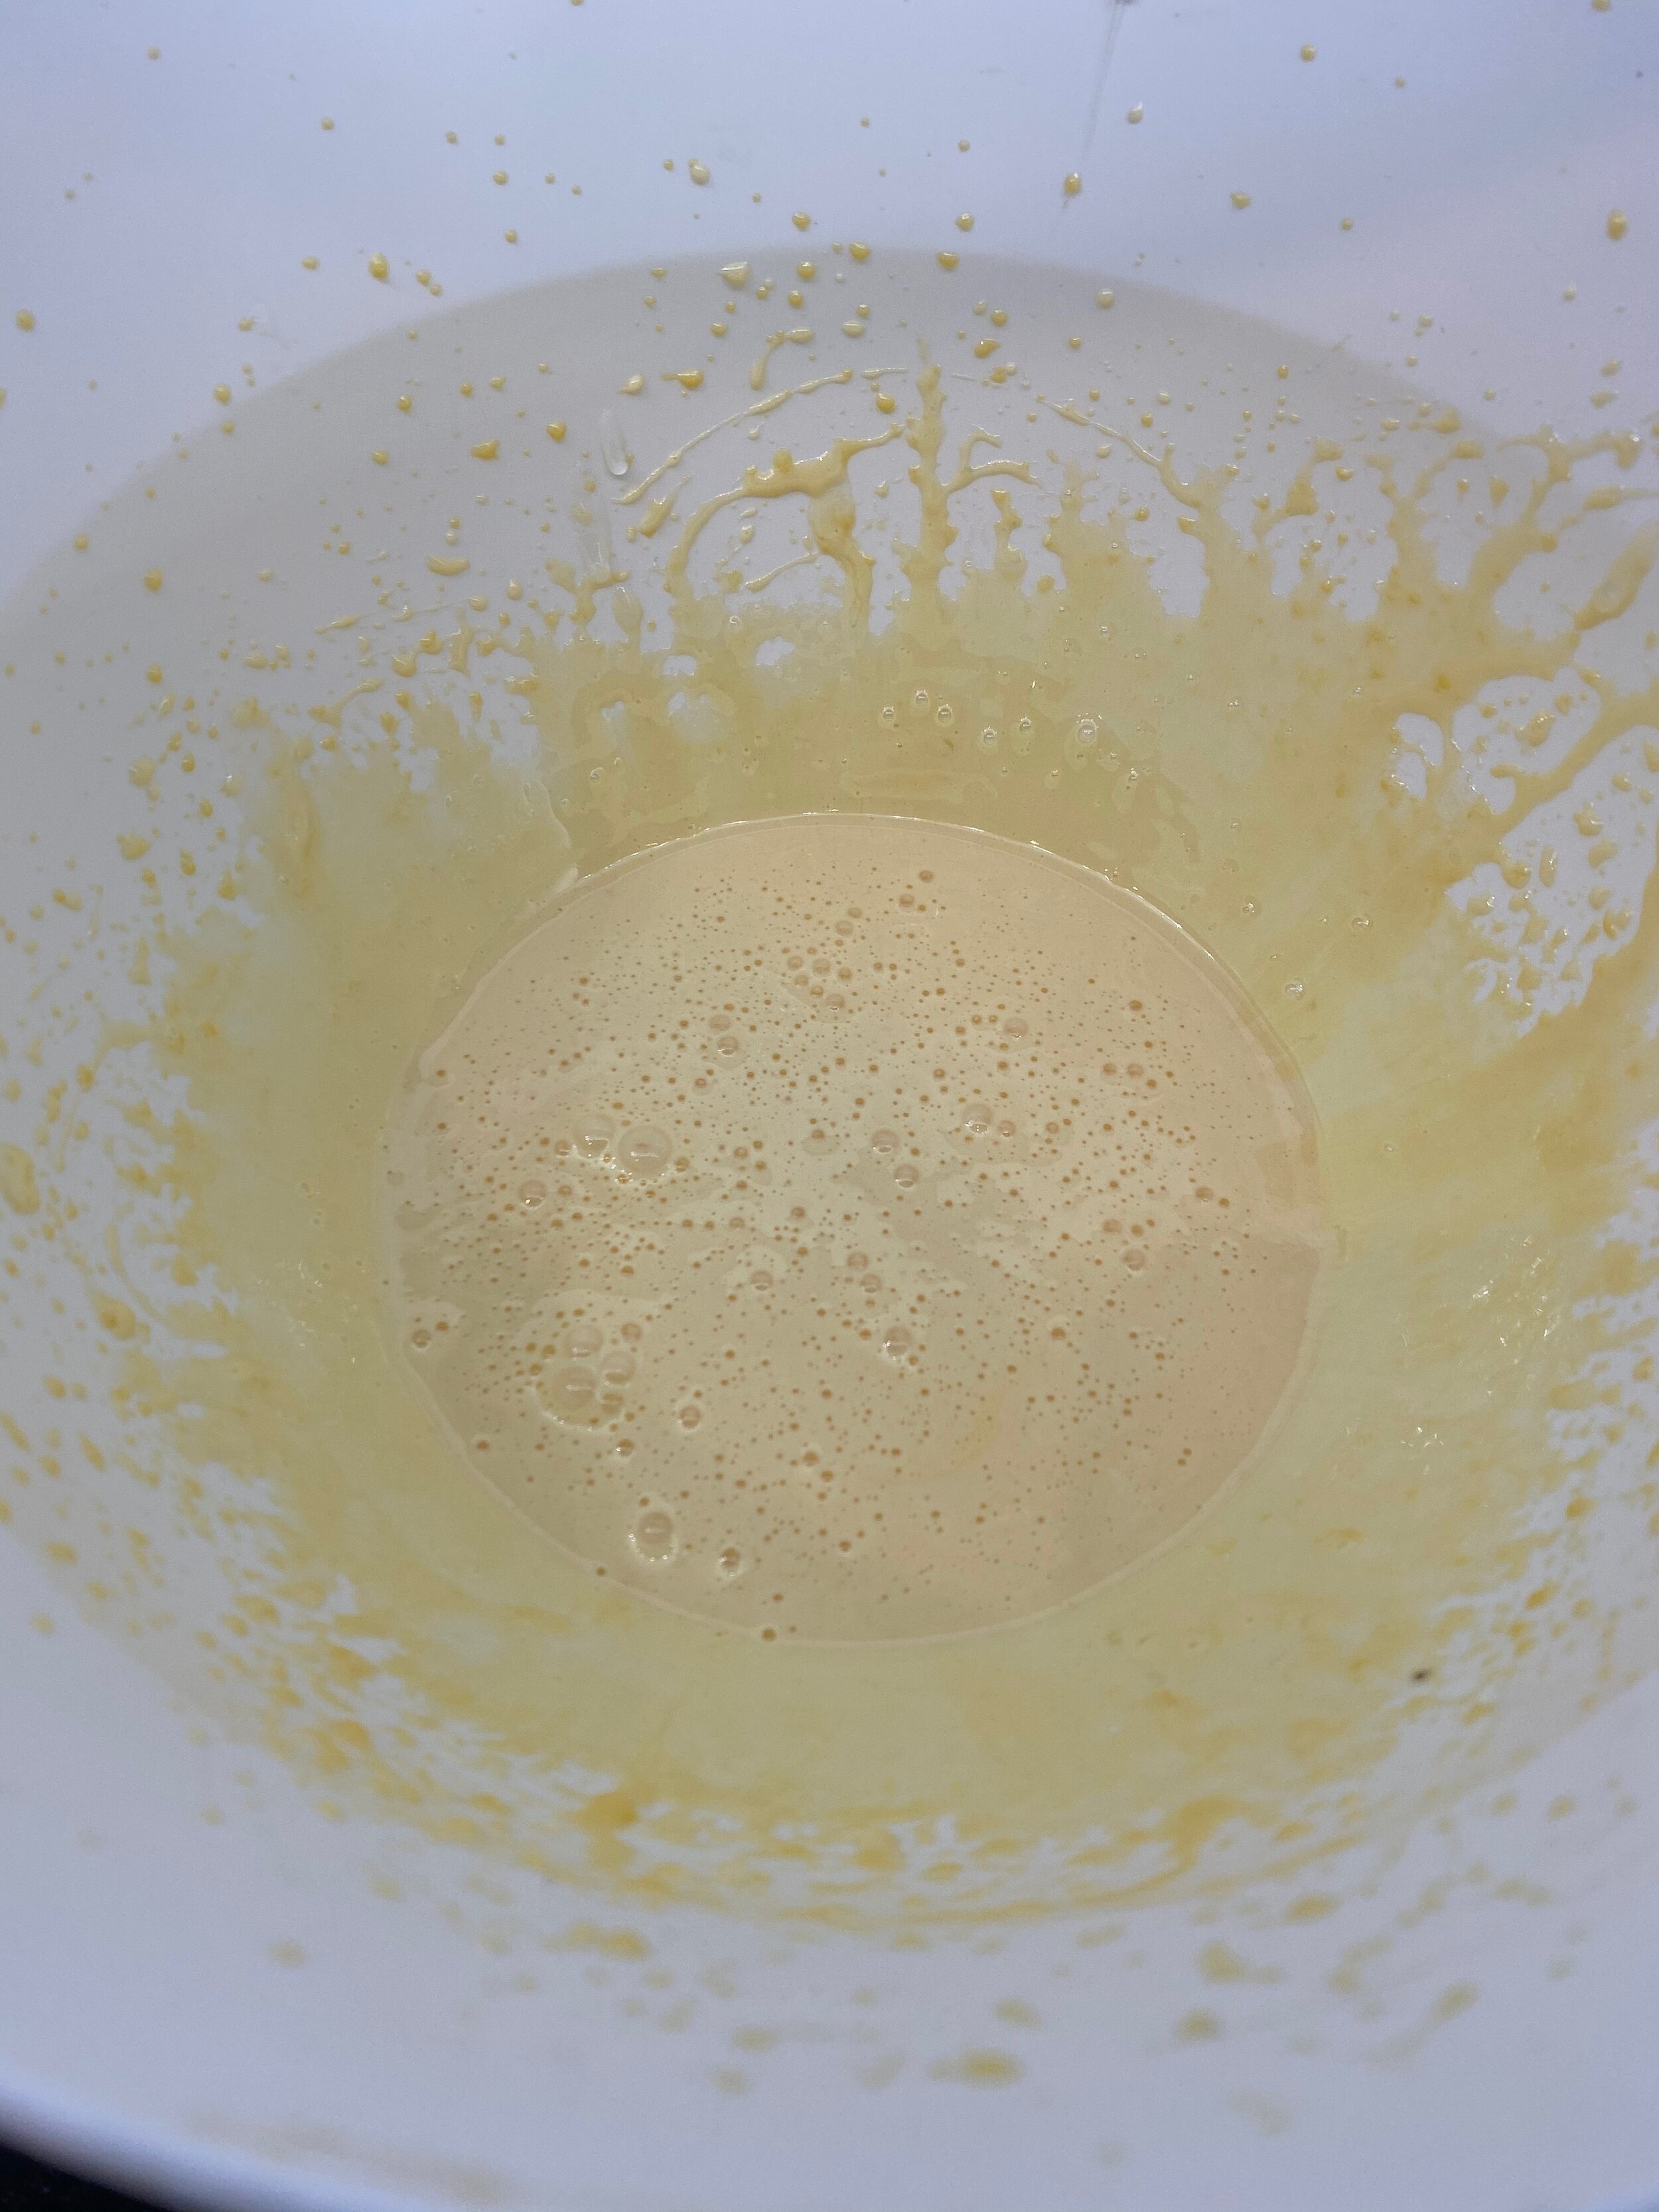
Whisk until the egg and sugar mix has doubled in size and cooled to room temperature
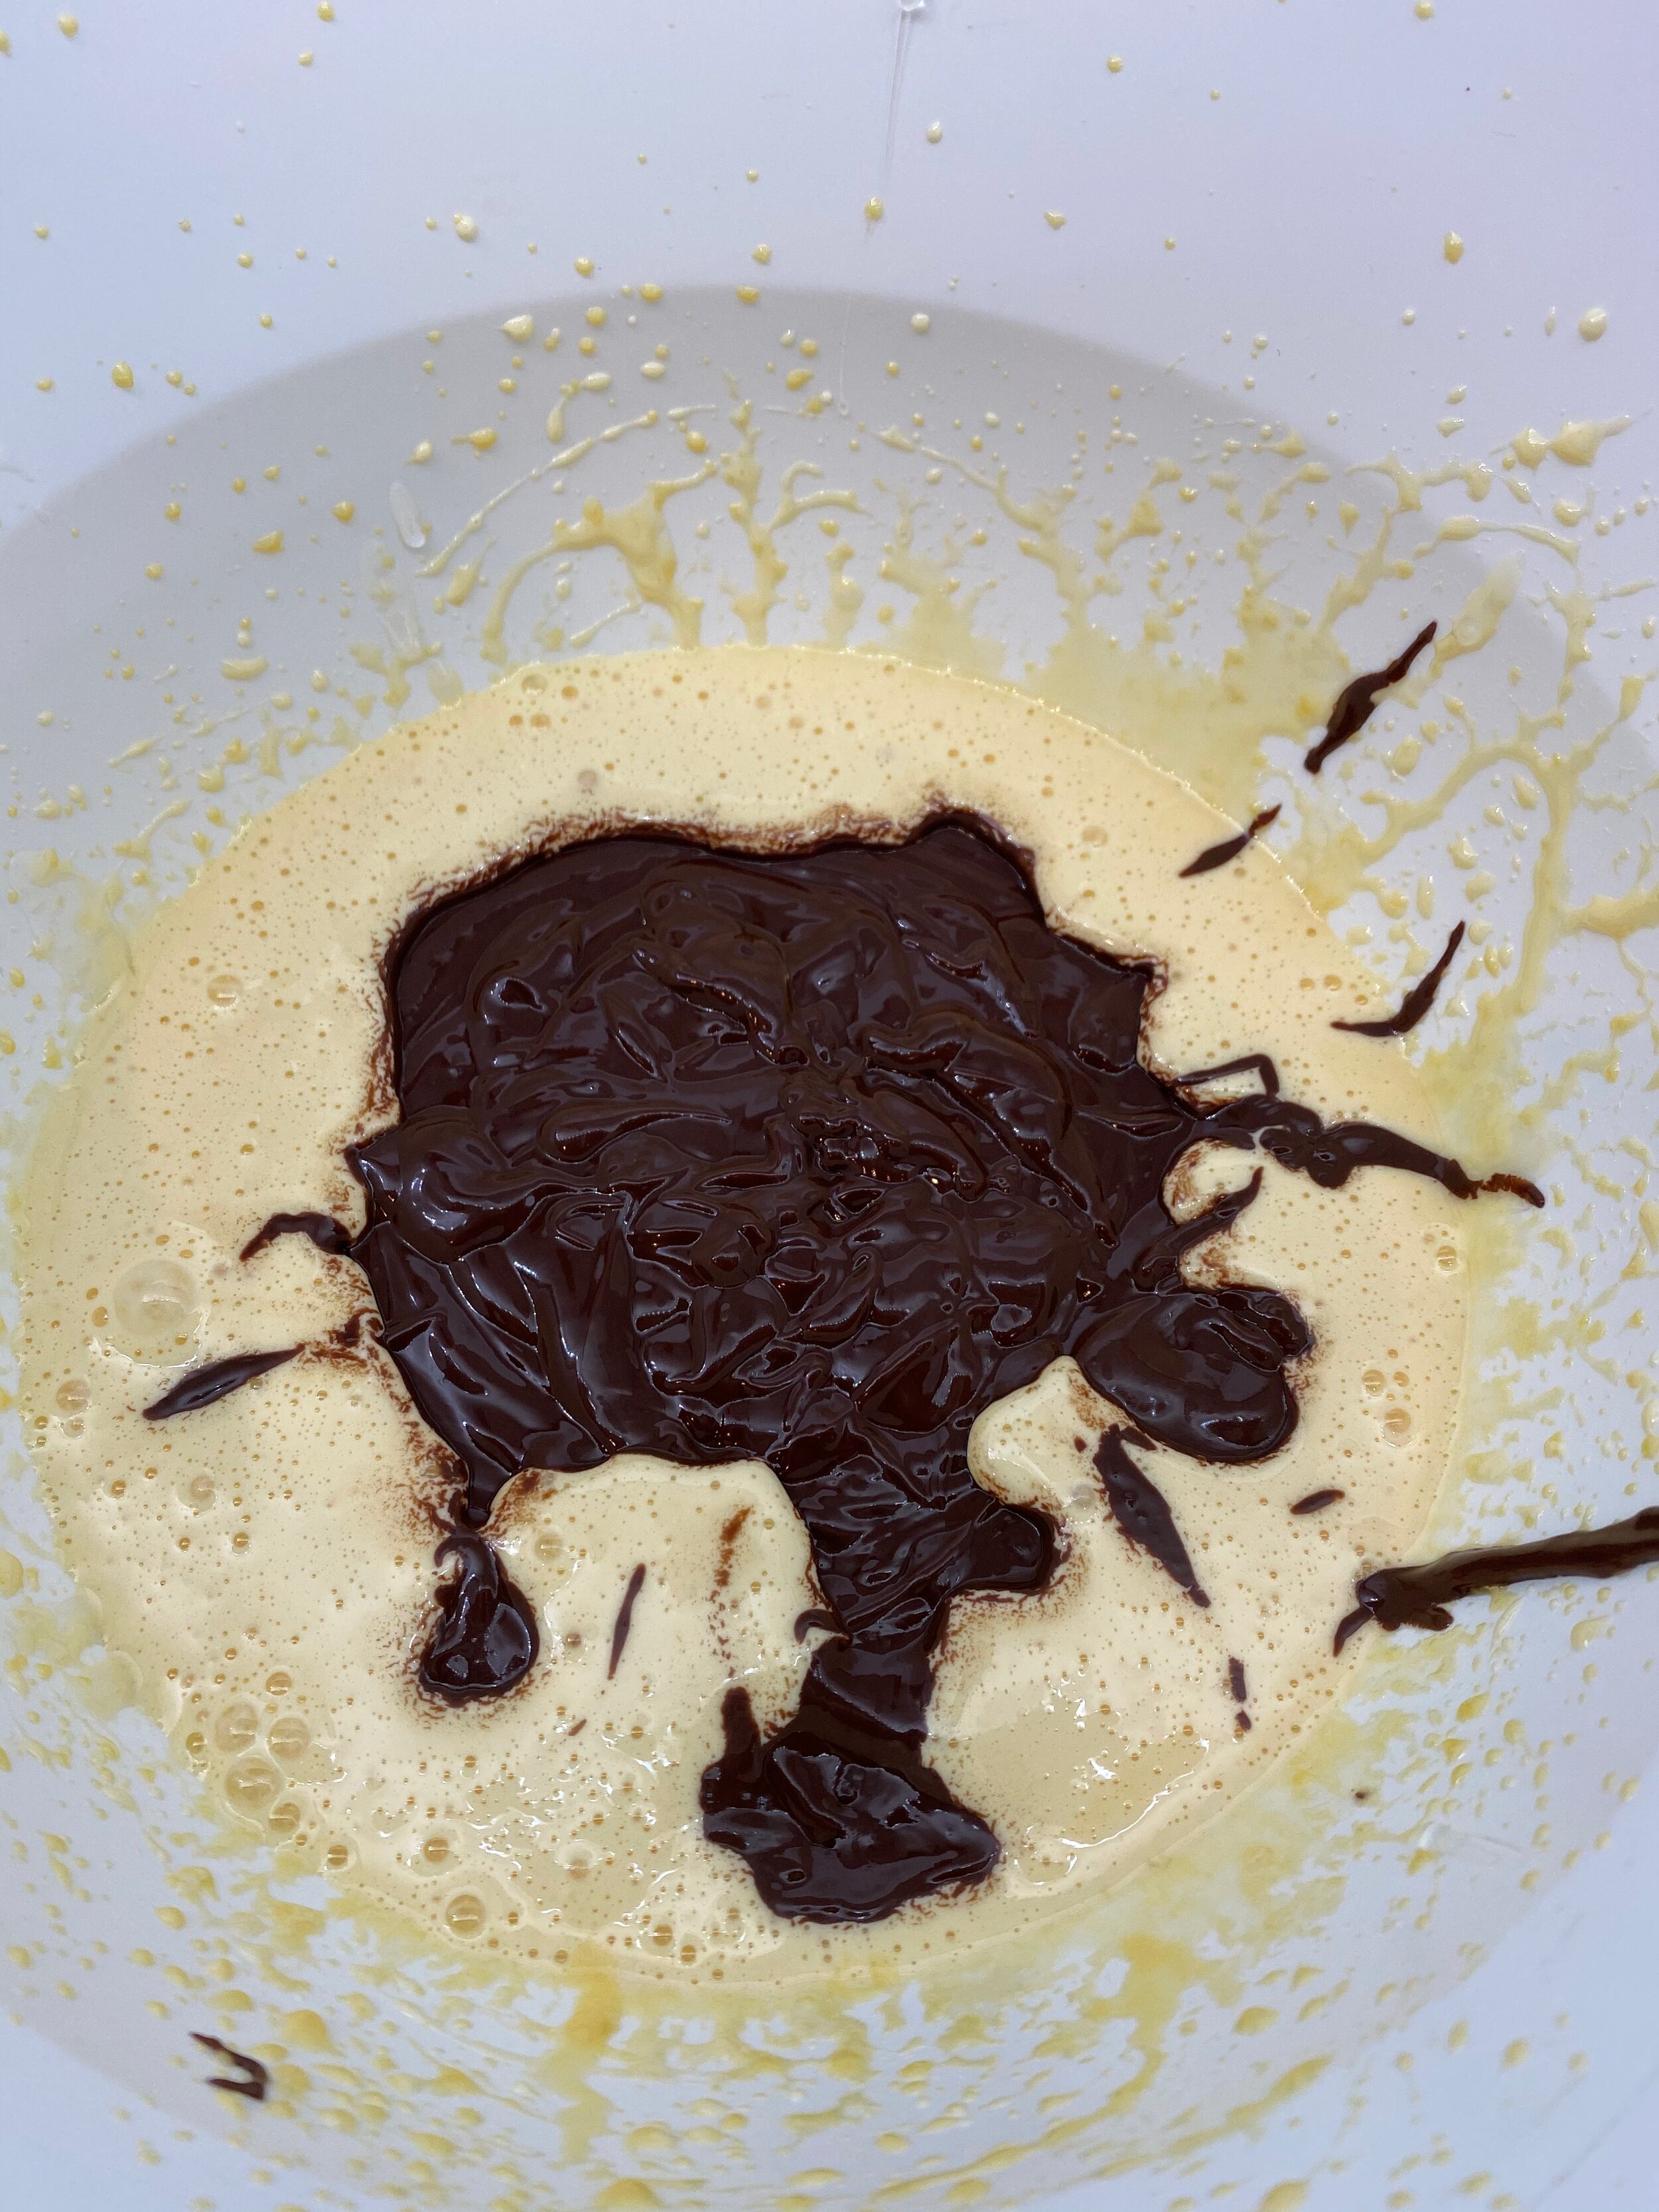
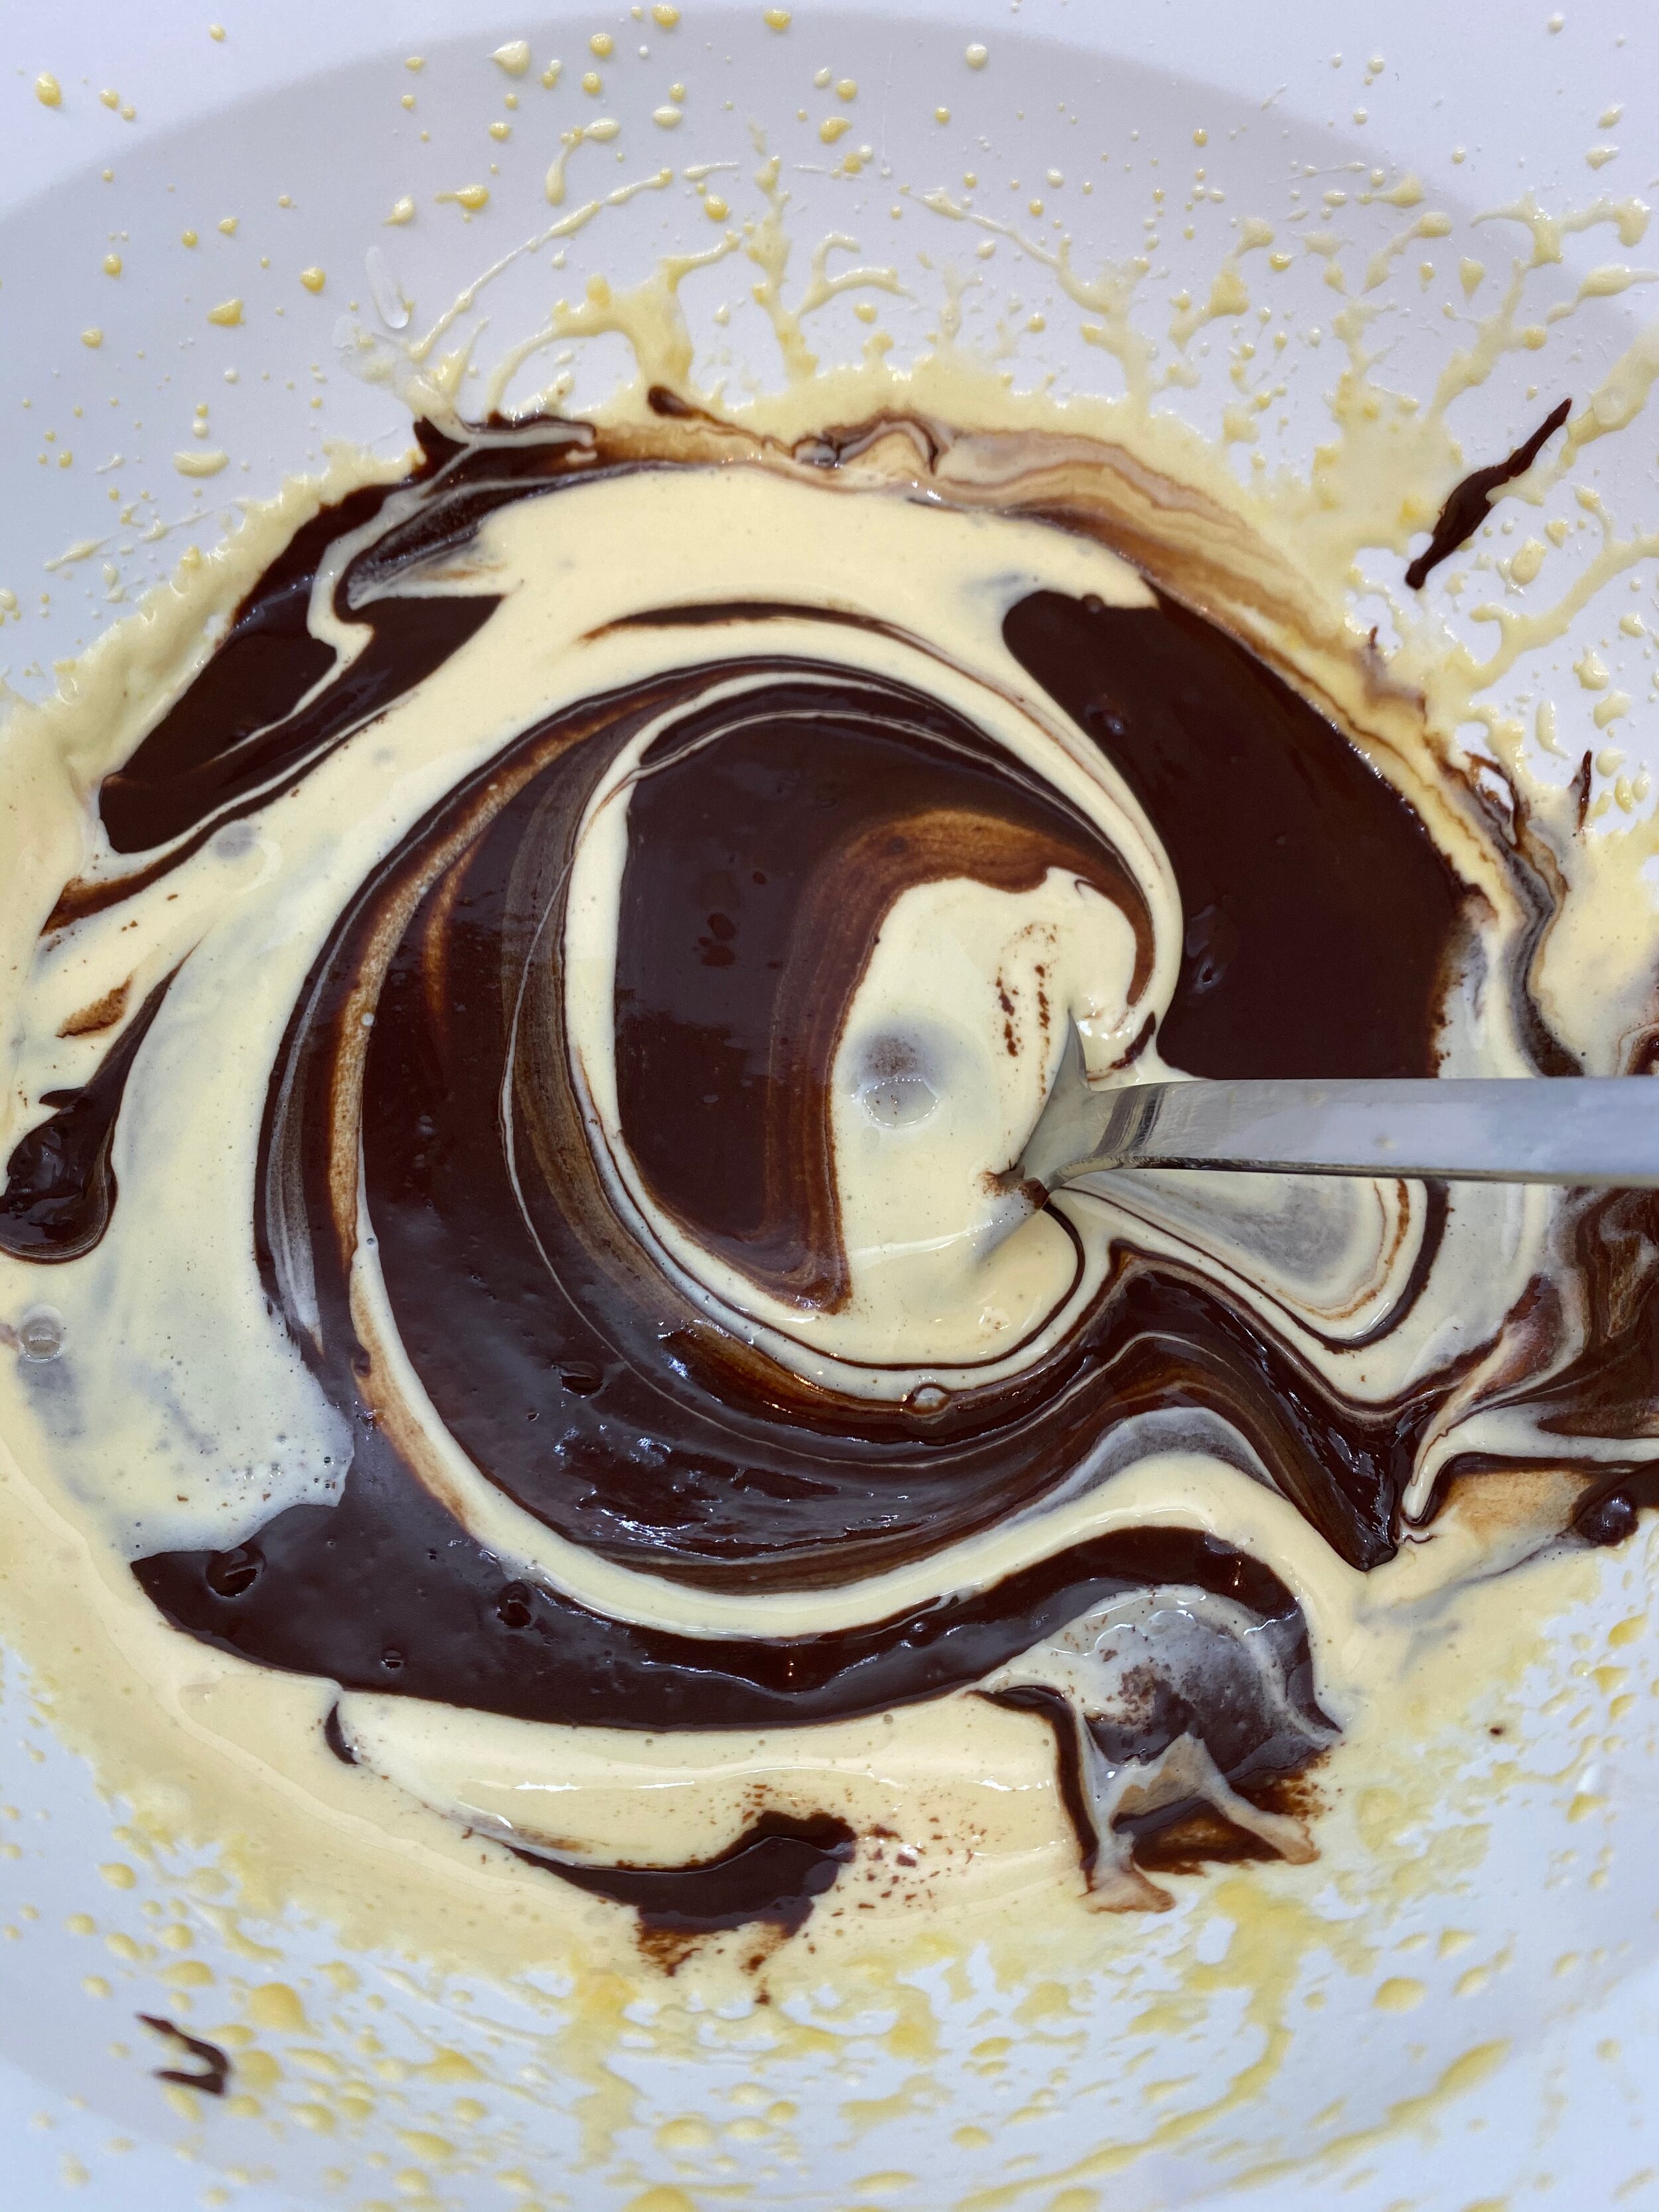
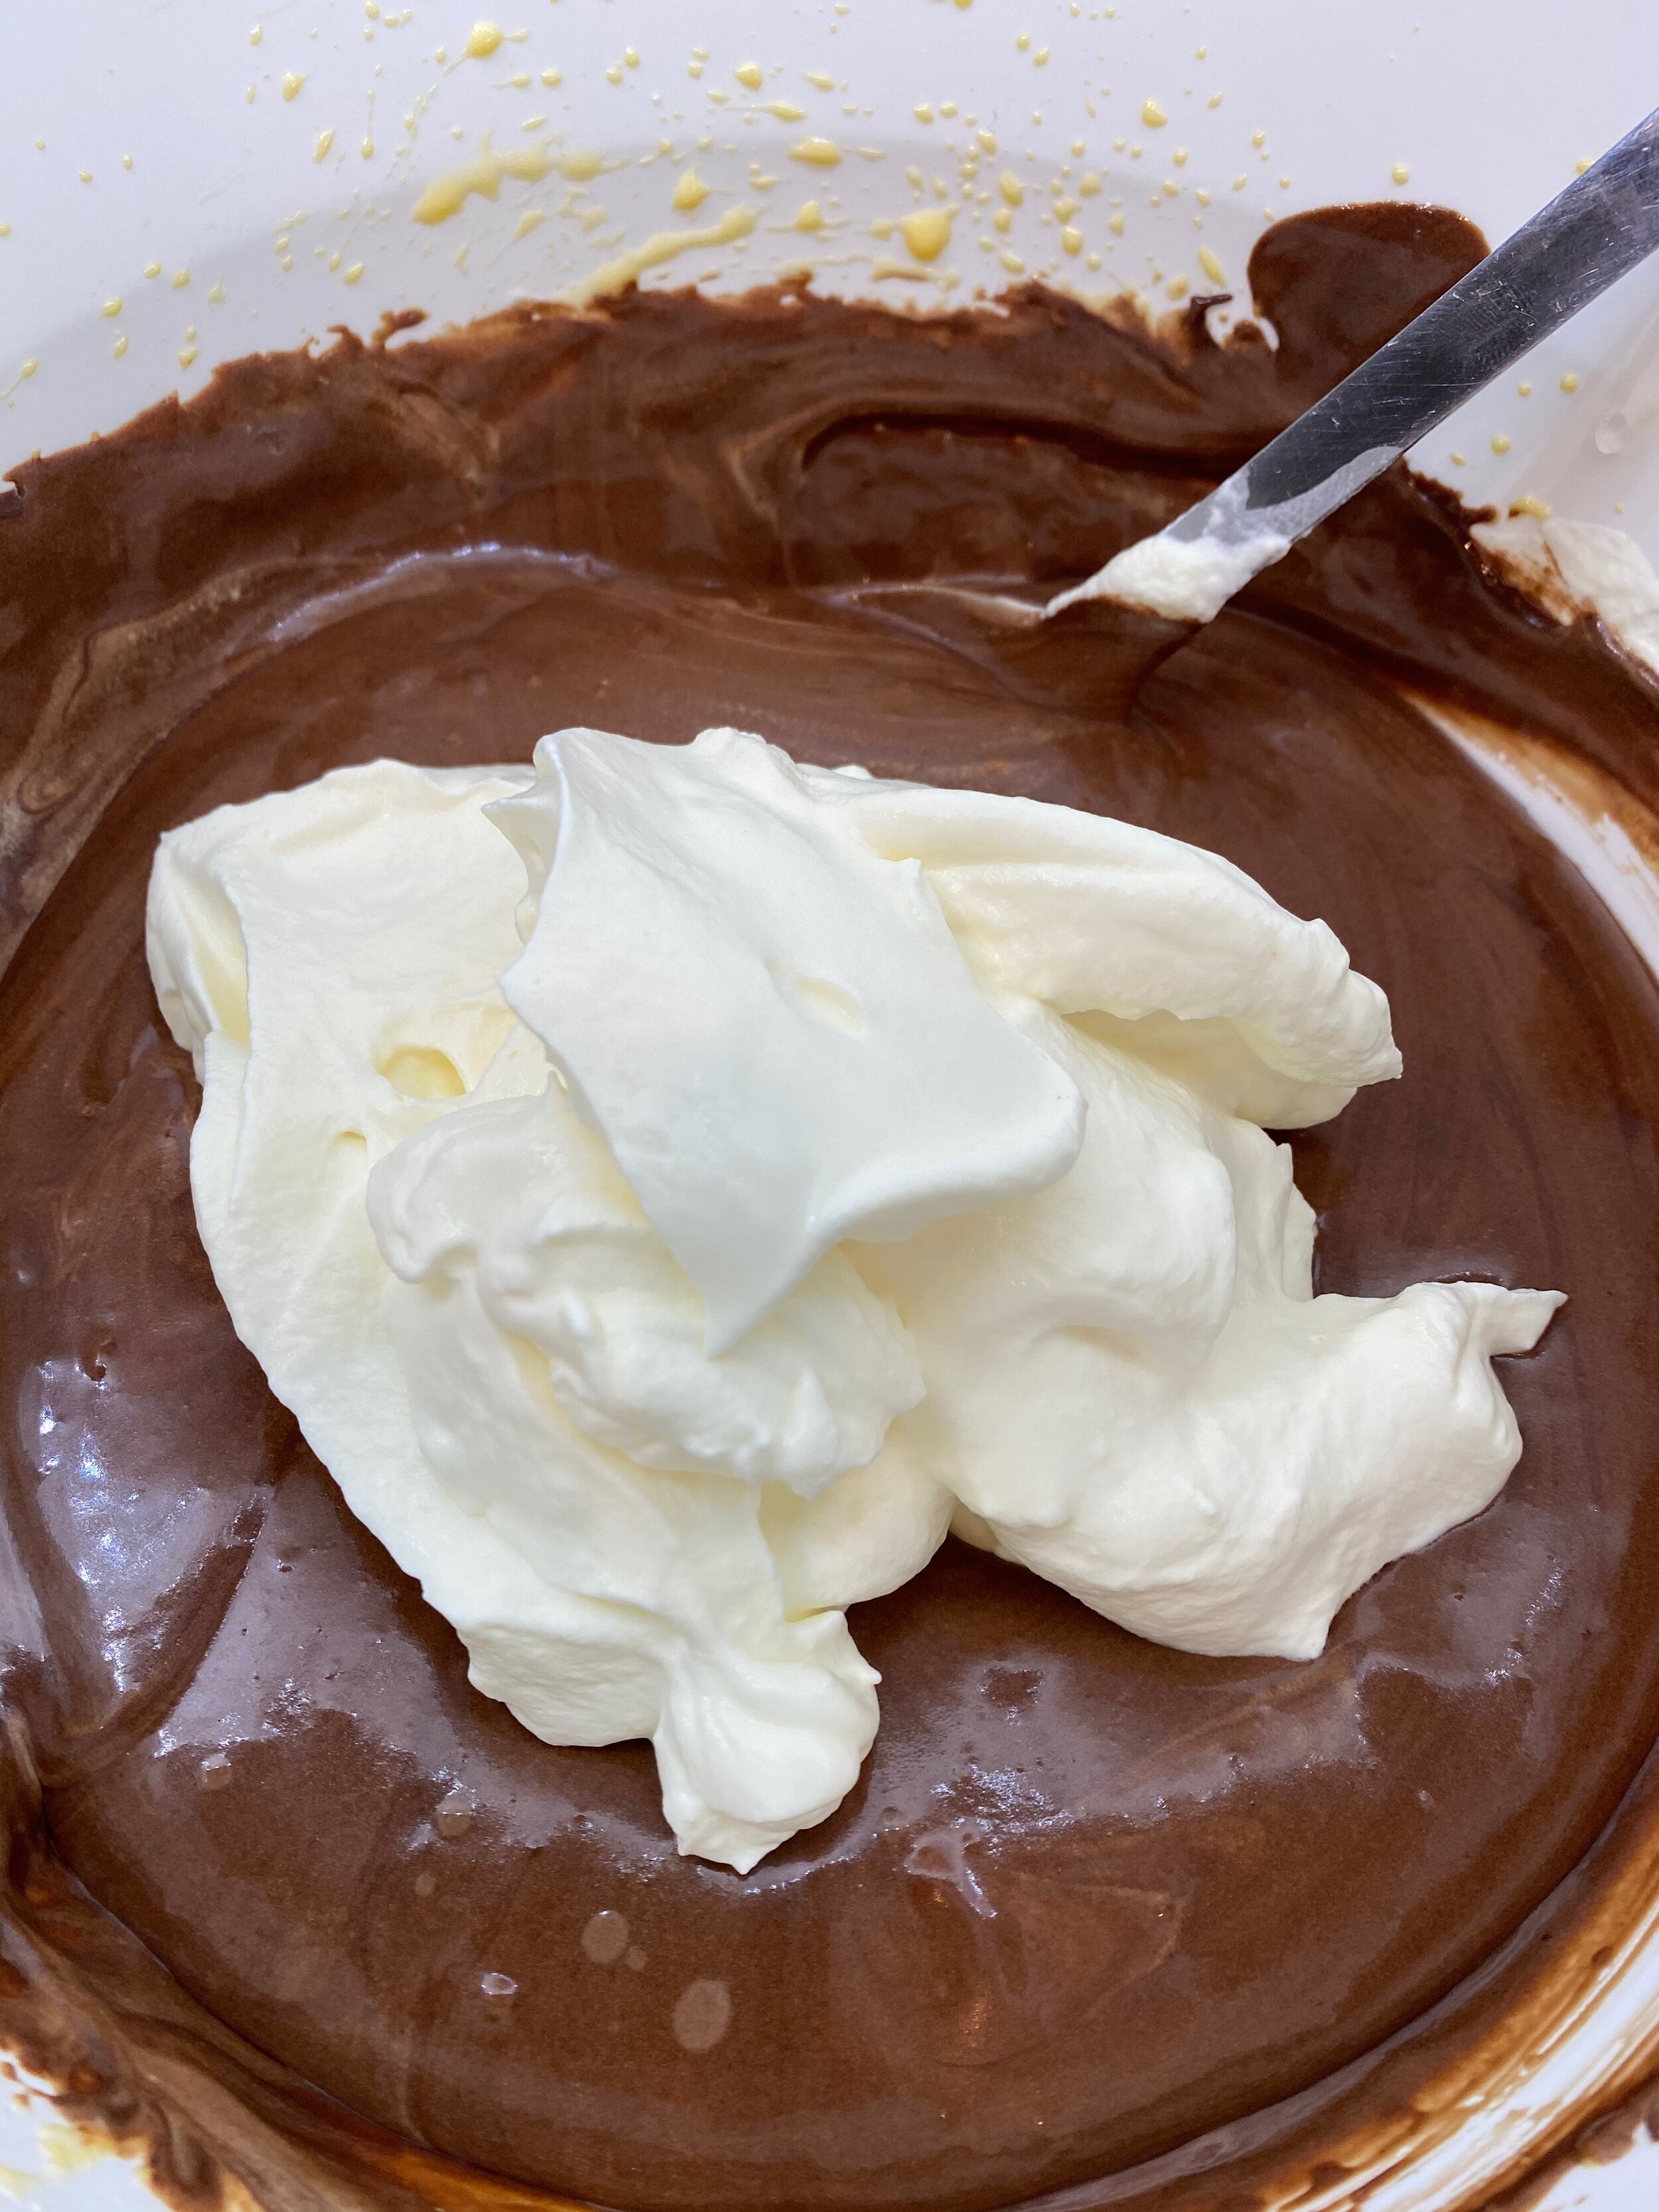
Once the ganache has cooled to the same temperature fold it into the egg mix
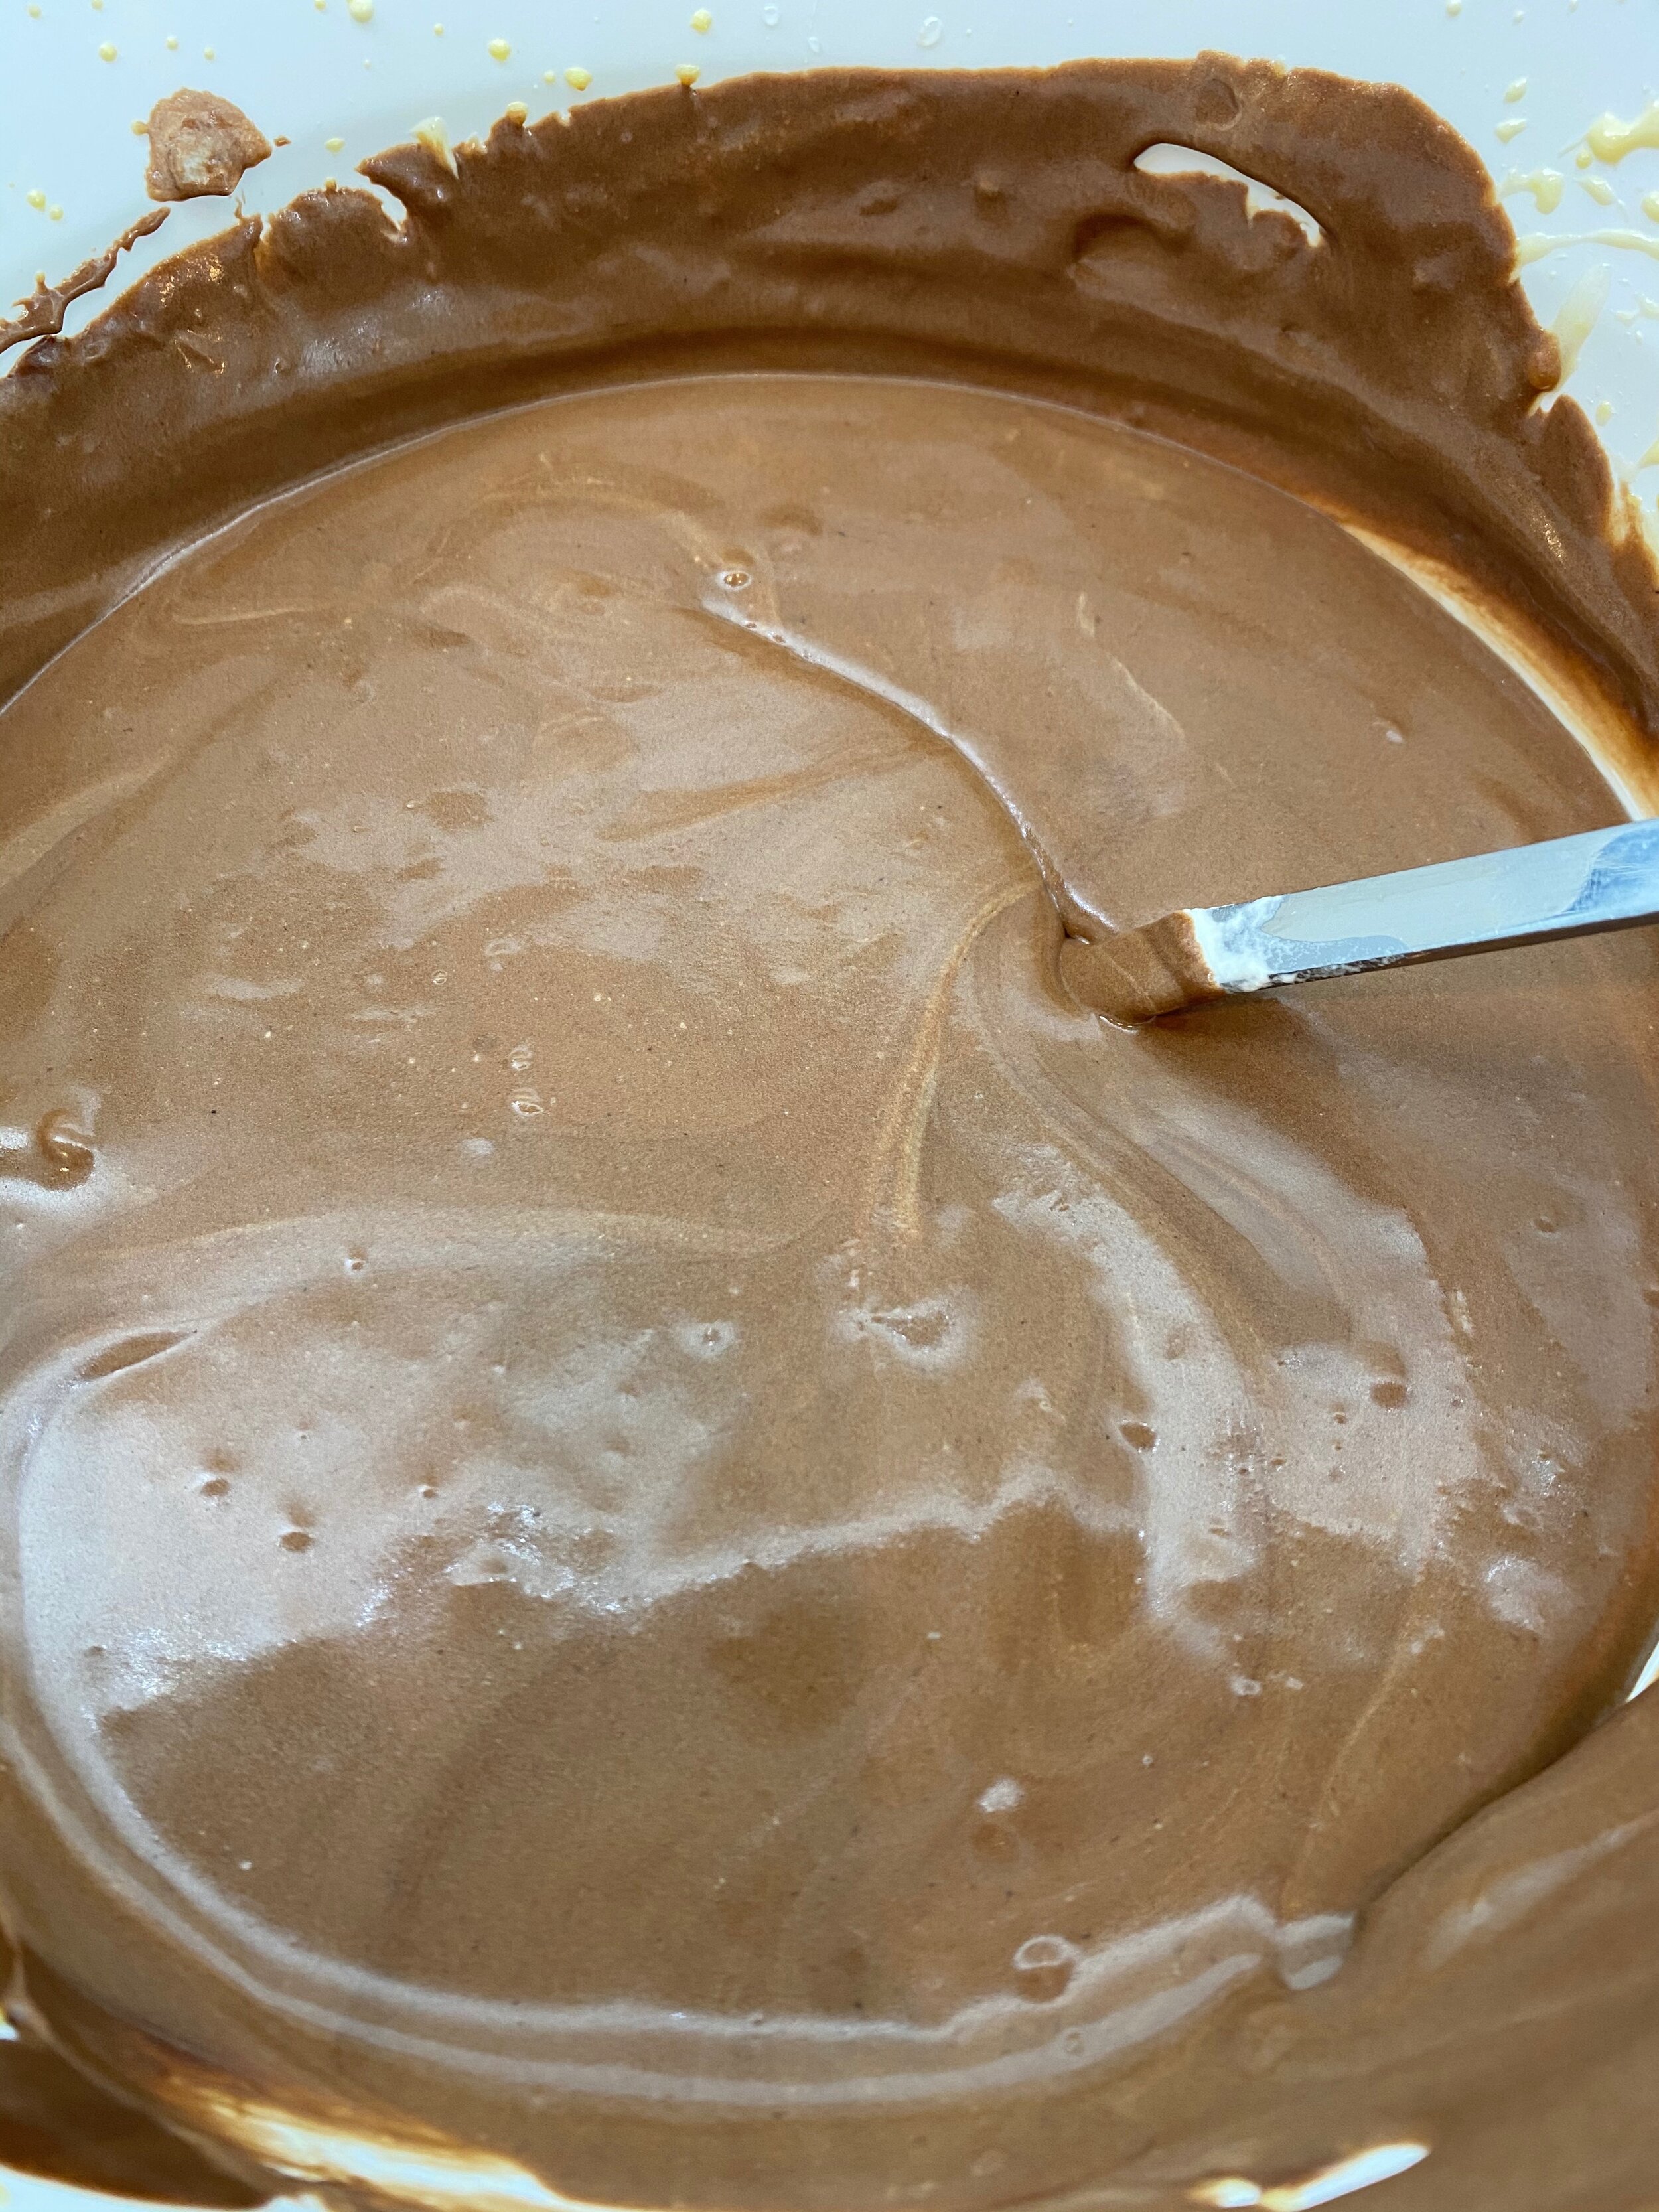
Fold the cold whipped cream into the chocolate mix in two batches
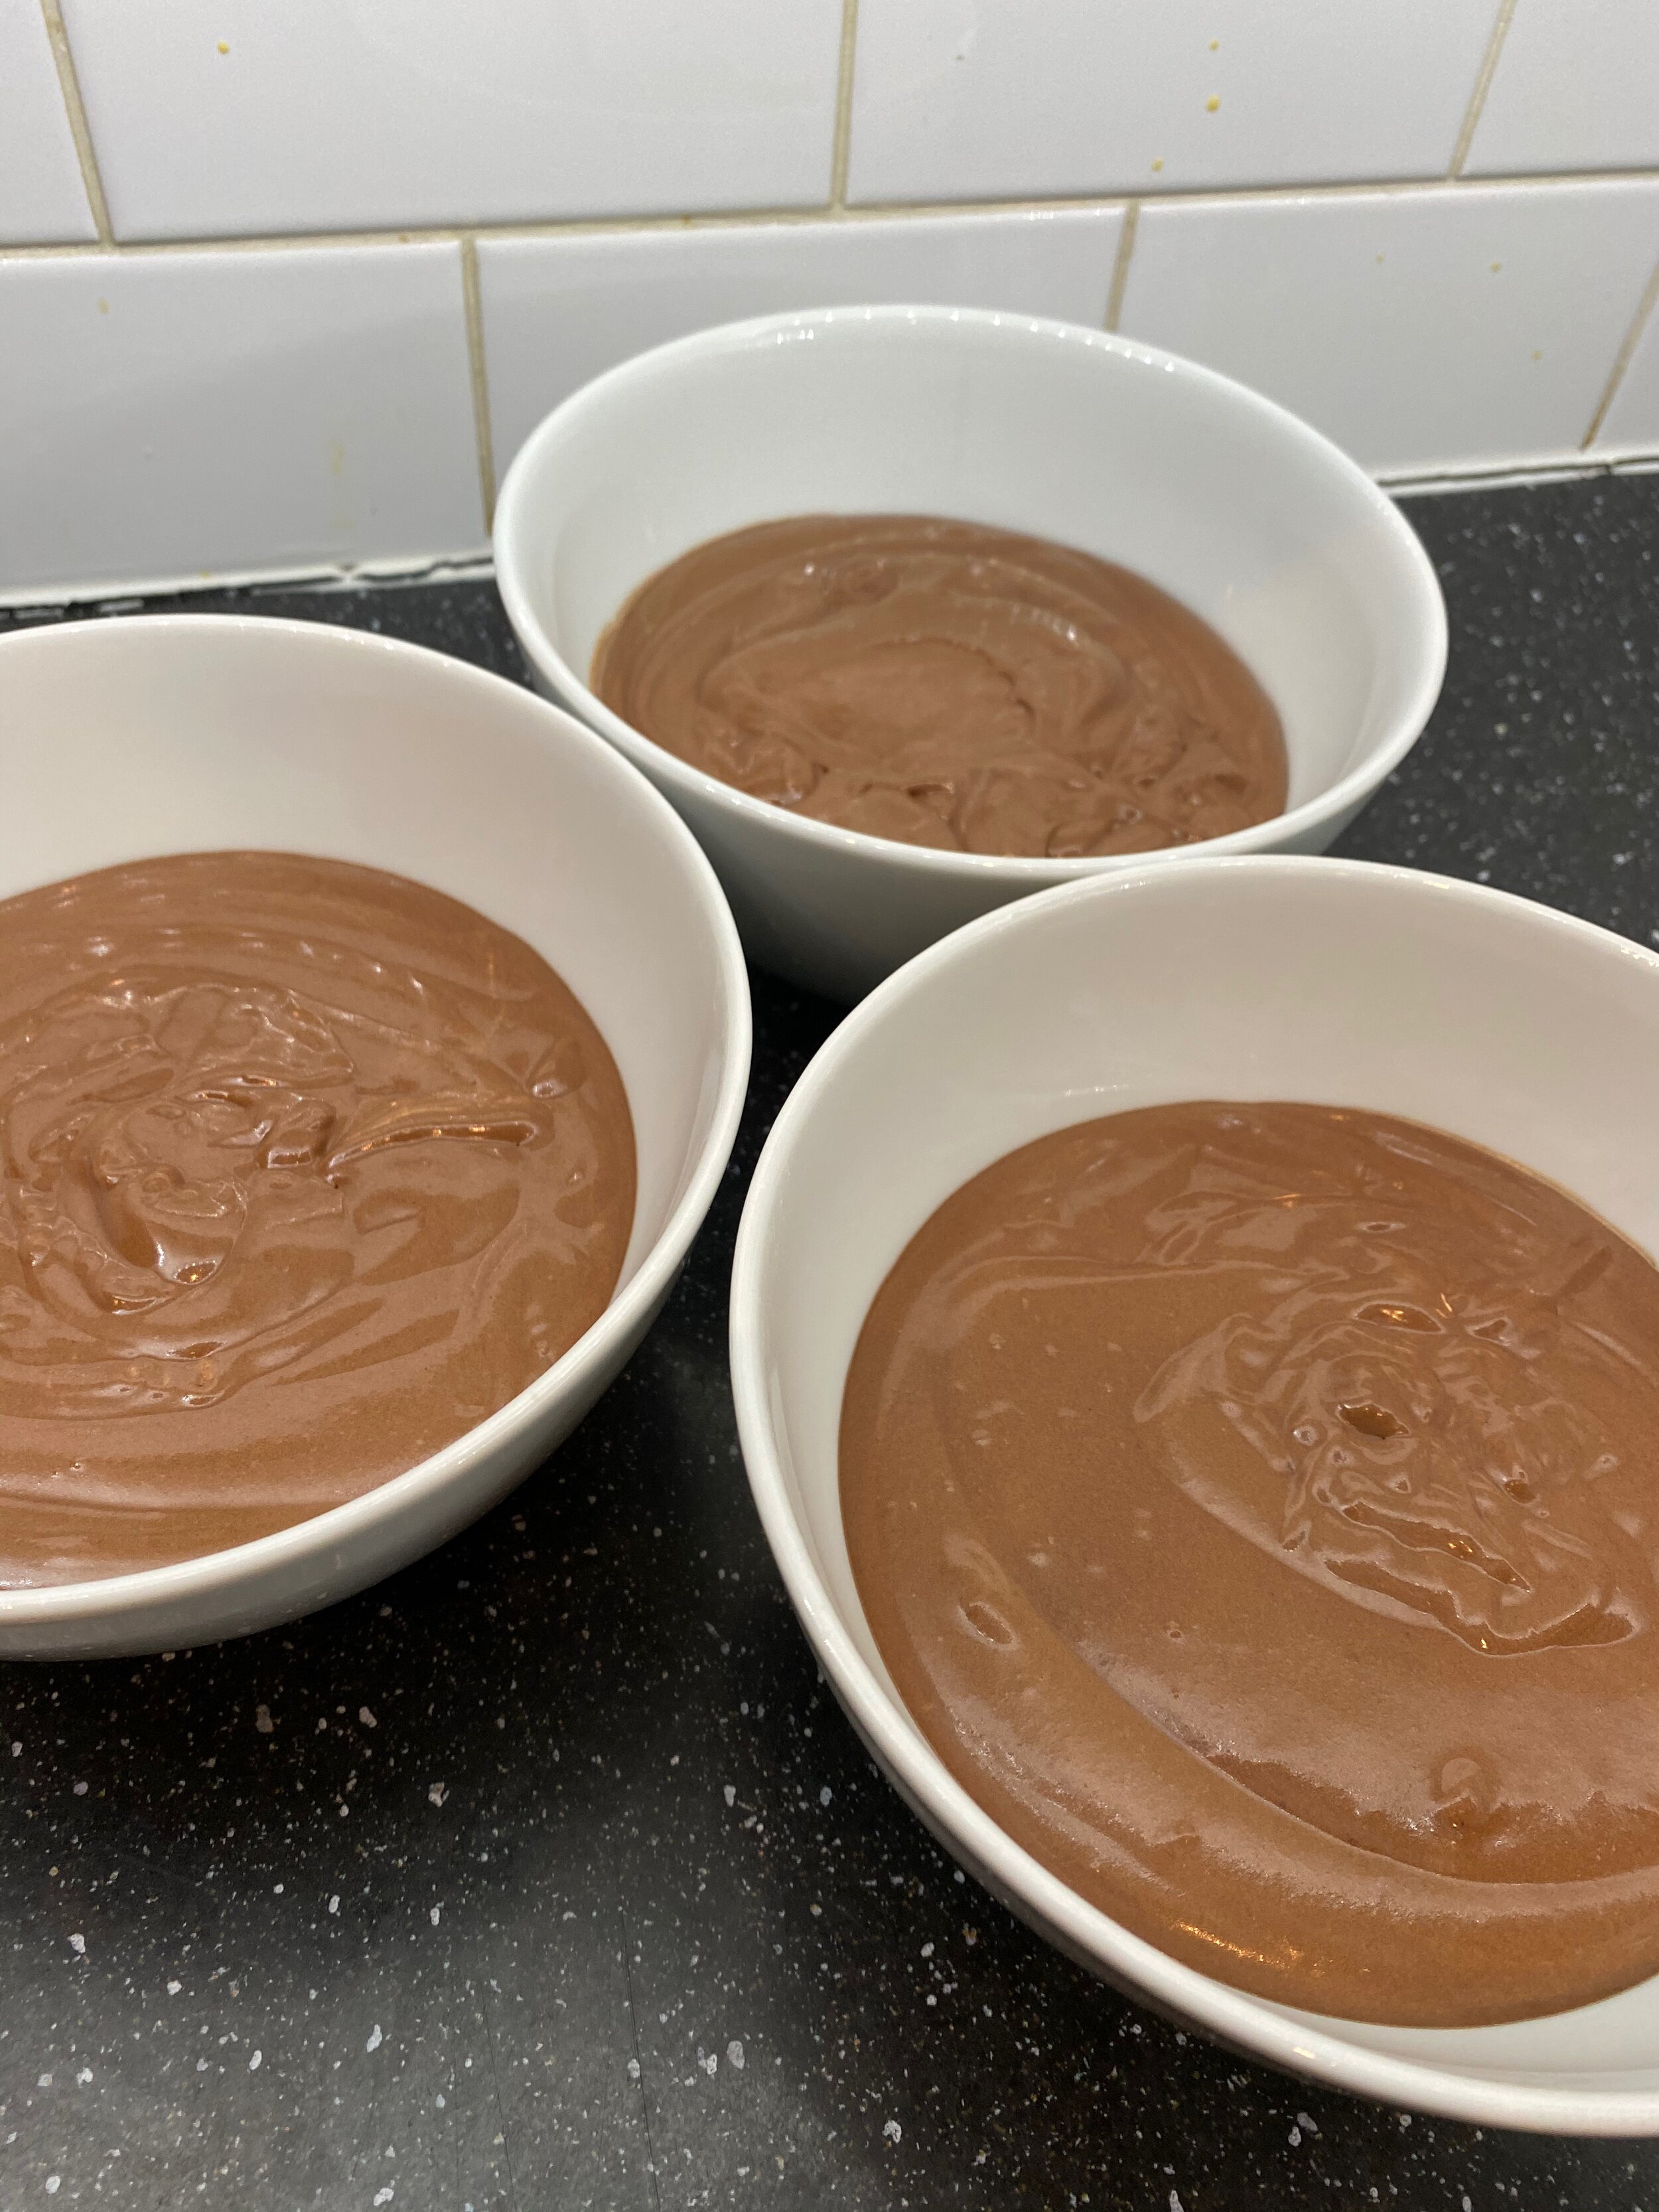
Divide the mousse into three even portions
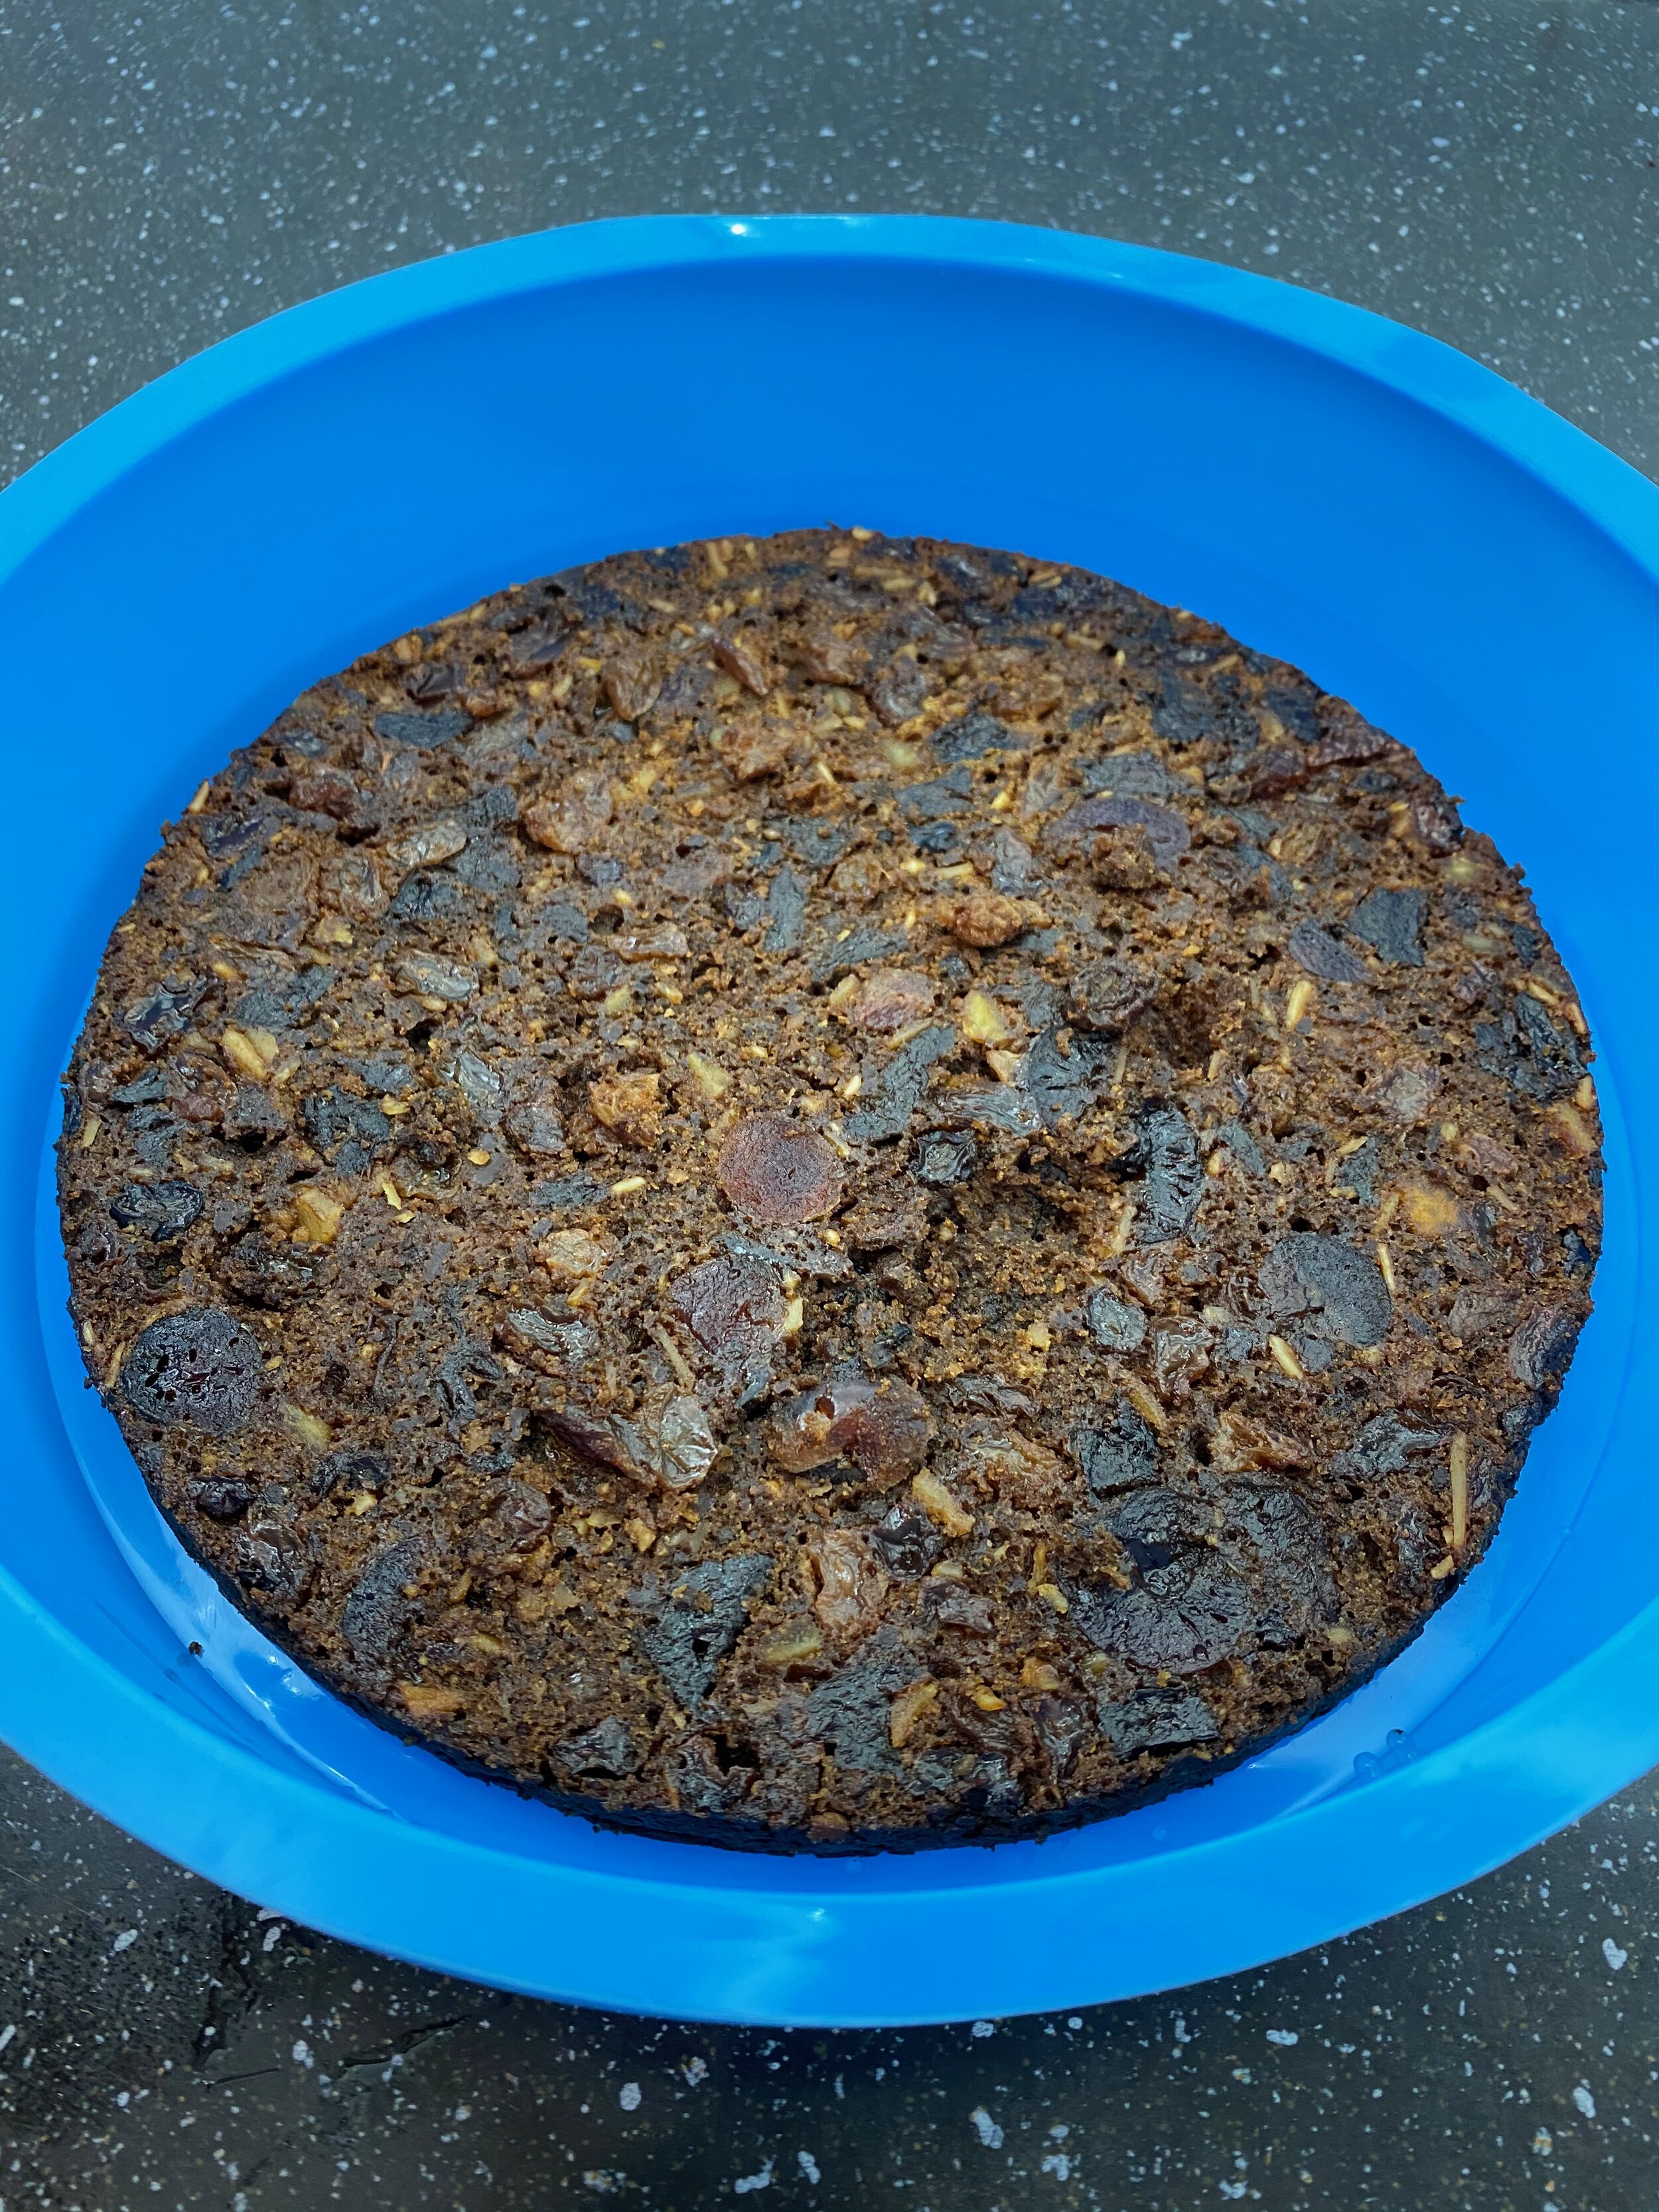
Step 2 - Assemble the cake
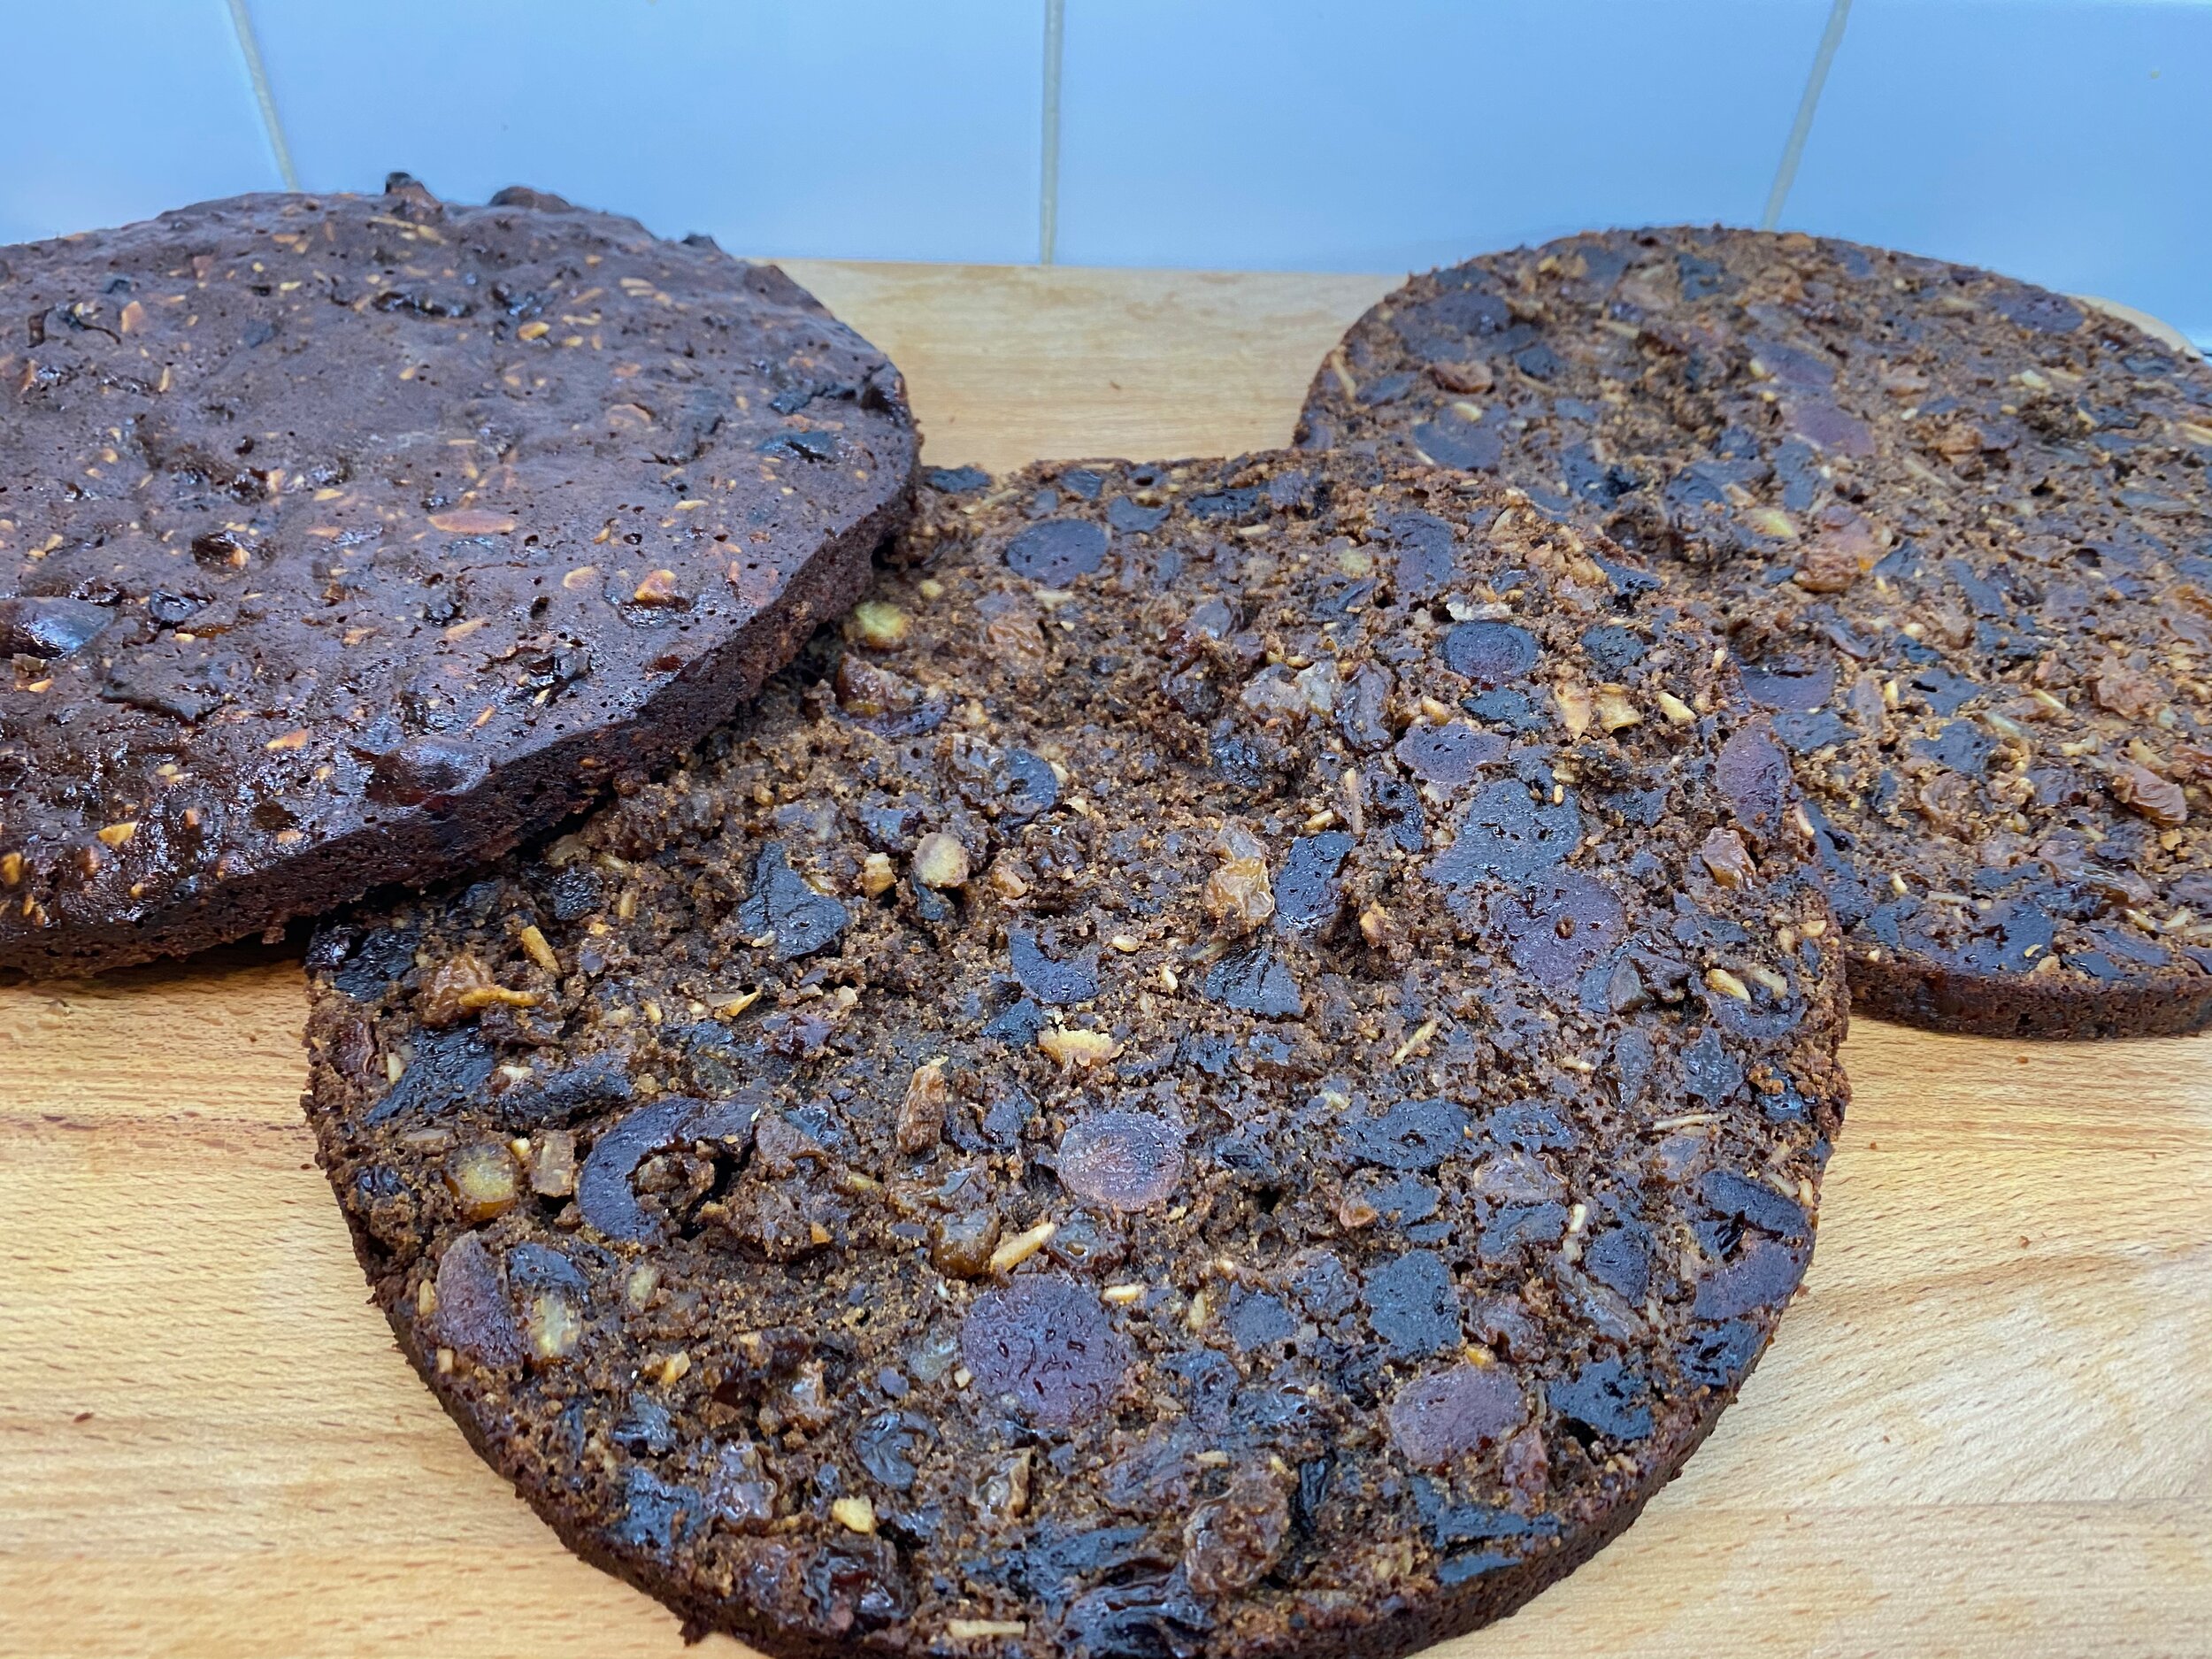
Carefully cut the cake into three even slices
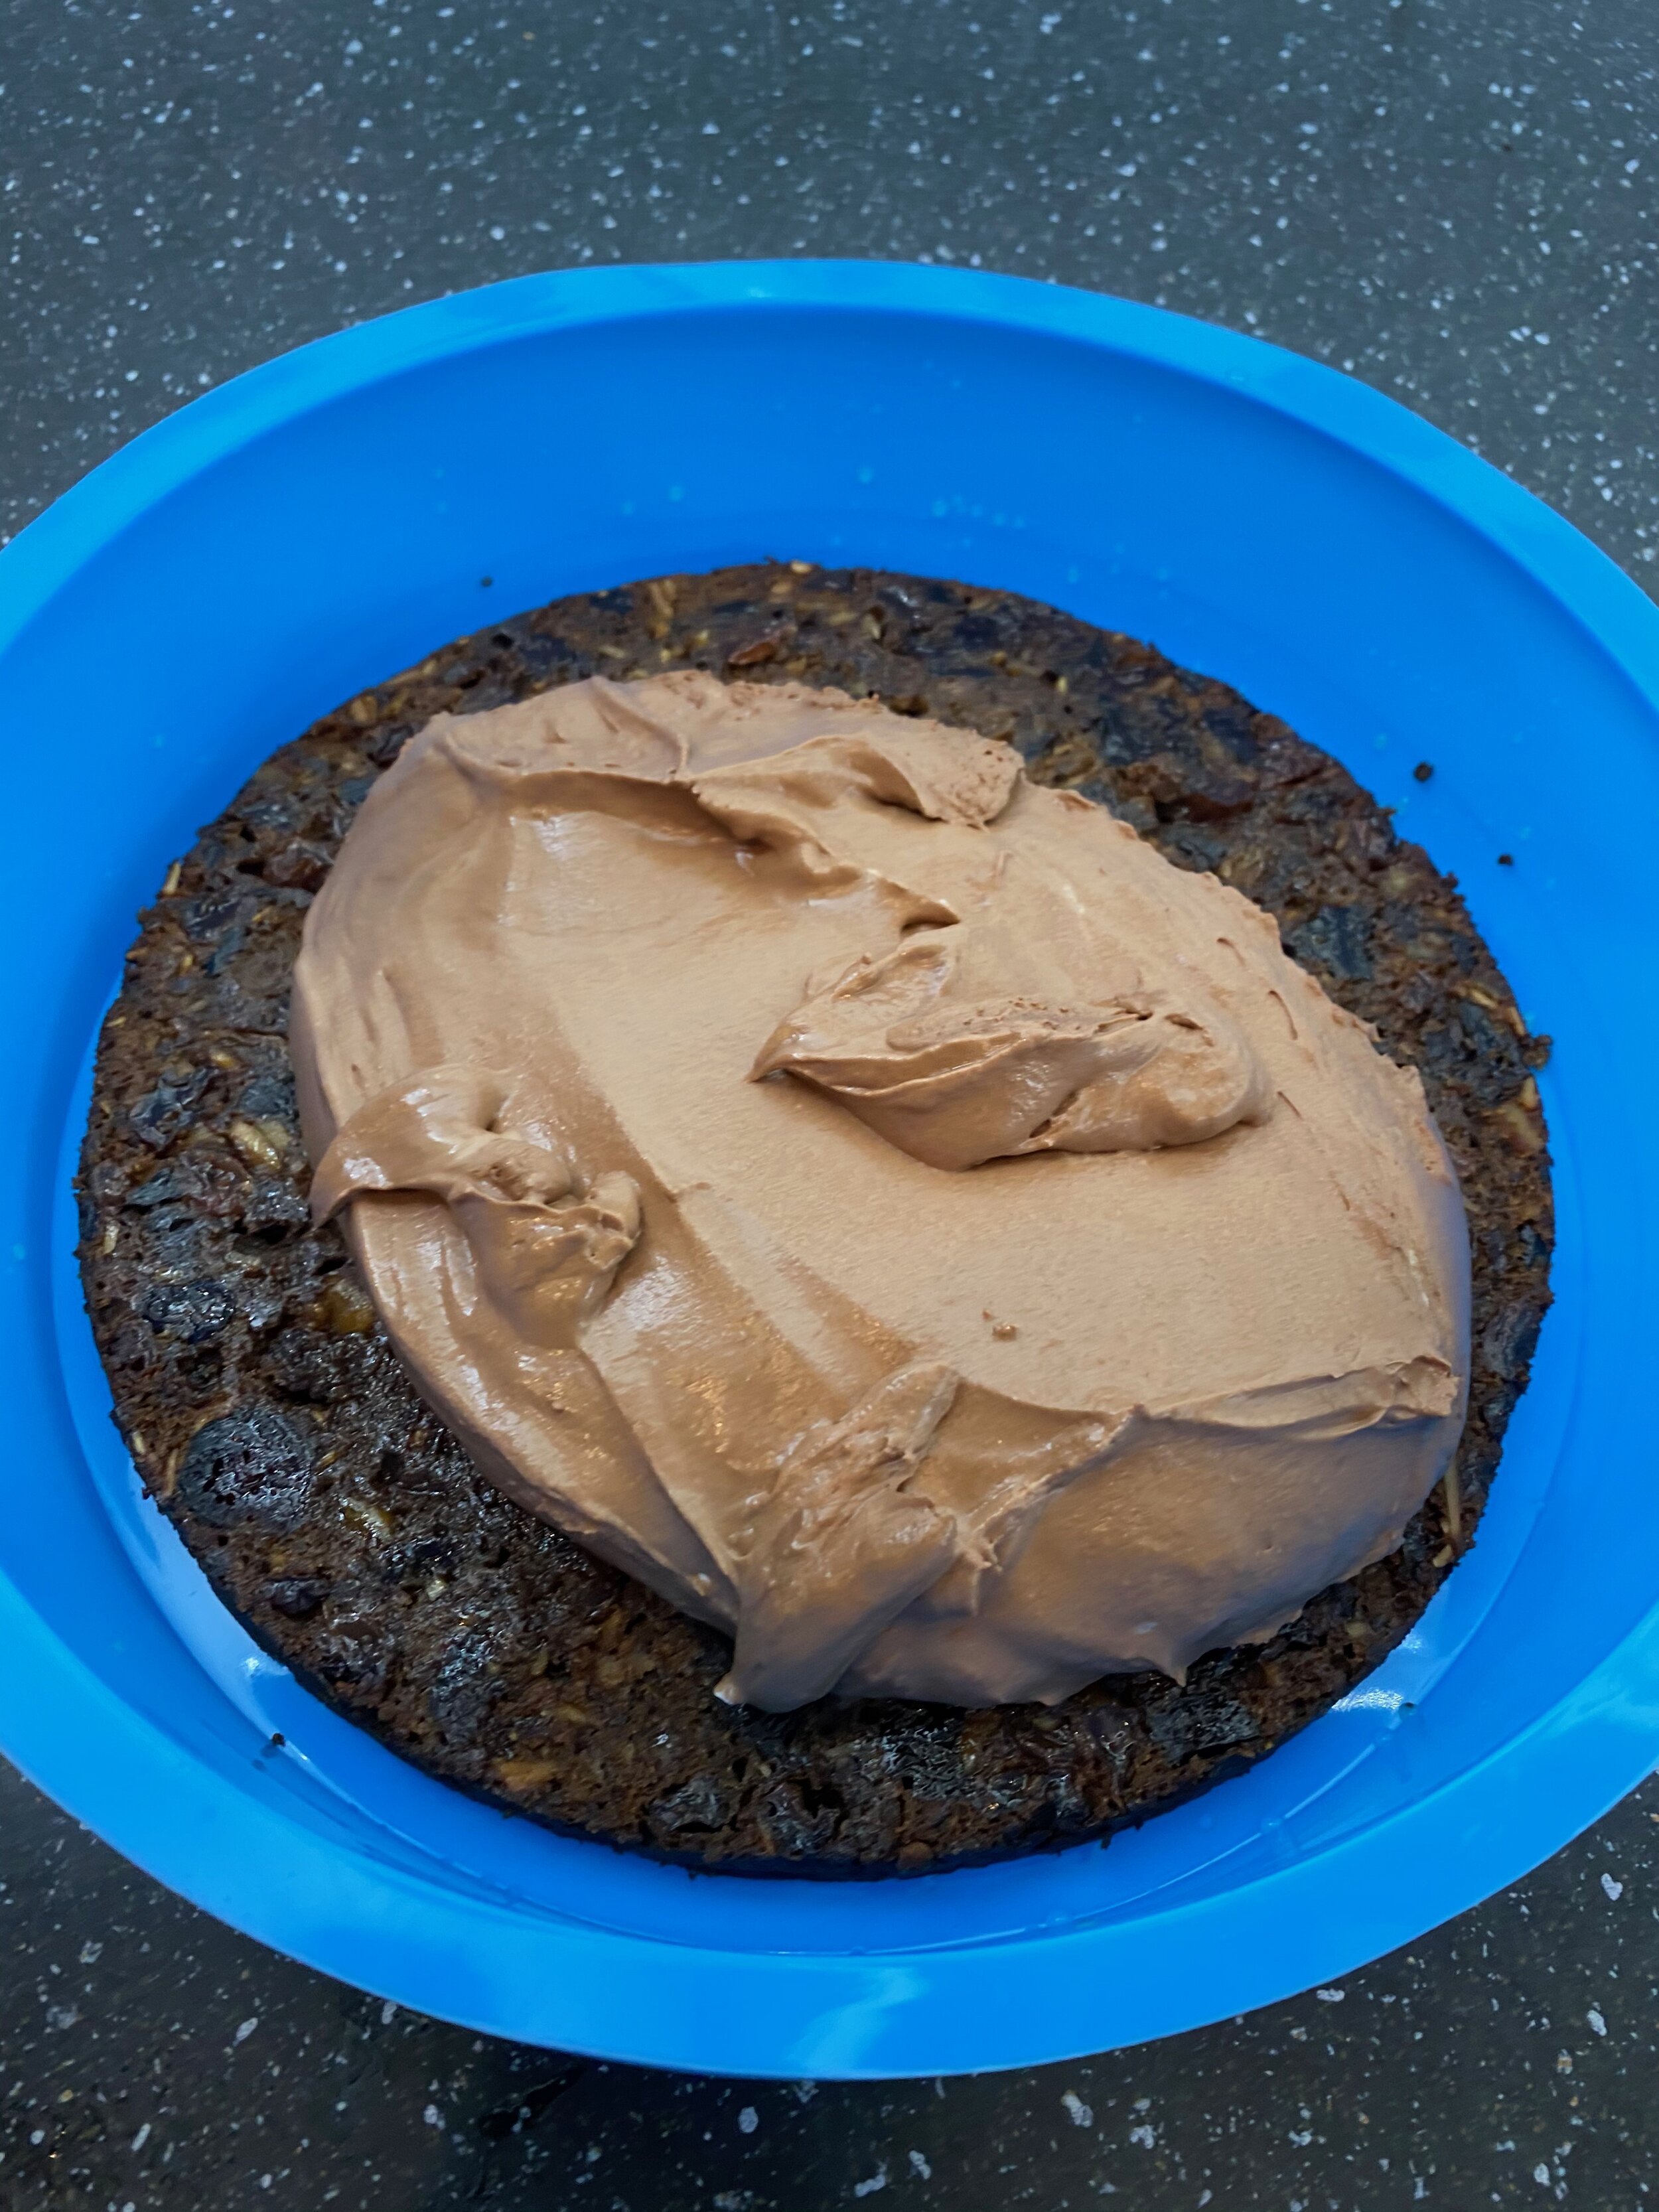
Using a silicon mould that is larger than your cake place the first slice on the bottom
Top tip: put the mould on a tray to make lifting the cake easierCover with a third of the mousse, make sure the mousse is spread evenly over the cake and down the sides
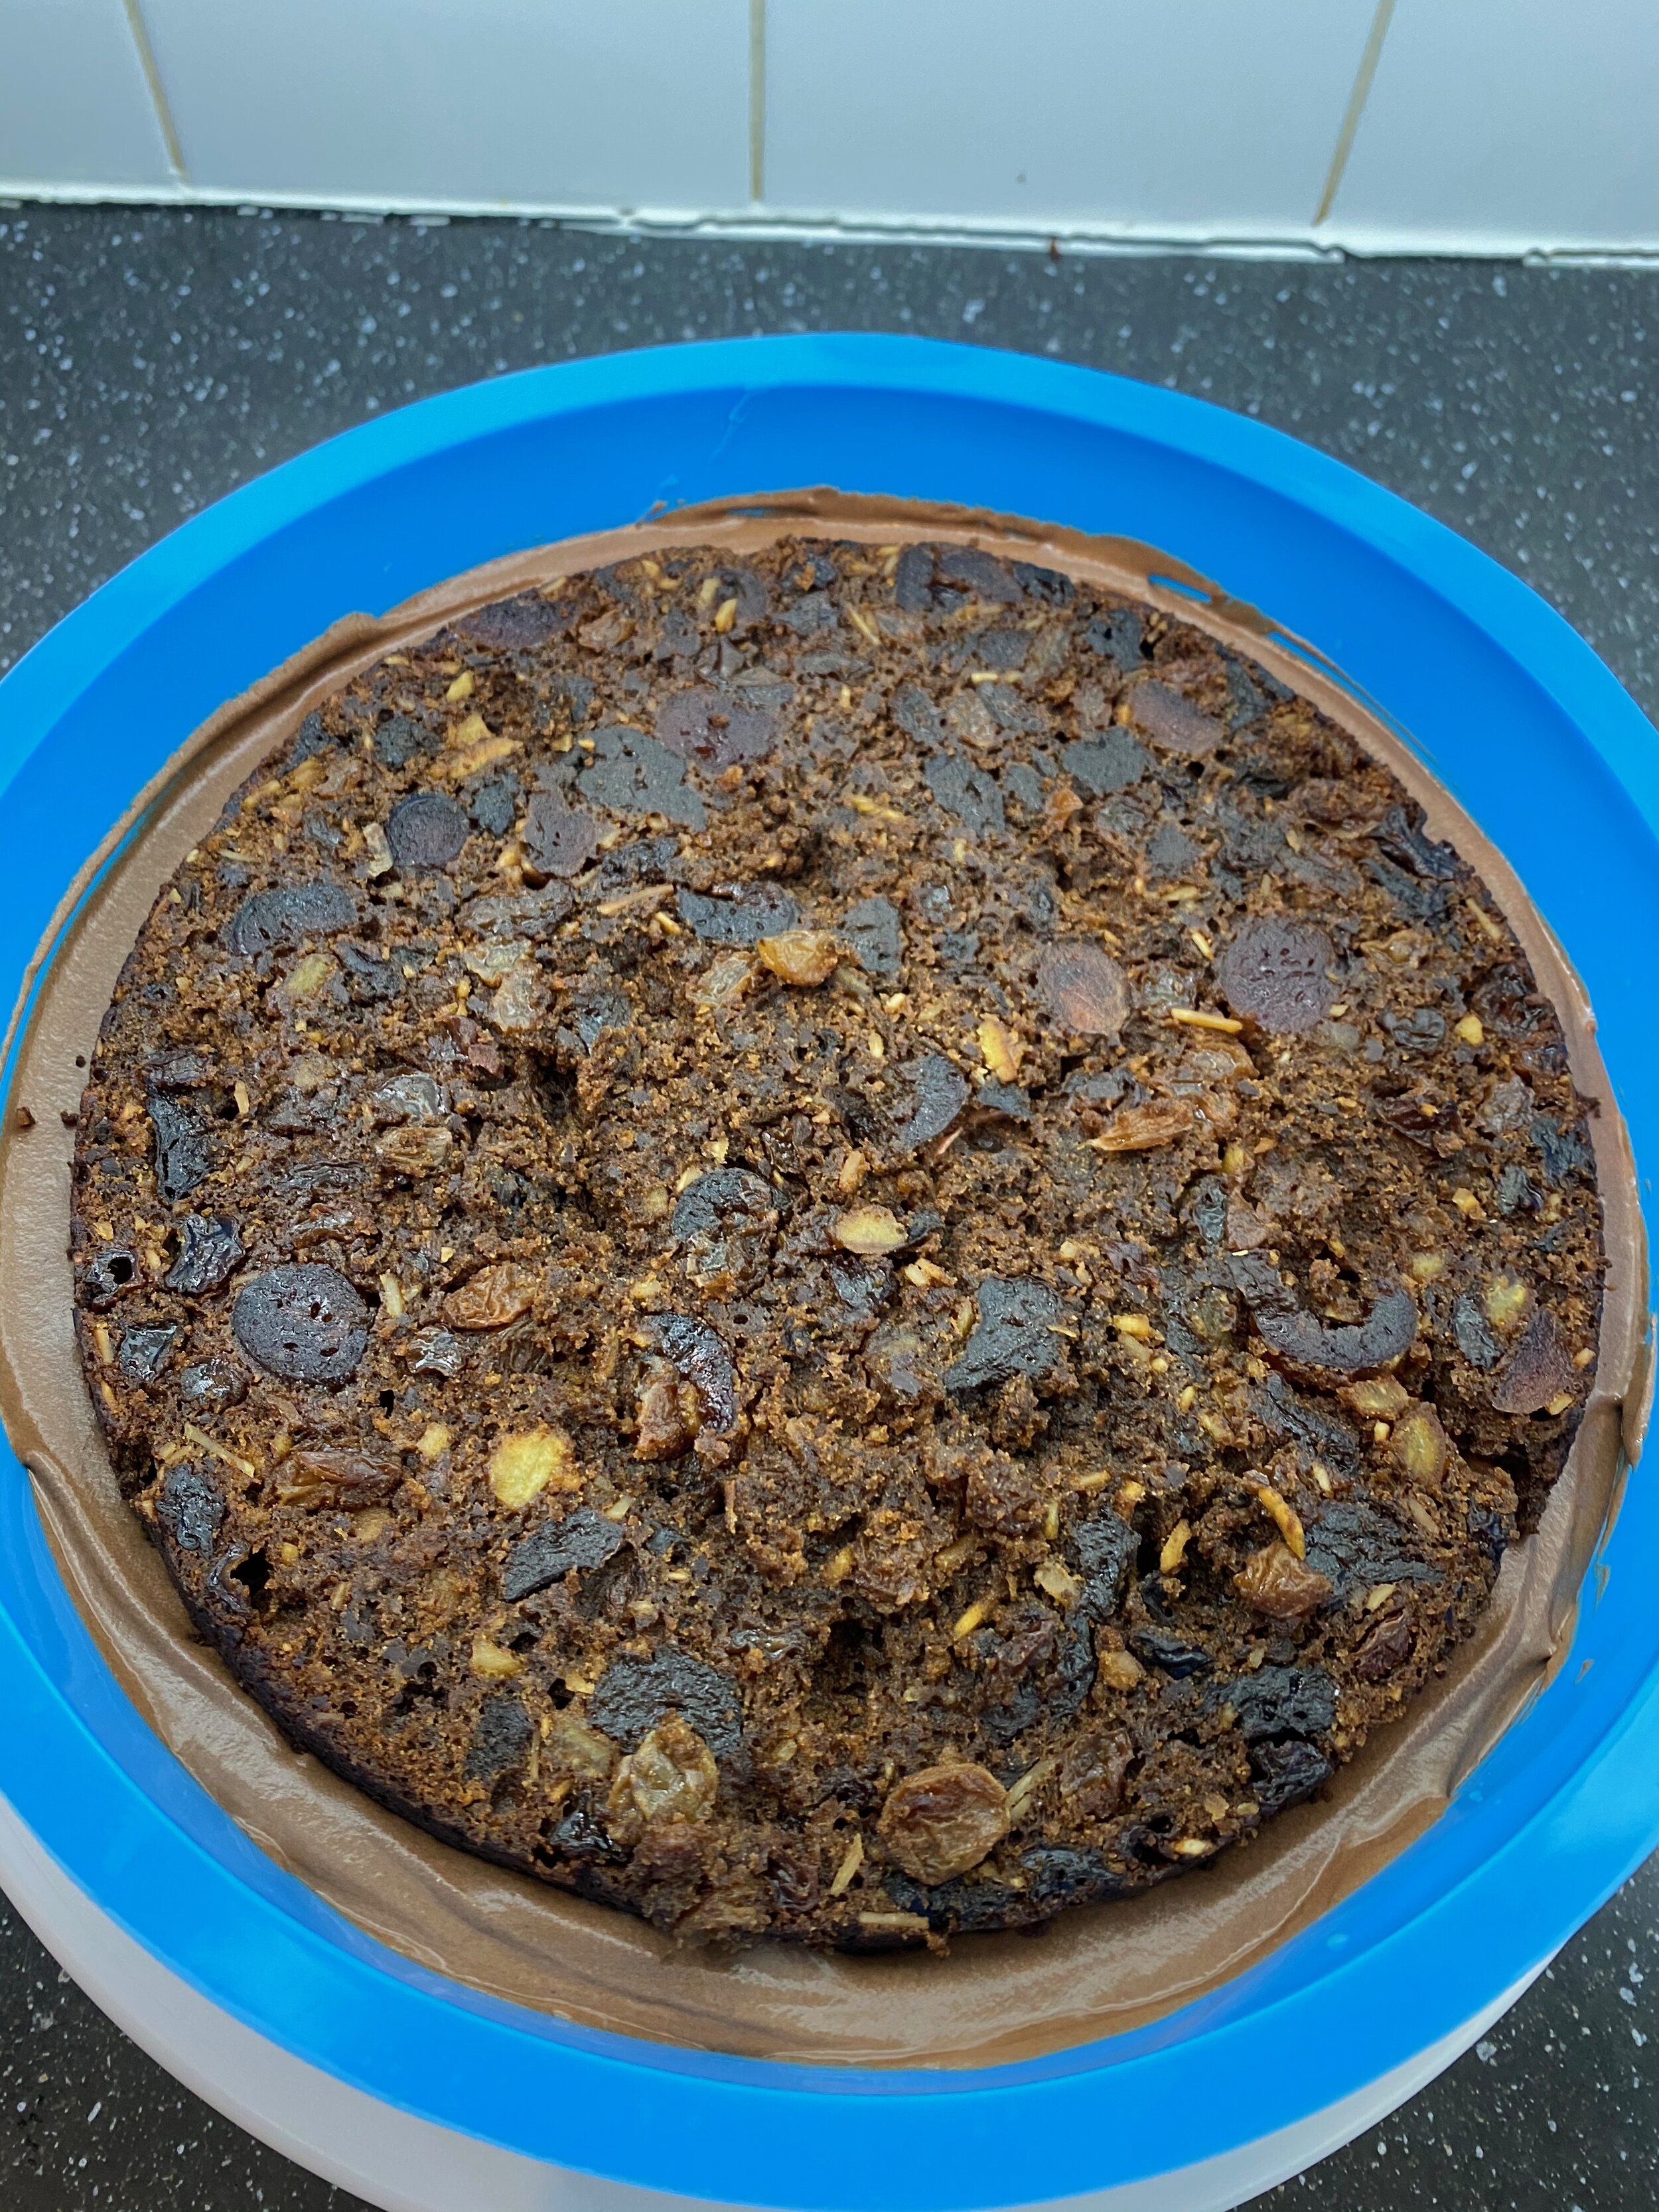
Add the second cake and second portion of mousse
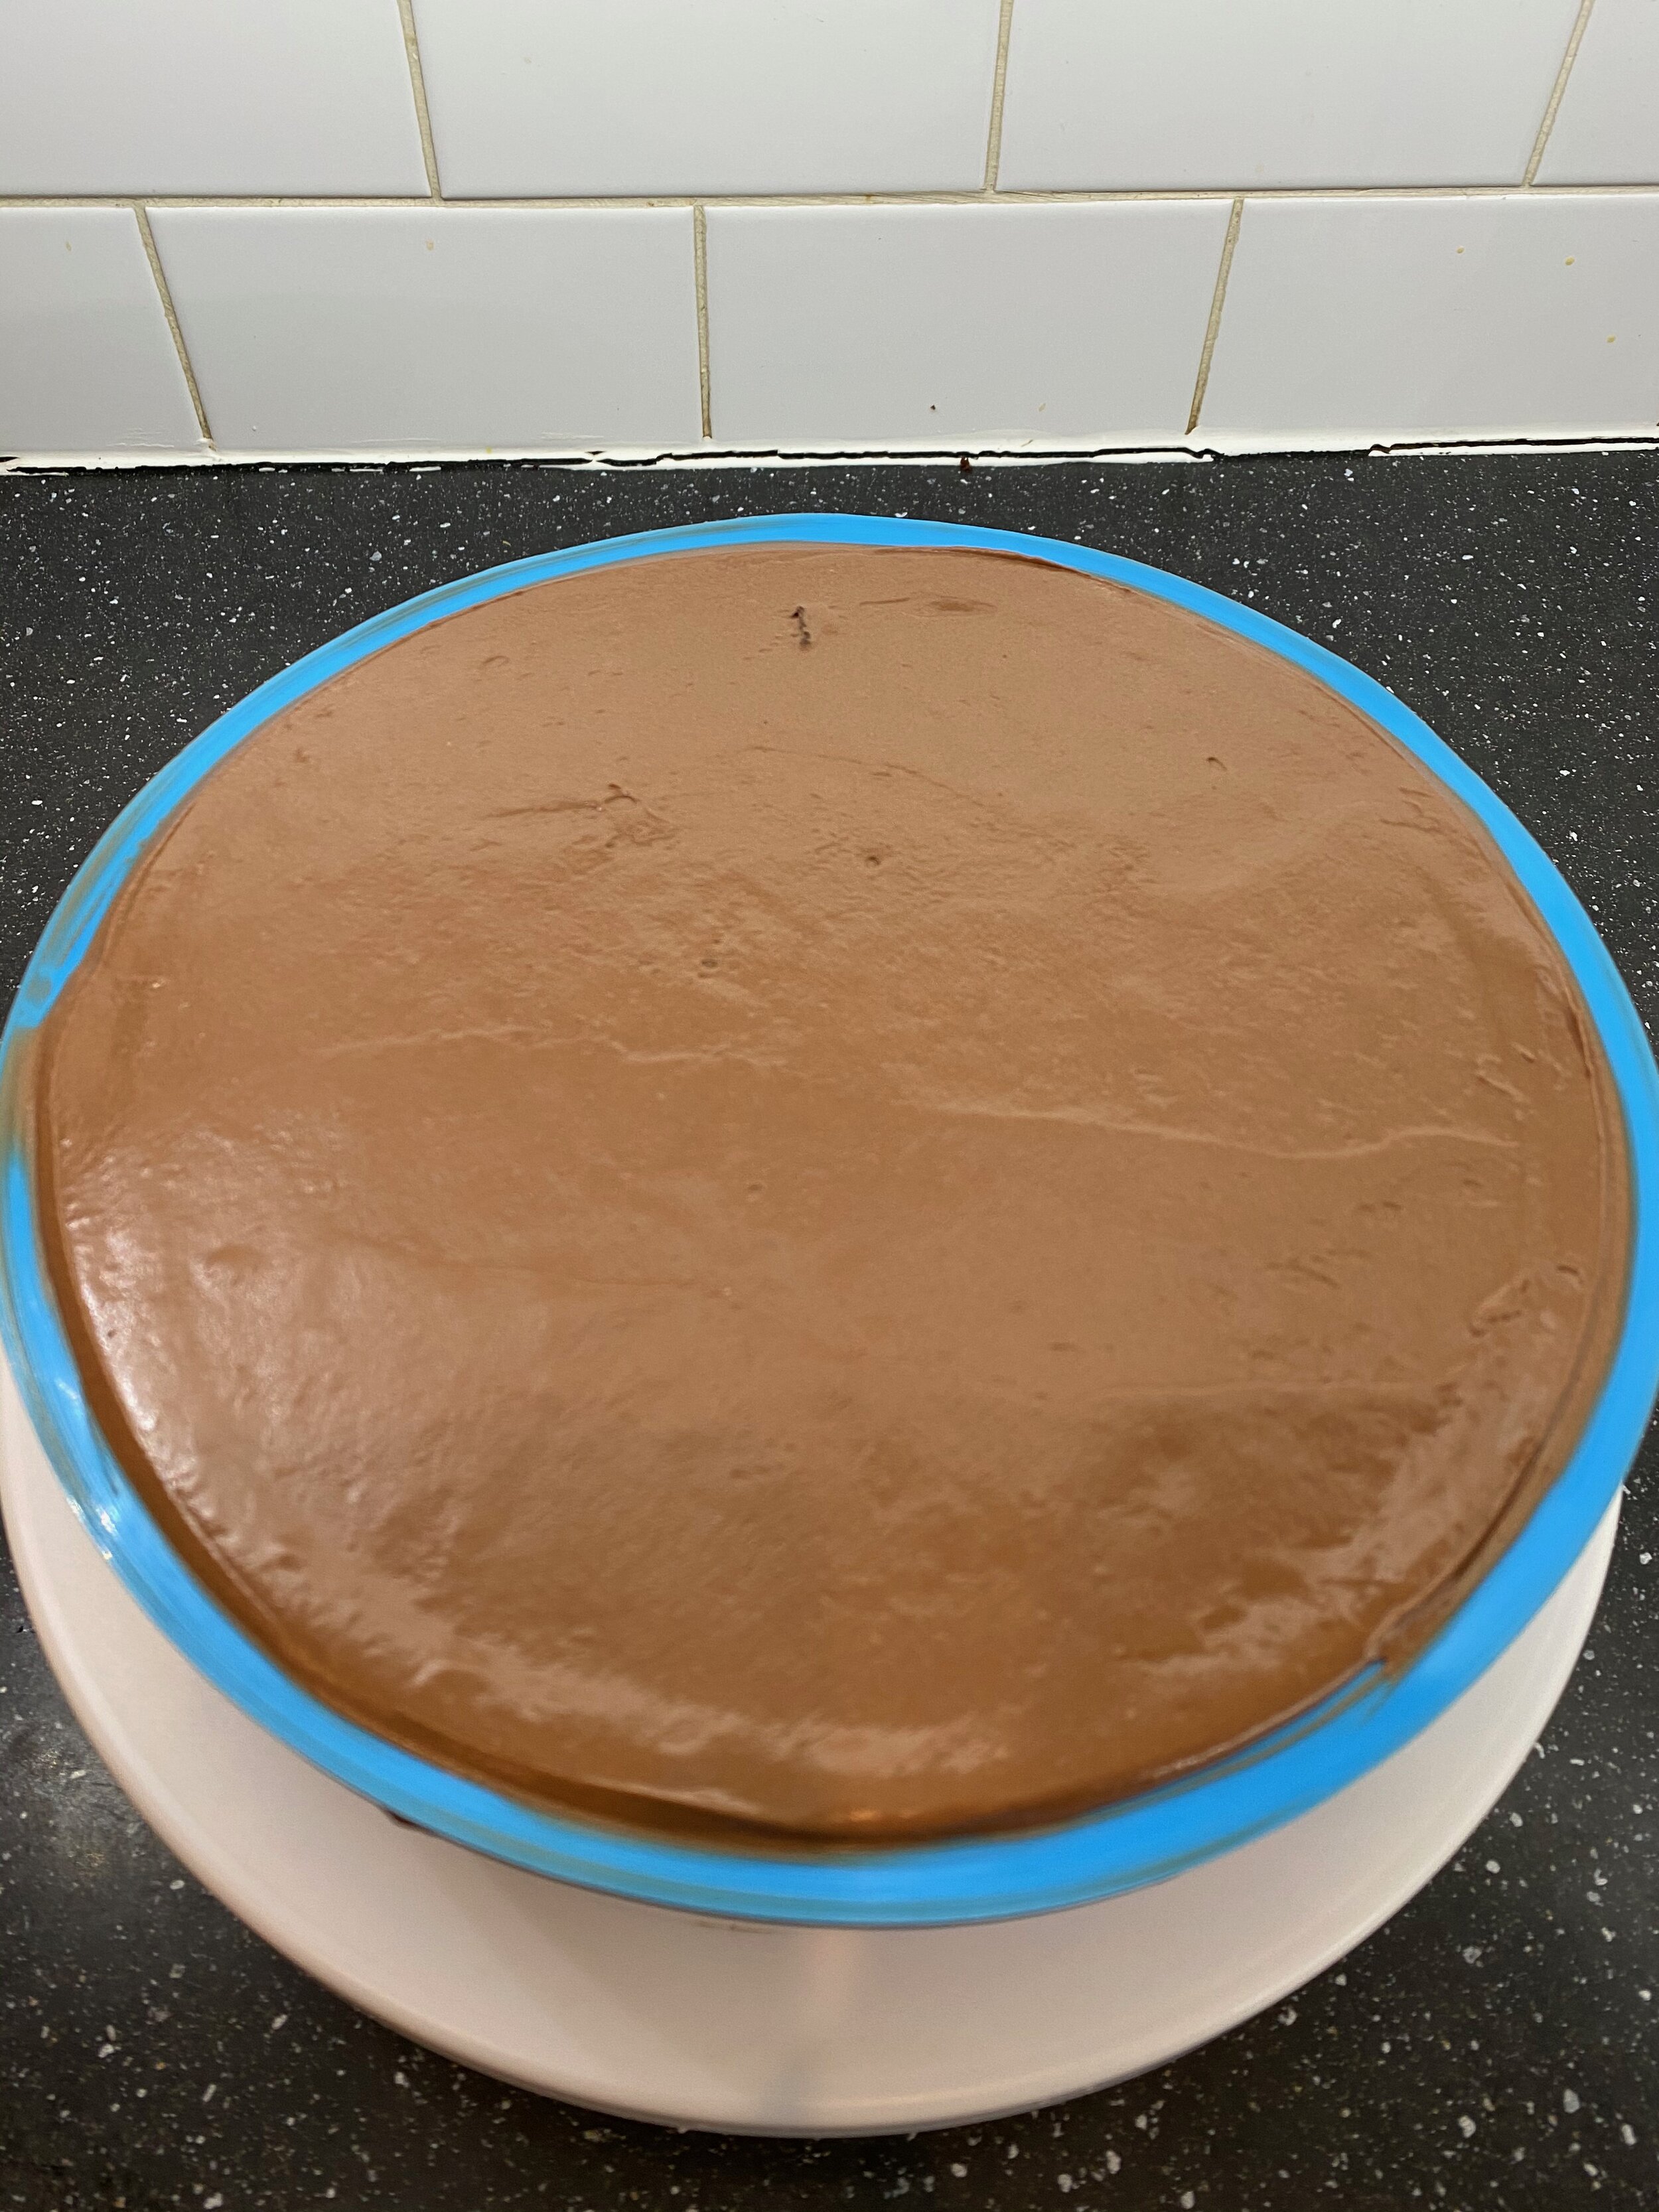
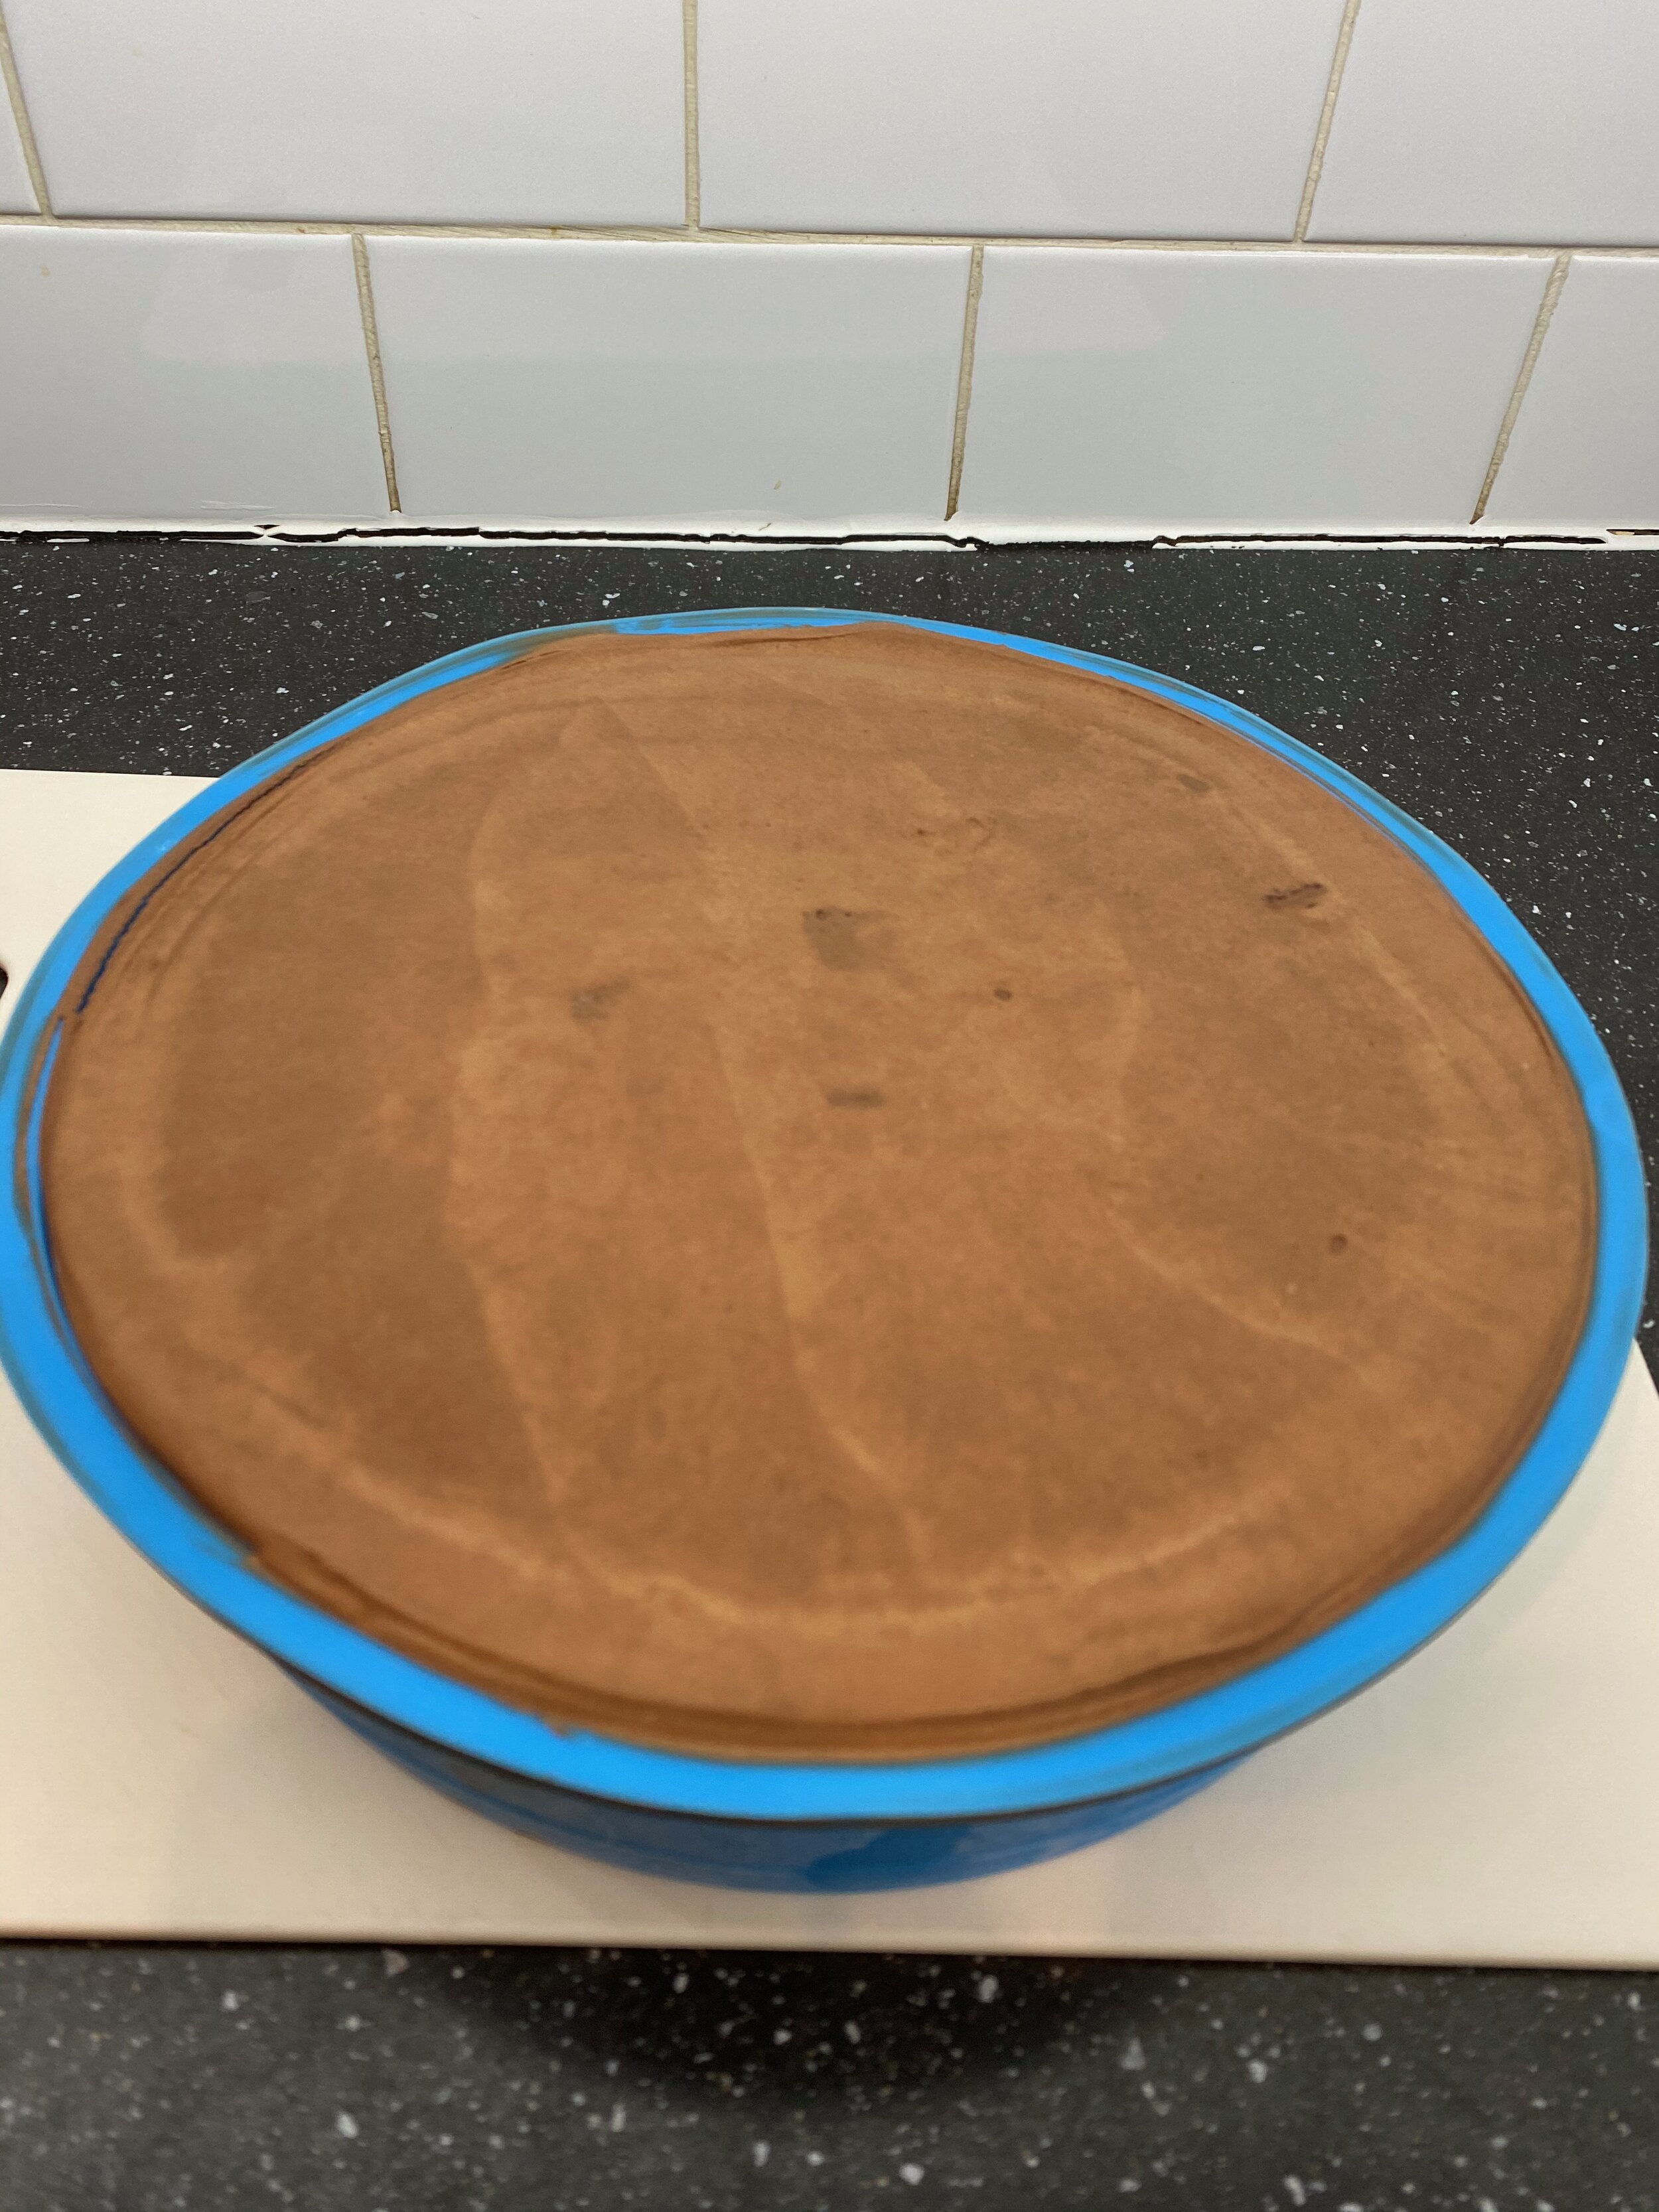
Add the last slice of cake and final portion of mousse, smoothing the top with a spatula
Put the whole cake in the freezer overnight

Step 3 - Make the glaze
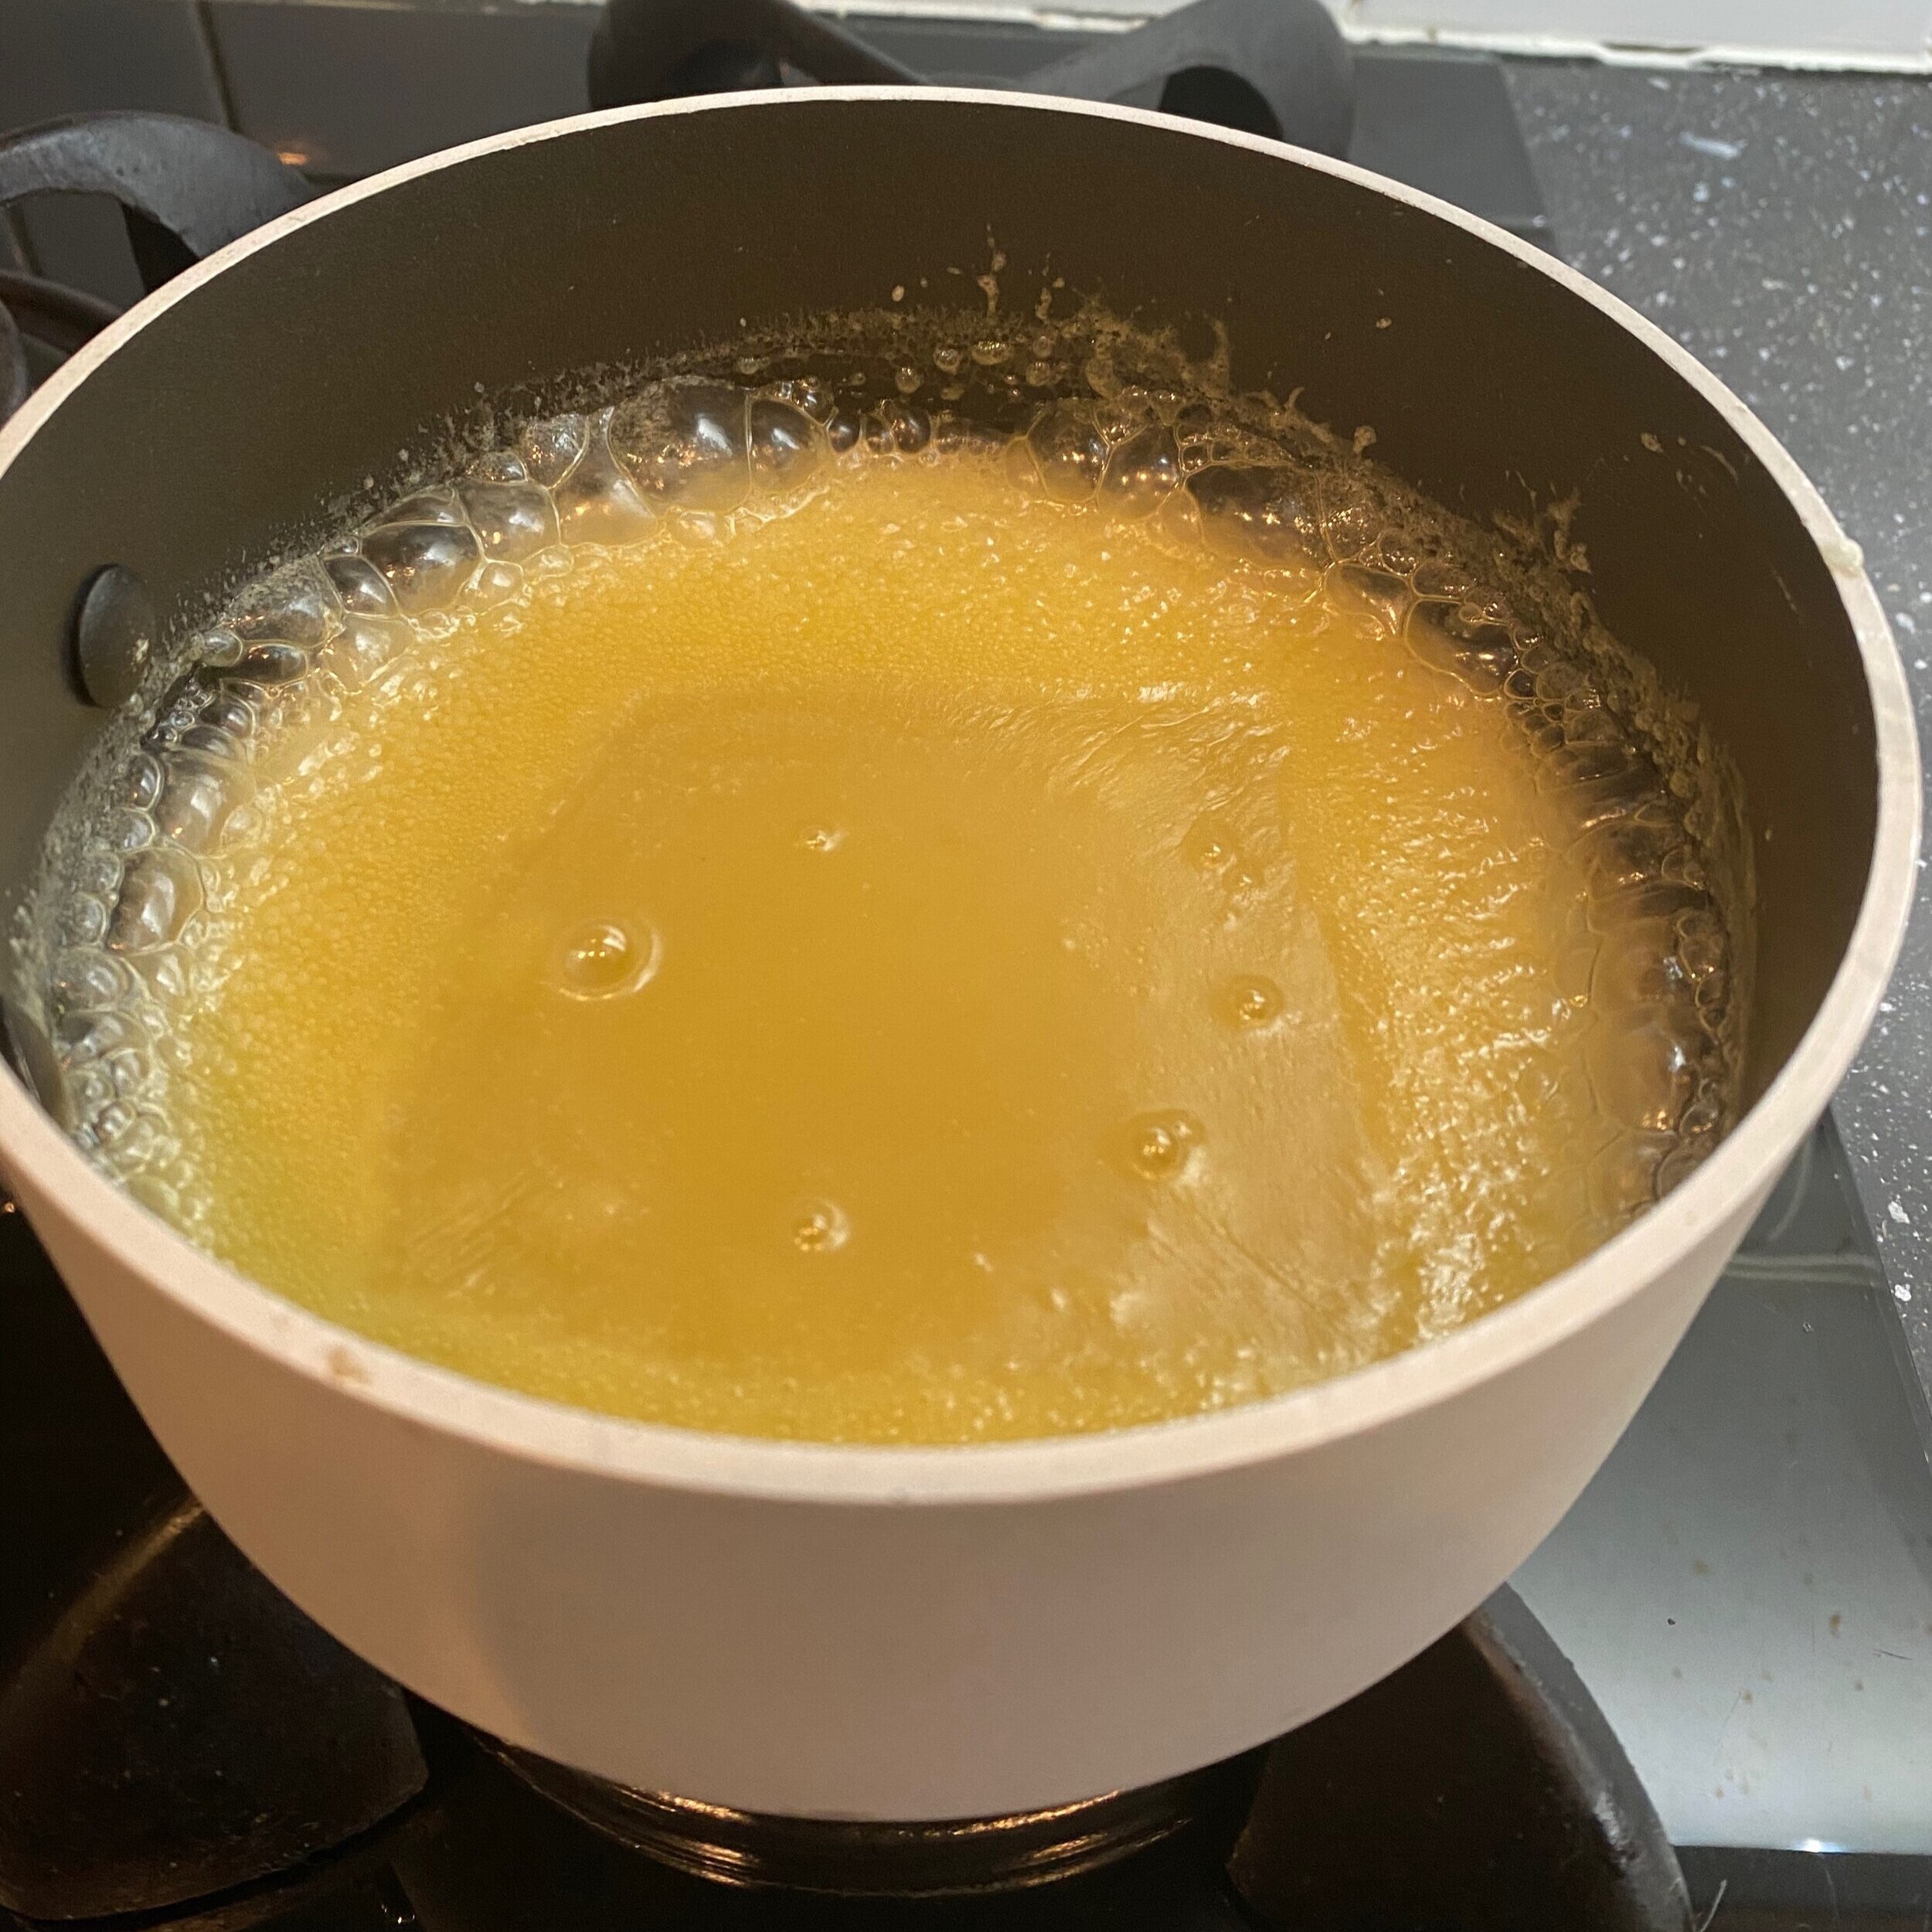
Bring the cream, water and sugar to a boil in a small pan
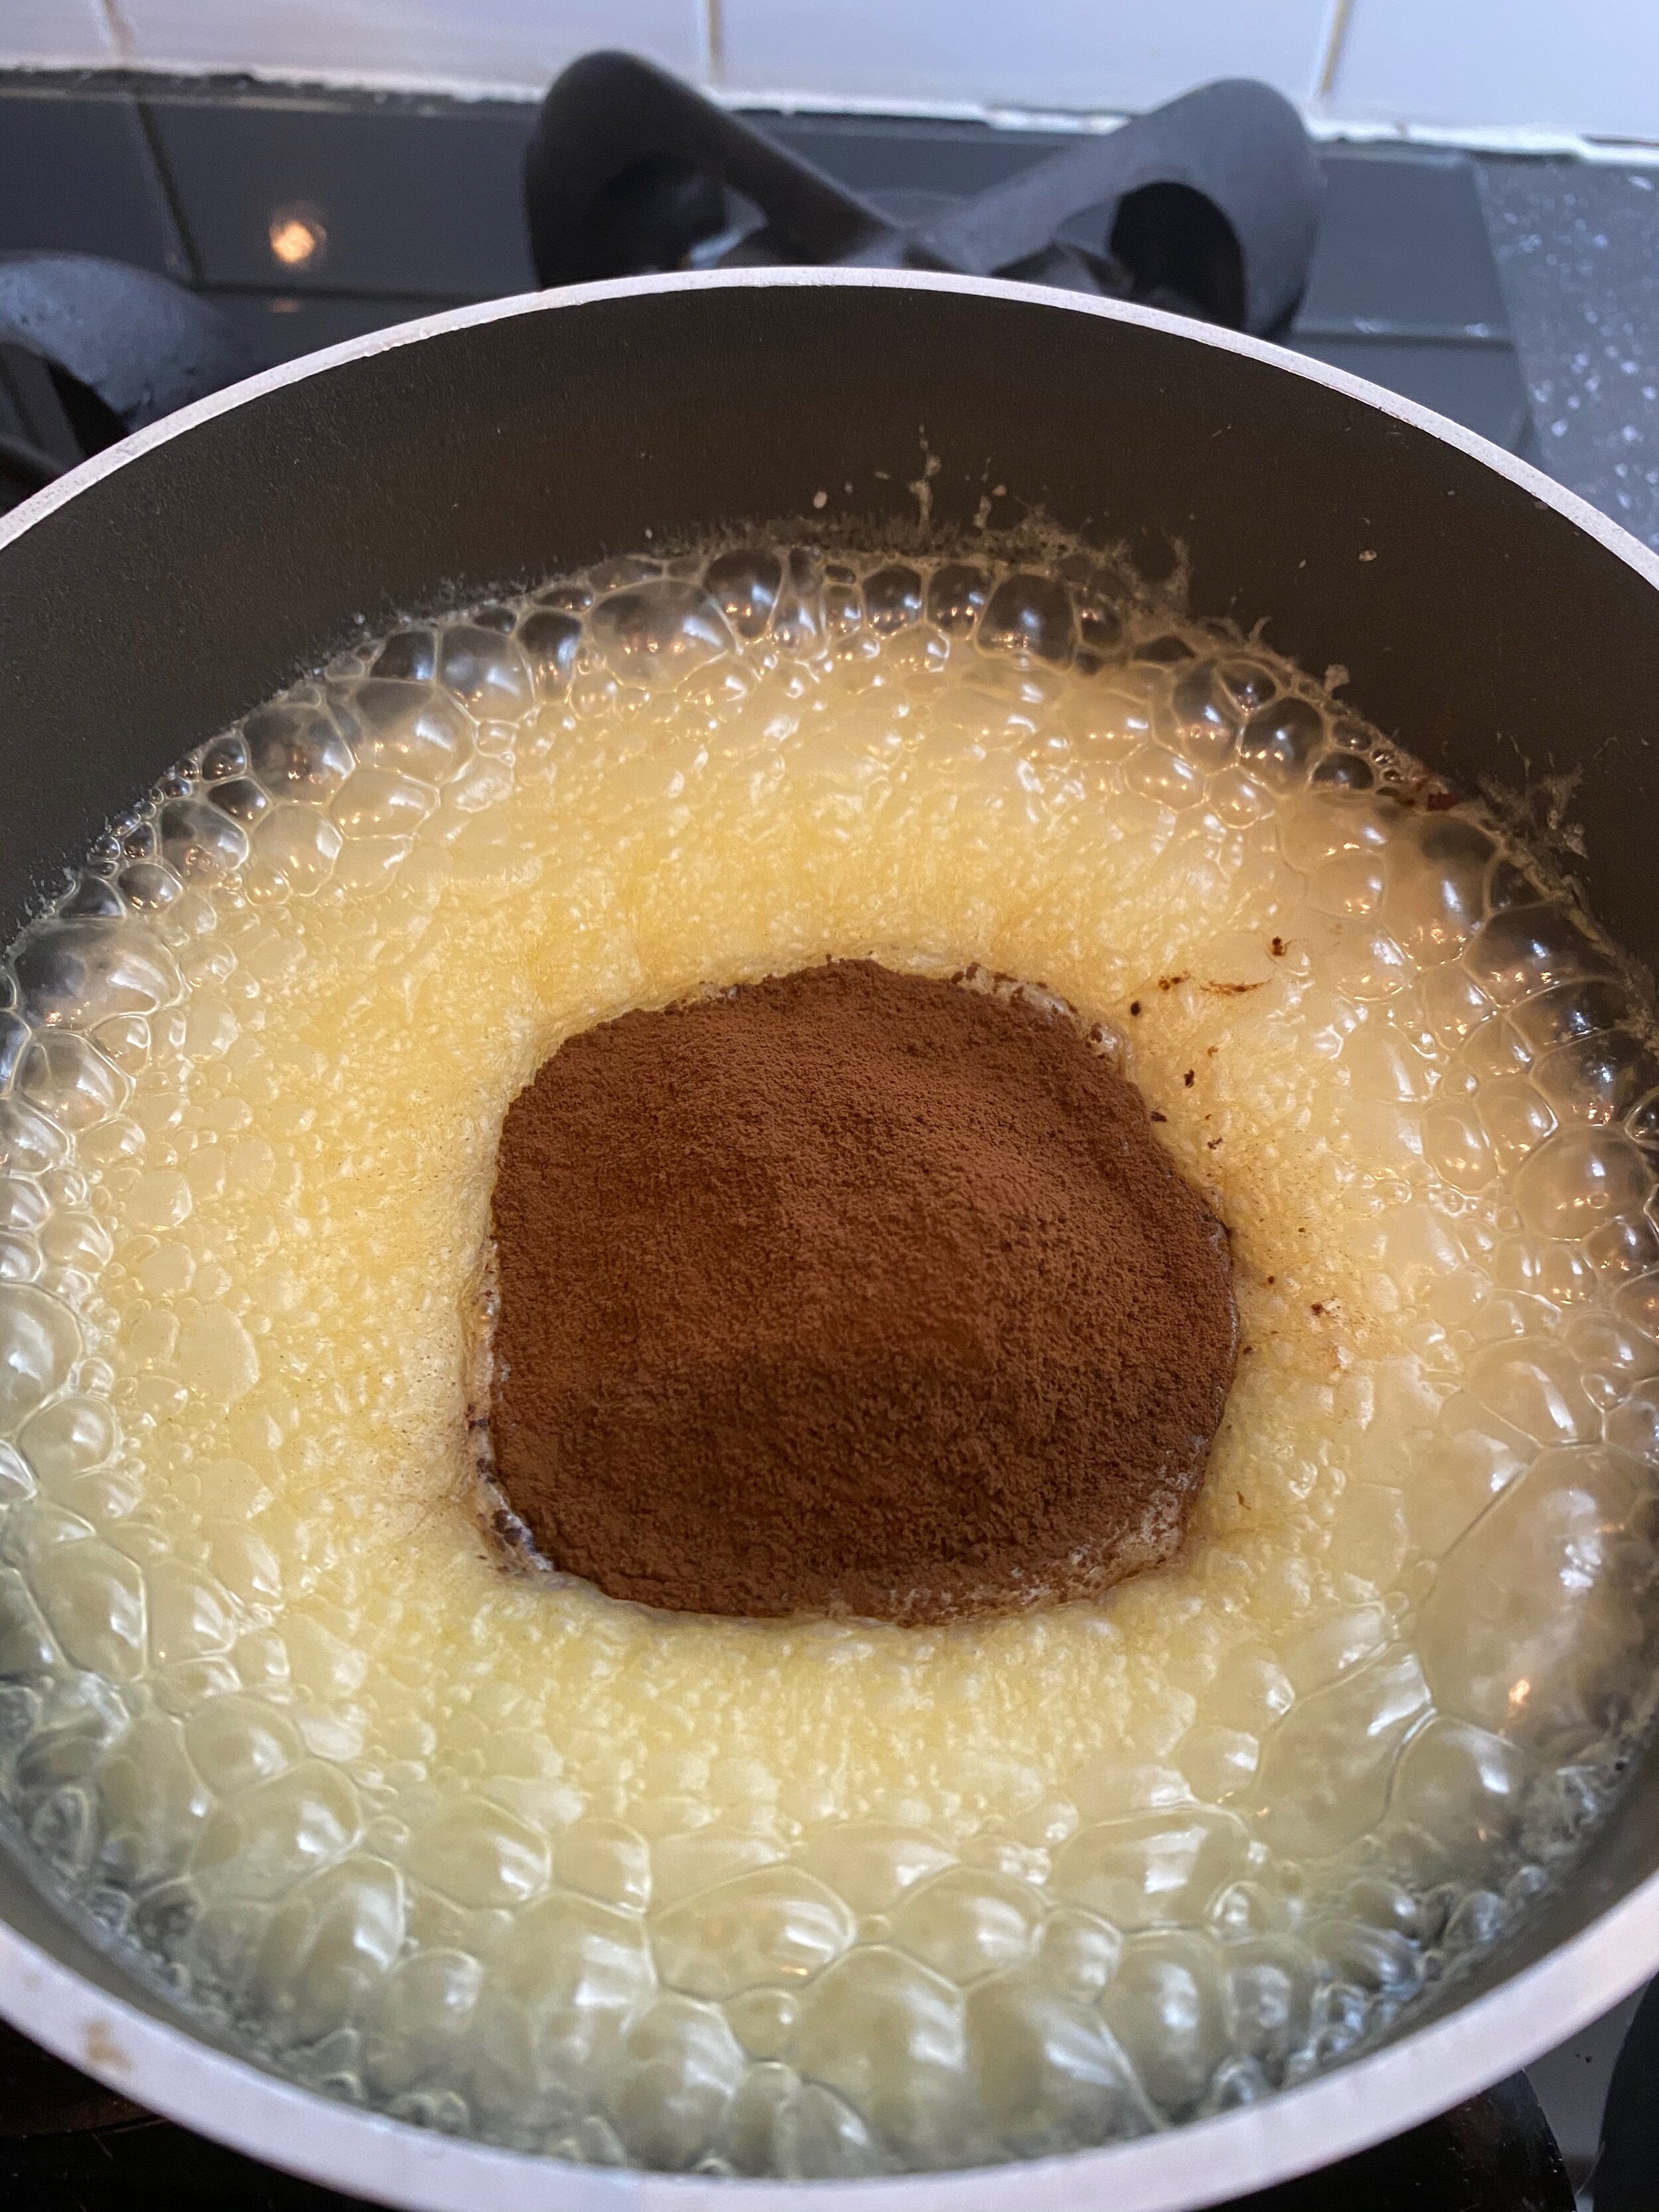
Add the cocoa, whisk well and simmer for about 4 minutes whilst stirring
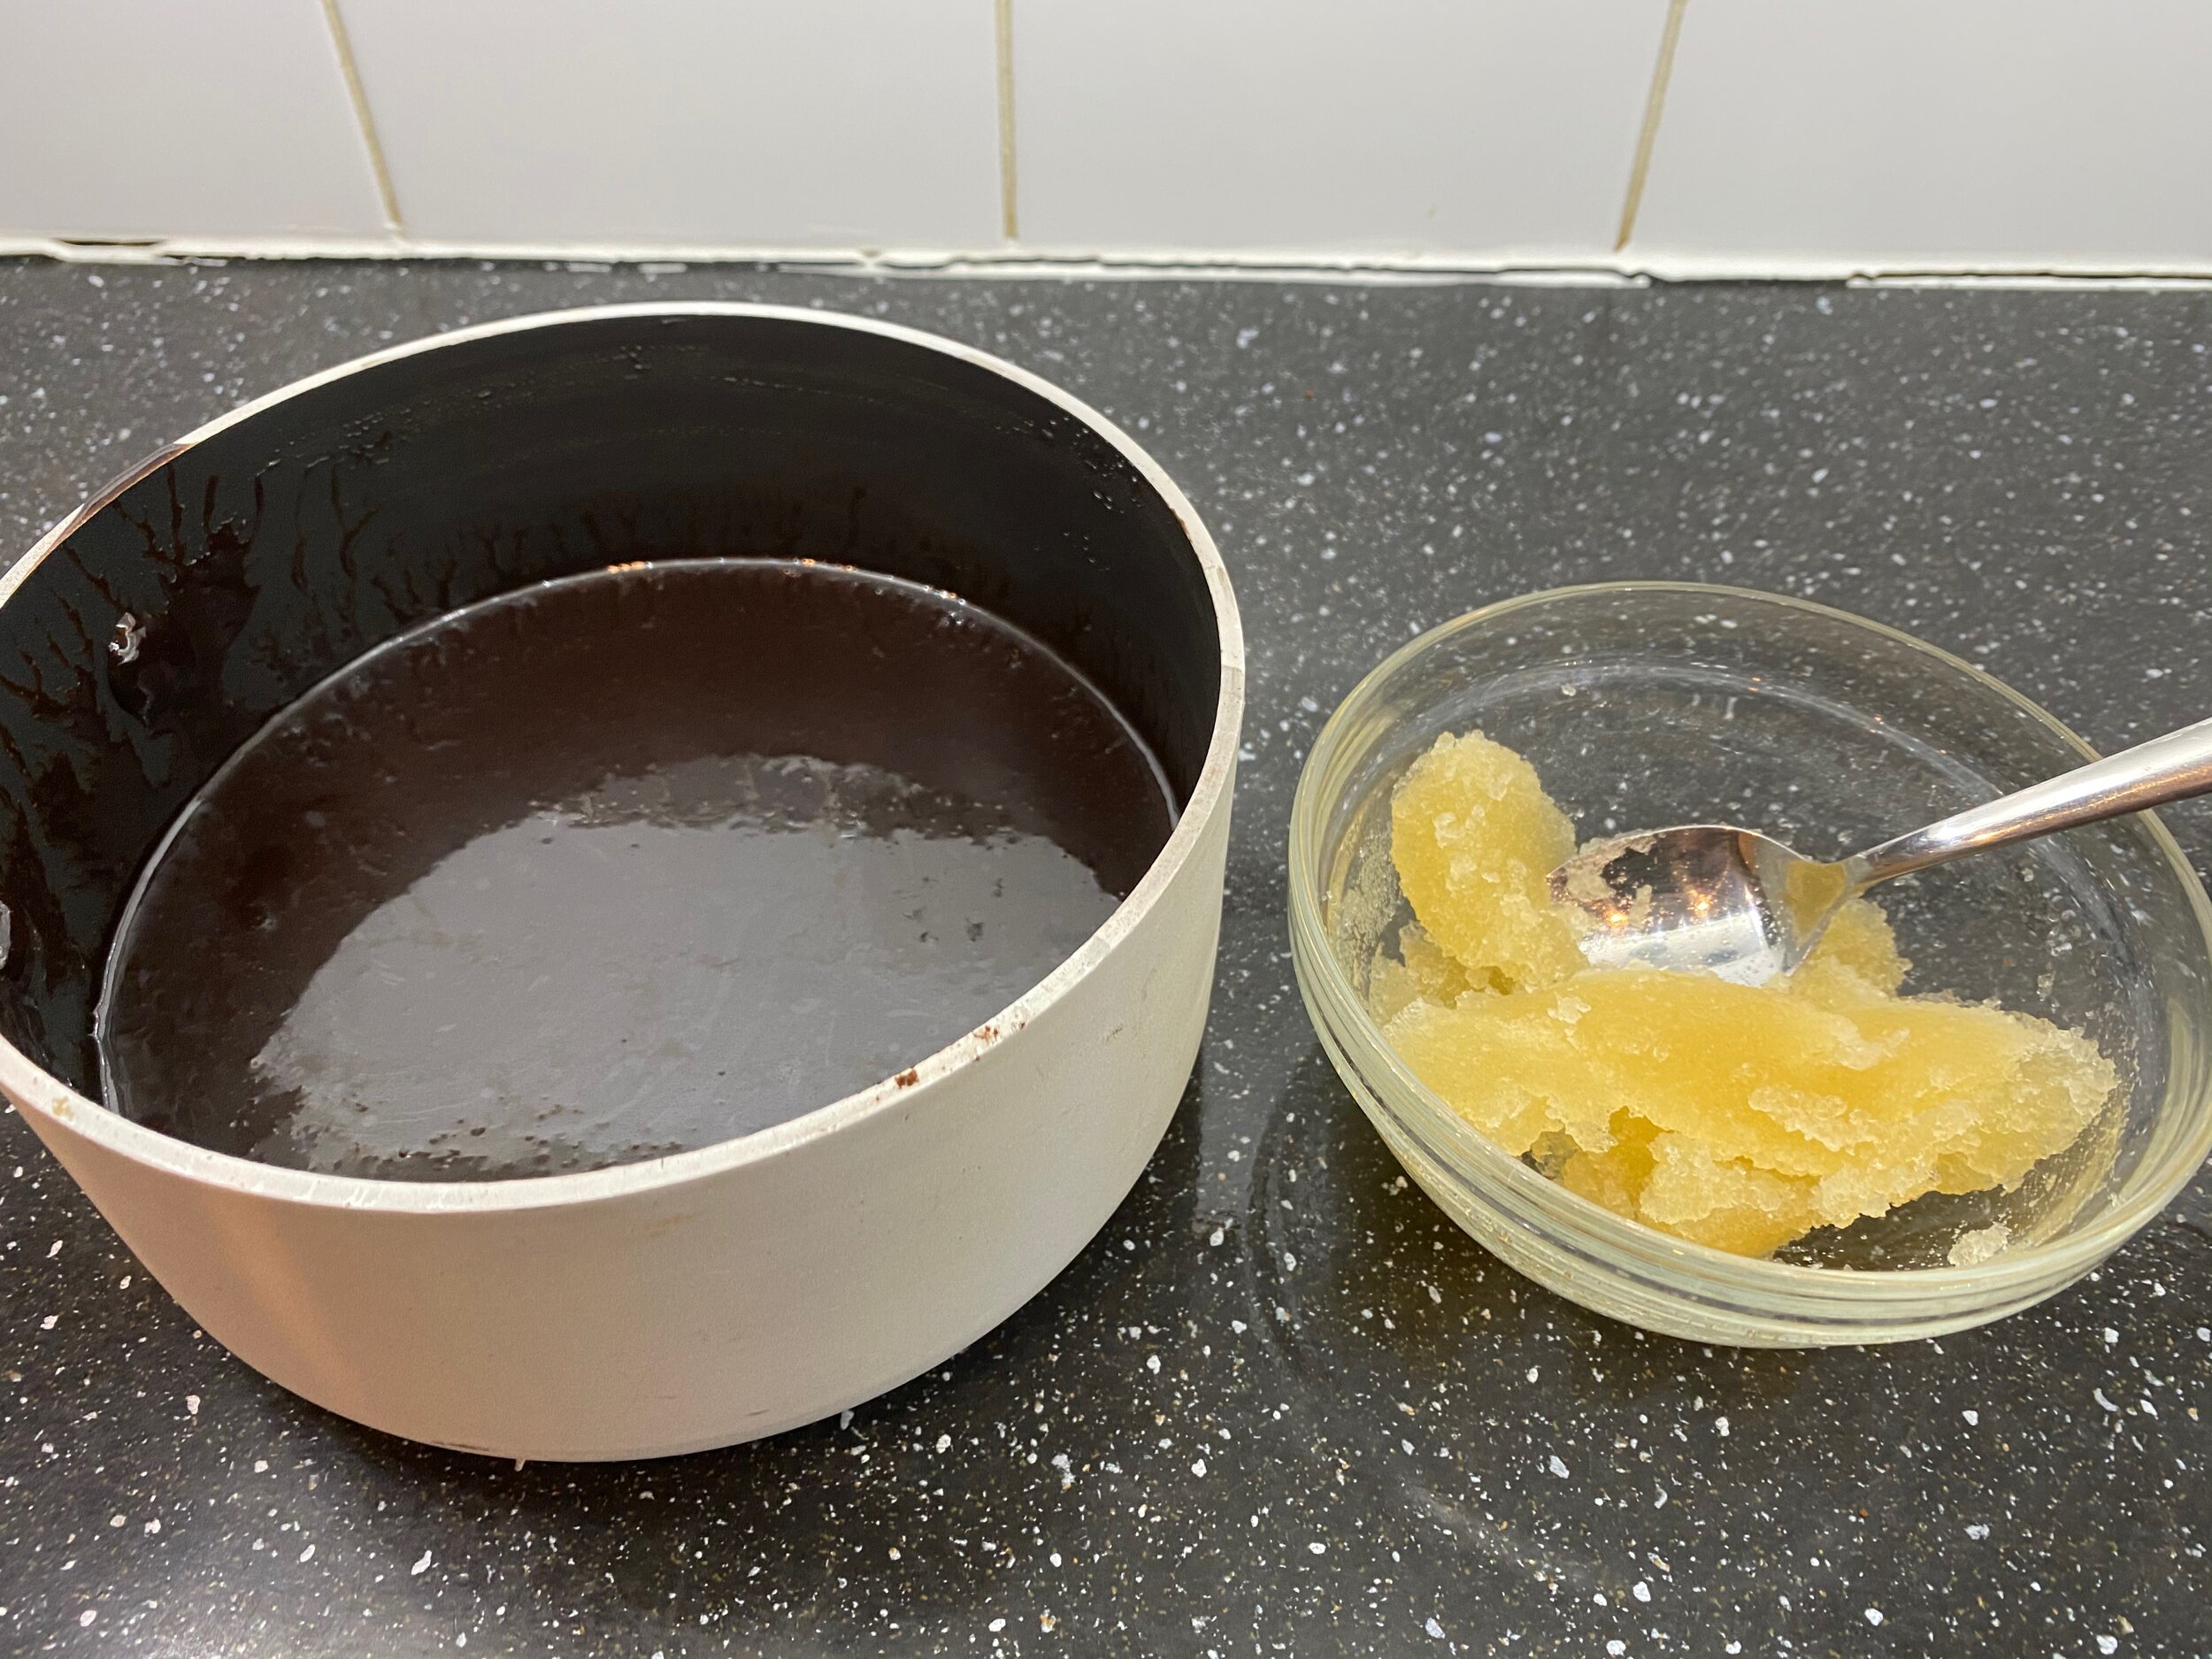
Remove from the heat to cool
Mix the gelatine powder into 60ml of water and allow to bloom
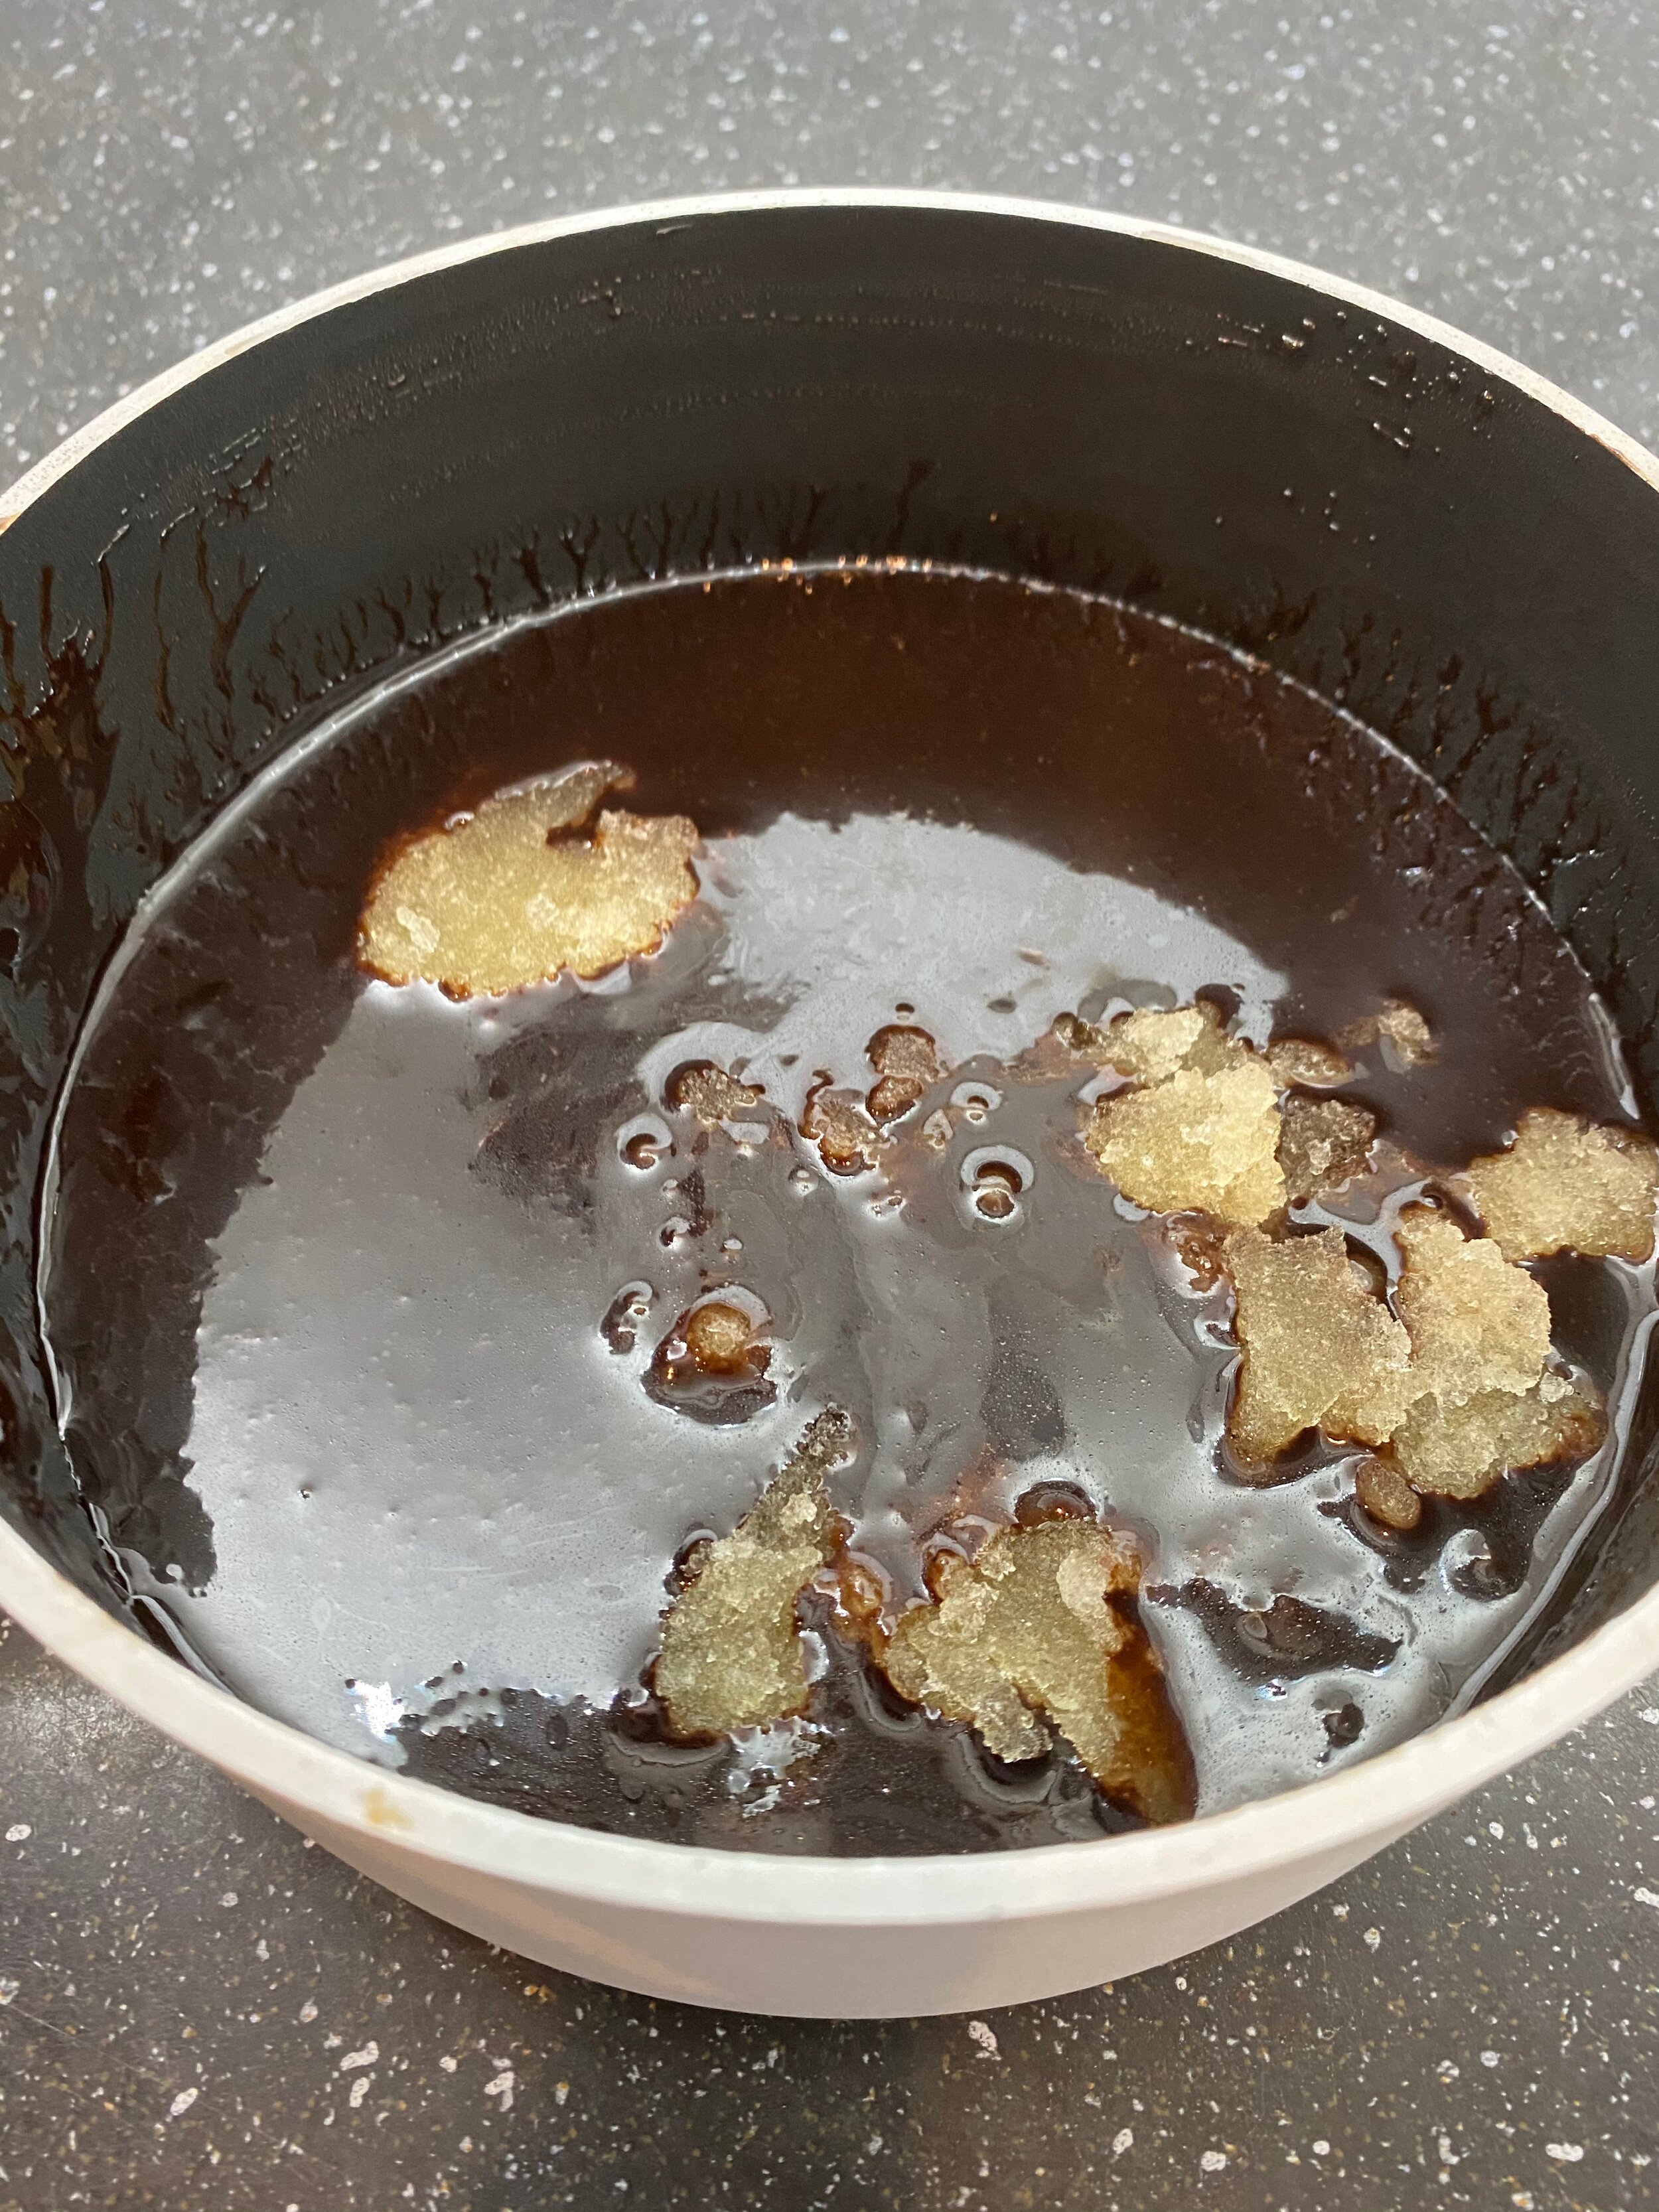
Whisk the gelatine into the warm chocolate glaze until completely dissolved
Tip into a jug and allow to cool to room temperature, but still be runny enough to pour
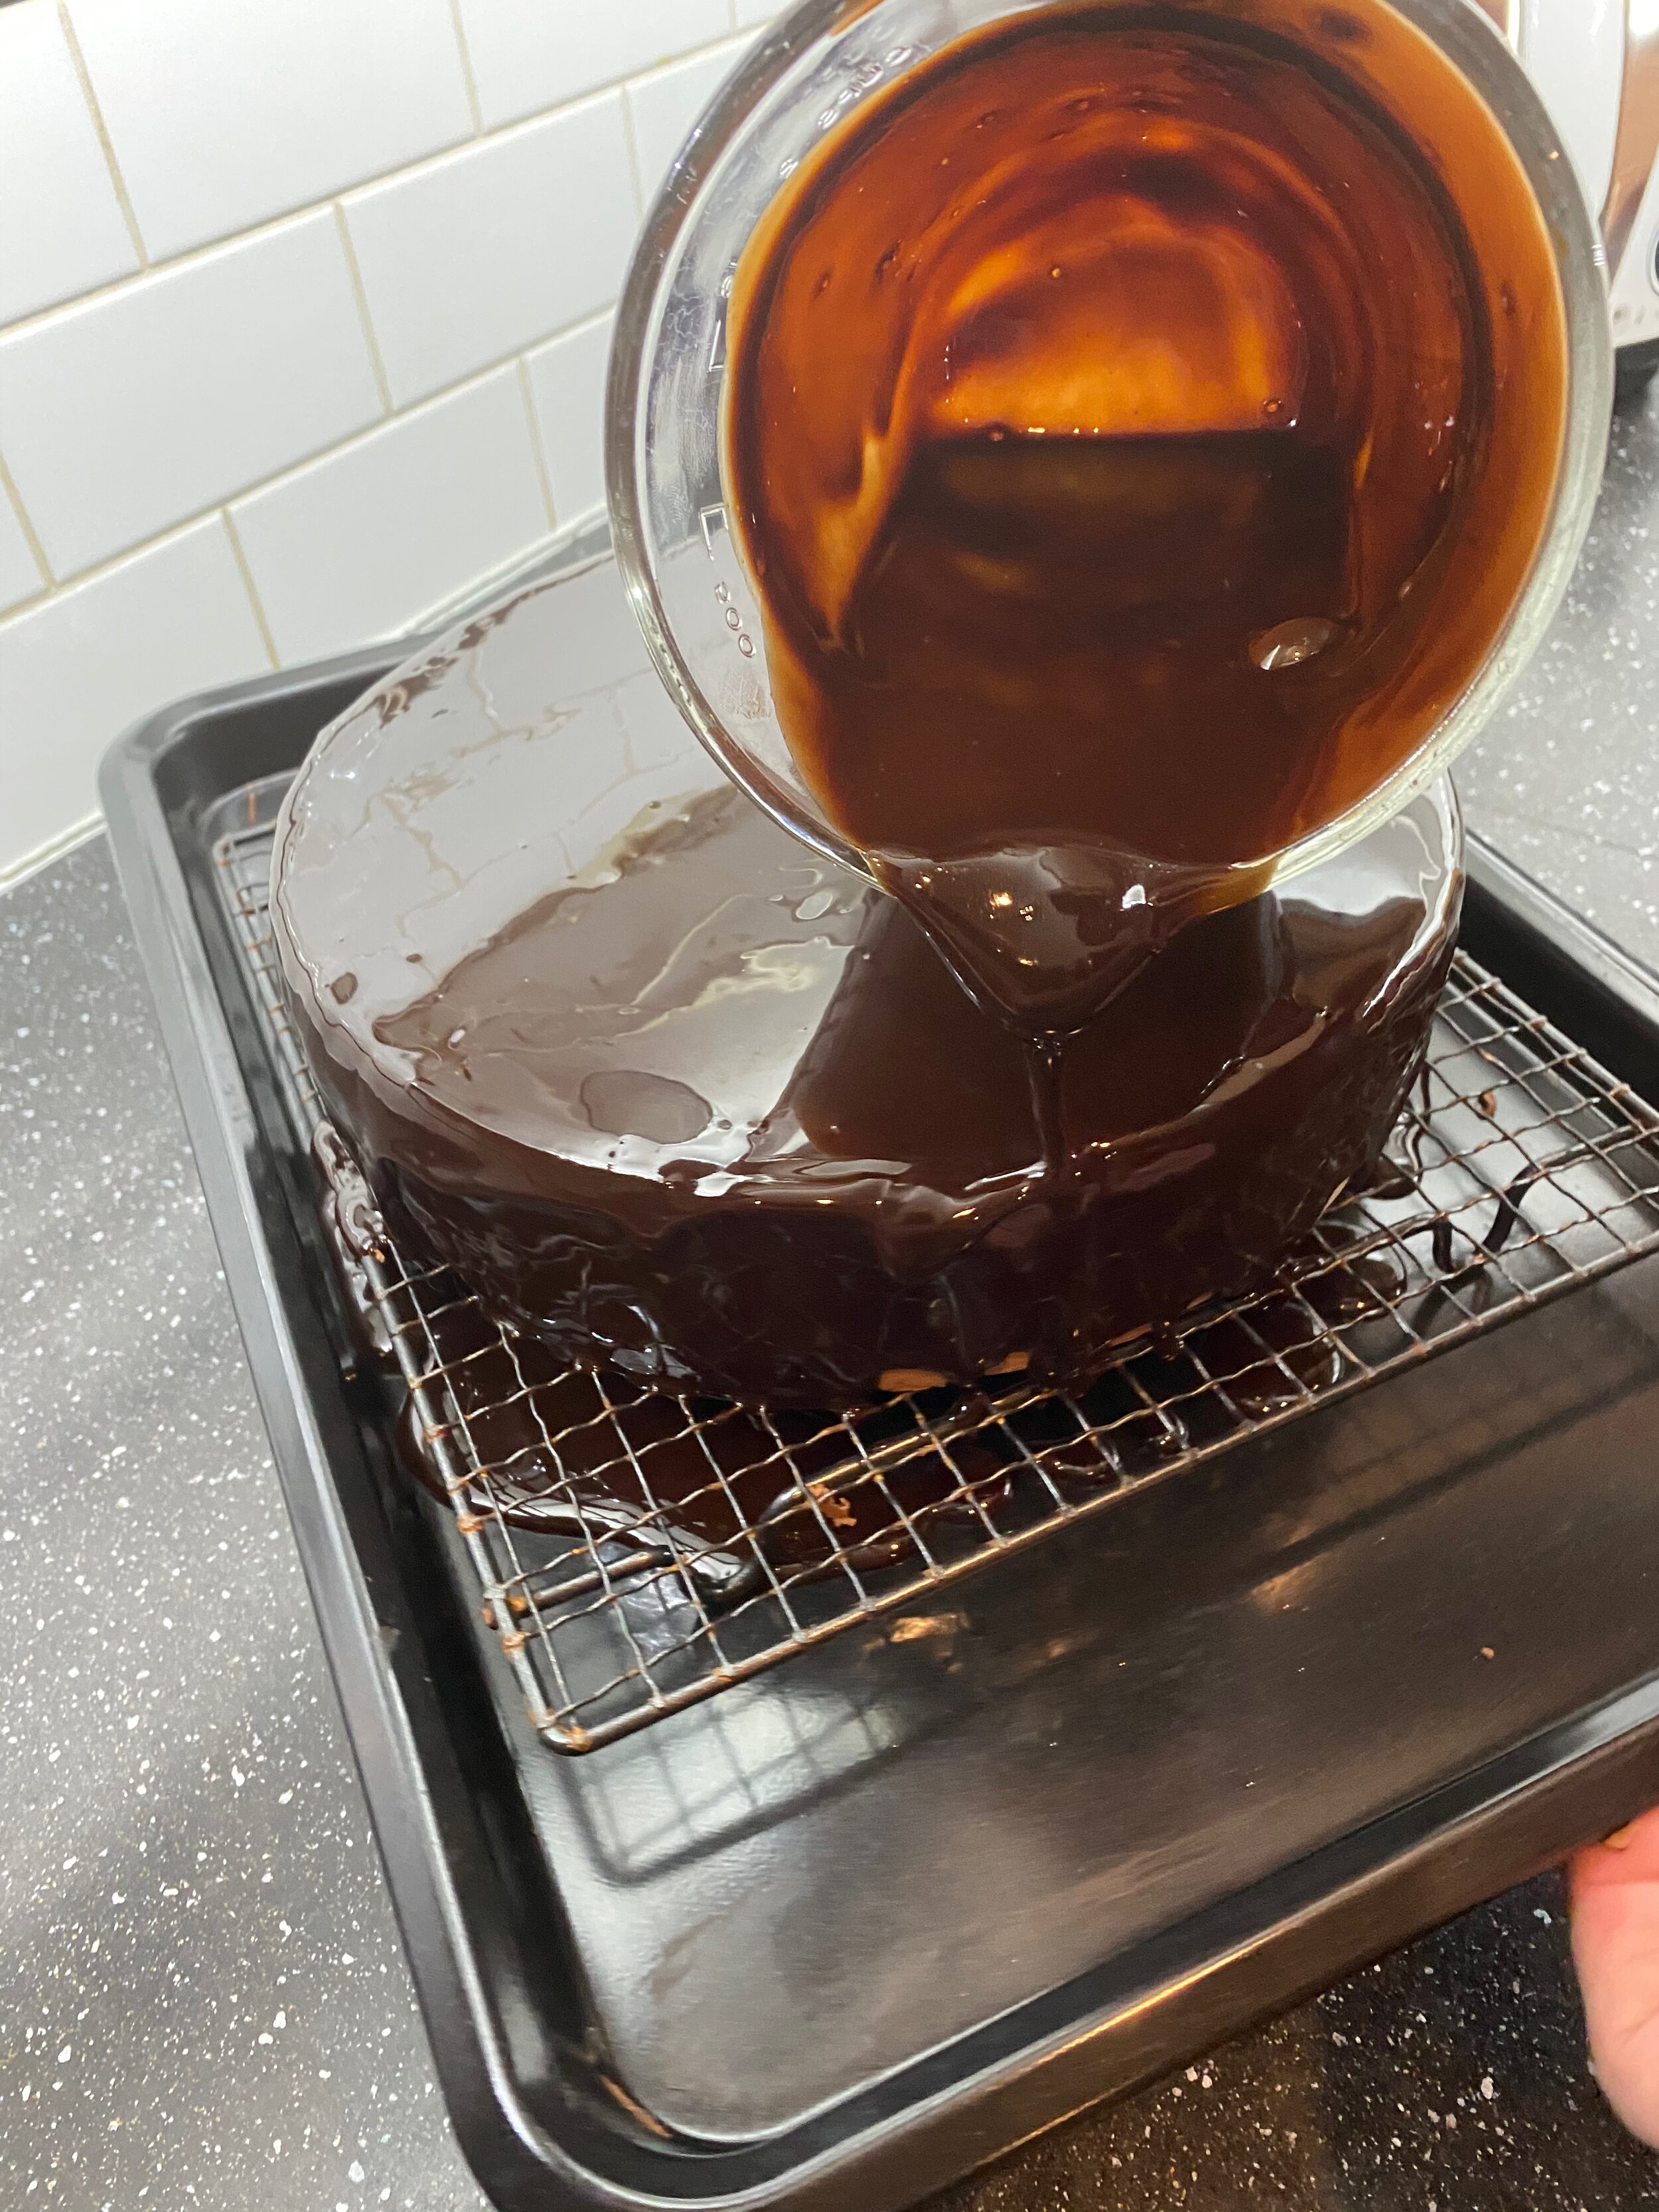
Step 4 - Pour!
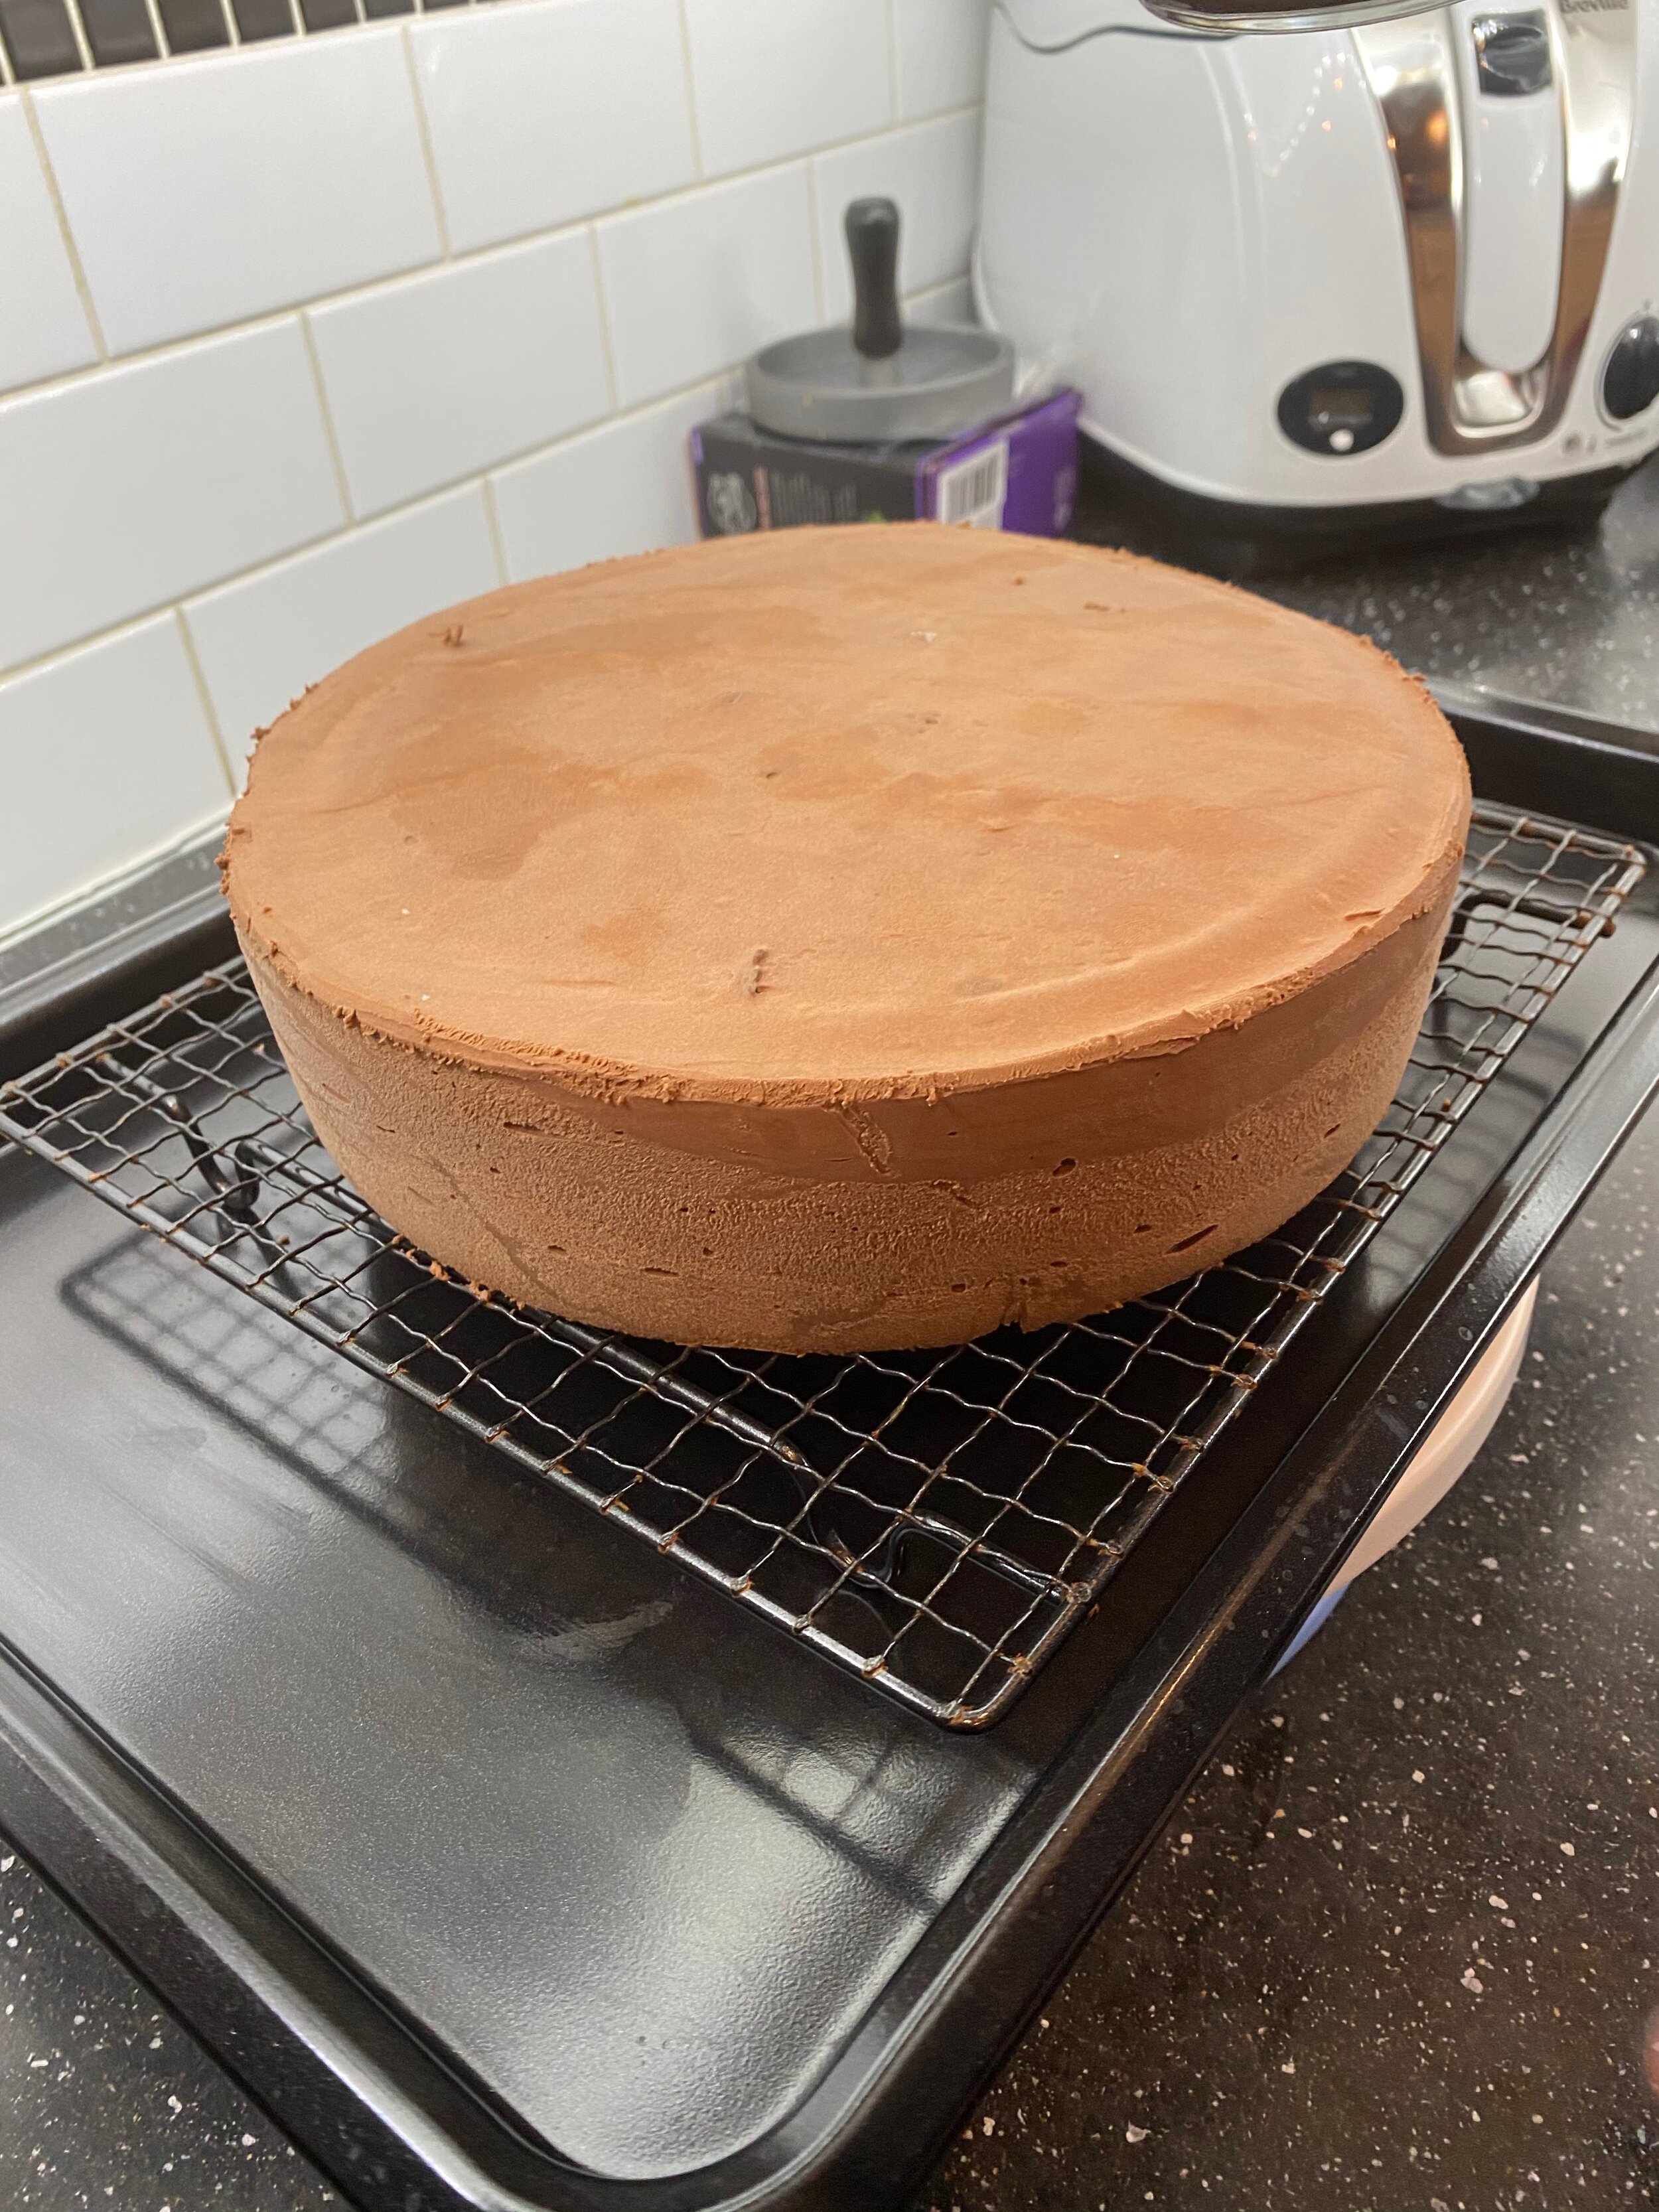
Take the cake from the freezer and carefully remove from the mould
Invert the cake and put on a cooling rack above a tray, this is going to get messy!
Put the tray on to a rotating stand if you have one
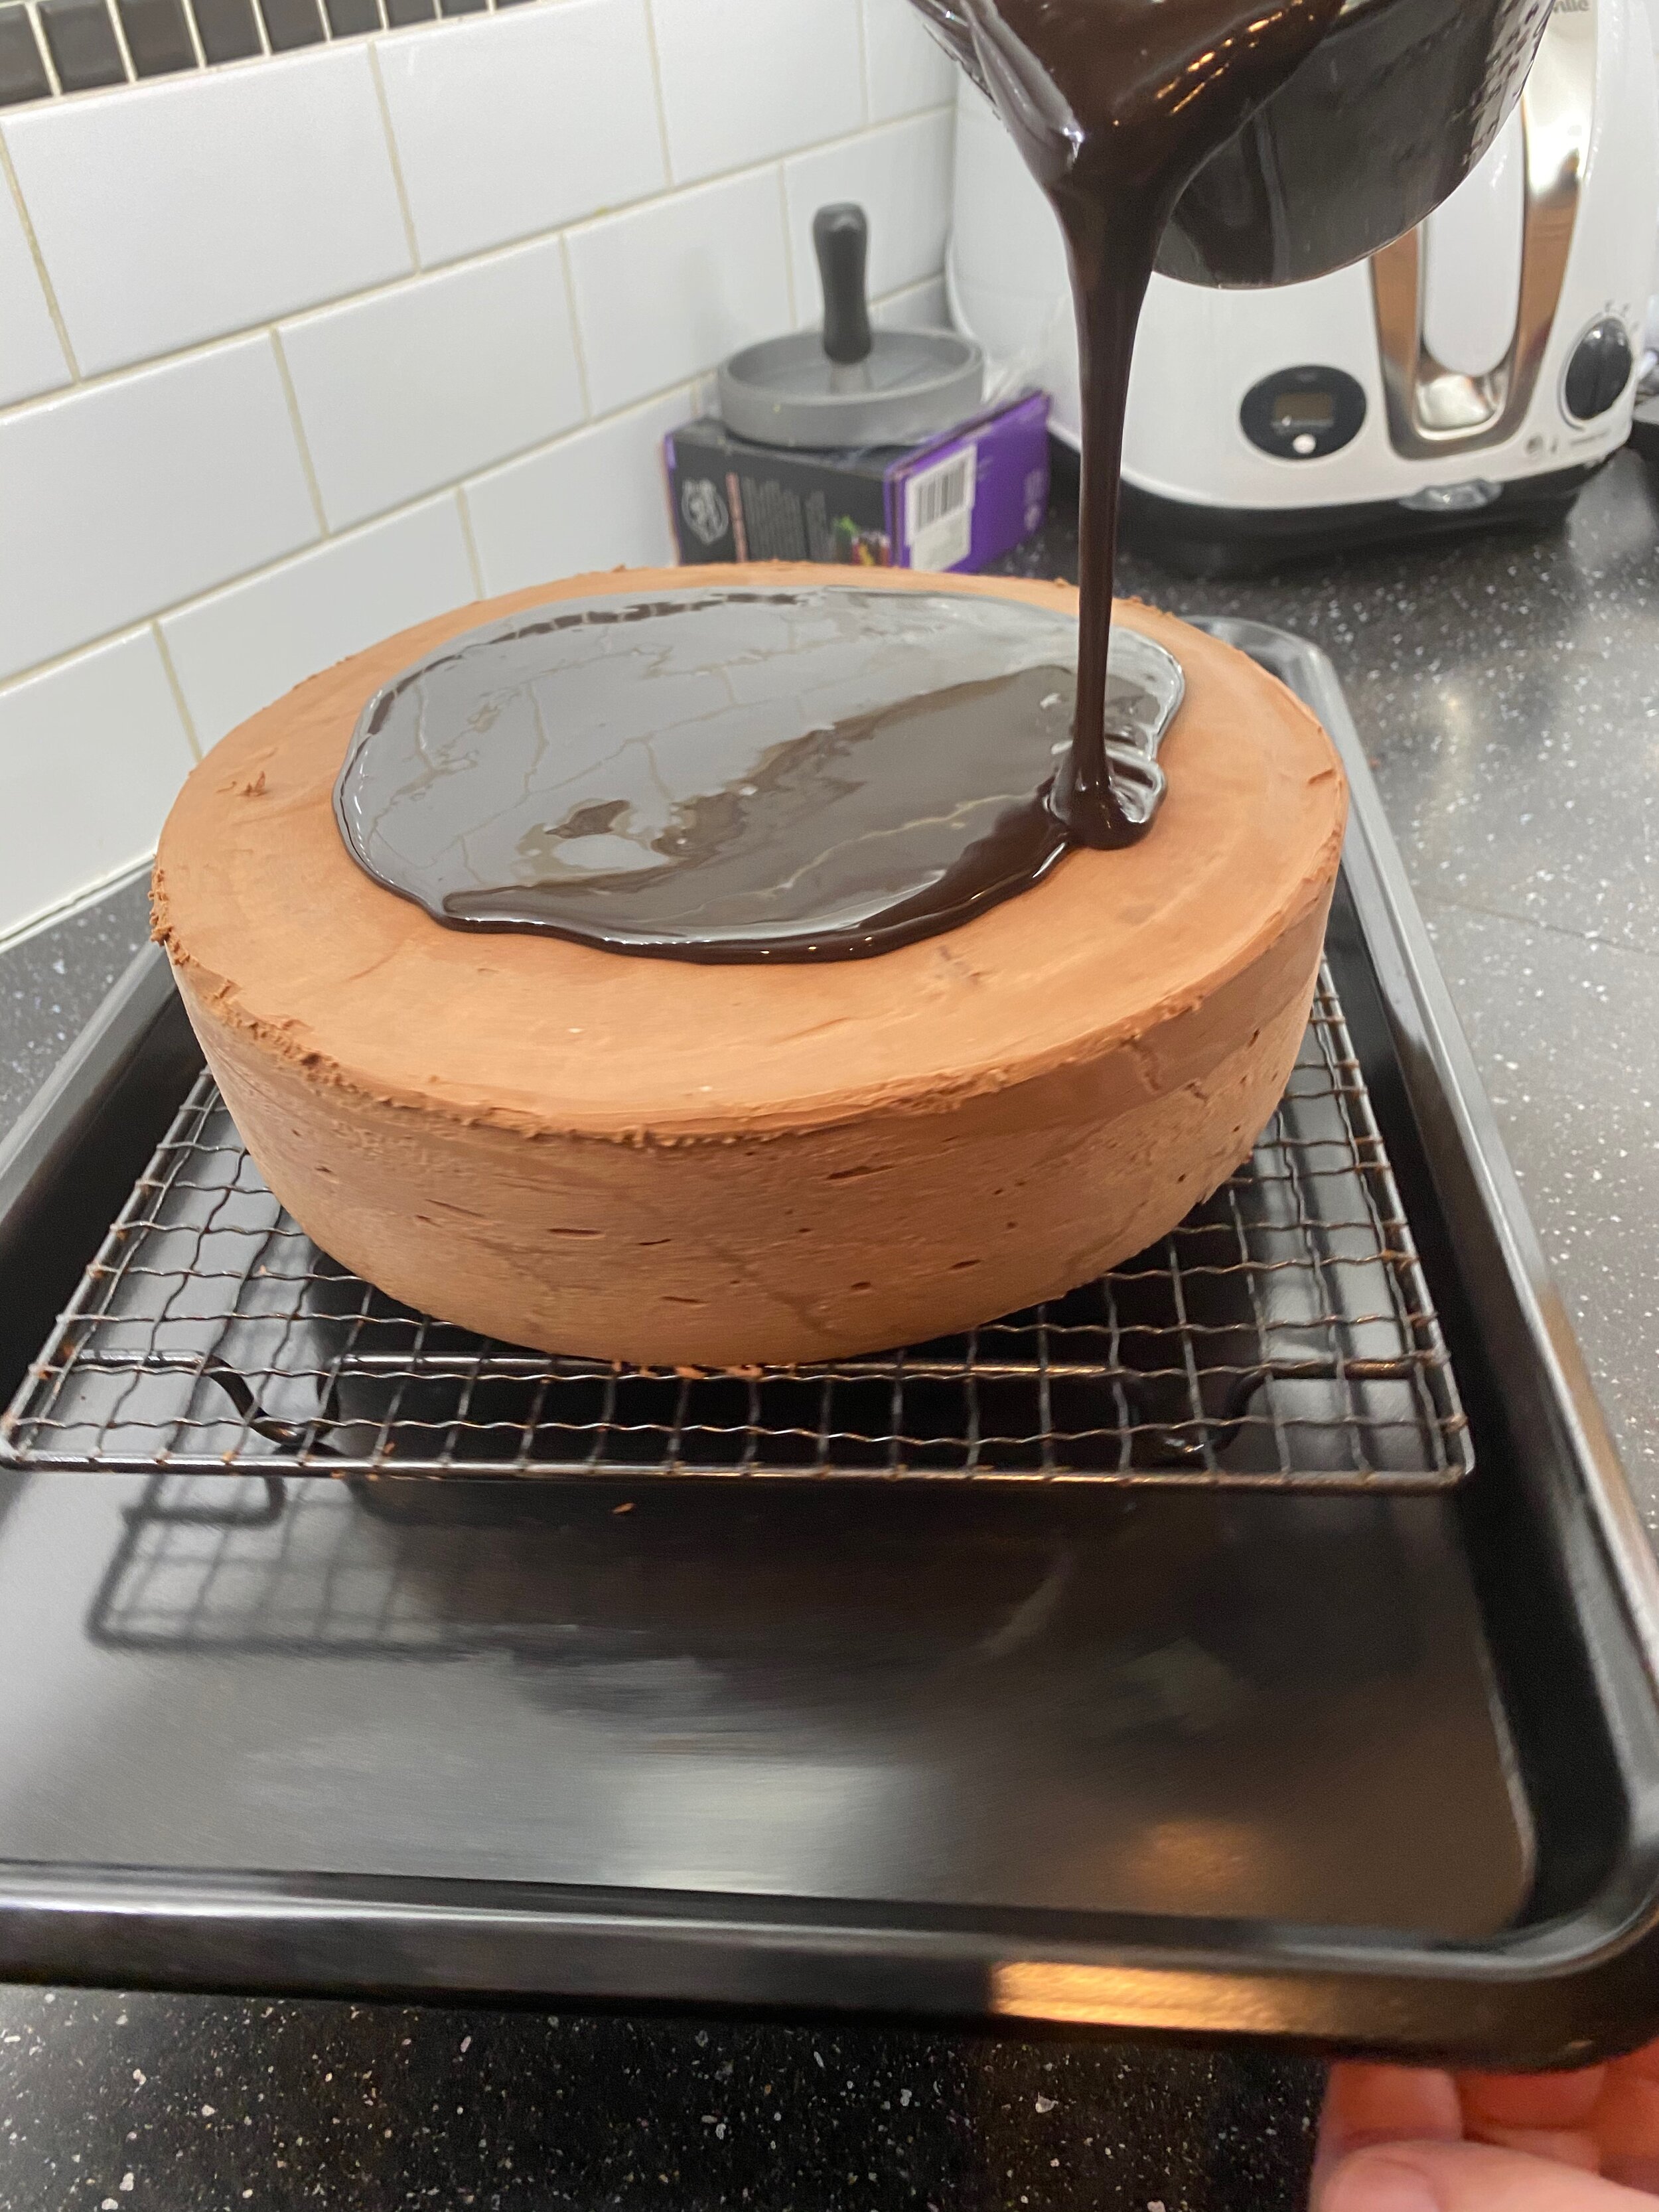
Carefully and quickly pour the warm glaze over the cake, turning the cake as you go
The chilled cake will help set the glaze, so work fast
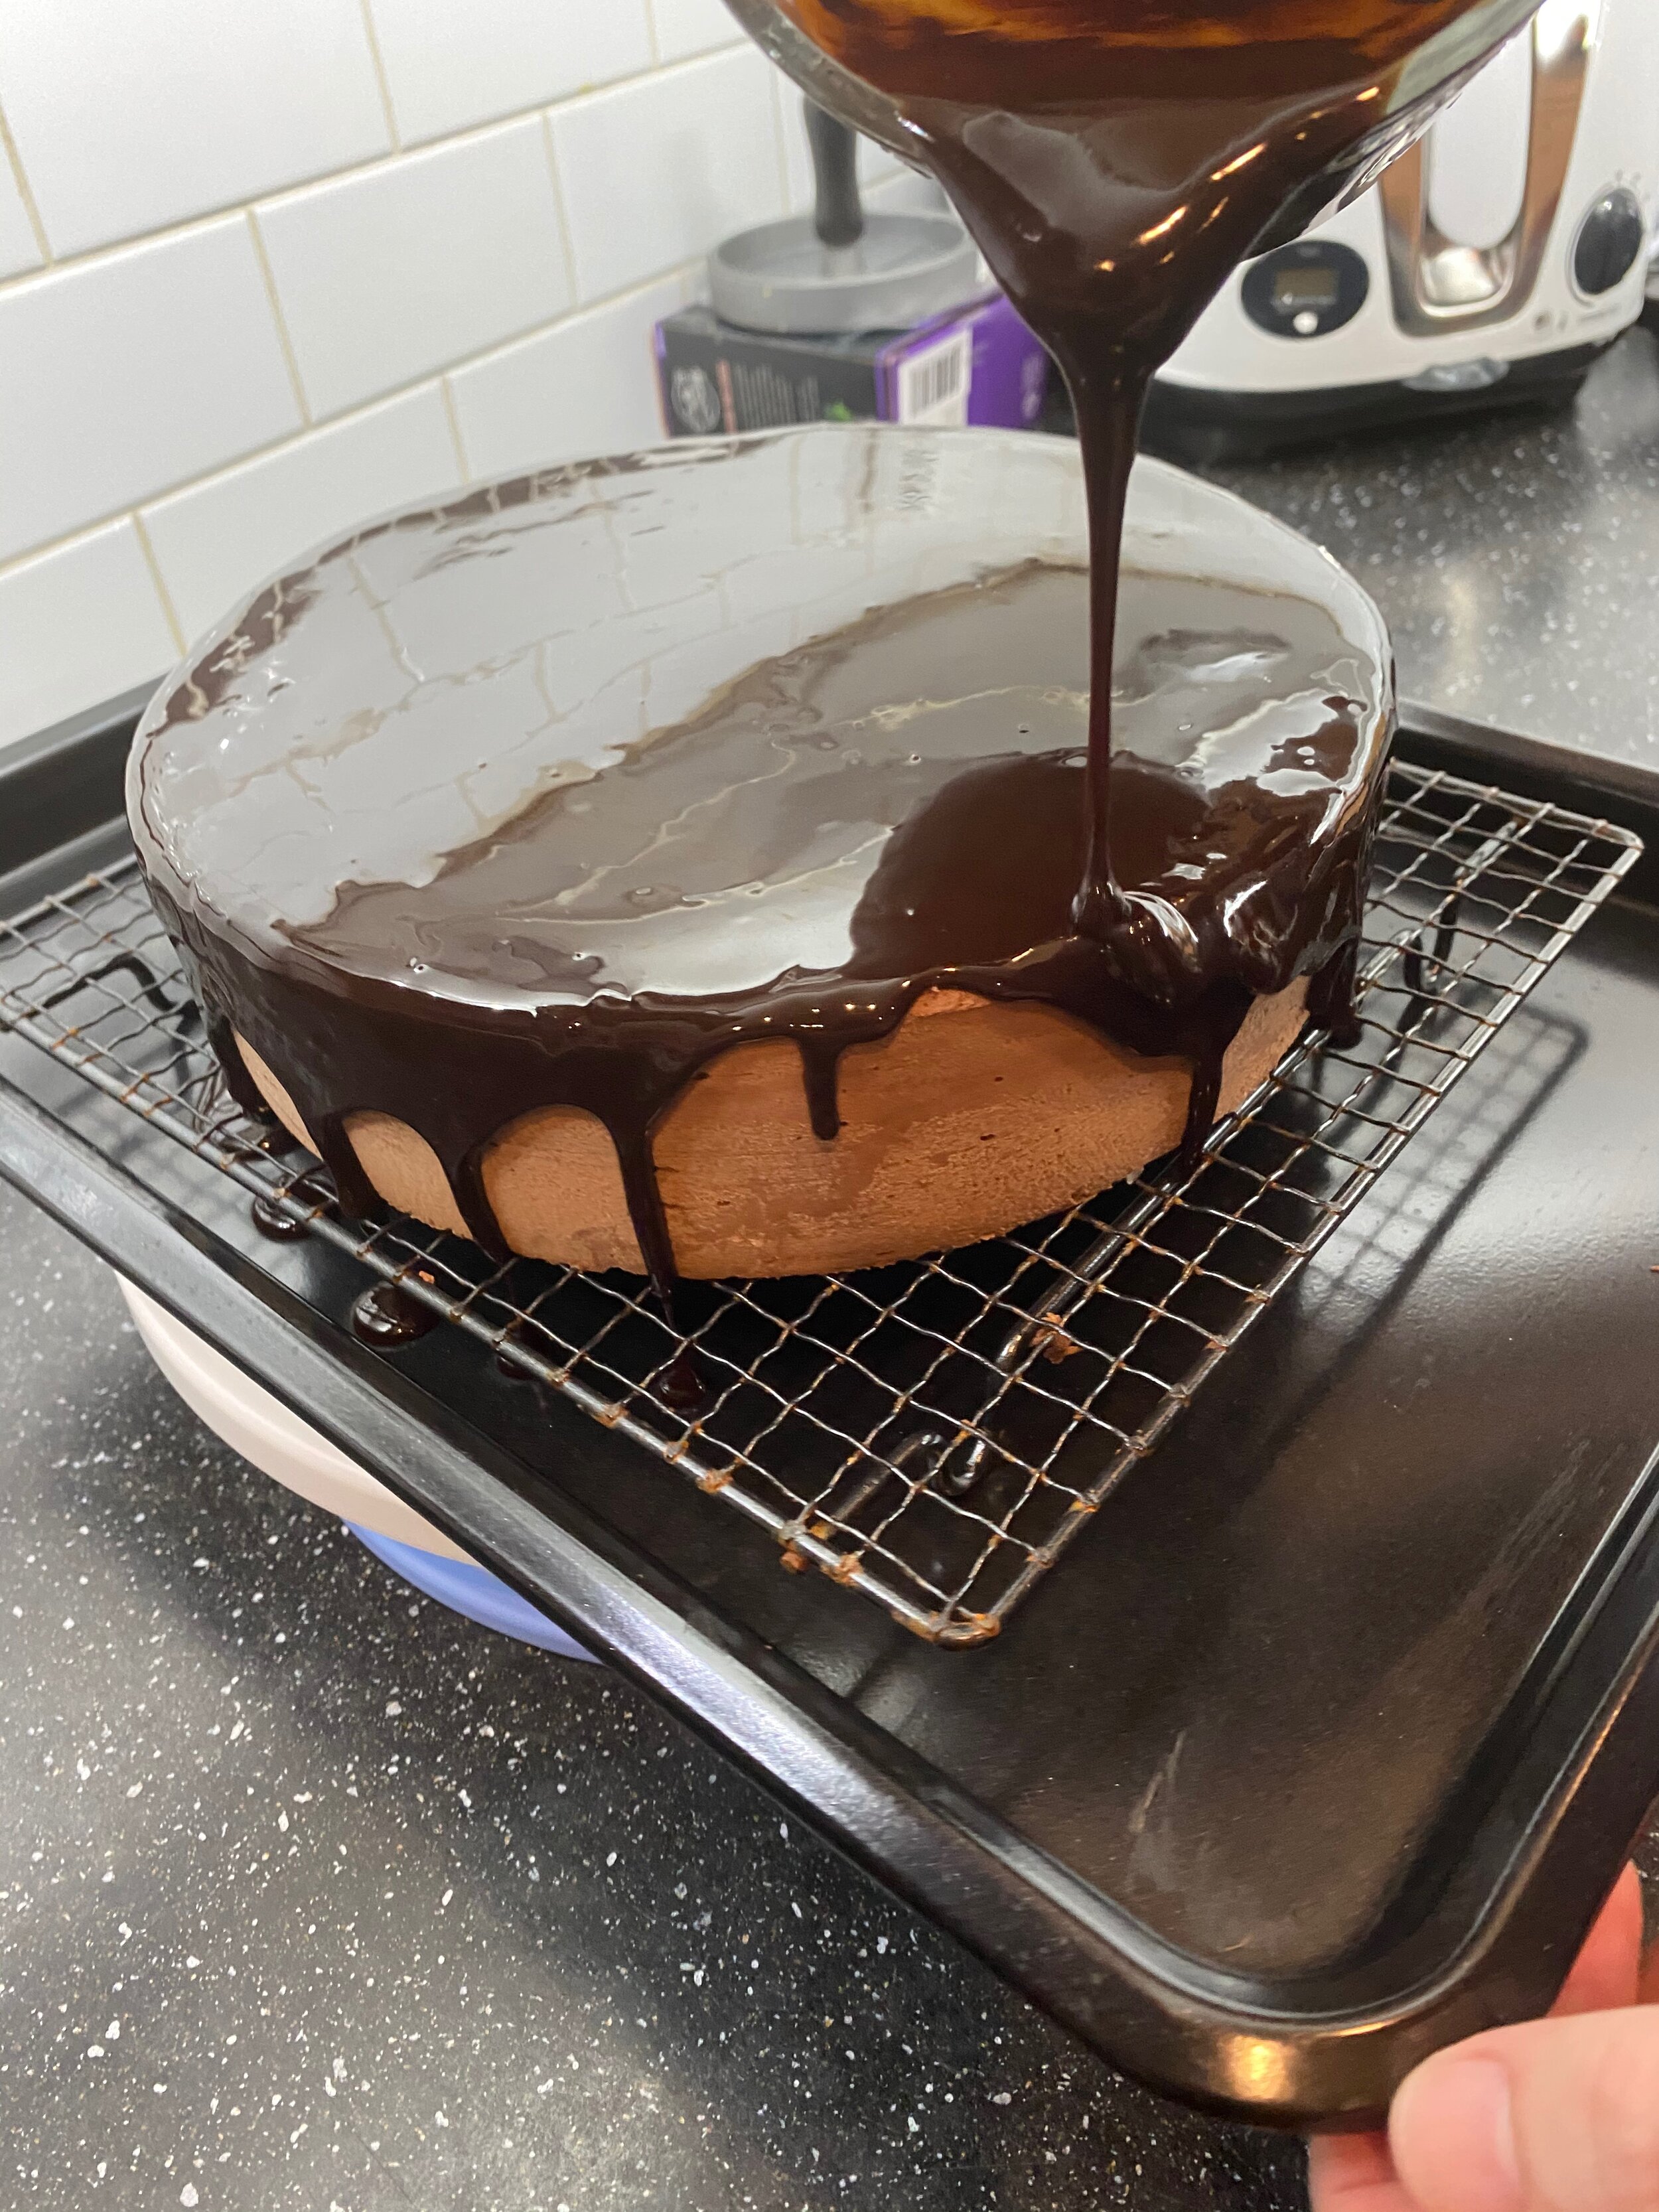
Pour evenly around the edges so the glaze drips down the side
You can smooth any bumps or cover any holes on the side with a palette knife
Any leftover glaze can be reheated and used again, or just let it set and eat as a chef’s treat - chocolate jelly!
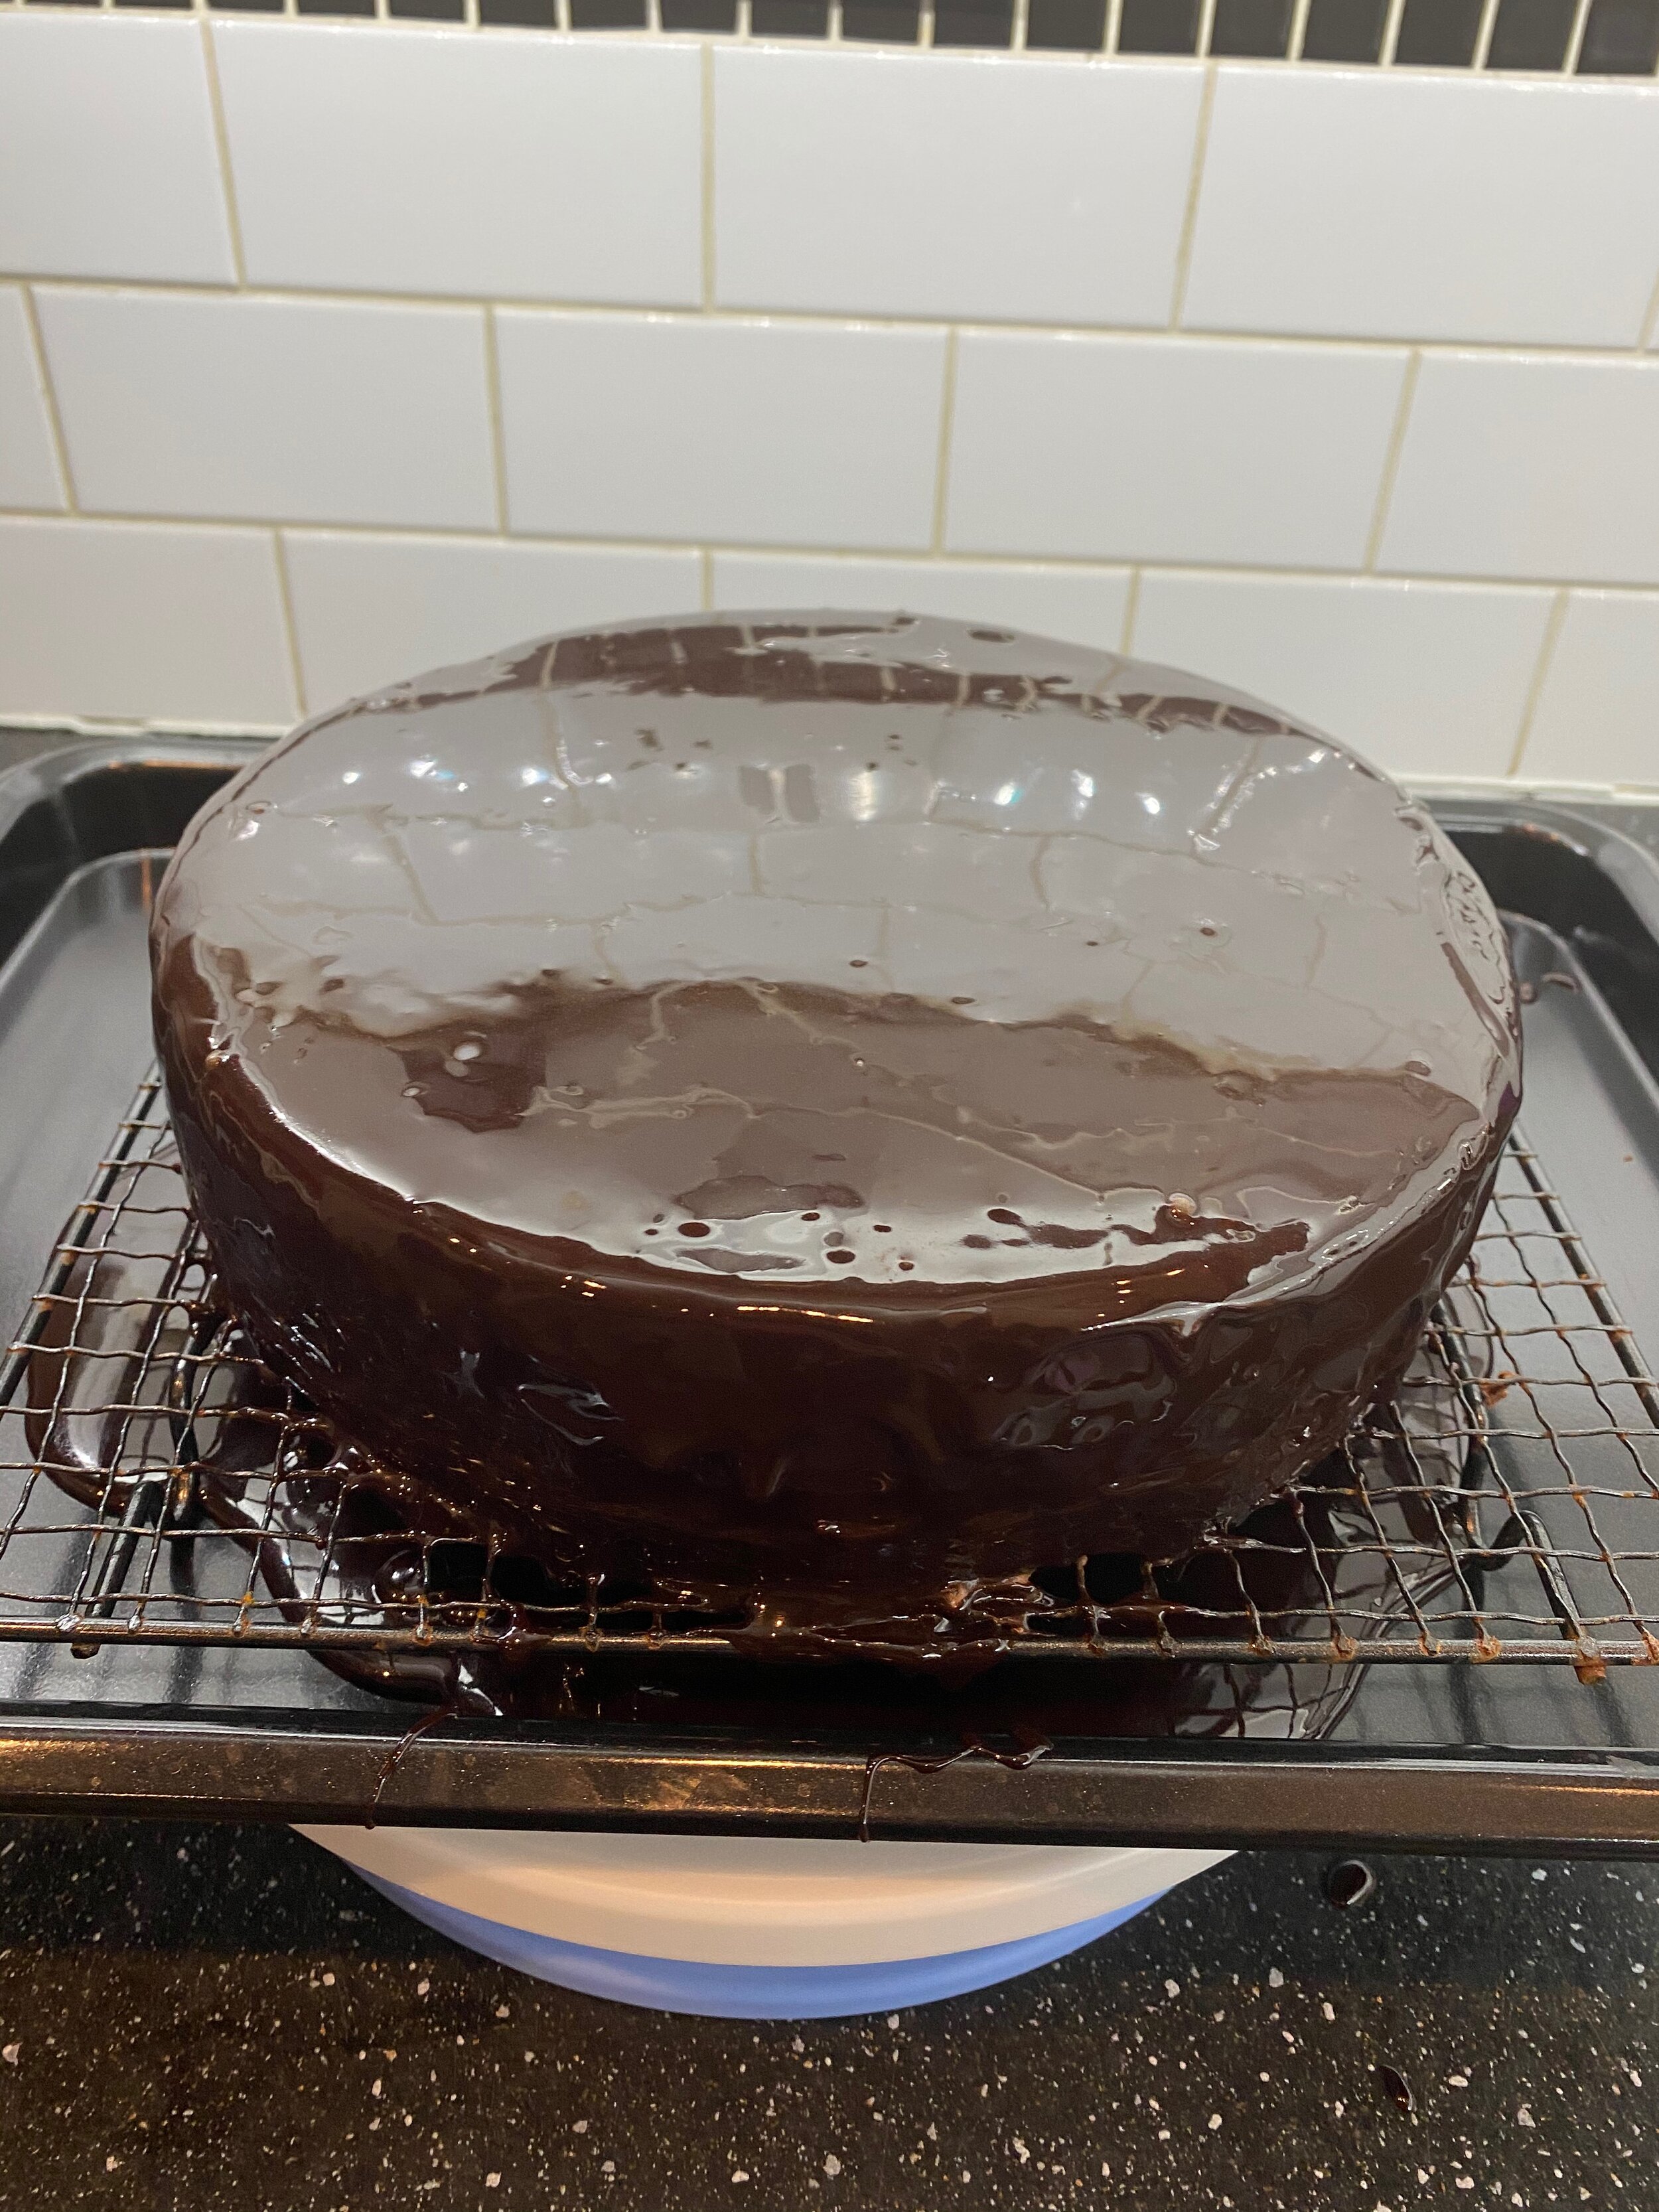
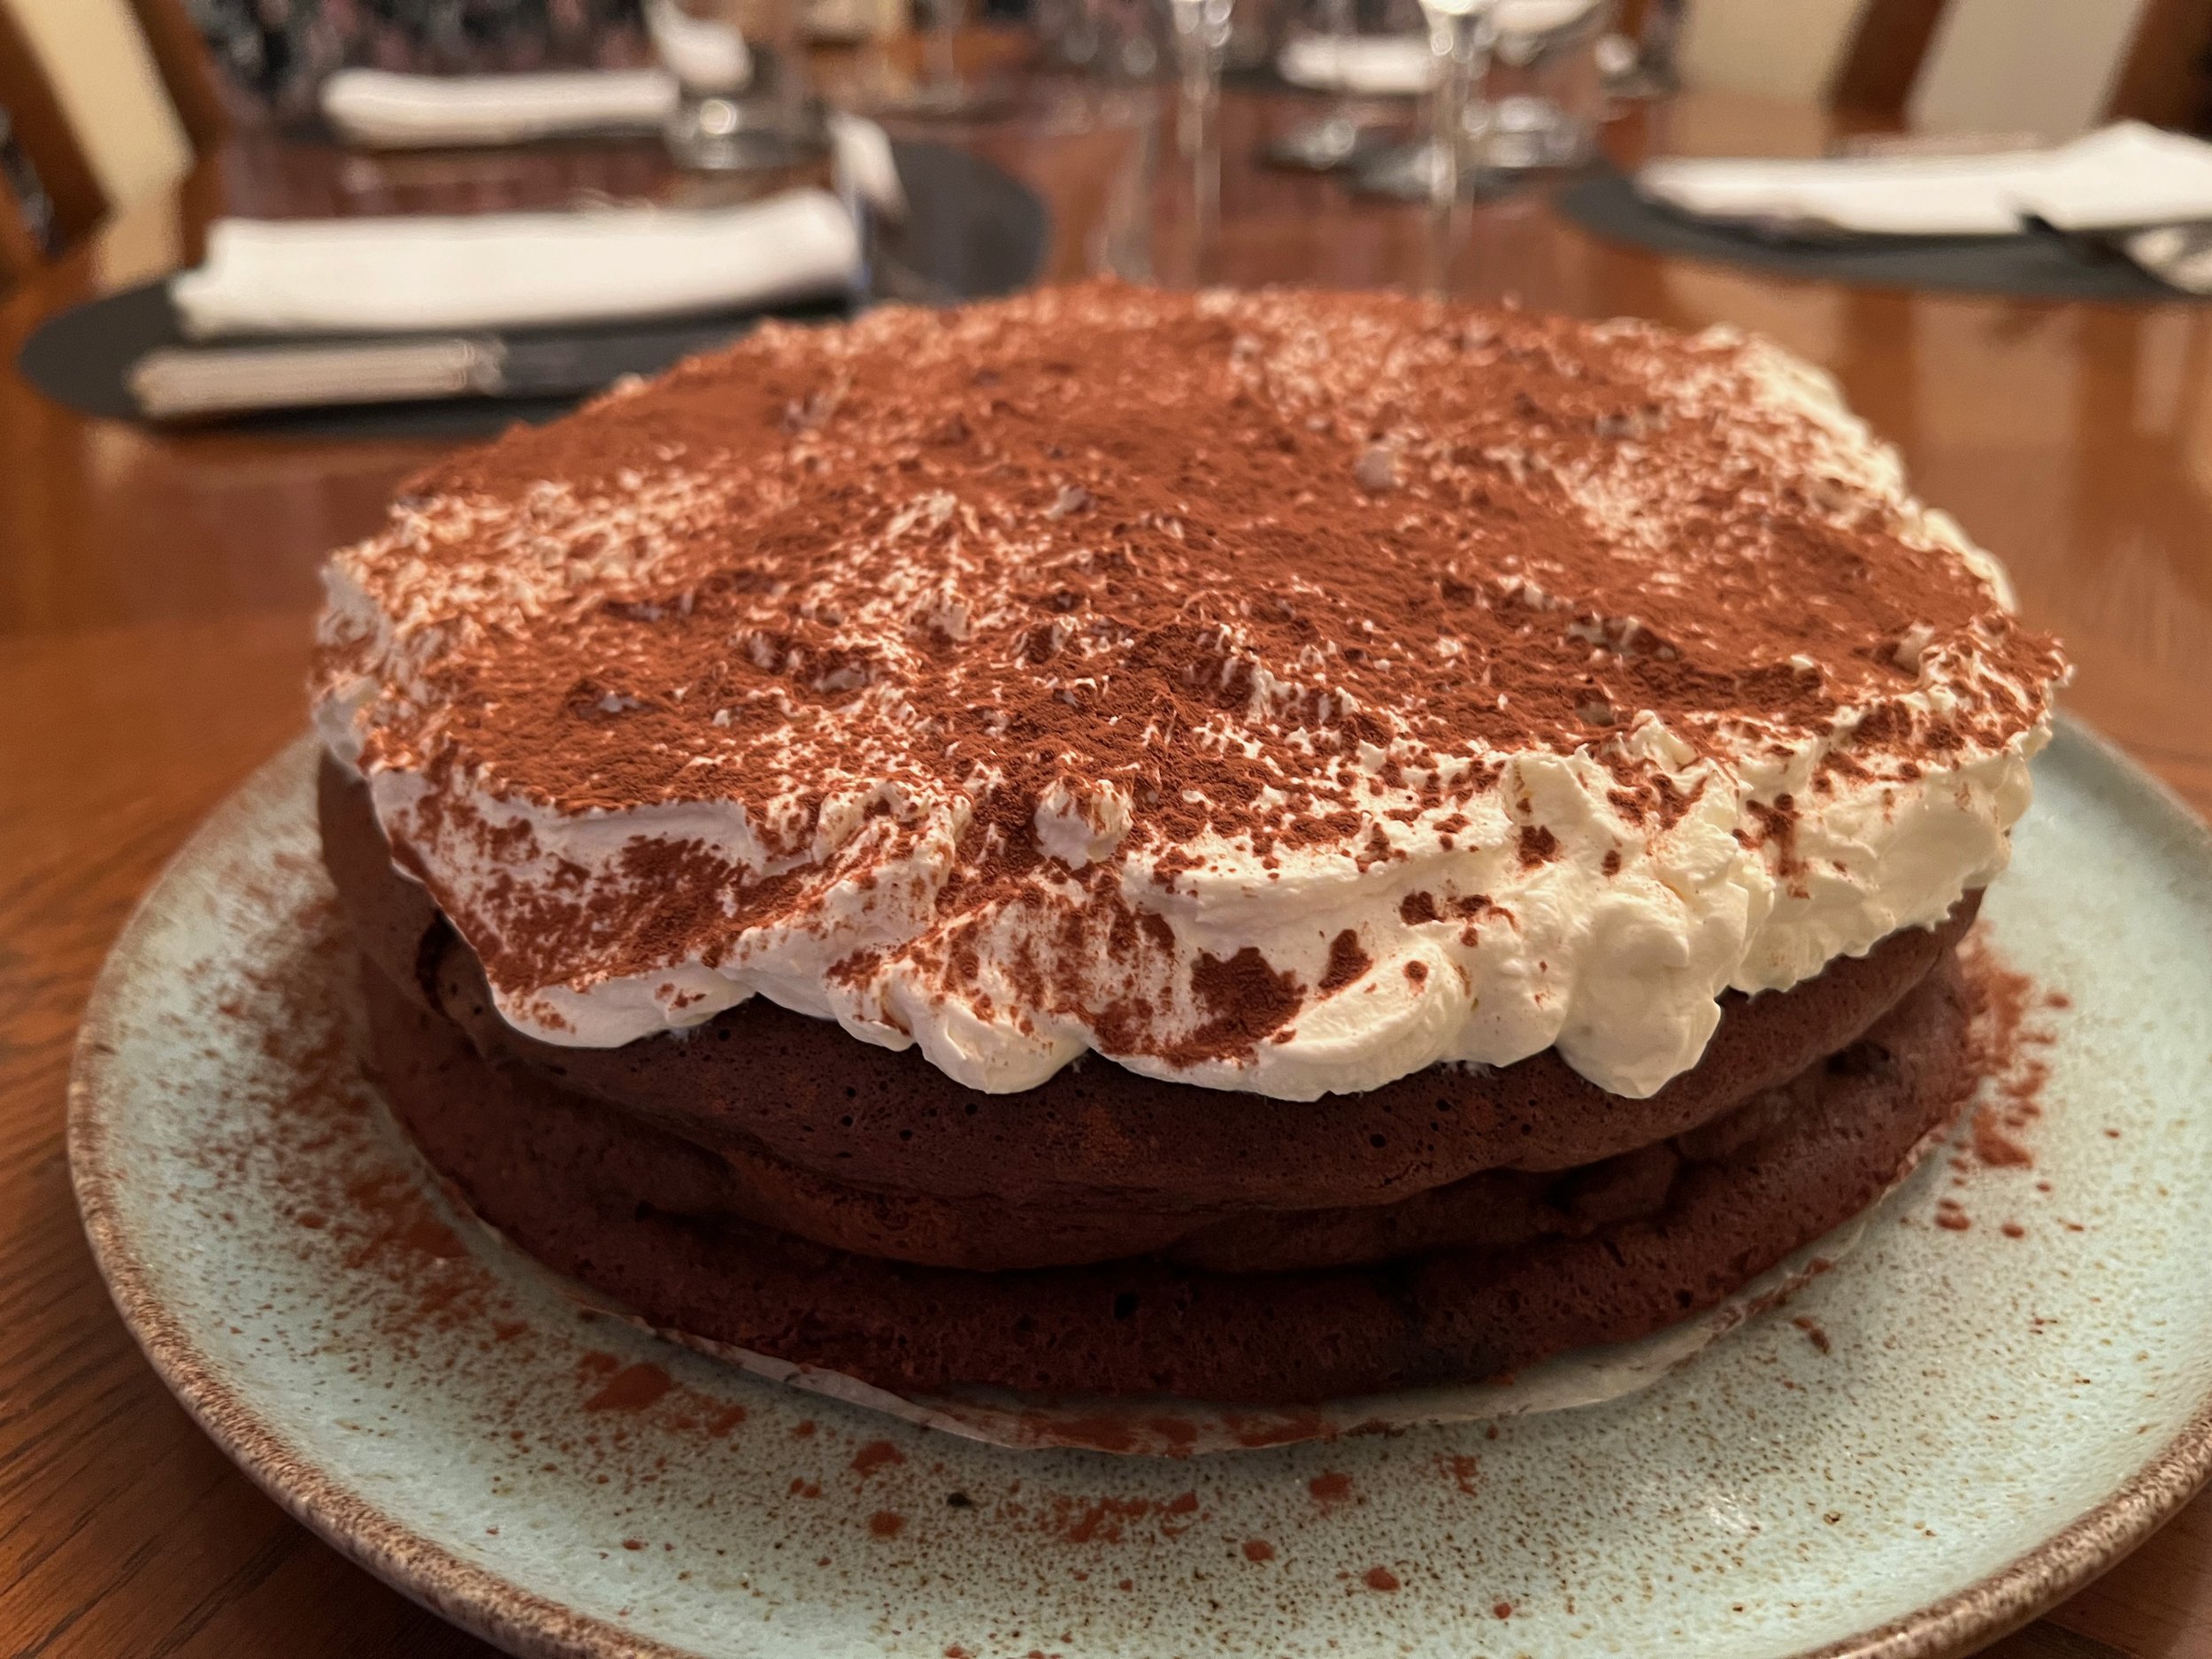
Decorate the finished cake with a sprinkling of edible gold stars. Here I held a piece of card over two-thirds of the cake and sprinkled to give a sharp edge to the decoration.
Chill the cake in the fridge until the glaze has set but the cake has defrosted.
Ingredients - The mousse
400ml double cream
200g 70% dark chocolate, anything over is too bitter, under is too sweet
2 large egg yolks
60g caster sugar
60ml water
The glaze
120ml water
200g caster sugar
120ml double cream
60g cocoa powder
10g powdered gelatine
60ml water