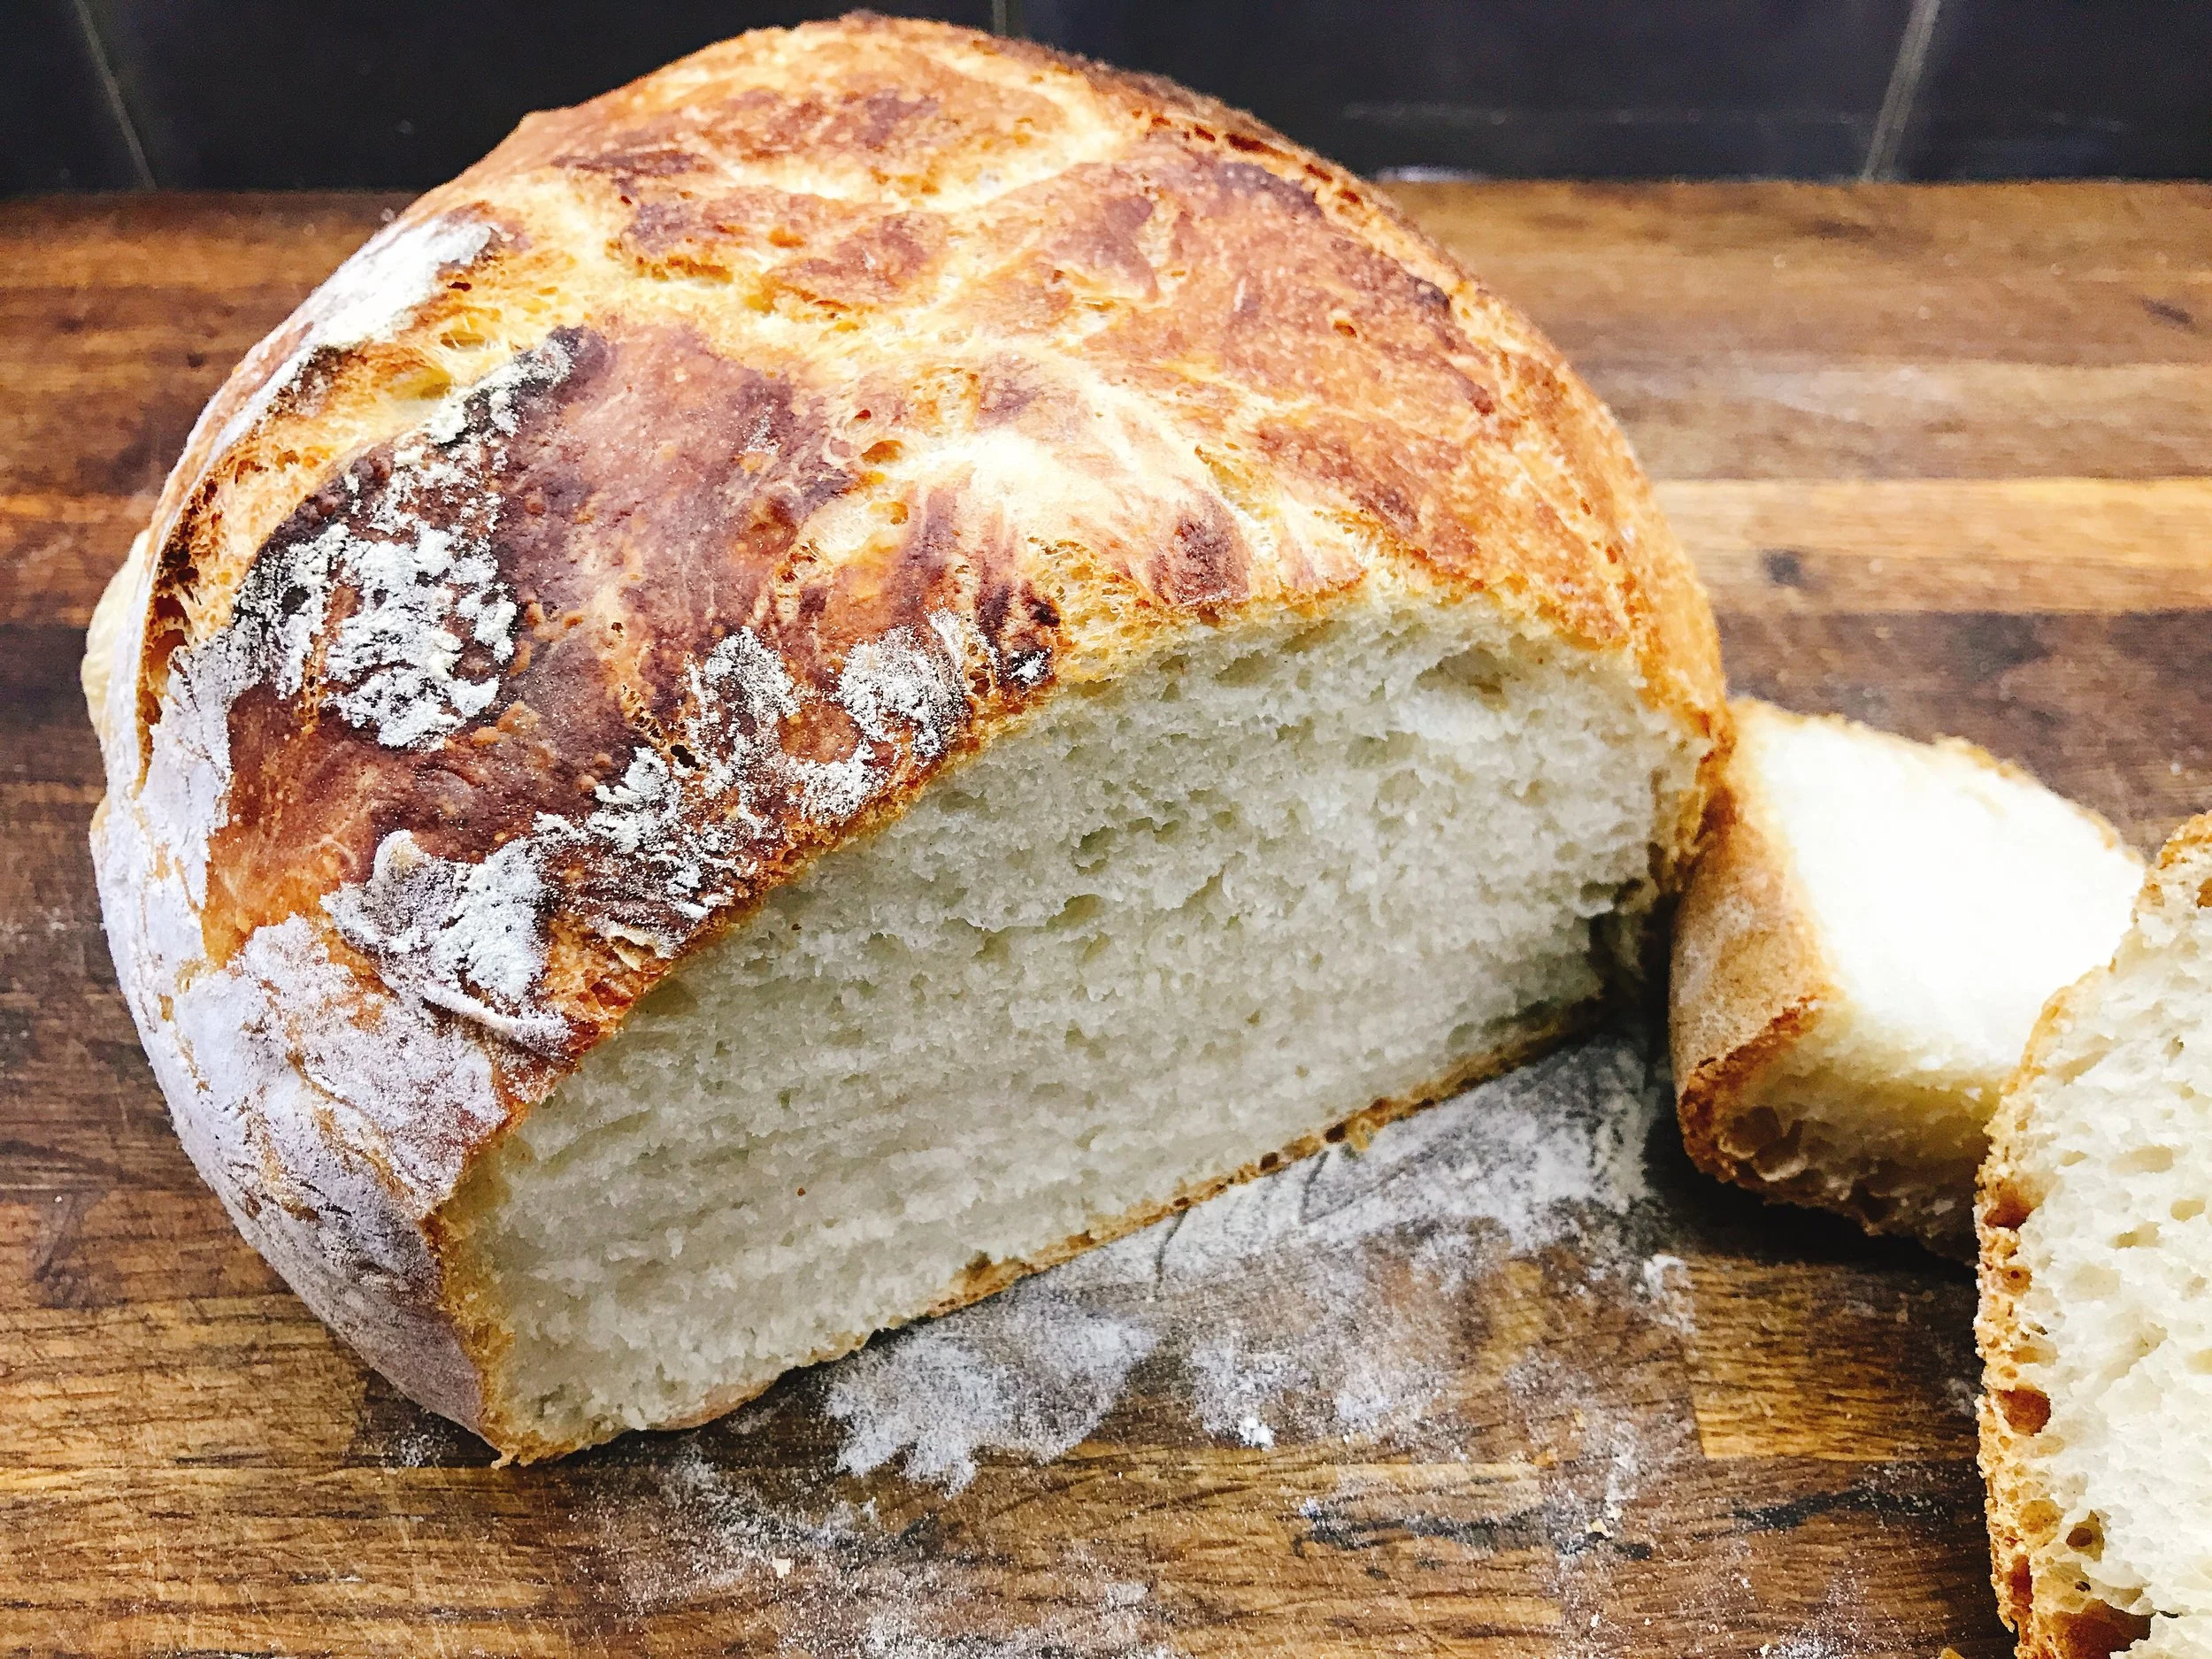
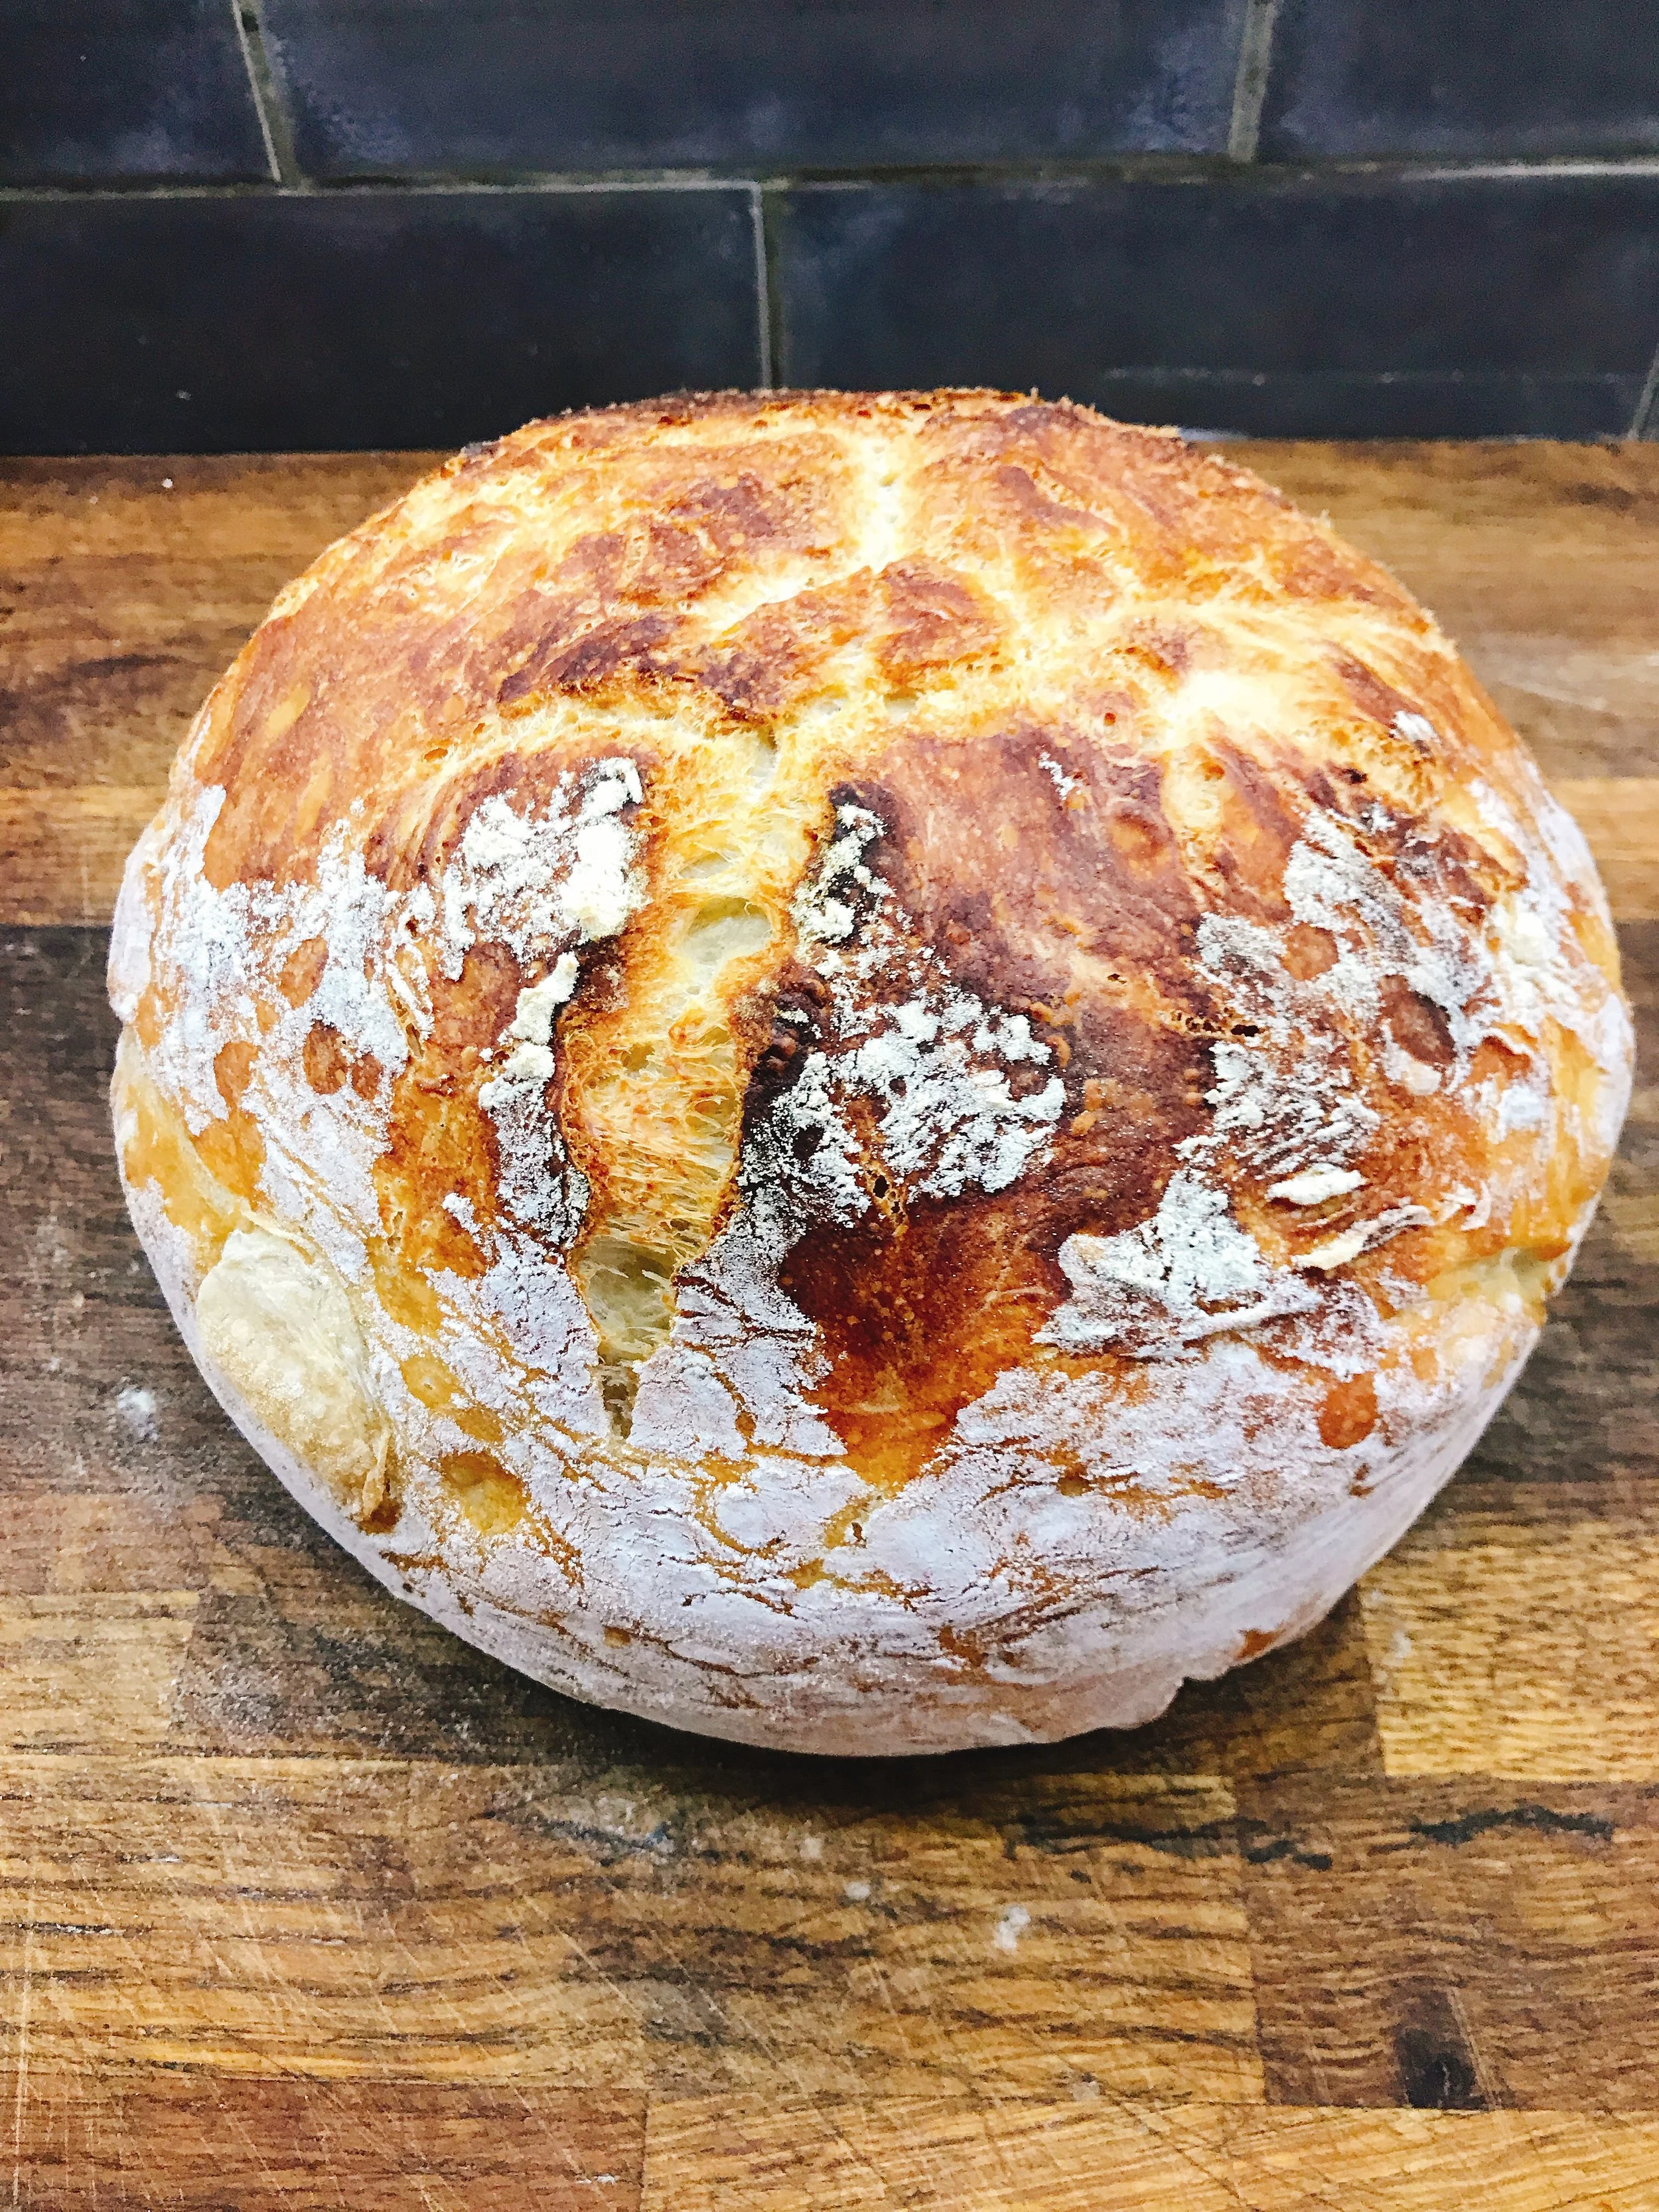
Dutch Oven Loaf
This post is more of a book recommendation than a review or recipe.
I've been cooking bread on and off over many years. I've made some epic loaves and some real bricks, and tried different techniques and recipes to try and get something I'm happy with. Consistency was lacking though which was always a frustration.
The other issue has always been timing. With a hectic work life and two full on kids, co-ordinating a good loaf proved a challenge.
Everything changed when I bought Flour Water Salt Yeast by Ken Forkish.
My four big take aways:
Autolyse the flour and water before adding any salt and yeast (See step 1)
No kneading. That's a real winner here
Cooking it in a dutch oven
The pot instantly solves the challenge of maintaining the steam and heat required in those crucial first few minutes in the oven.Get a large round cake tub. Perfect for doing everything in and easy to measure the rise. It's easy to clean and saves all the mess. This resolves the issue of "I love the bread but when that stuff dries it's like concrete and there's flour everywhere".
The main thing with baking is that you need to experiment and feel it. A good loaf has so many little things that can make a difference from humidity; rising temperature; type of flour; and yeast that you use. Following a recipe to the letter doesn't guarantee anything. What sets this book apart is that it gives you the tools and explanations on how to find that feel at home yourself.
Hands down this is by far my favourite bread book which has taught me way more than any other. One other thing I've found that makes a big difference is the flour and the yeast used. I've stopped using supermarket flour and yeast other than for same-day pizza dough. It really does make the difference.
I use Saf Levure dried yeast. It's a big pot so it will probably expire before you use it all but it's worth it. When it comes to flour, so far this has been my favourite and my go to. I buy it in 5 bag batches.
Saf Levure dried active yeast
Marriage's 100% Very Strong Canadian White Flour

I wanted to see if I could make a single batch of dough which not only provided me a nice white loaf but could be used for other things over a few days providing me with some flexibility.
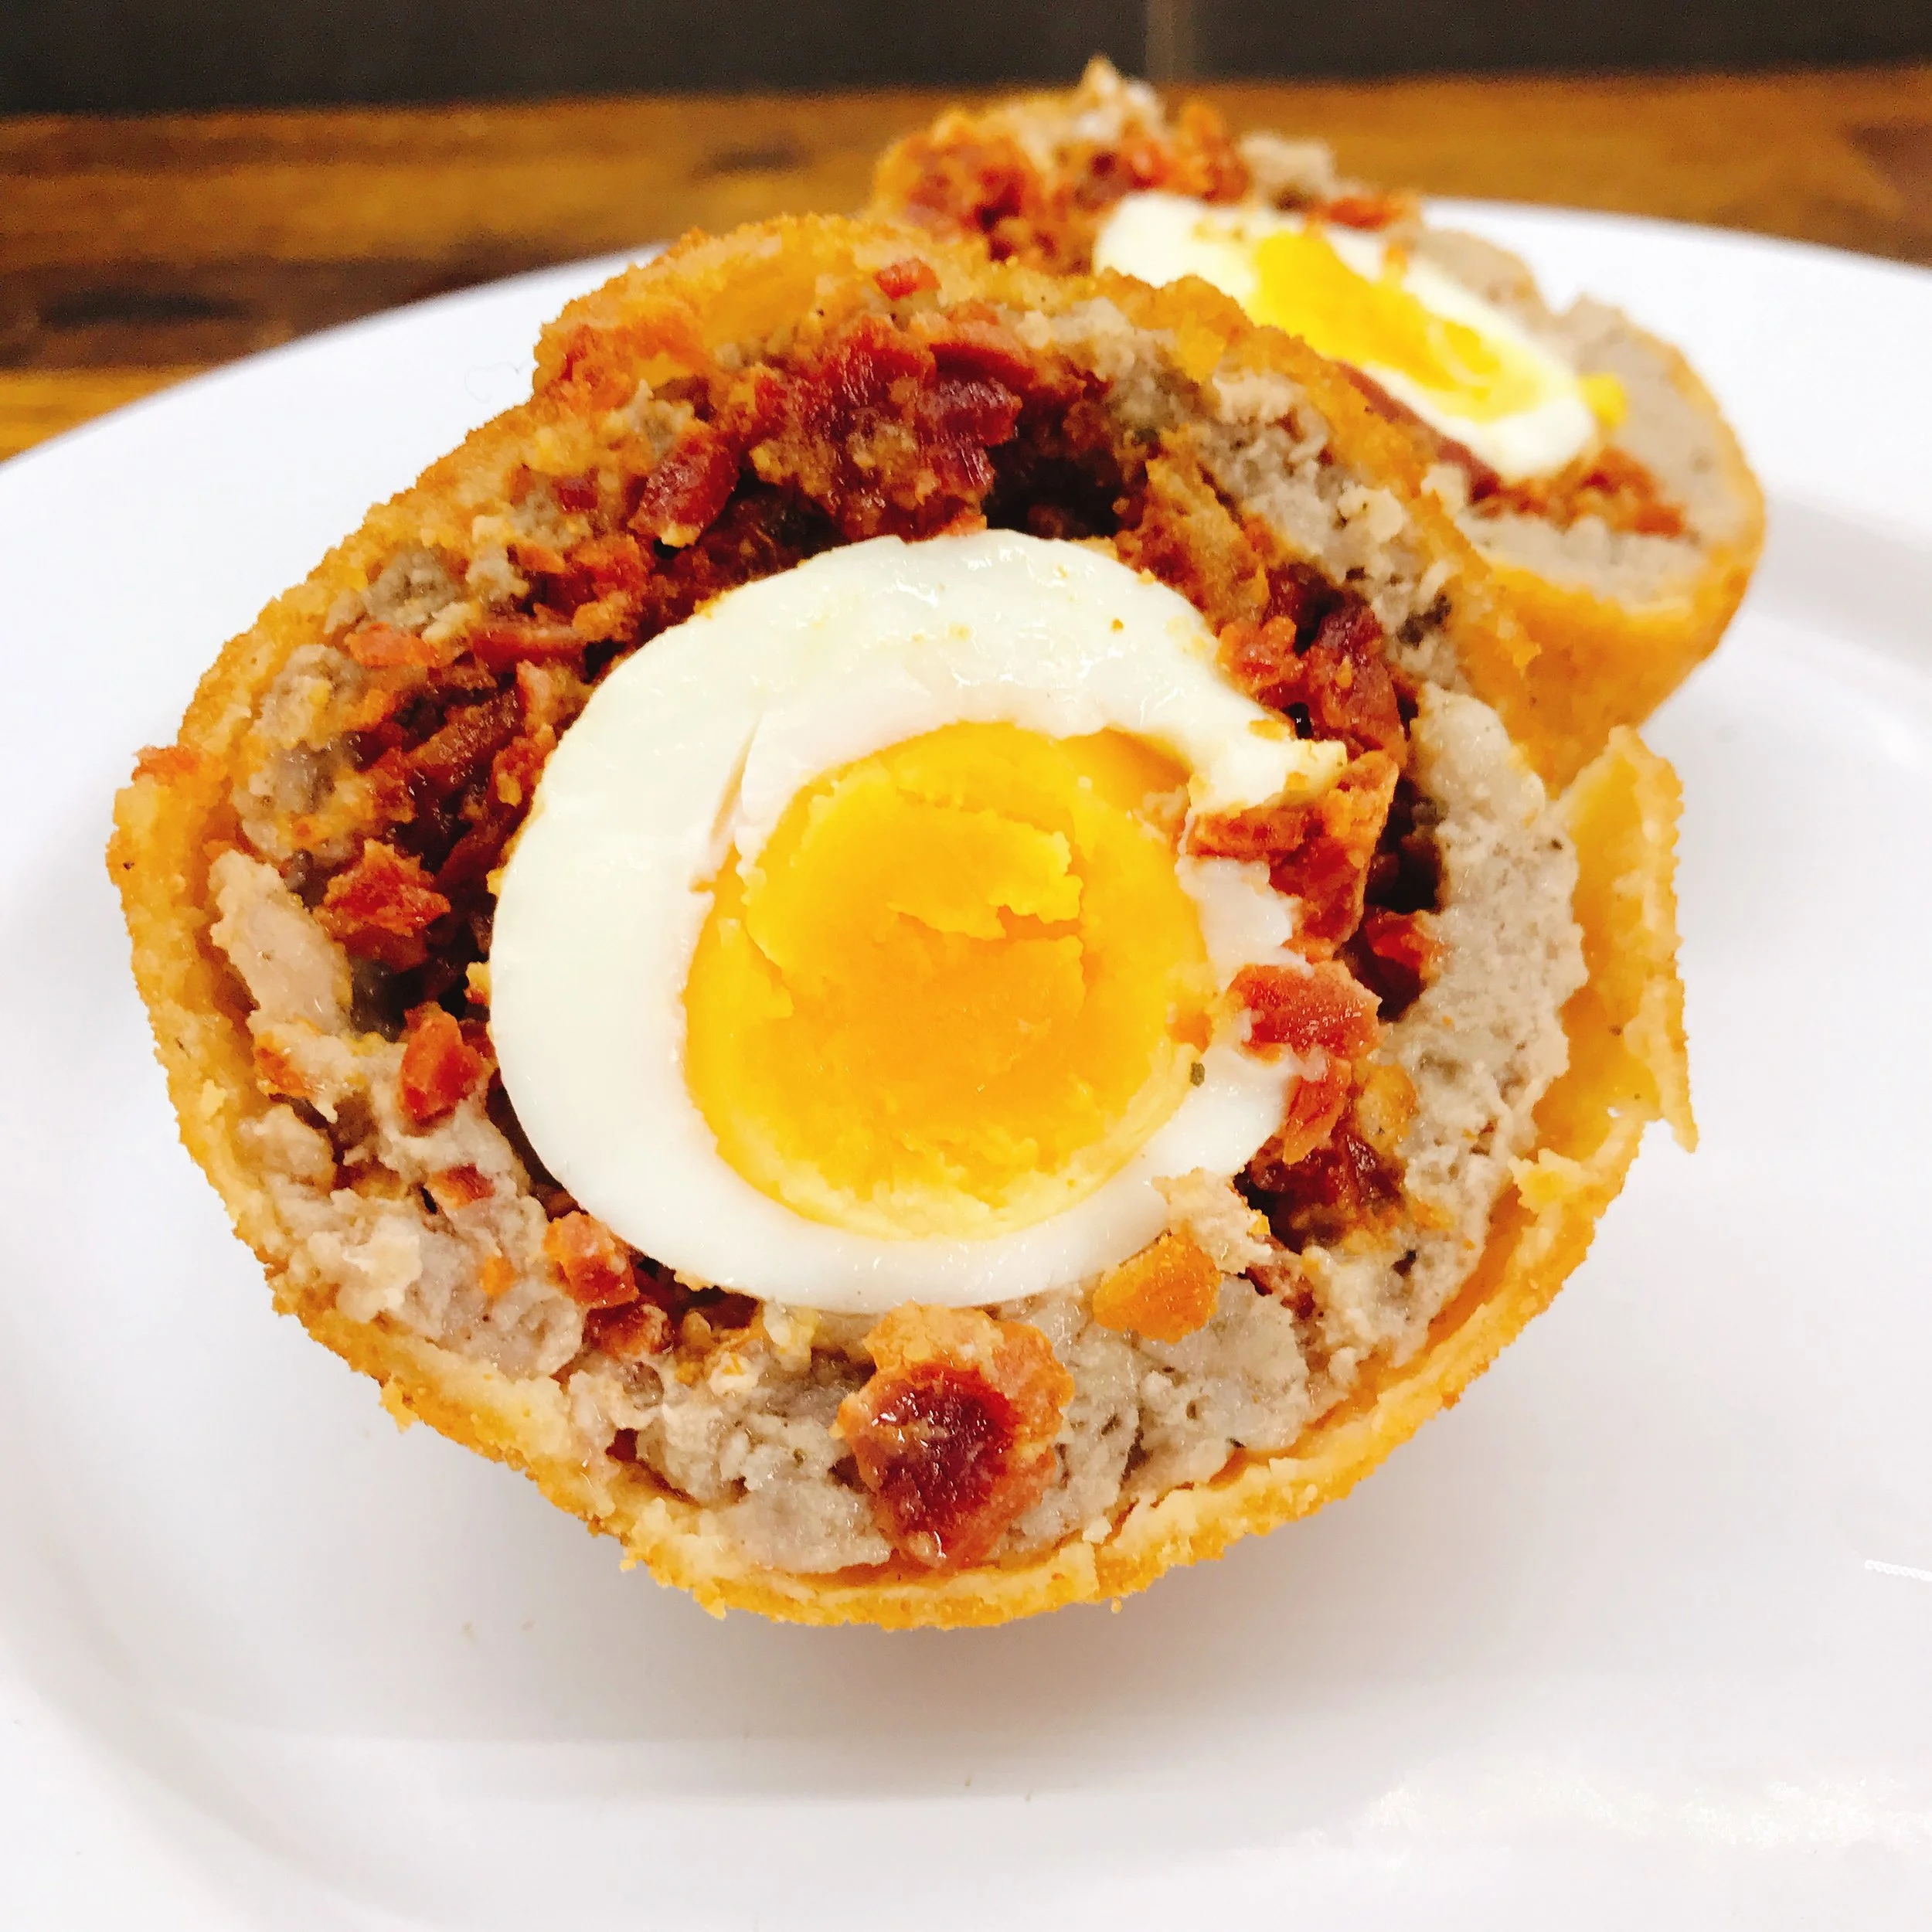
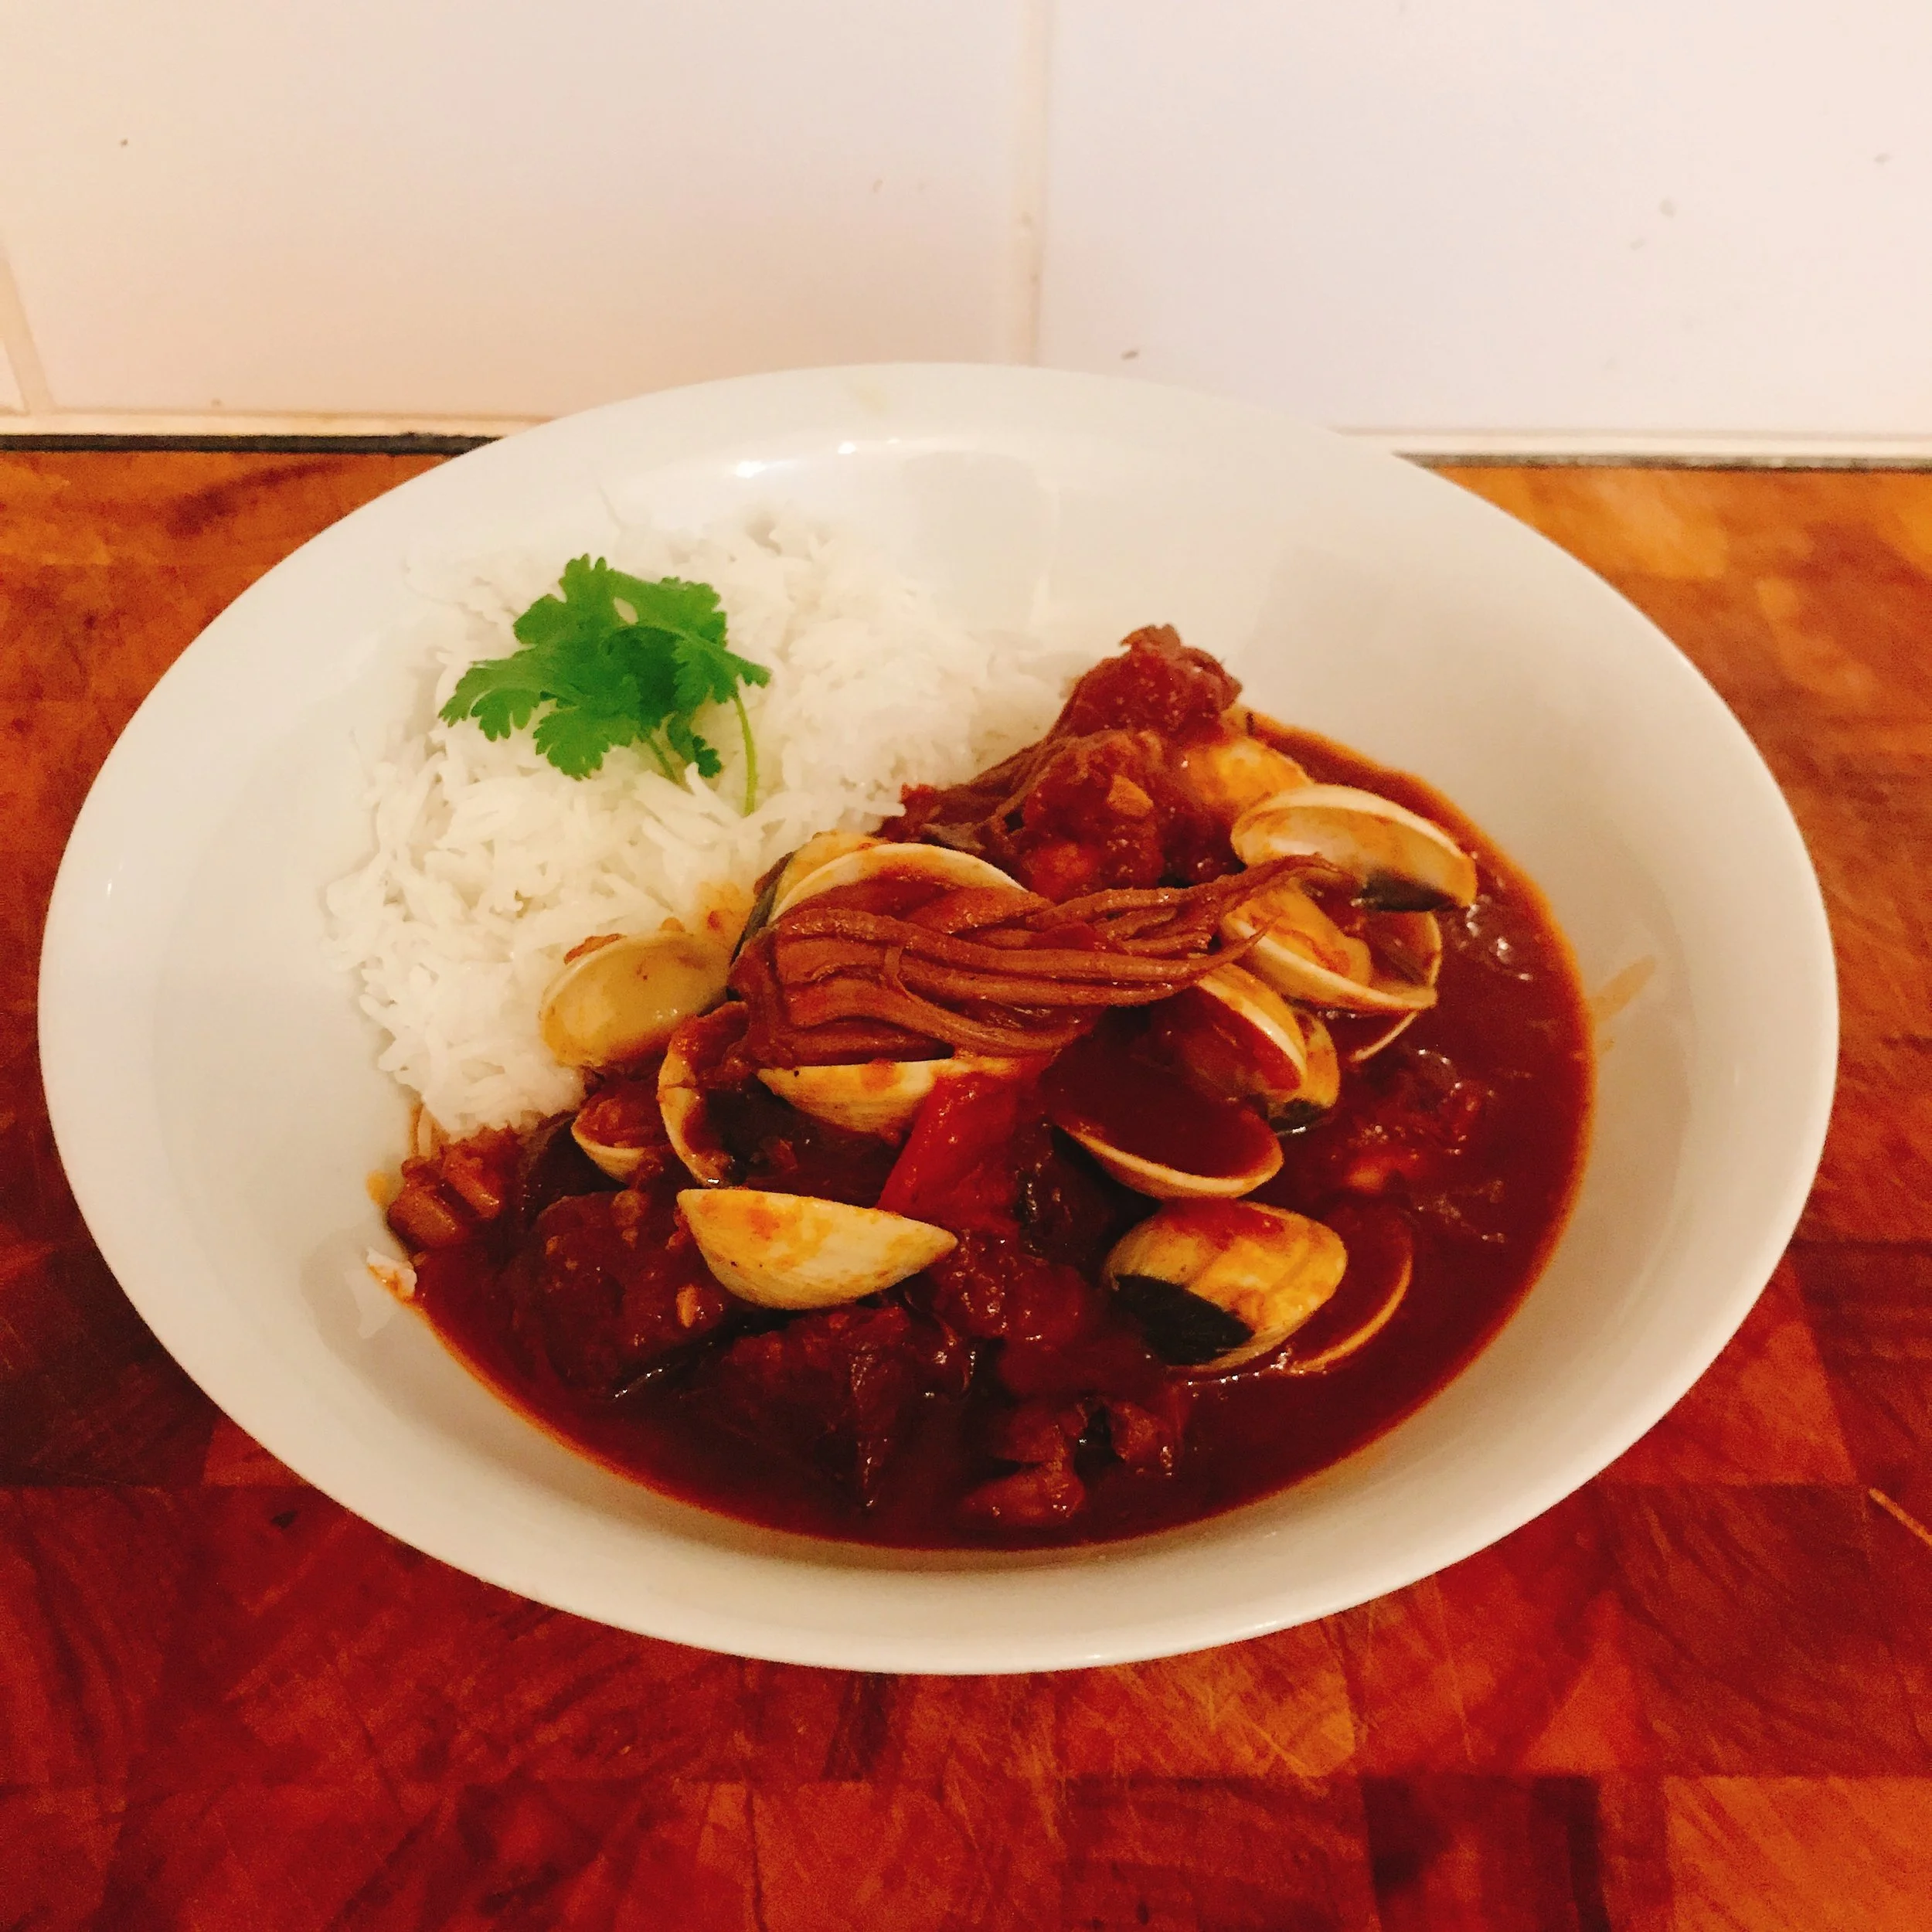
Now if you are after perfection, then this dough is definitely over-proofed but over the course of 48 hours it made a loaf, focaccia, rolled chorizo bread, sun dried tomato bread and pizza. Not bad for a no-kneed, low effort single batch.
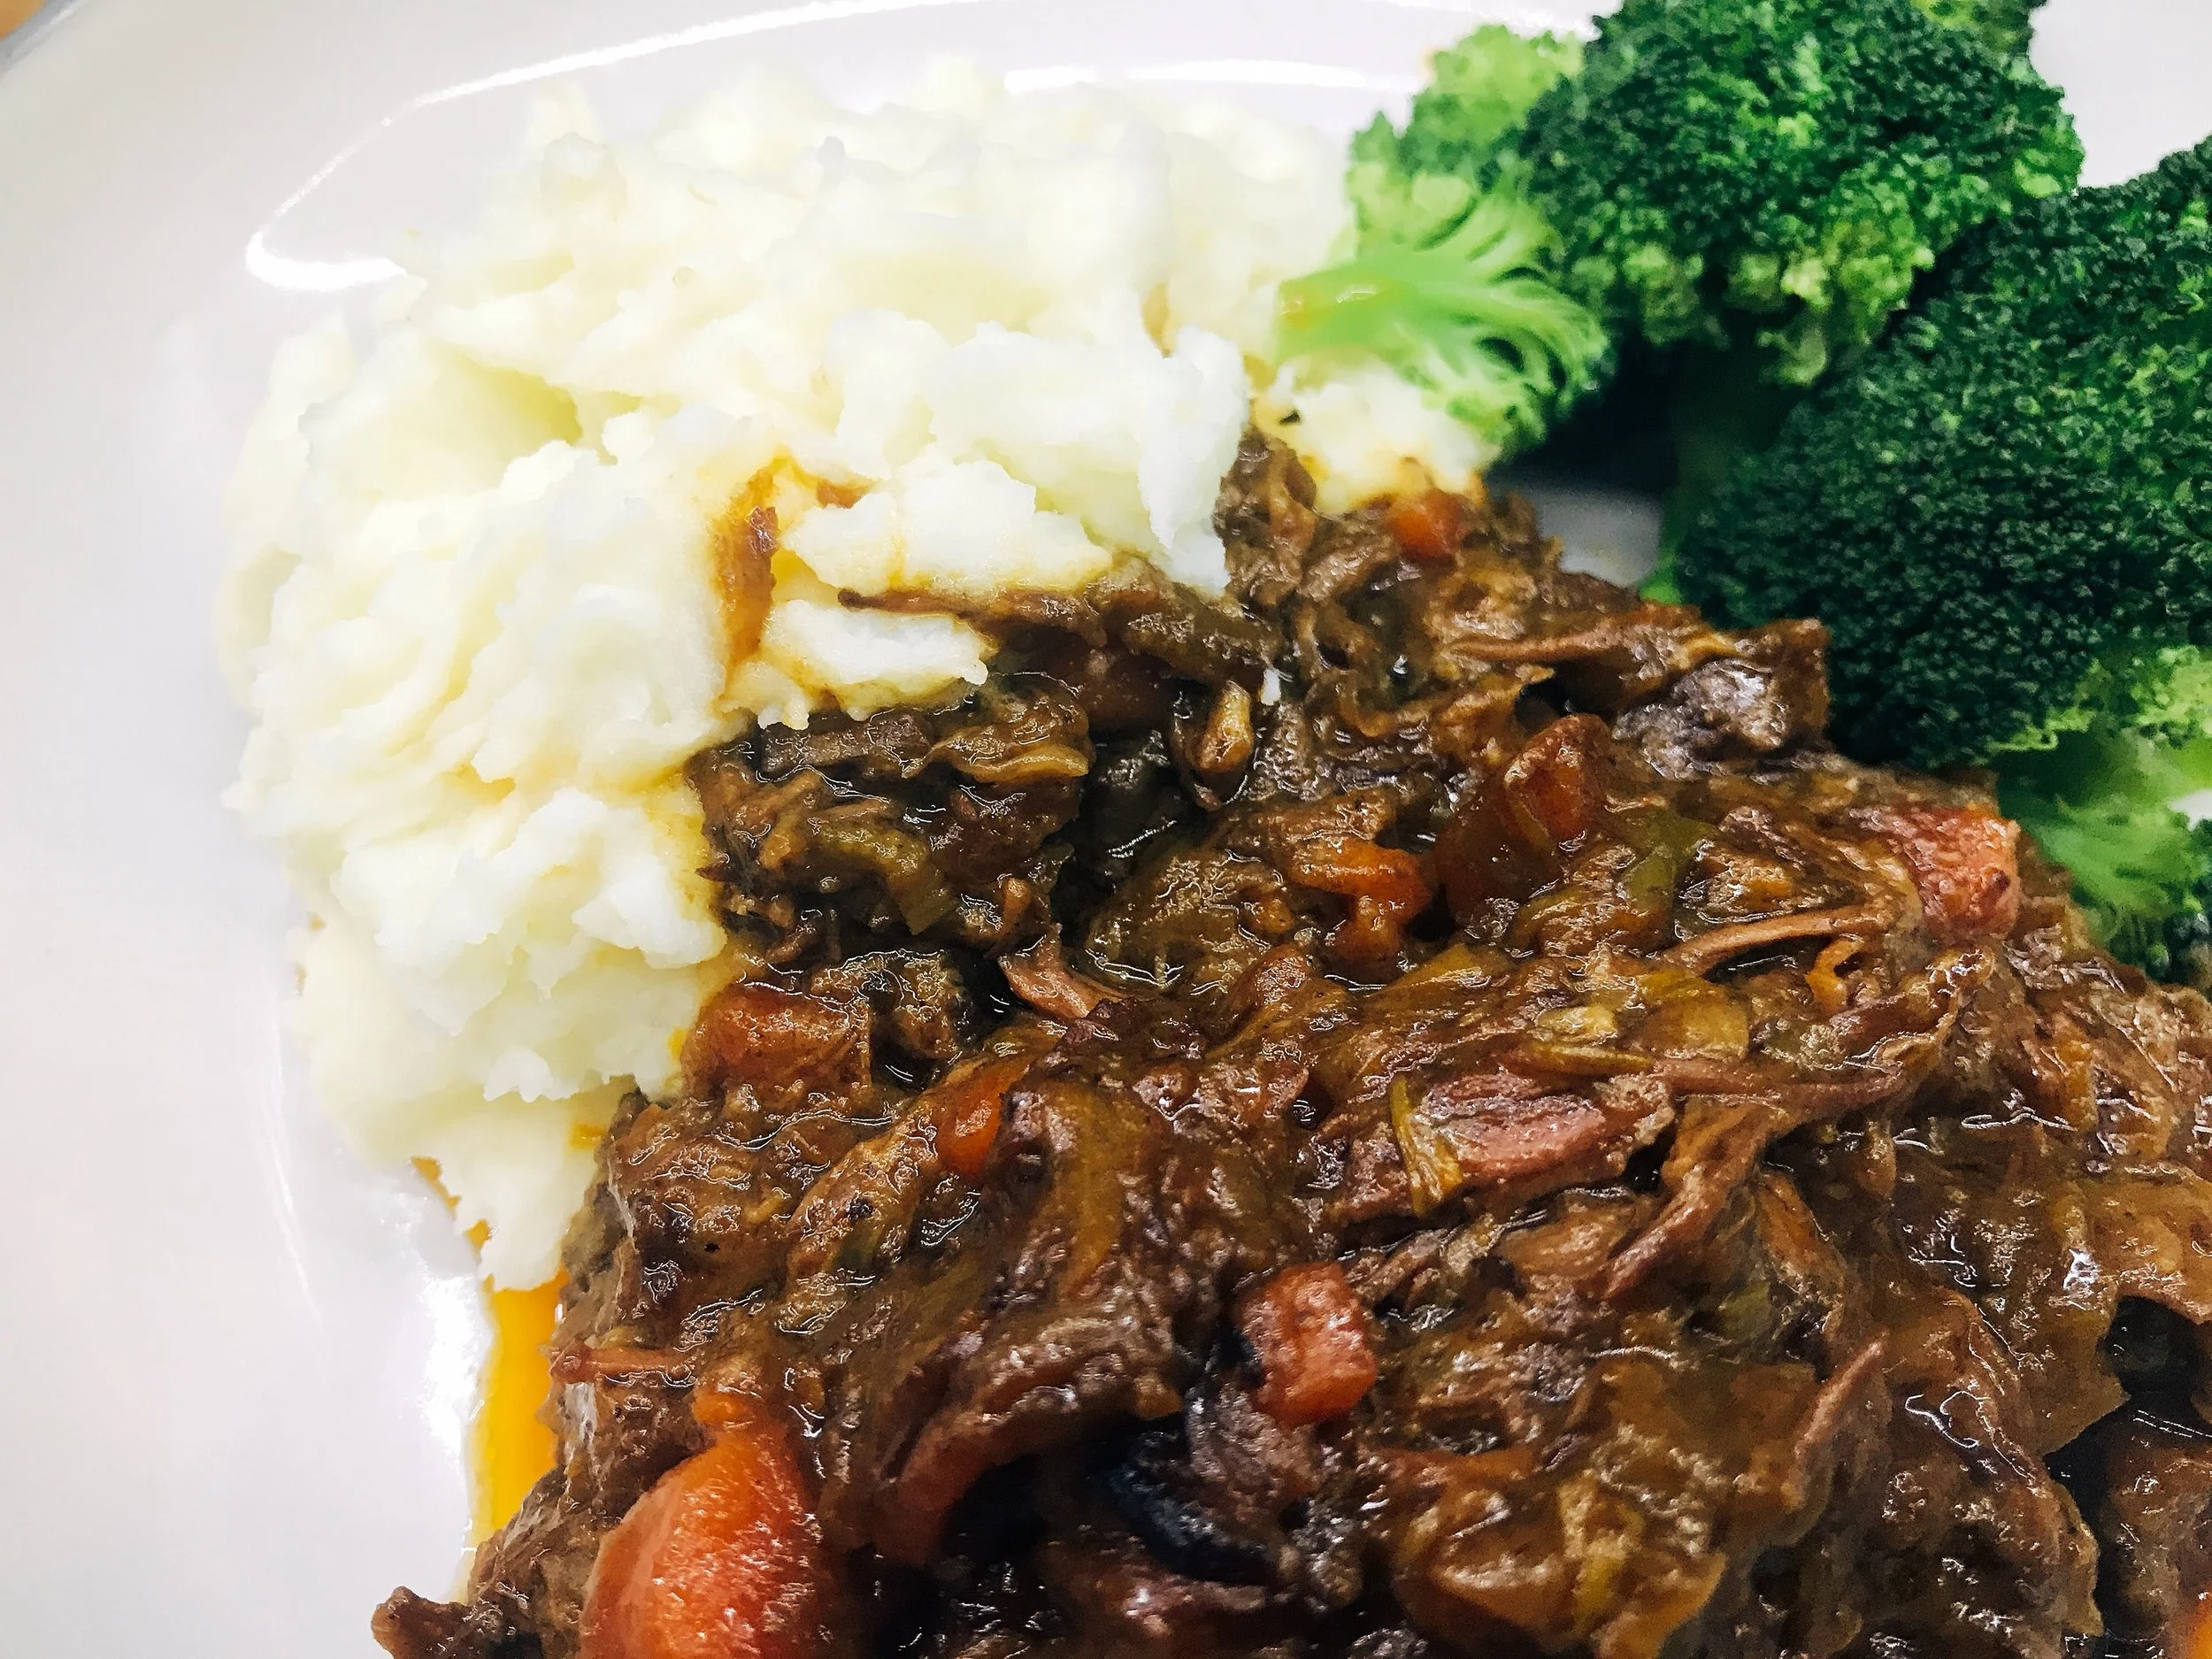
This is a good starting point, low risk and will make you a good loaf. It's doesn't produce an uber light and fluffy loaf but even if the end result is on the denser side, it will be delicious, especially toasted.
It also doesn't stop giving there. Once it starts to go stale, it makes excellent croutons, for a Caesar salad for example.
The love continues, chop it up and leave it out somewhere dry. Then whiz up in a solid food processor for homemade bread crumbs. Perfect for some deep fried cheese.
I tend to make the dough around tea time and bake the next morning. At a minimum you want the dough to triple in size in the fermentation phase (See step 4). This will depend on conditions but I would allow at least 8 hours.
Another approach is to let it ferment in the fridge, this slows the process right down. It also gives you more flexibility around timings.
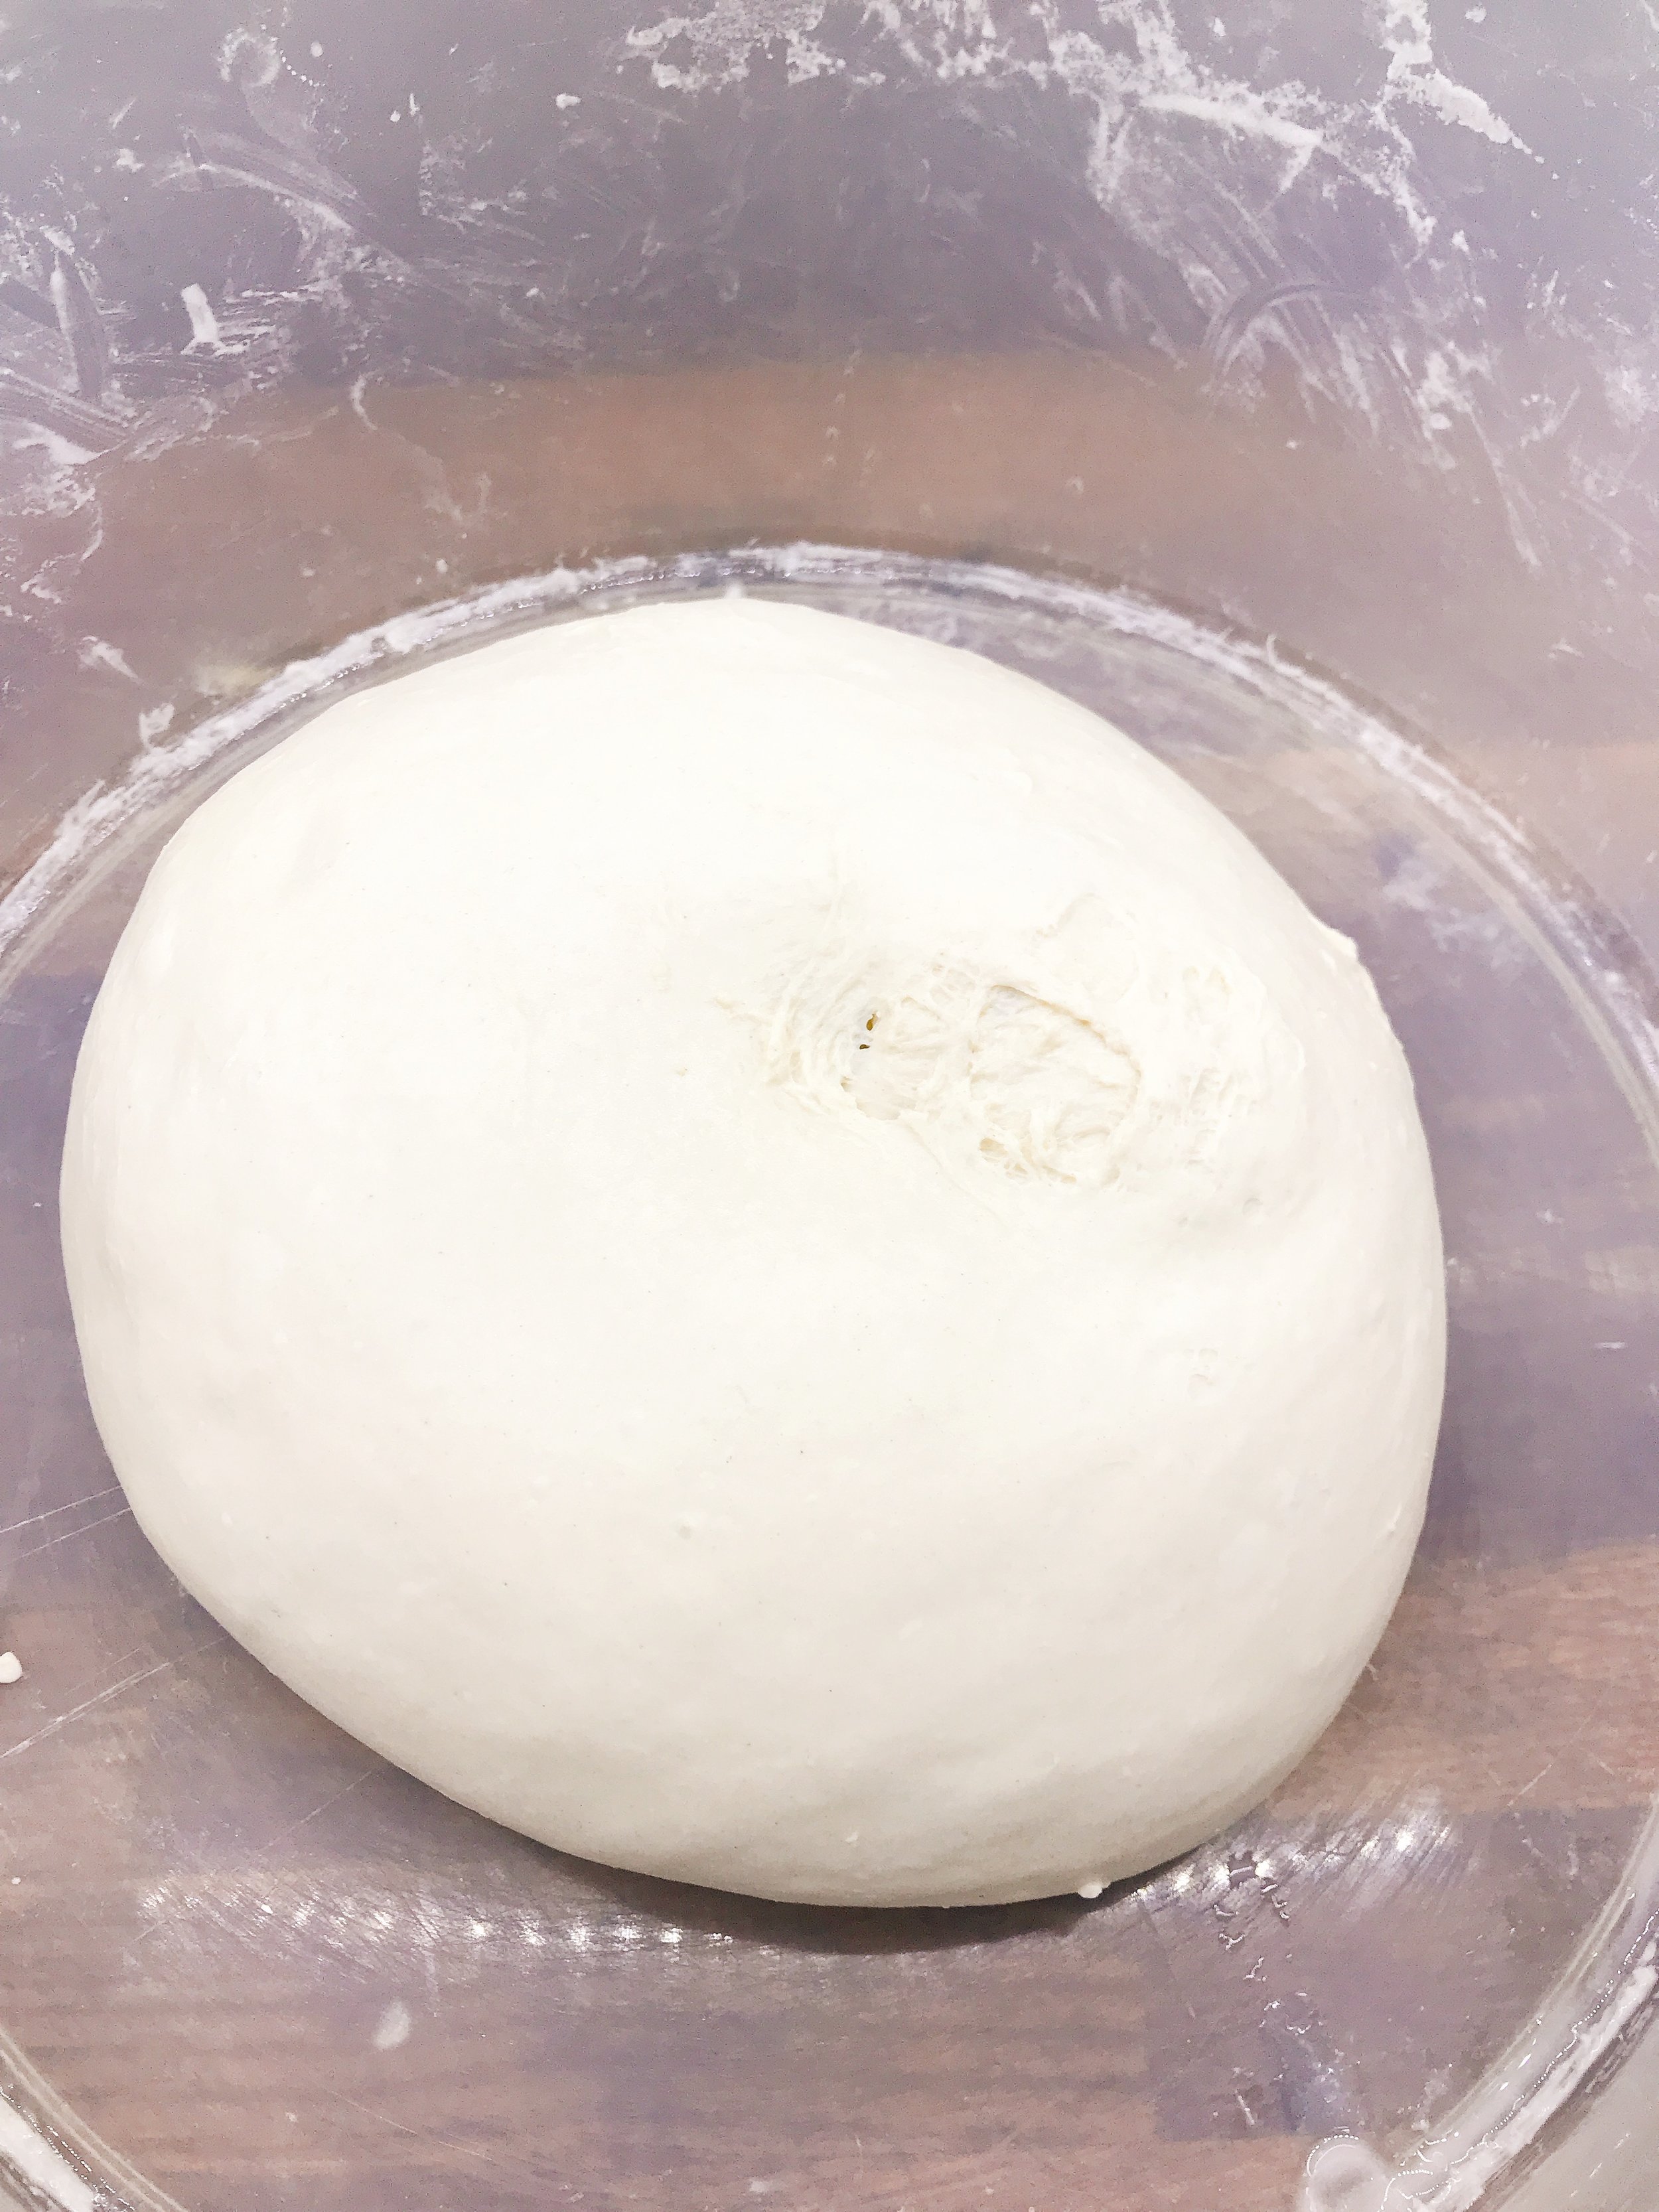
Step 1 - Flour & Water
This is the autolyse phase. Mix the water and the flour, bring together into a ball, cover and leave for 20-30 minutes
Step 2 - The Mix
Add the yeast and salt and combine by pinching the dough and bringing together again
Once mixed, cover and leave for 20 minutes
Step 3 - Folding
Ideally you need to do this every 3-4 times in the first hour, leaving 20 minutes between each fold
With a wet hand (warm water), pull a section from under the bottom out and up and fold it back over itself
Repeat this all the way around the dough, so roughly 5-6 times
Cover and leave until the next fold
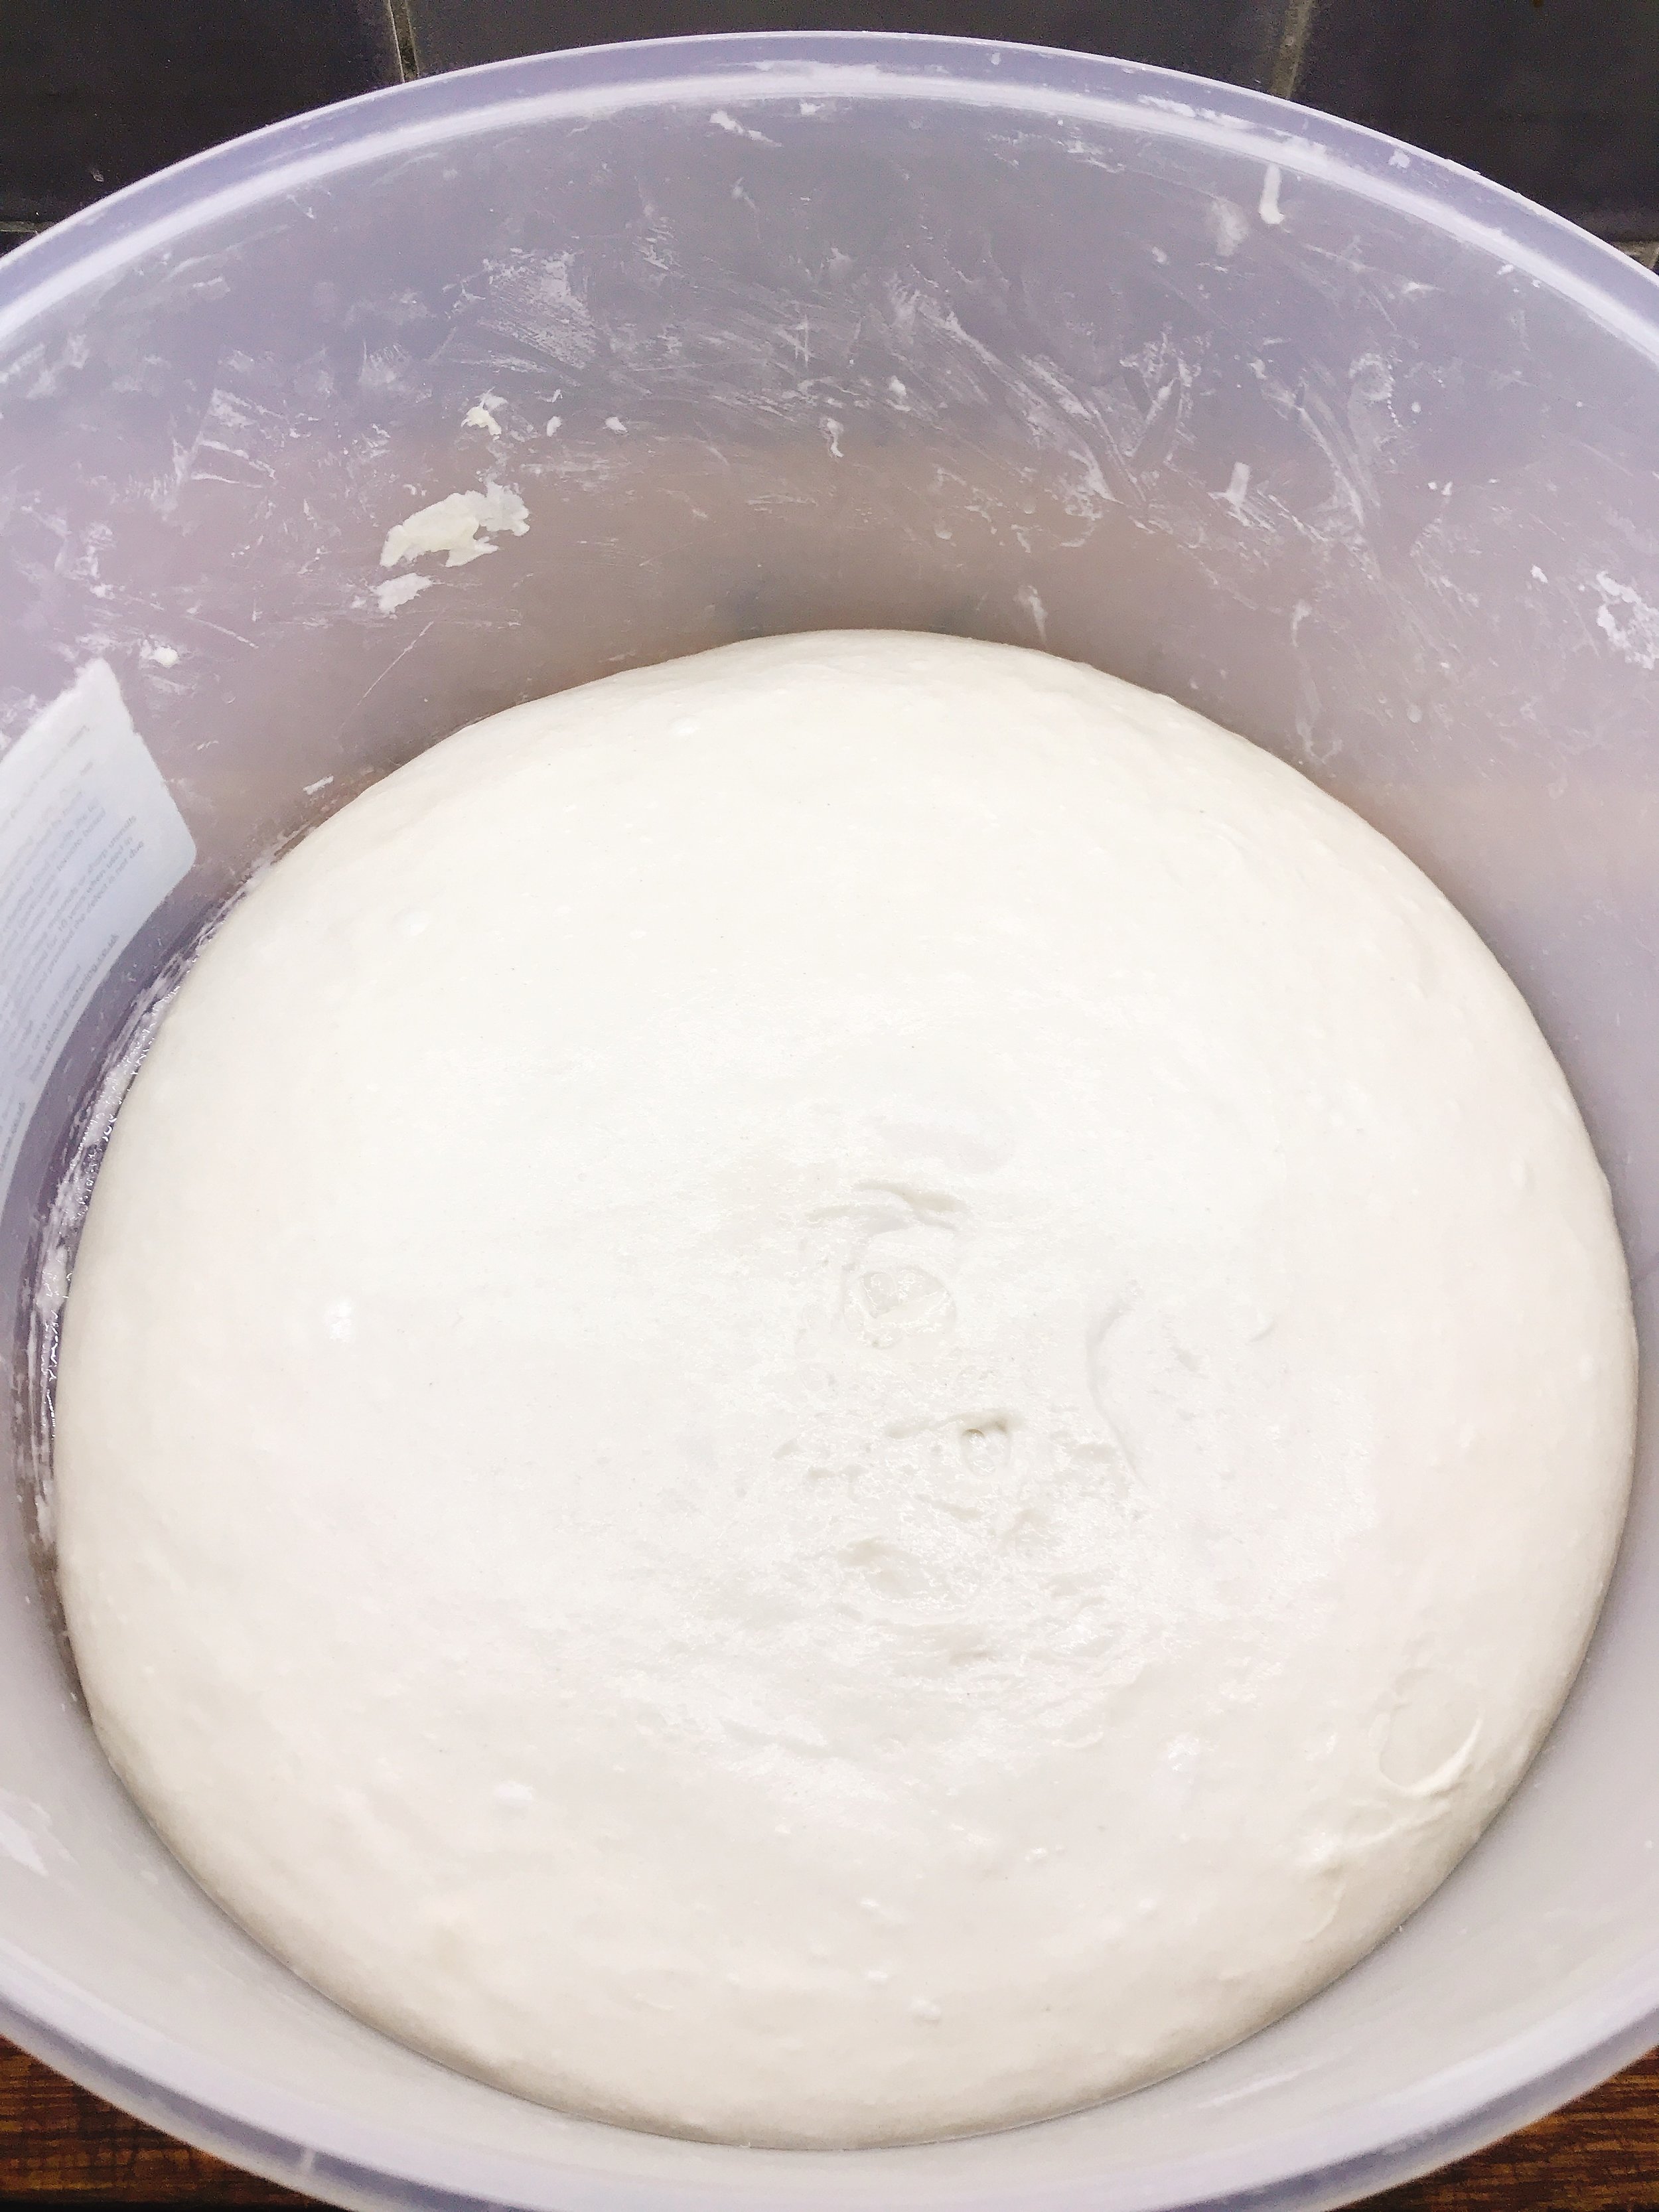
Step 4 - Ferment
Once you've folded, leave it covered until ready to separate as required
Ideally I try to work to the 3-5 time in size though it isn’t always practical. For the purpose of this experiment, we’ve easily gone to 10. You could say that it’s over fermented!

Step 5 - Proofing
When ready, break up the dough into shapes. I find if you split into two, this makes 2 big loaves in my pots
On this occasion I split the dough in half, then one of the halves into 4, put in sealed pots where they only fill half of it and whack them in the fridge
For the loaf, bring the dough into a ball. Tuck the edges underneath and into the centre
In a lightly floured bowl, put the dough in and cover
Let this proof for at least and hour
Step 6 - The bake
Make sure your pot is super clean
Get the oven as hot as you can
Put the pot and lid in the oven separately but at the same time, (Don’t put the lid on the pot at this stage)
Let everything heat up for at least 40 minutes
When everything is good and hot, pull out the pot and lid
You now want to get your dough into the pot. If it's quite wet, just invert your dough over it and it should fall in
Using scissors, cut a deep cross in the top, splash with water and cover with the lid
Return to the oven
After 30 minutes, remove the lid. The loaf should be well risen but pale
Another 30 minutes and you should have a nicely browned loaf
The bread should fall right out. If there is any resistance it shouldn't take too much to free it, a loose jiggle
Top tip: The only time out of many many loaves that it’s stuck has been when I didn't wait for the pot to get hot enoughLeave on a trivet to cool for at least 30 minutes before slicing, an hour is better. Resist if you can!!


White Bread
1 bag bread flour (1.5kg)
5g yeast
35g fine sea salt
1100ml water
A little extra white flour for dusting