Adventures in smoking

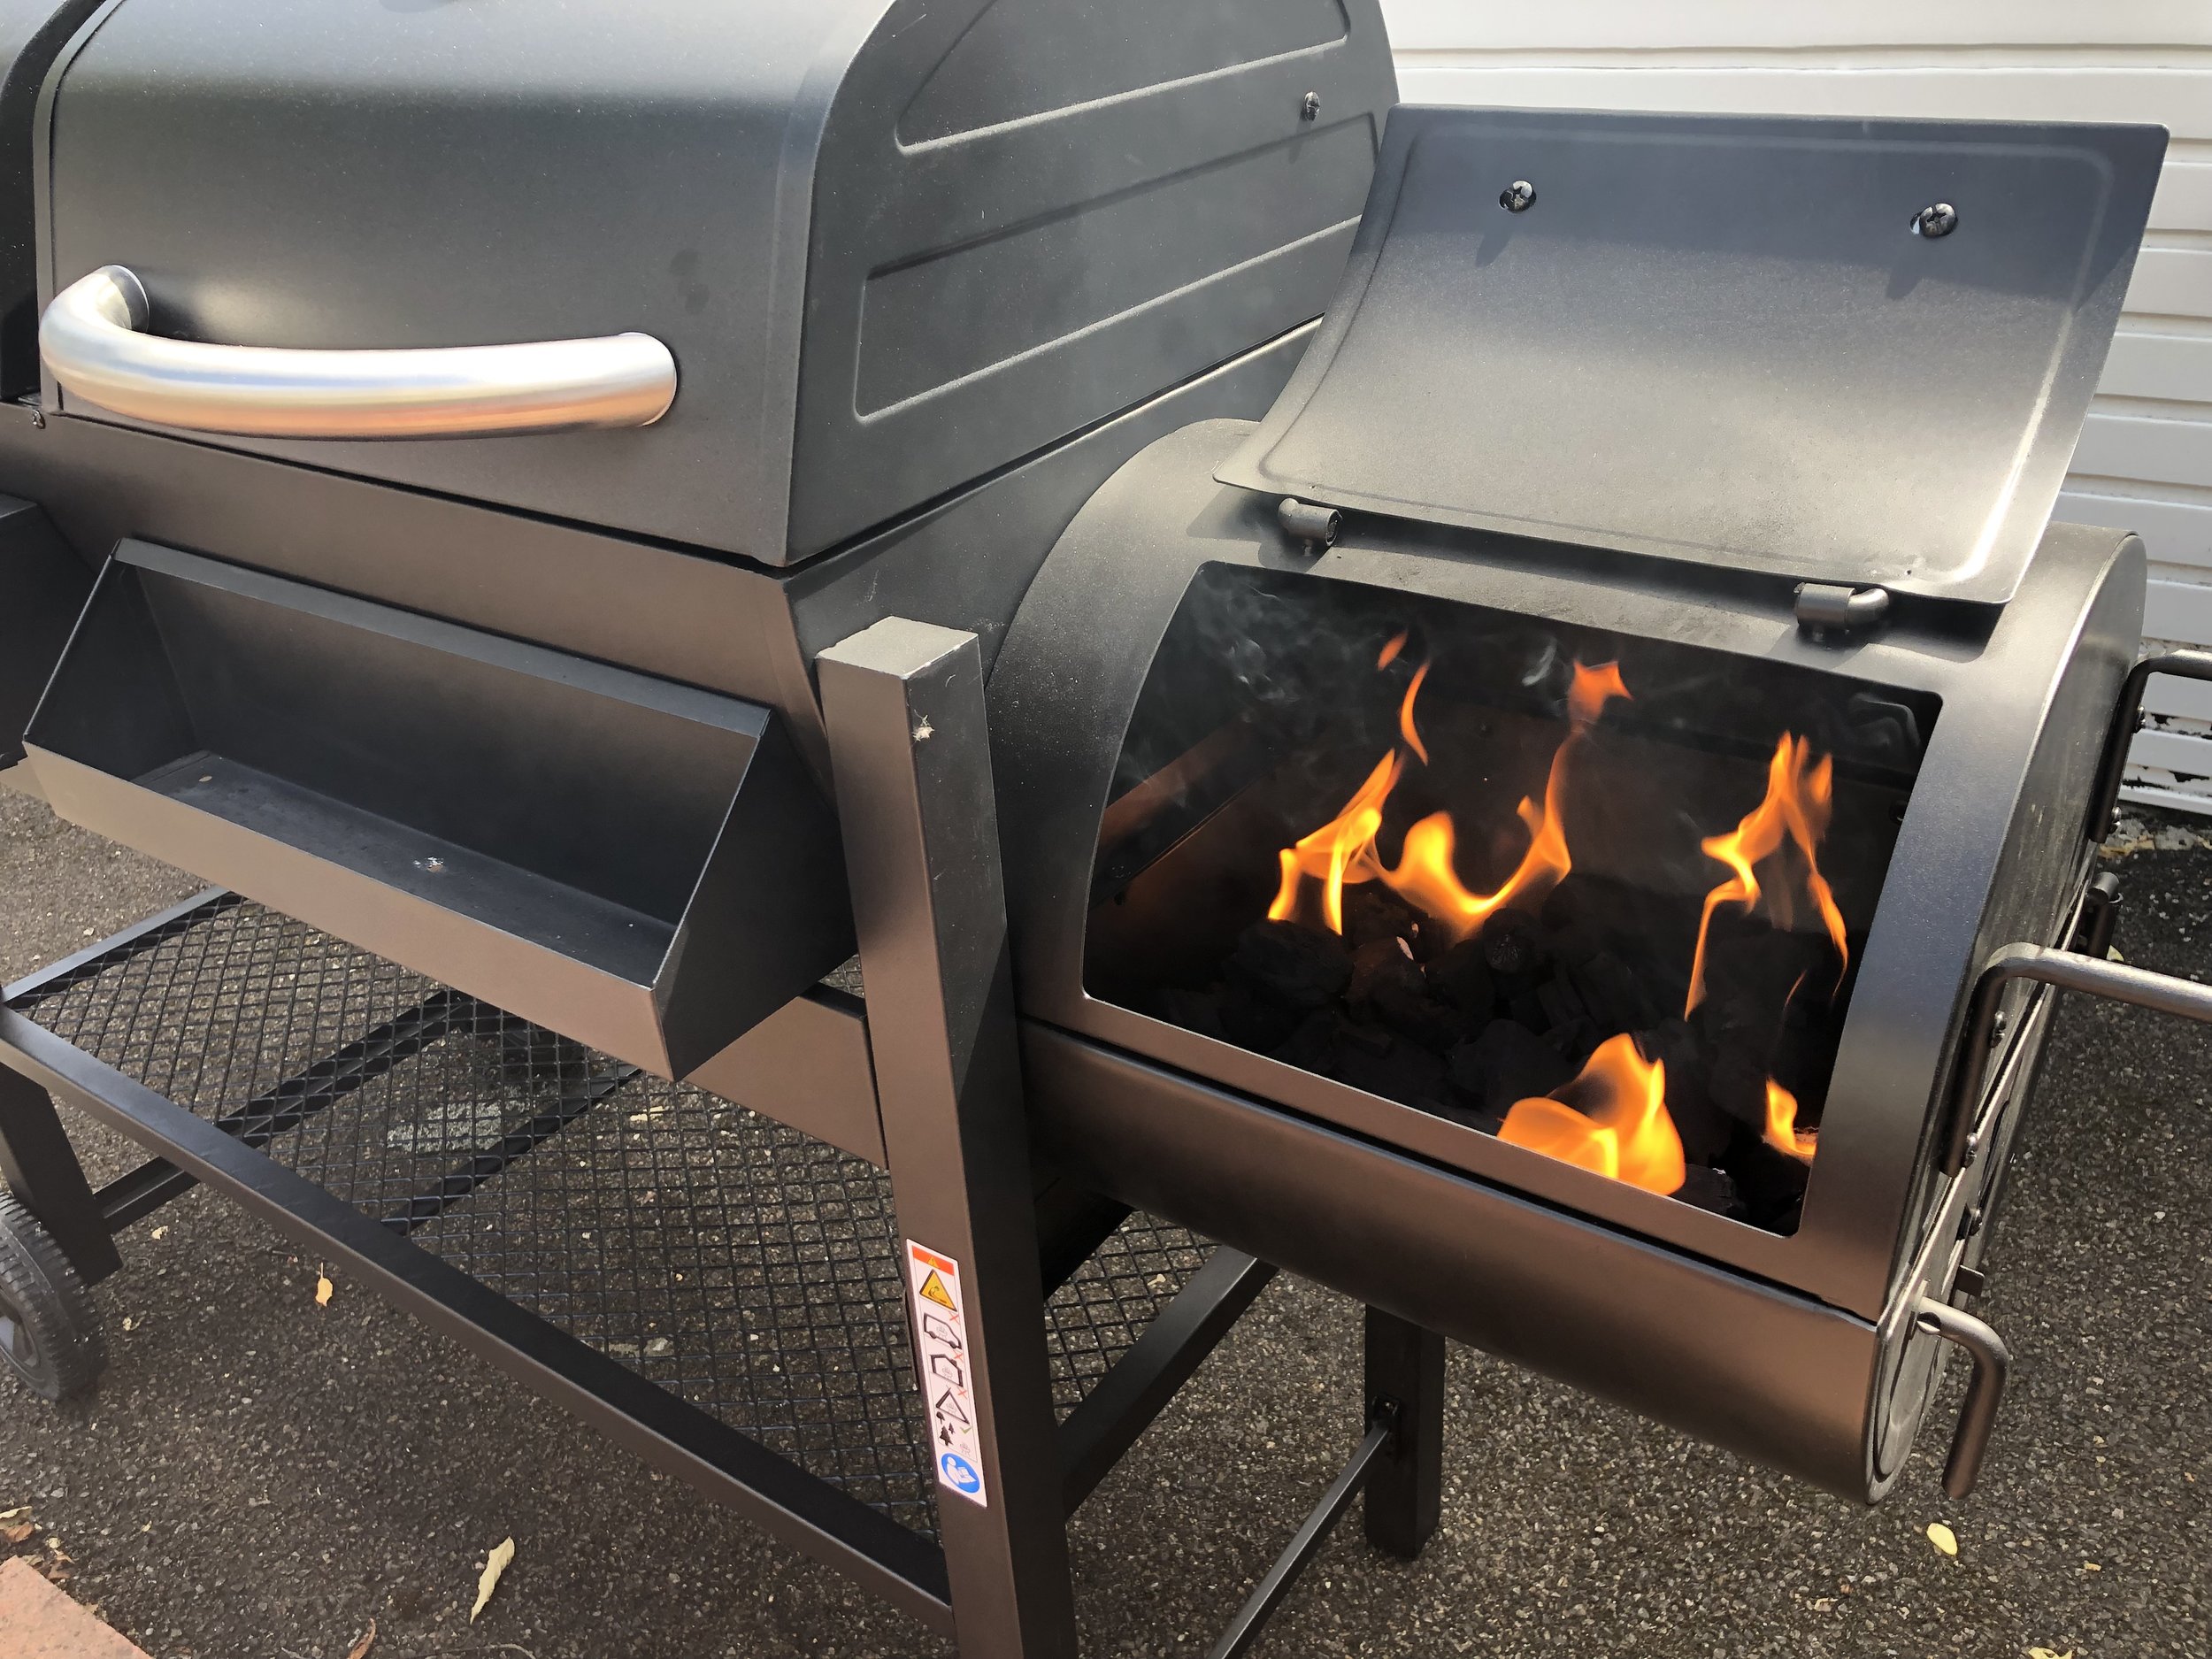
Let me introduce you to my new toy, affectionally called The Beast! I needed a new BBQ and couldn’t decide between a gas or a charcoal one, and I really fancied a smoker. Imagine my delight when I found all three in one. There is a small gas grill, a charcoal grill and to the side and offset smoker. Bonus - it only took two hours to put together.
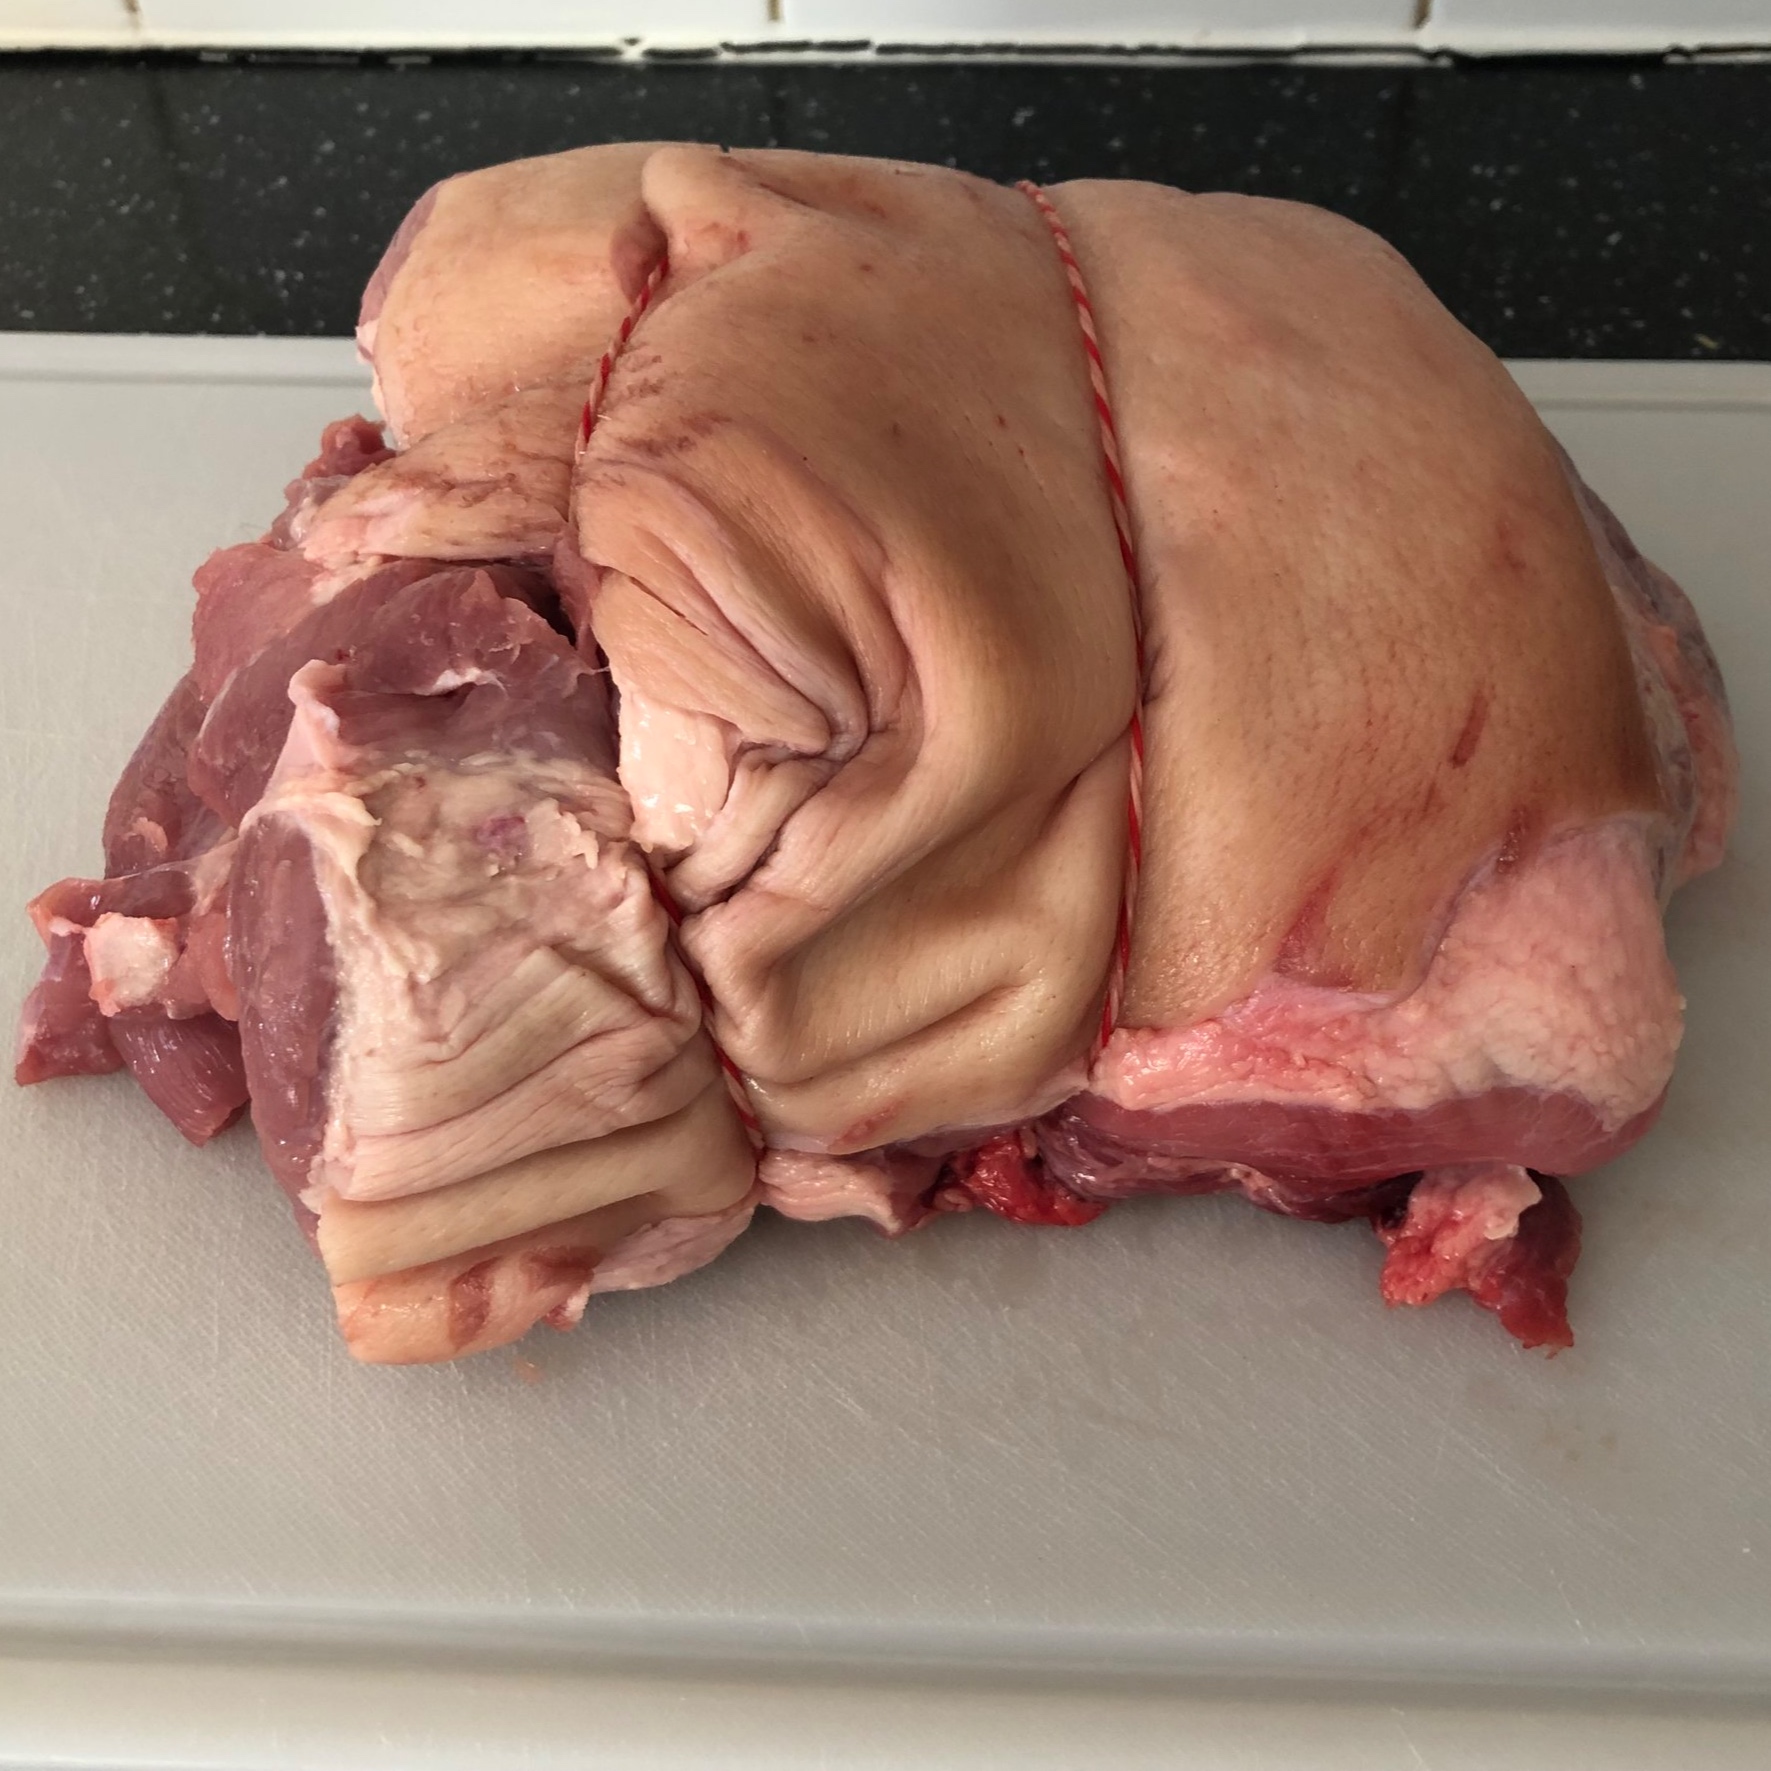
I am a smoker virgin, but was willing to pop that cherry for the FatSteak Club. After very in-depth (YouTube) research I was ready to go. I didn’t risk any quality meat on my first time, so deliberately went for a cheap pork shoulder. The tougher, fattier cuts of meat lend themselves well to smoking, you need the fat to slowly render as you are cooking at around 100 - 130C for along time.
There were a number of lessons learned that I will definitely change for my future smoking sessions:
Buy good quality wood, it’s the main flavour in your meat
Use lump wood charcoal not briquettes
Keep an eye on the temperature, you are aiming for a stable 100 - 130C
Remember - if you are looking, you’re not cooking! Don’t open that lid.
There will definitely be more adventures in smoking, if you have any tips, please send them in, I need the help before I try a whole beef brisket.
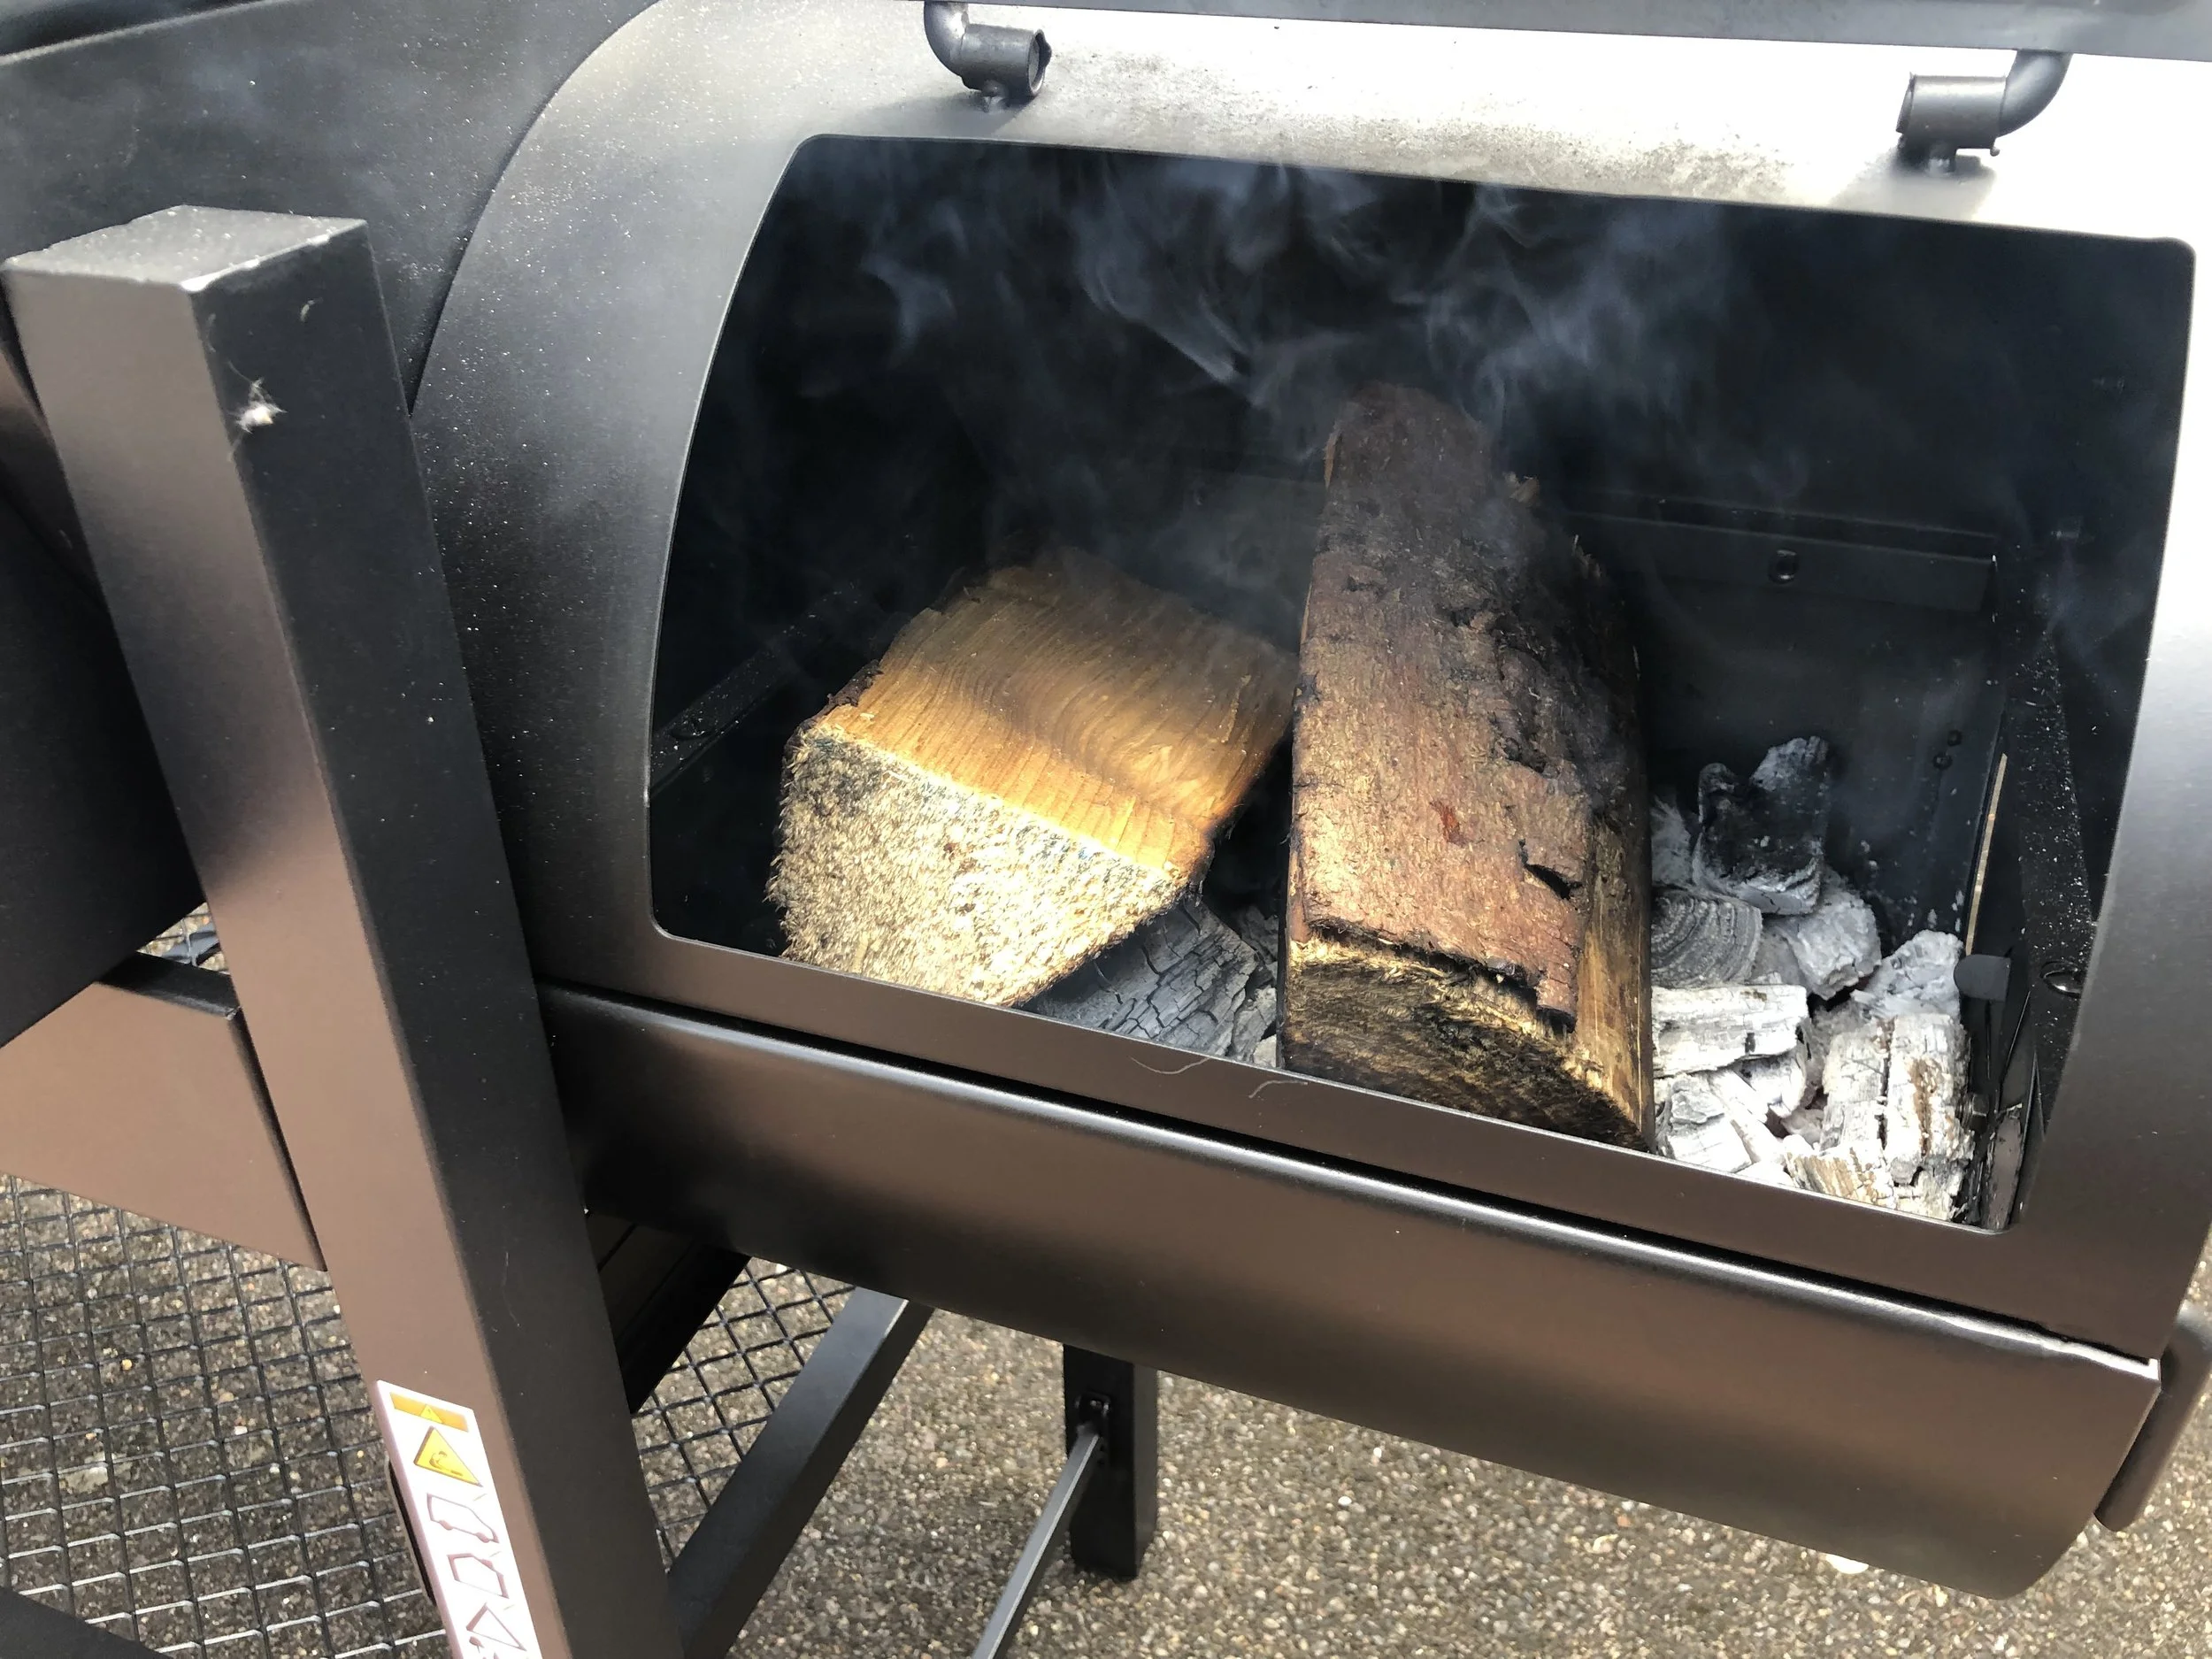
Step 1 - Prepare your fire
Build a lump wood charcoal fire in the offset drum.
Top tip: use a natural fire lighter, solid or liquid chemical fuels can taint the meatBurn the coals down to the white ash heat stage you would usually use for grilling
Add your wood - oak, hickory, cherry, something with flavour, in large pieces, not chips. Dry wood will catch quicker
Once you are generating smoke close up the offset drum and regulate your side vent and chimney to get a stable 100 - 130C degrees in the cooking chamber
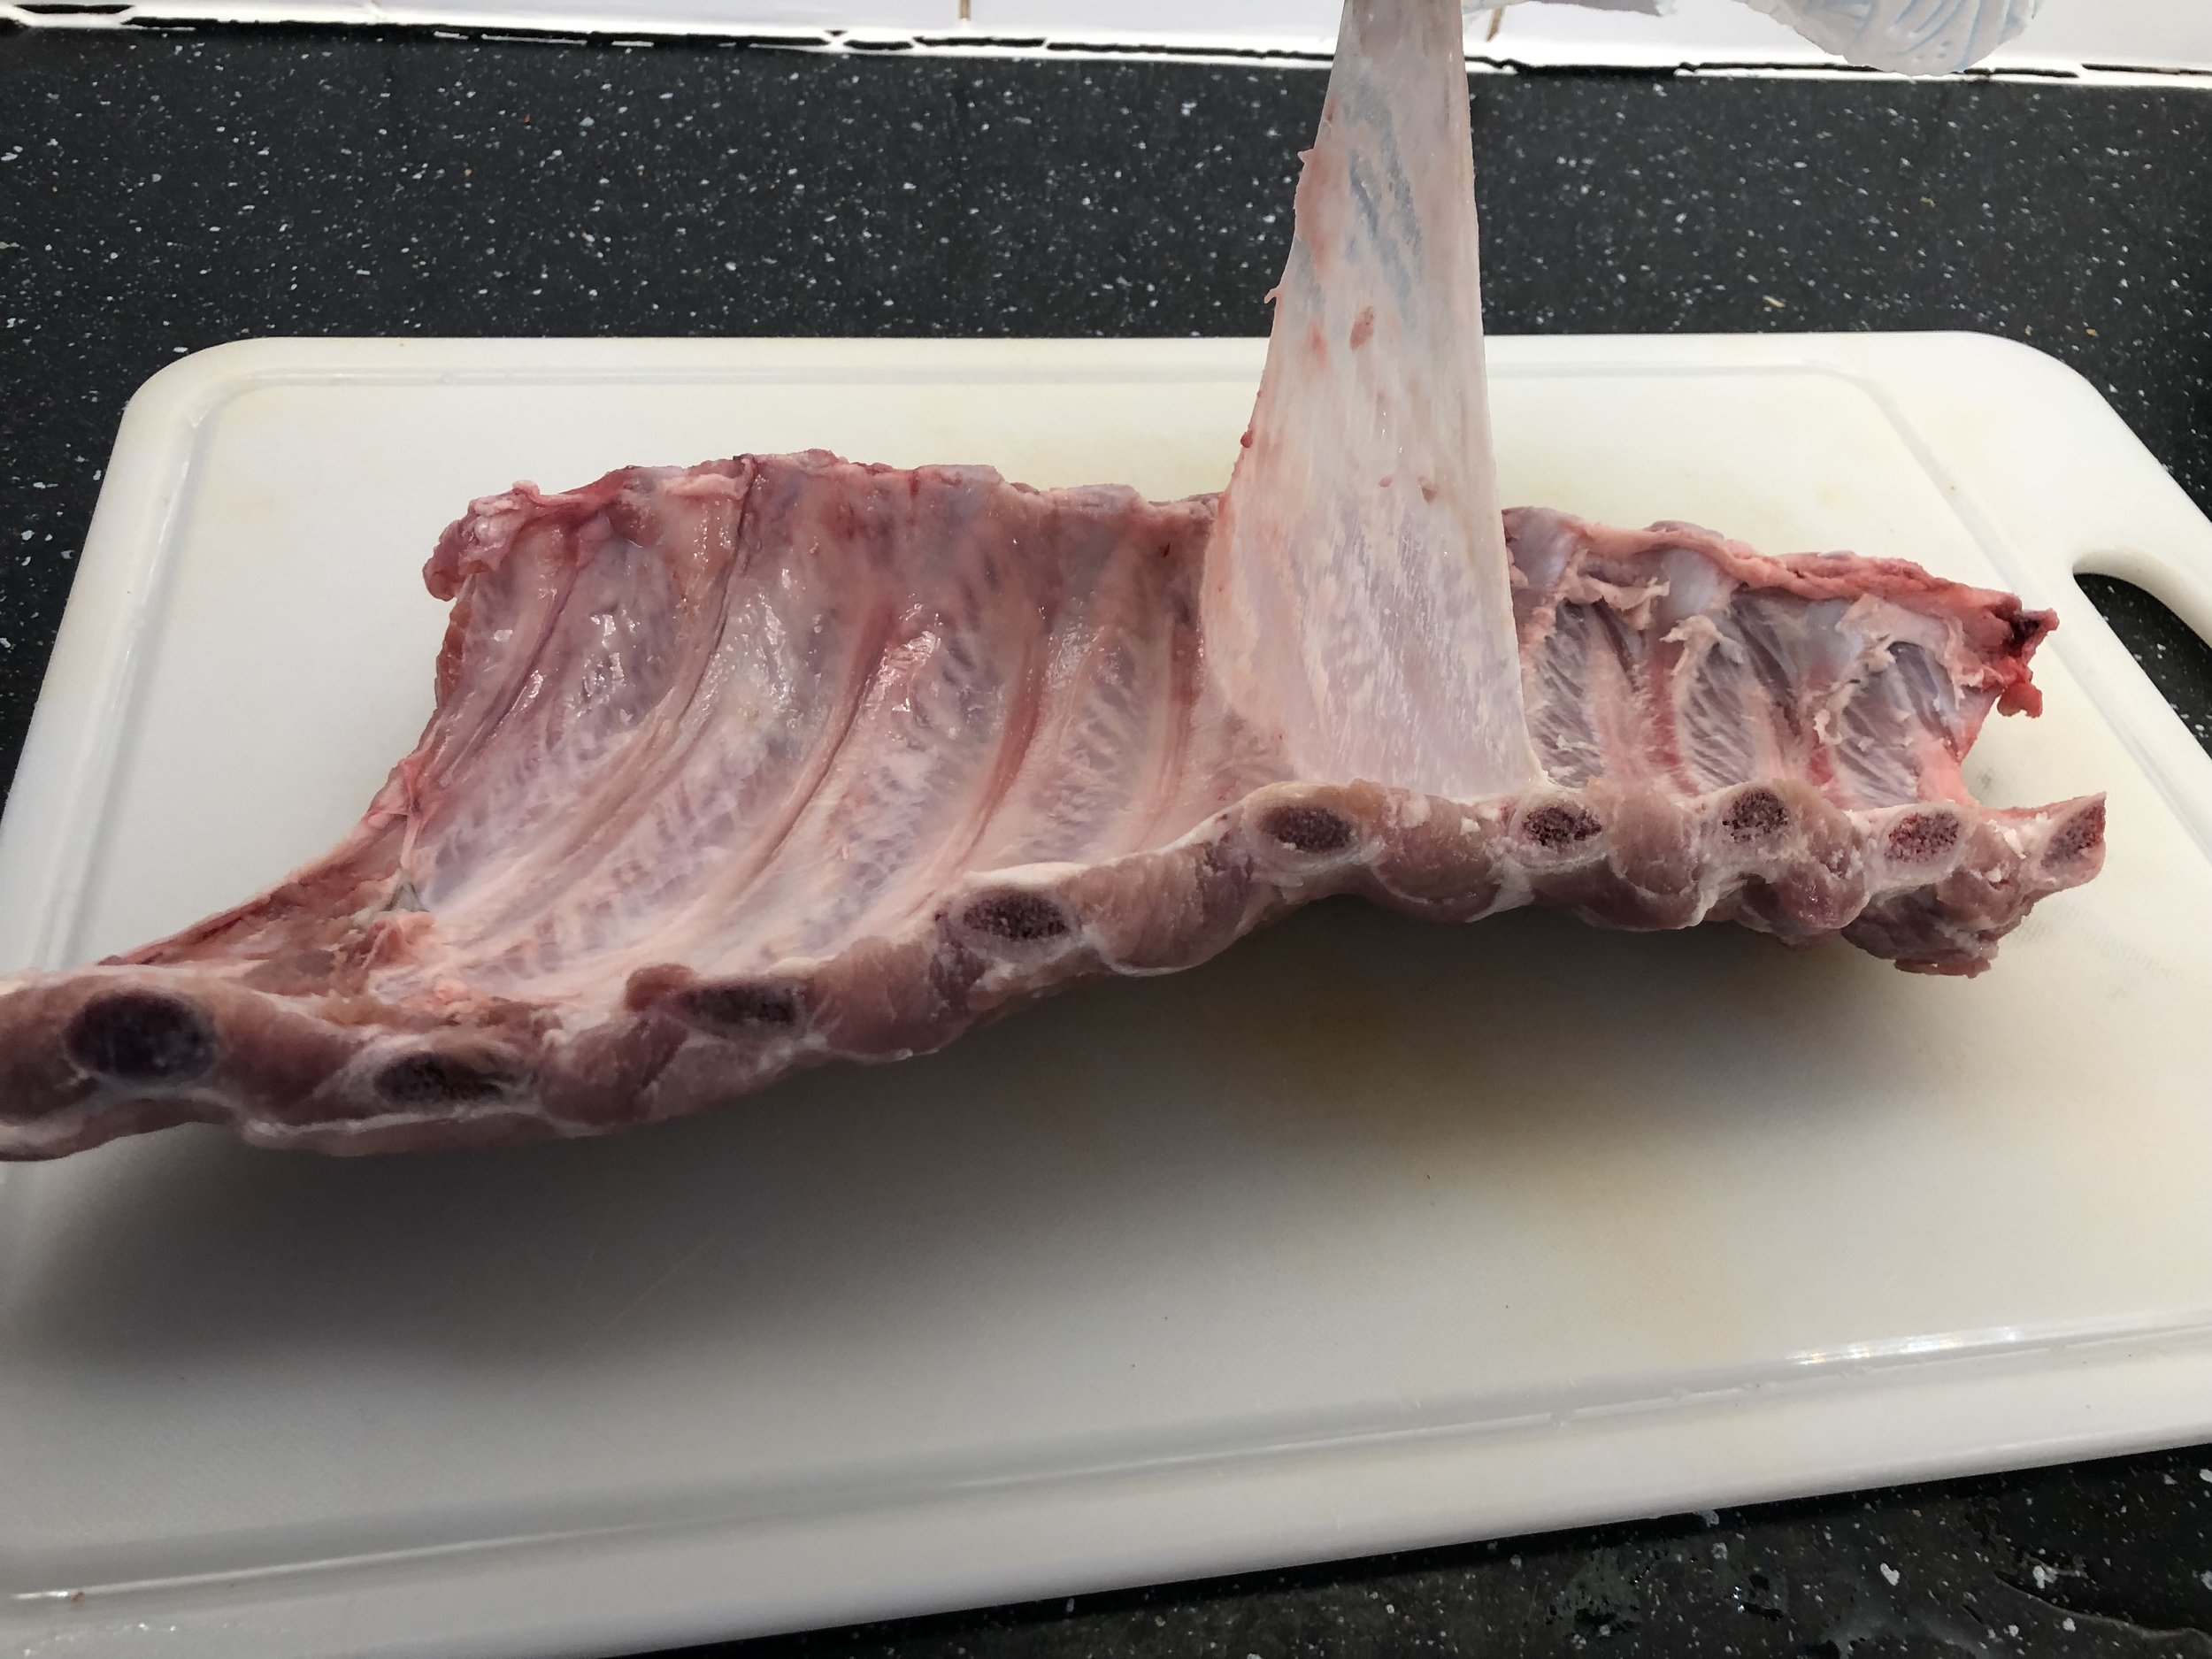
Step 2 - Ready your ribs
Flip the rack over so the bones face up
There is a membrane covering the bones that needs to be removed
Loosen the corner with a knife, then grab the membrane with a piece of kitchen roll to help grip
Give a good tug to pull the membrane free
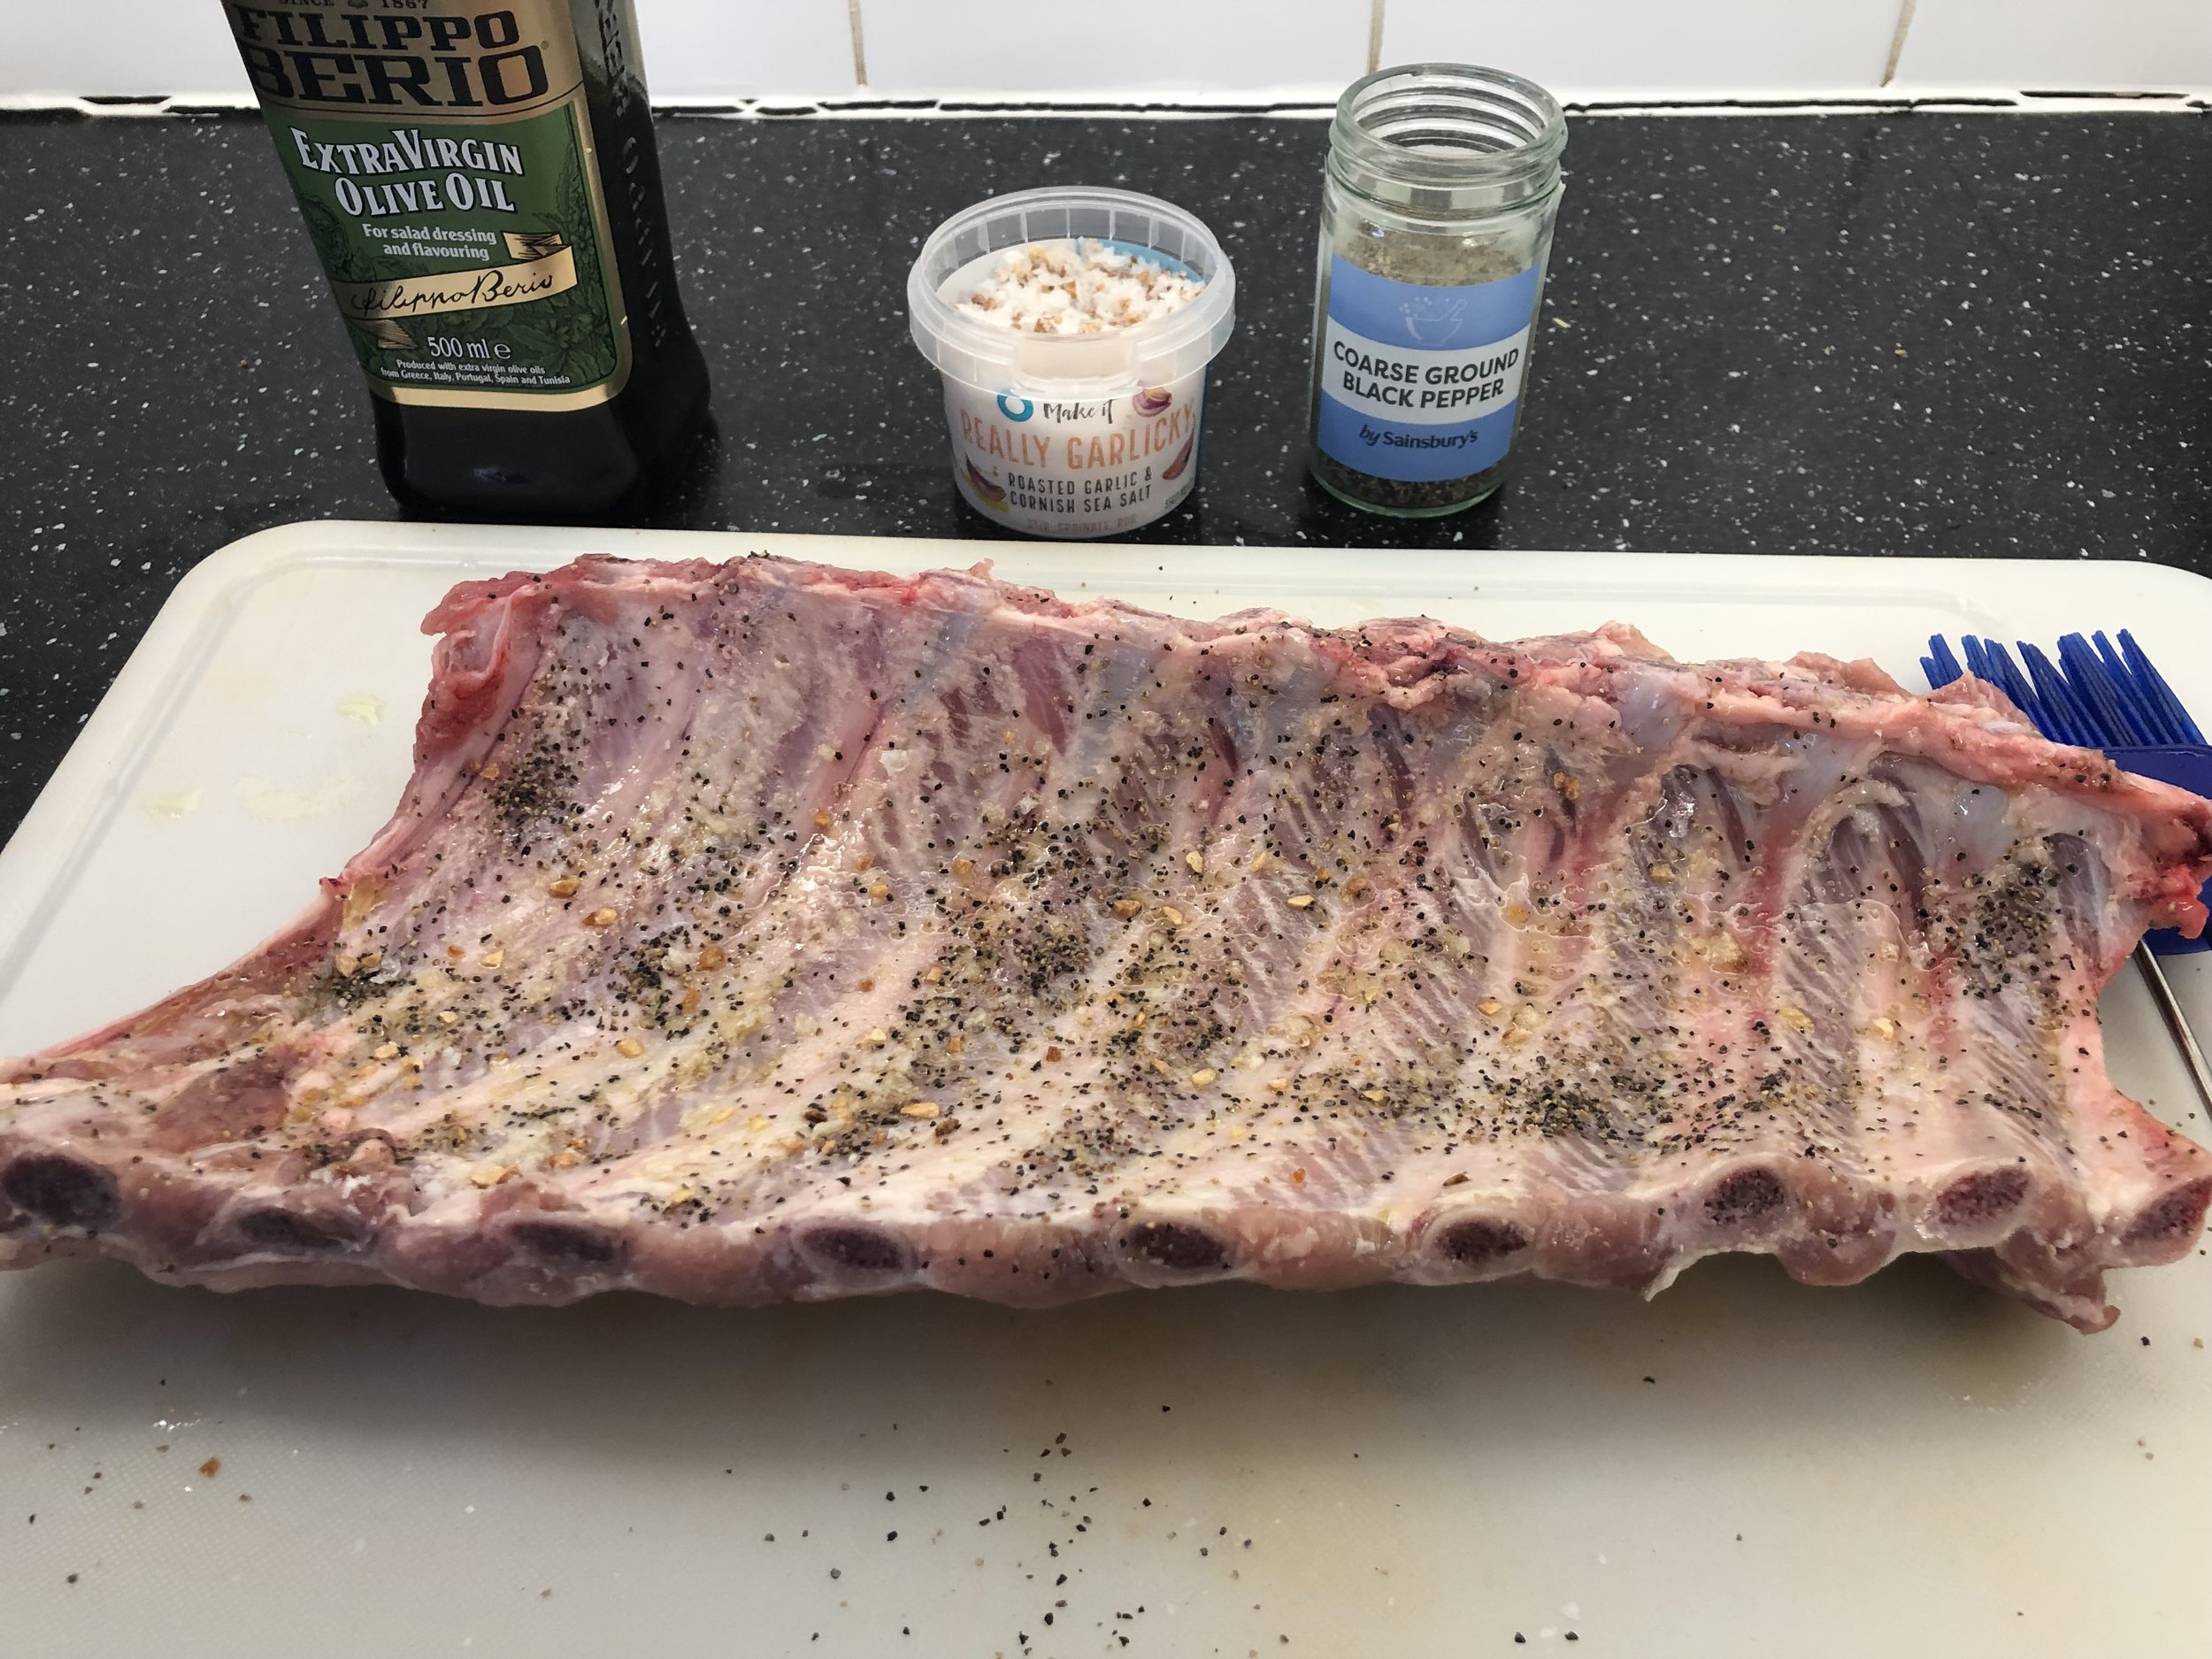
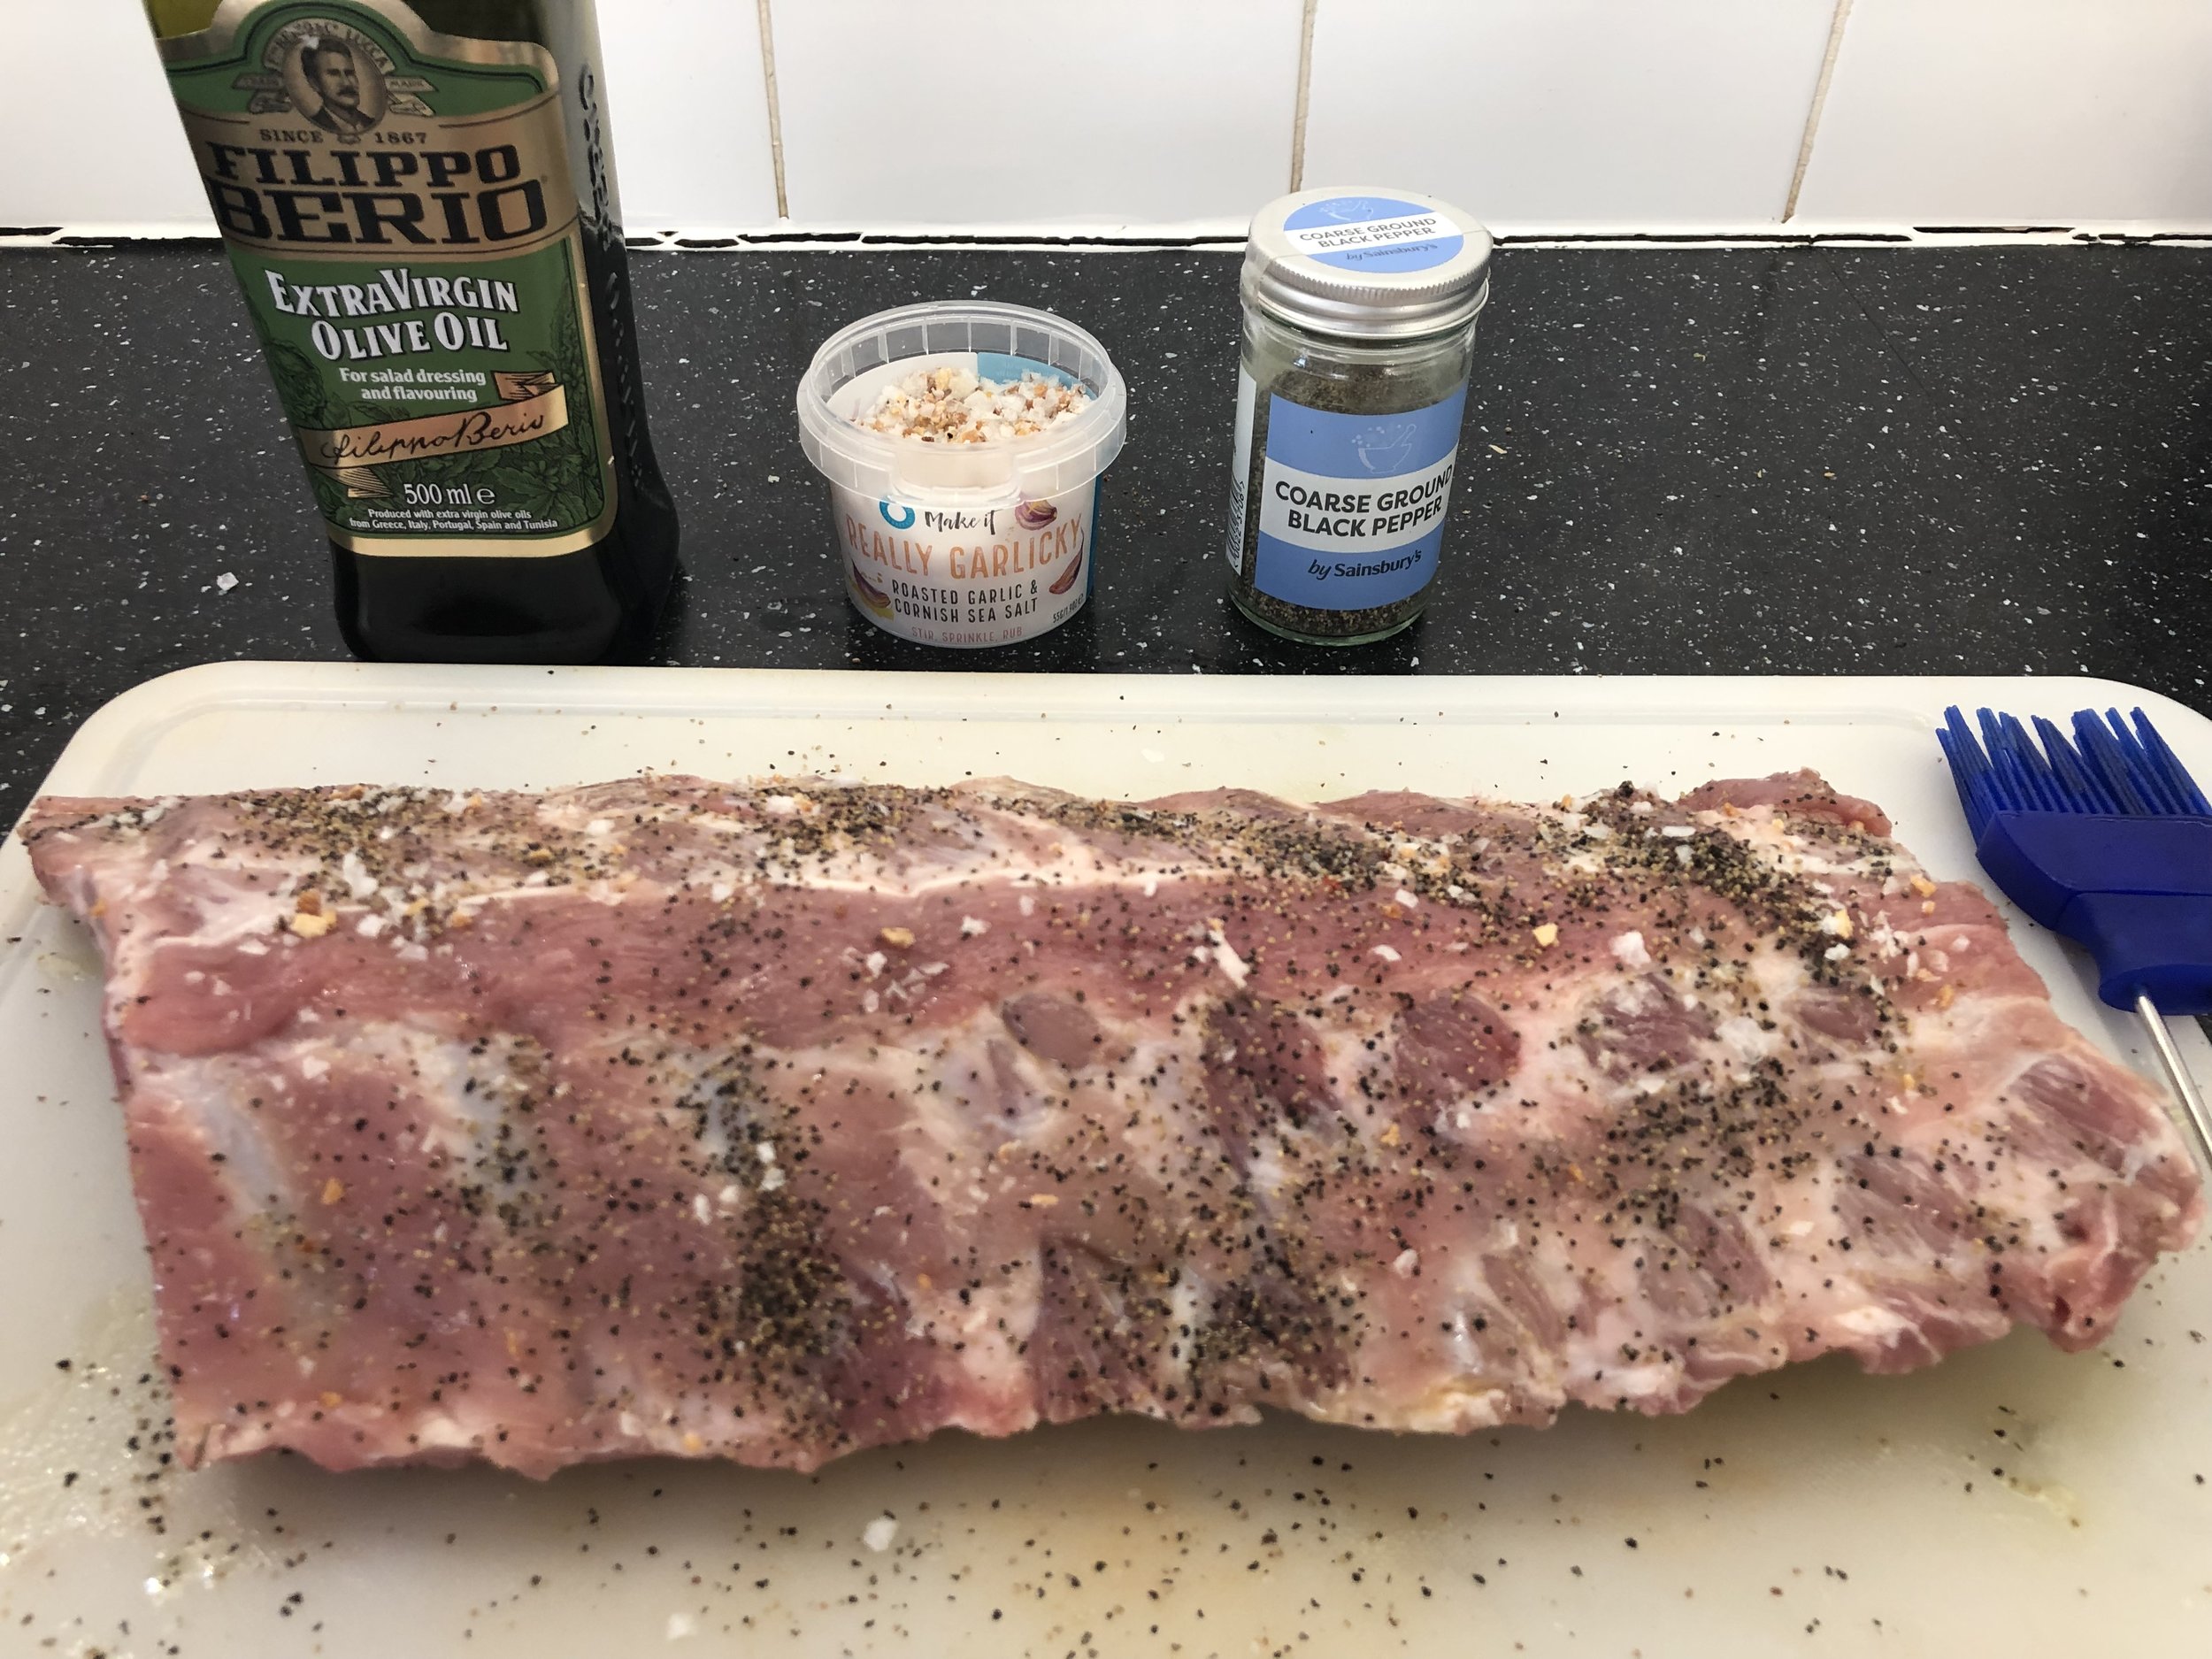
Oil and season the racks both sides. I used fresh black pepper and some roasted garlic sea salt
Step 3 - More meat
It didn’t seem worth the effort for just one rack of ribs so…
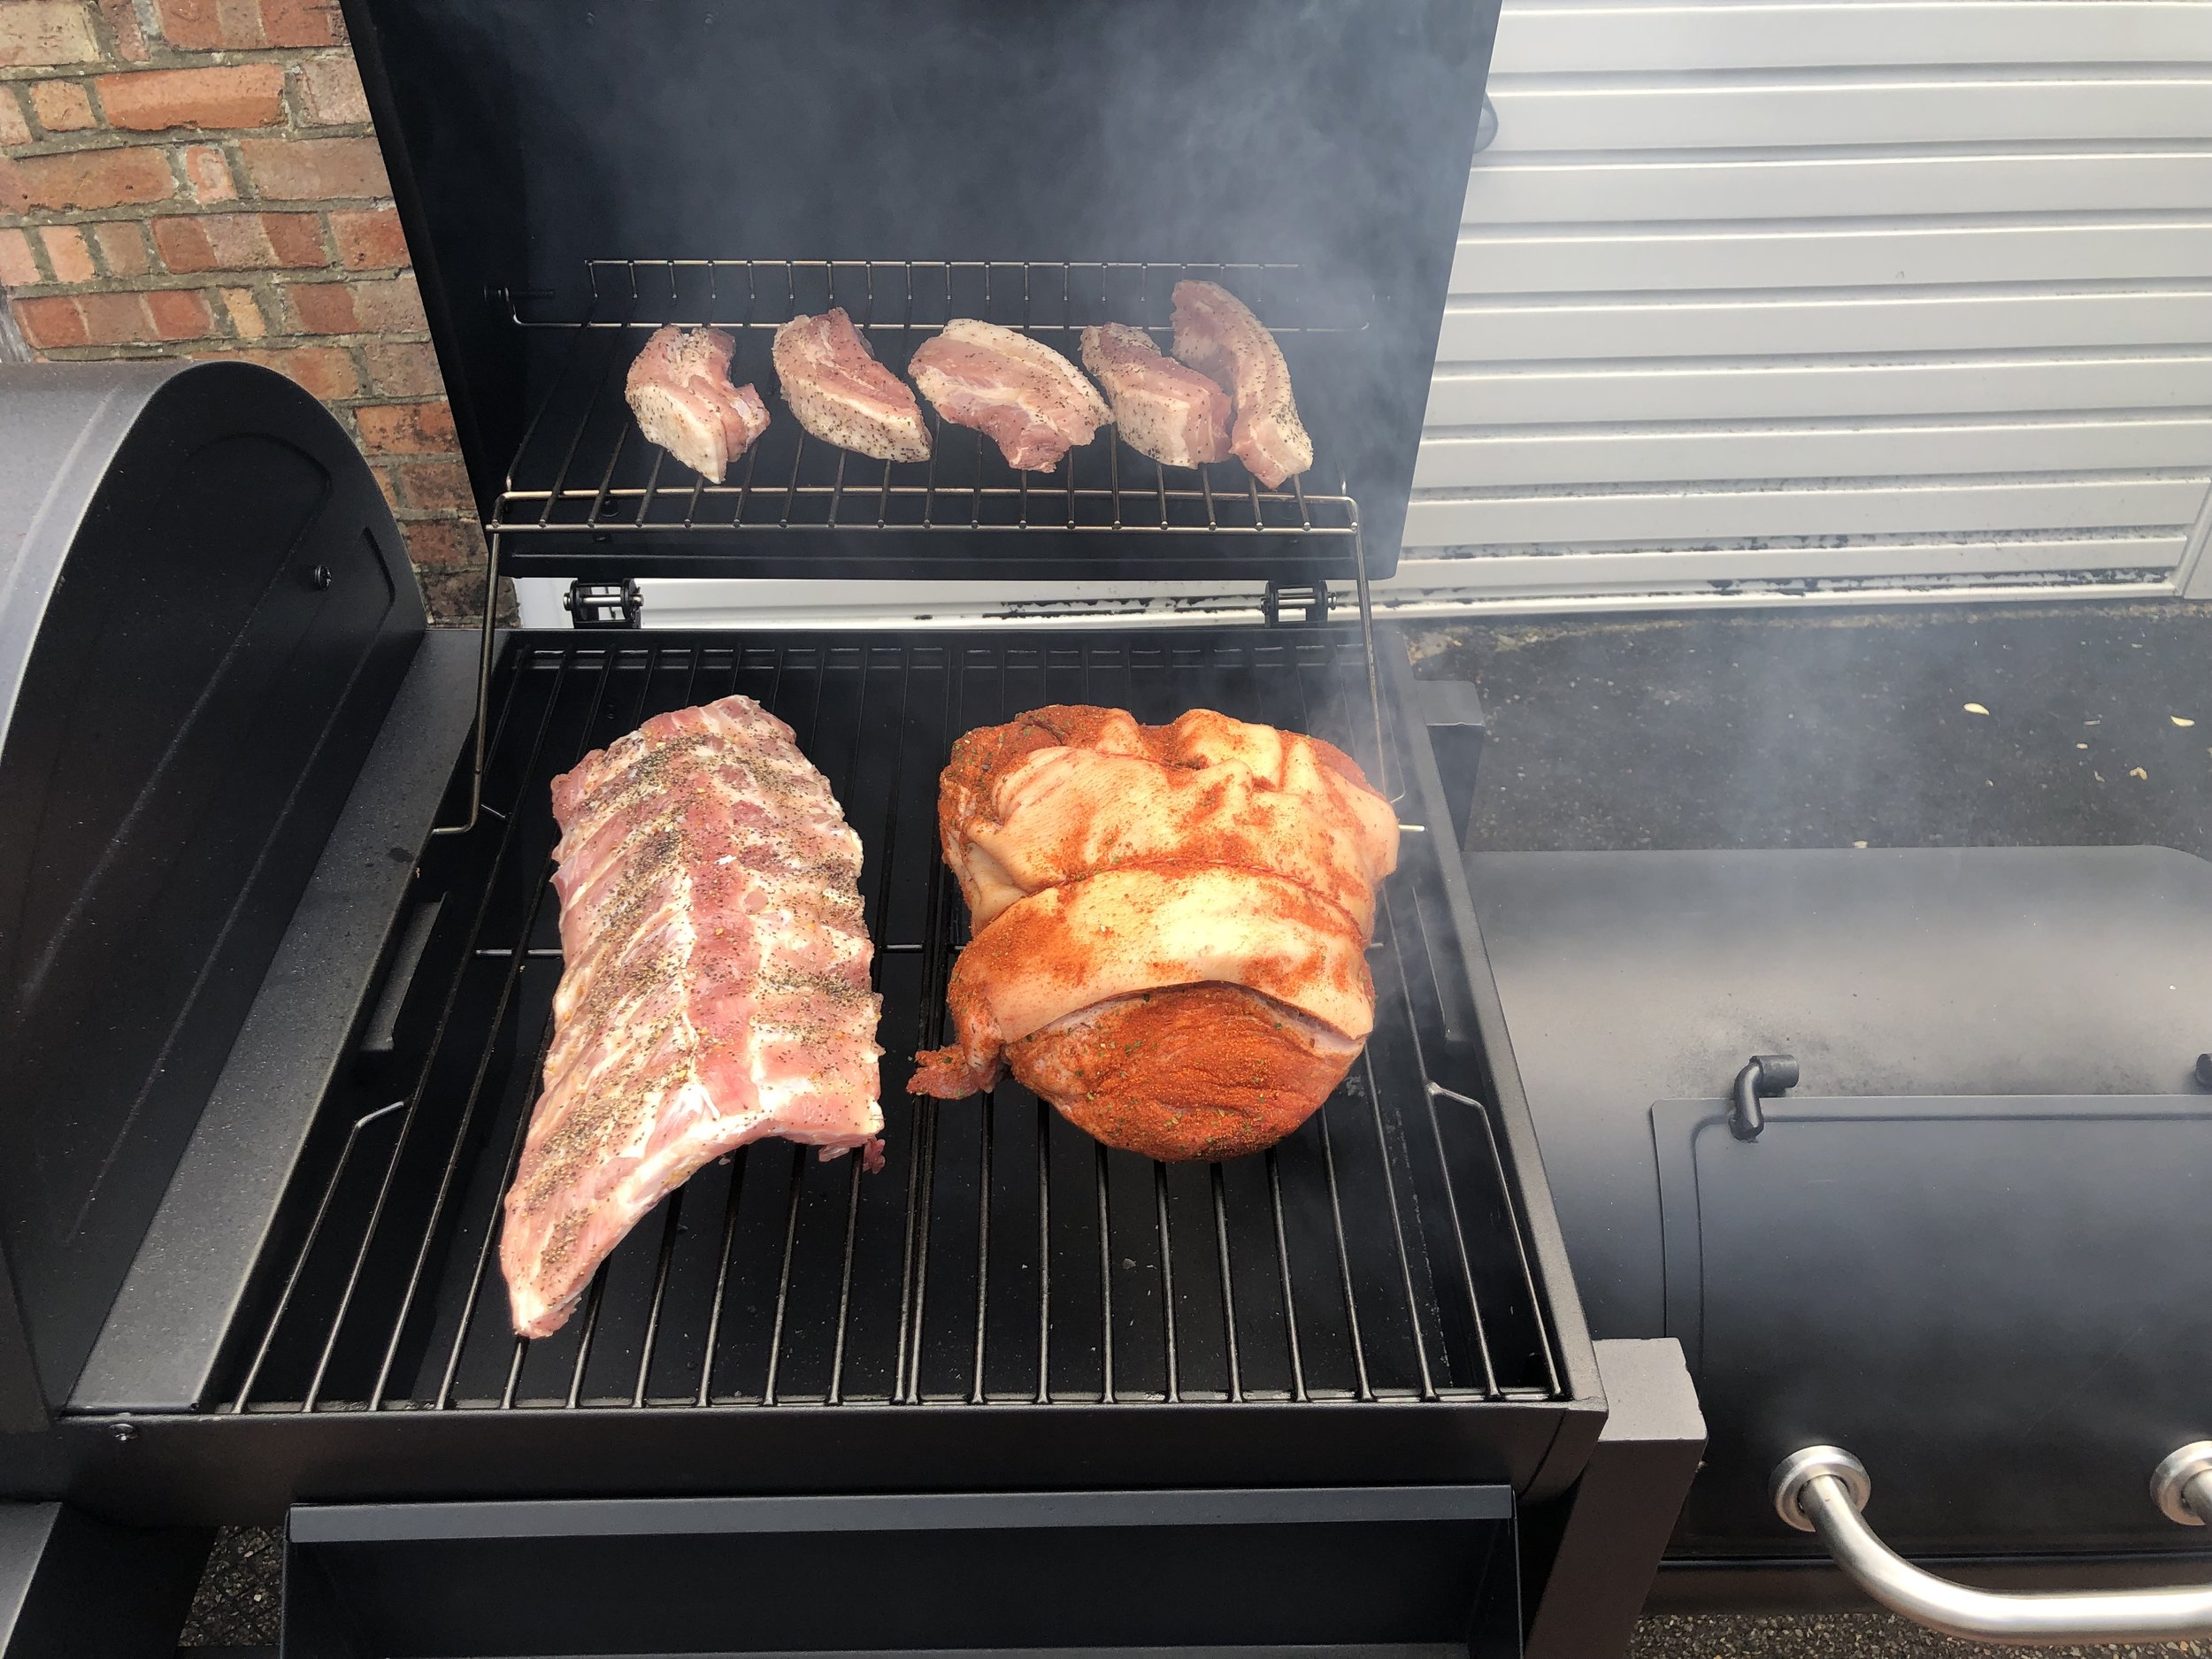
I covered a boned pork shoulder in a homemade tex-mex spice rub - chilli powder, smoked paprika, ground cumin, garlic powder, onion granules, dried oregano, a pinch of cinnamon and ground cloves, and salt and pepper
Give the meat a good massage to get the flavours going
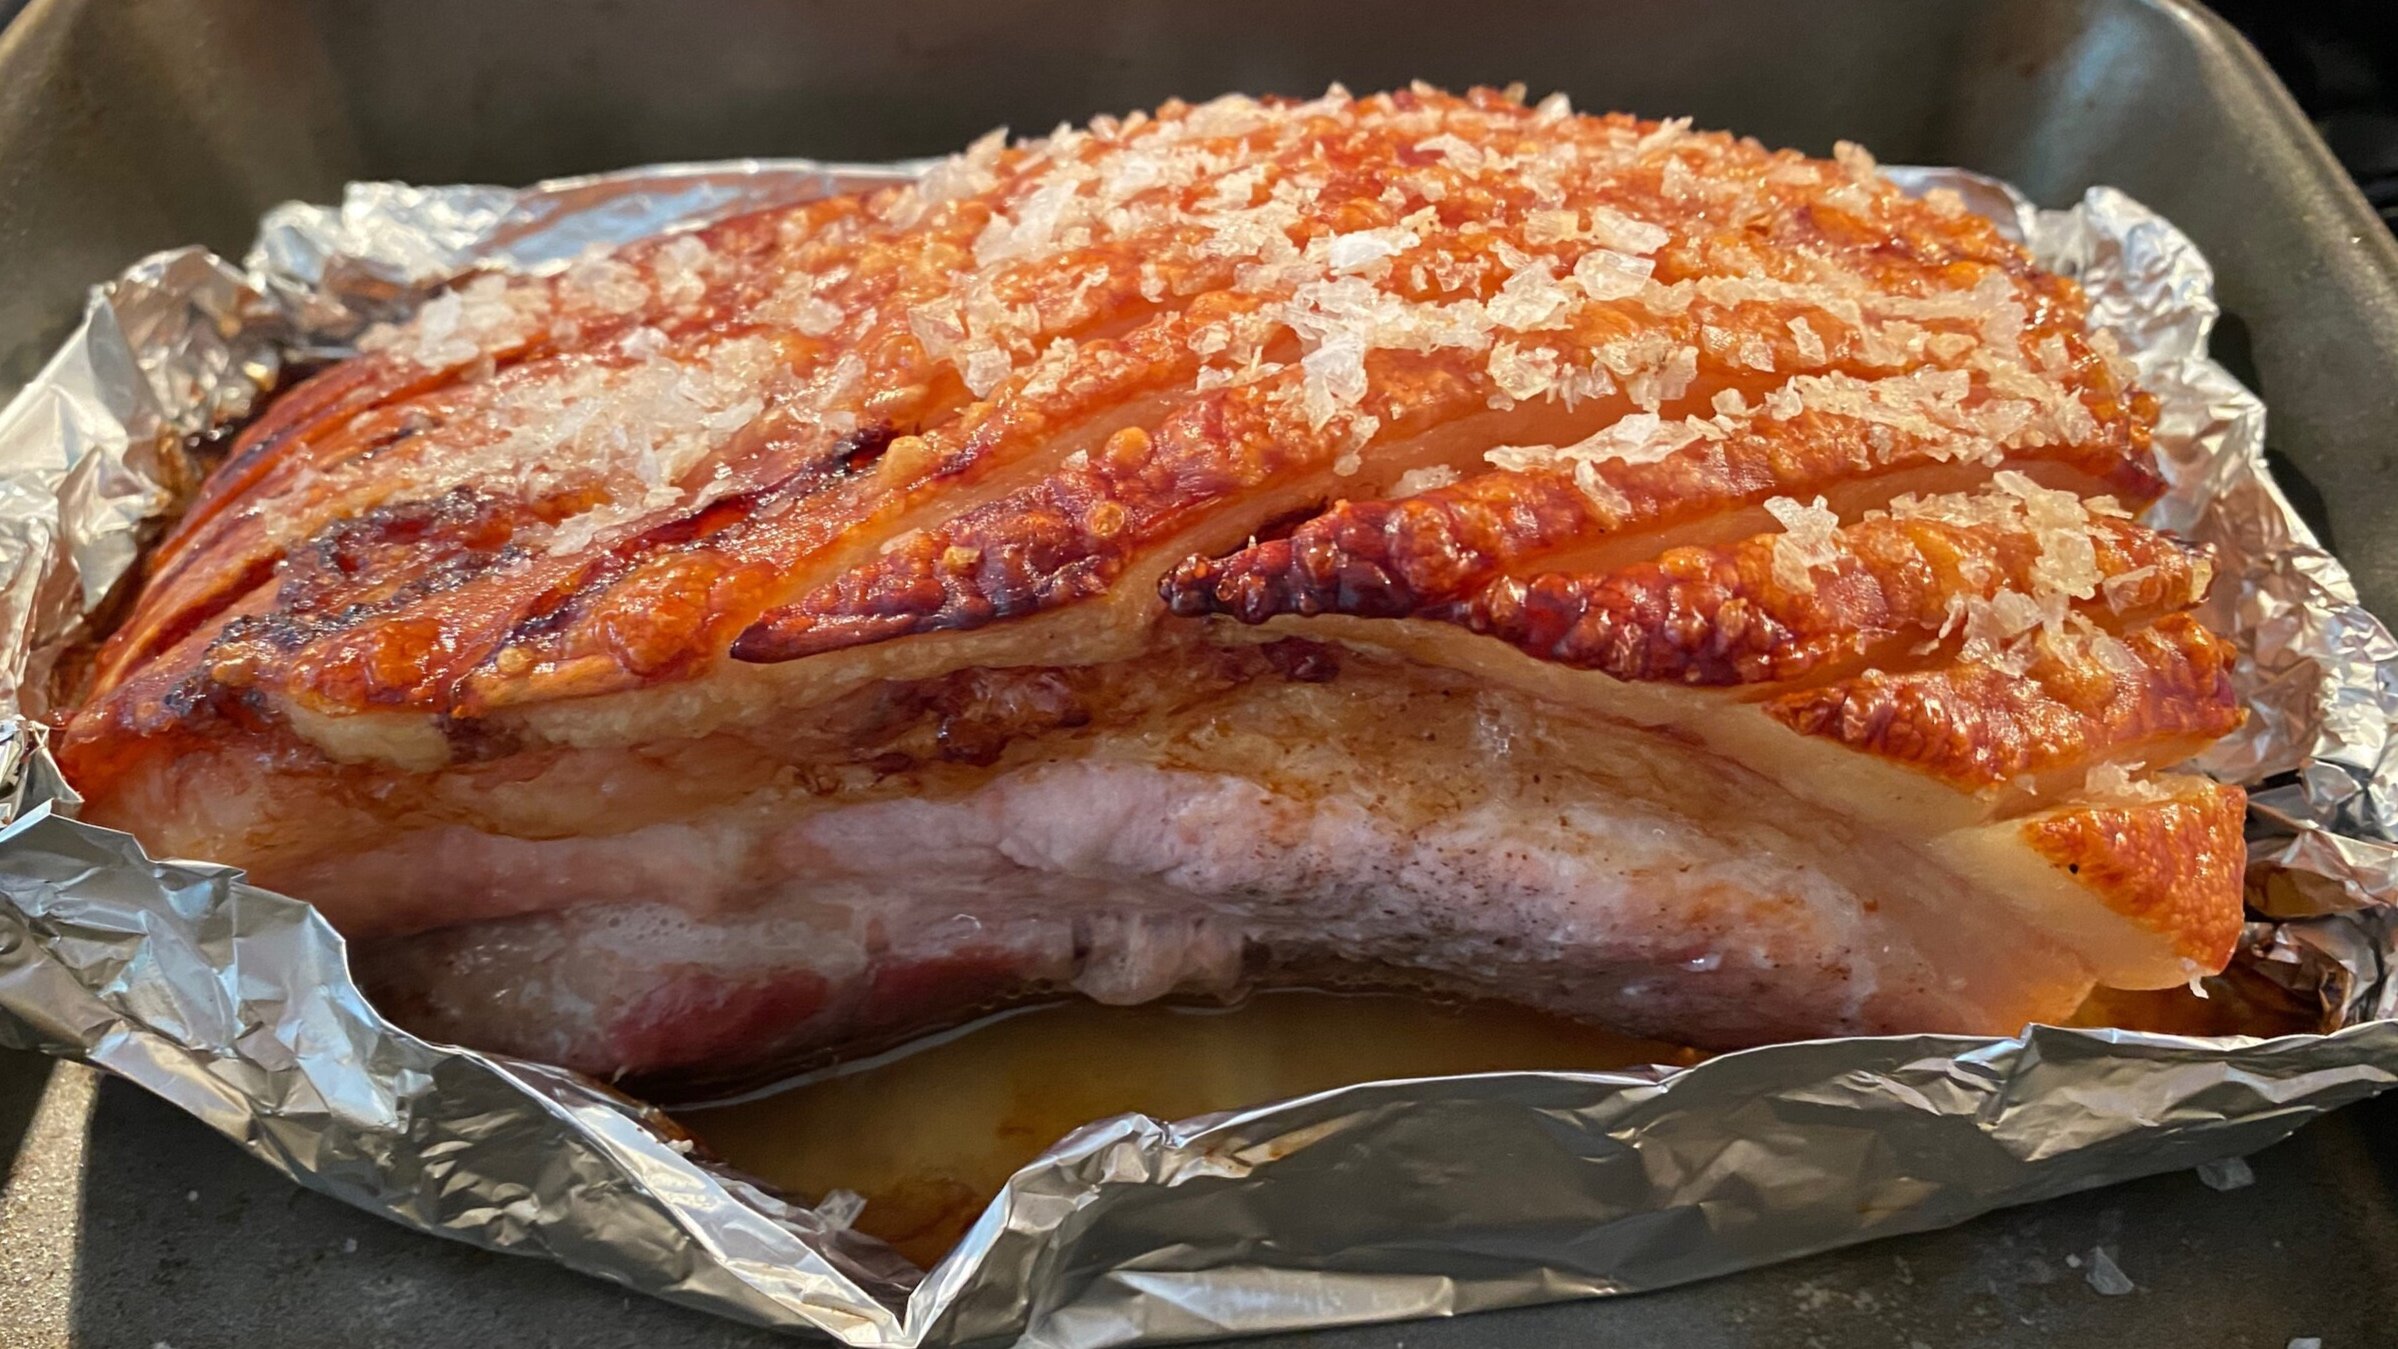
For good measure I also chucked on some pork belly slices covered in black pepper and smoked sea salt

Step 4 - Smokin’
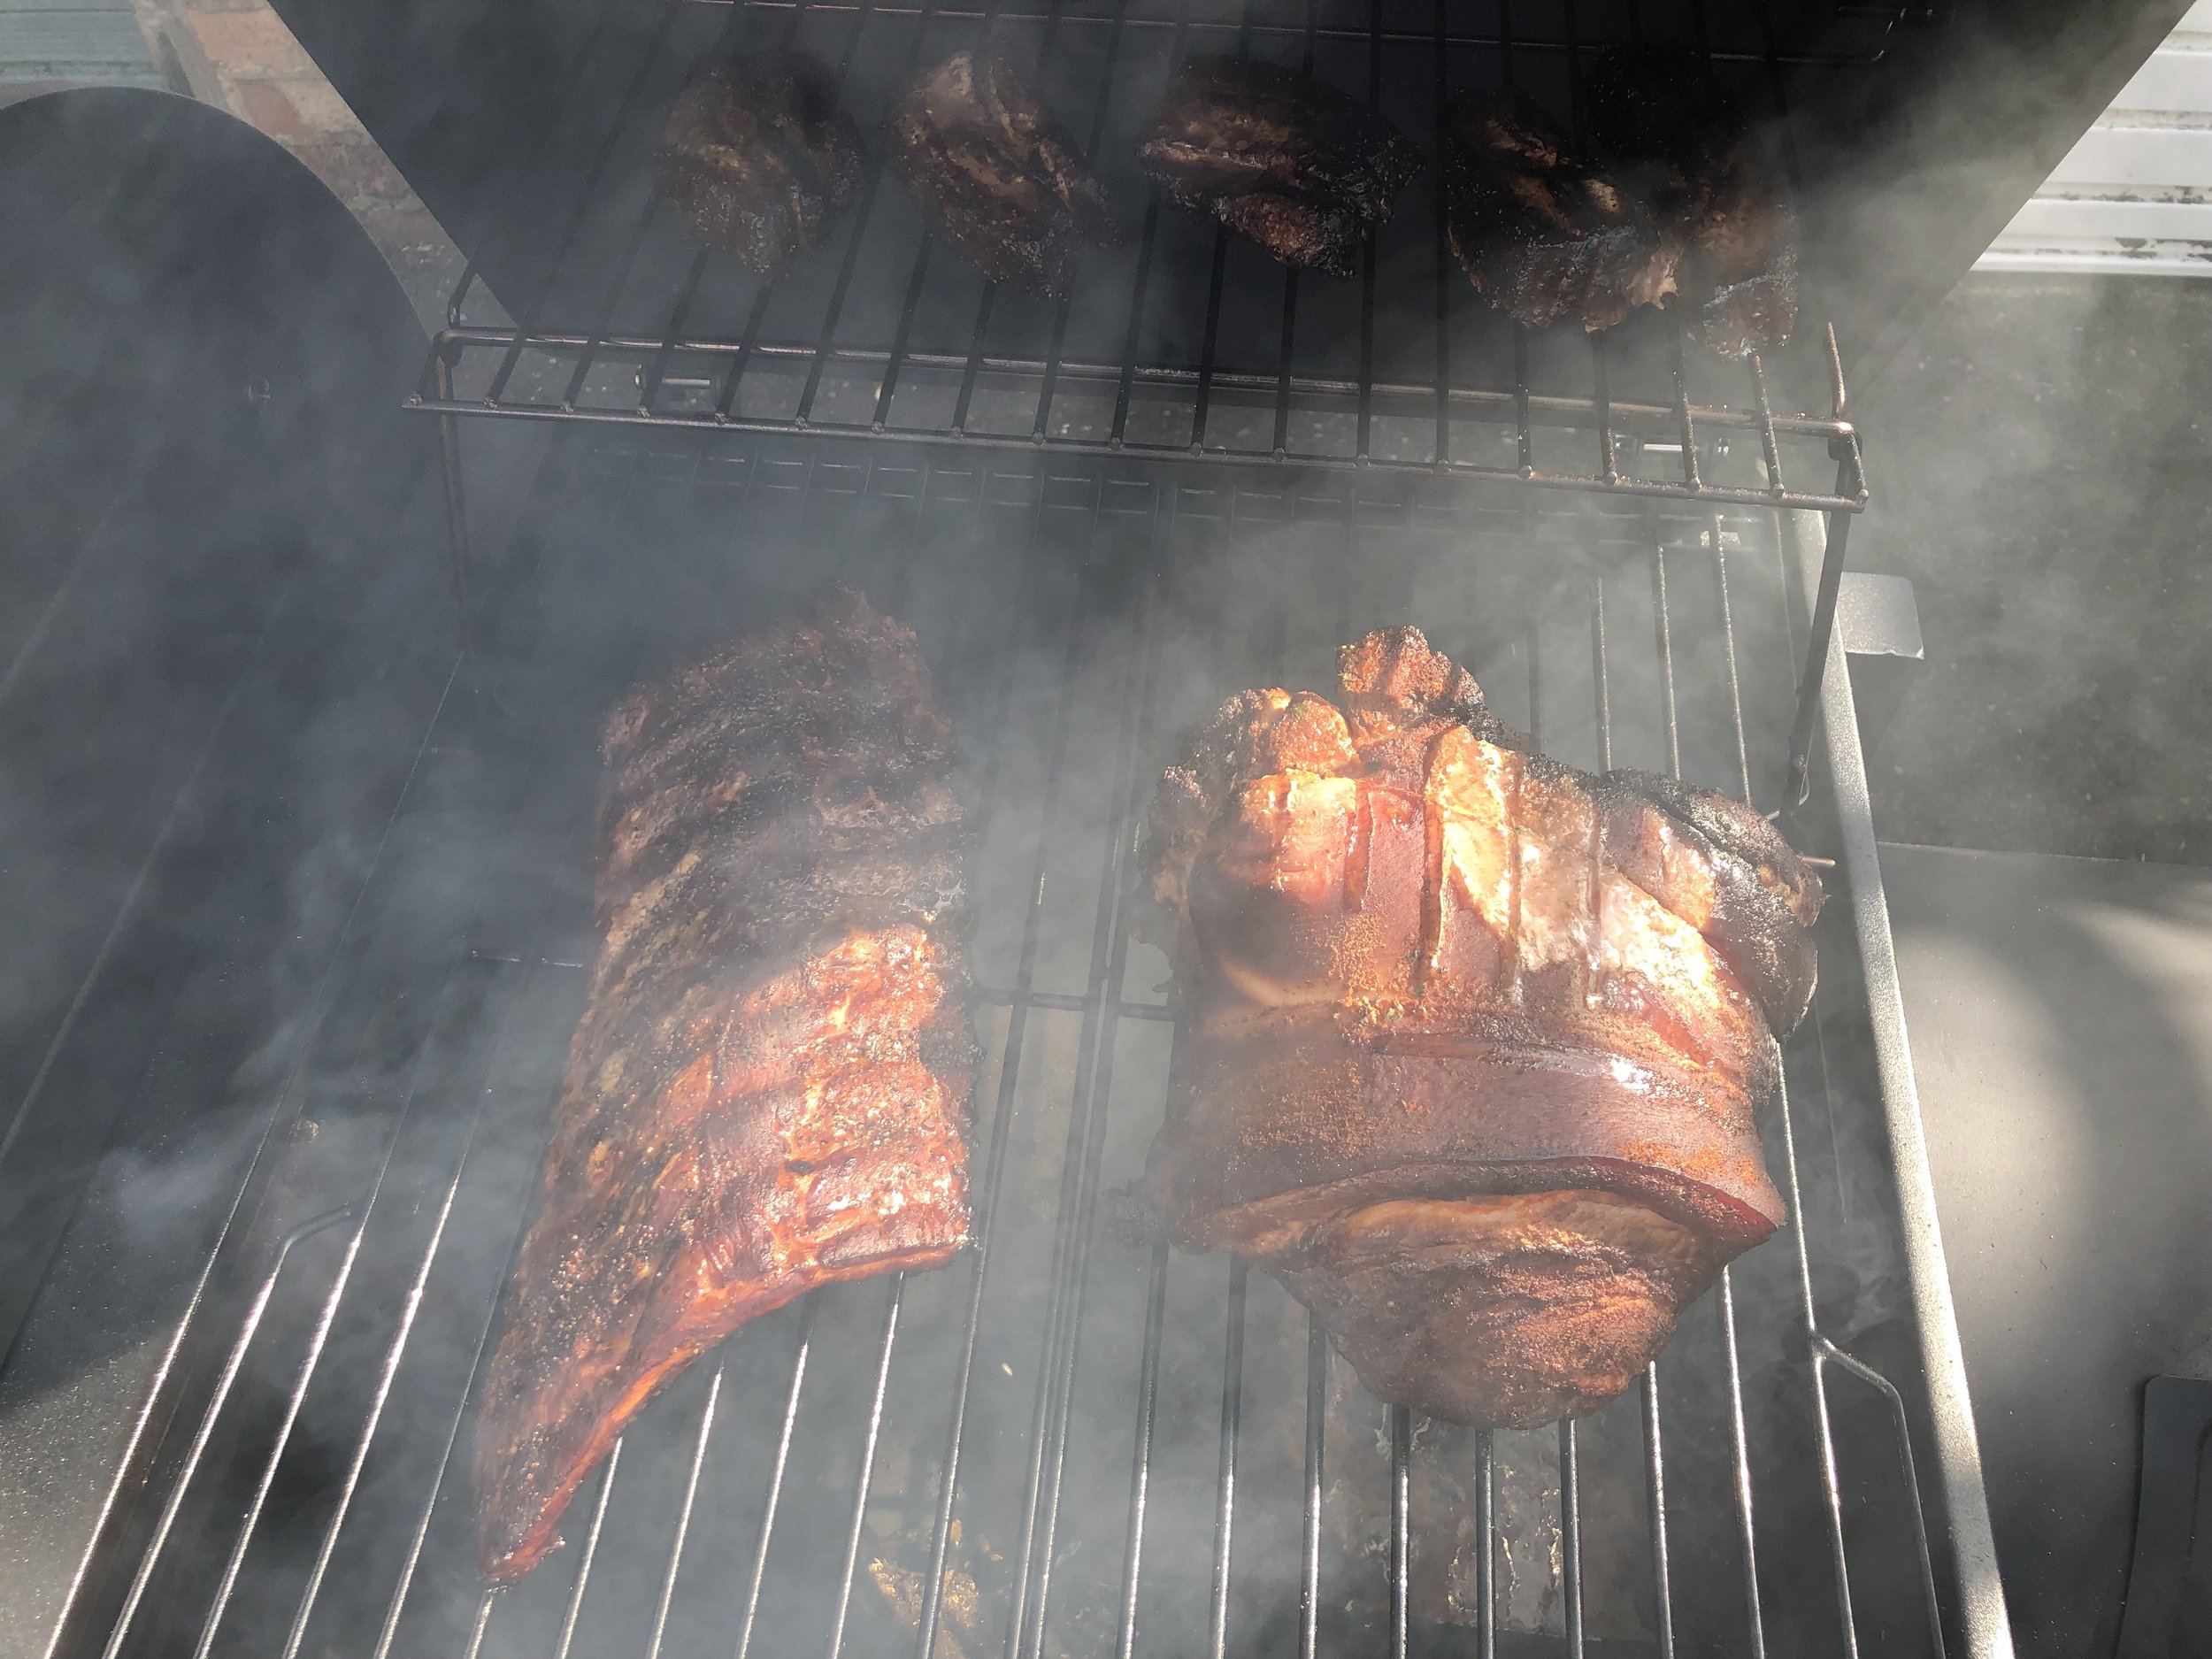
Put the meat in the cooking chamber, ribs were bone side down, smaller belly slices on the upper rack, and the thickest part of the pork shoulder nearest the heat source
Keep an eye on the temperature, regulate with the vents on the smoker and the chimney cover
Watch the smoke coming from the chimney, aim for the rare thin blue smoke, but if you have no smoke, check your wood and add more fuel, and if there is thick white smoke give the fuel a stoke
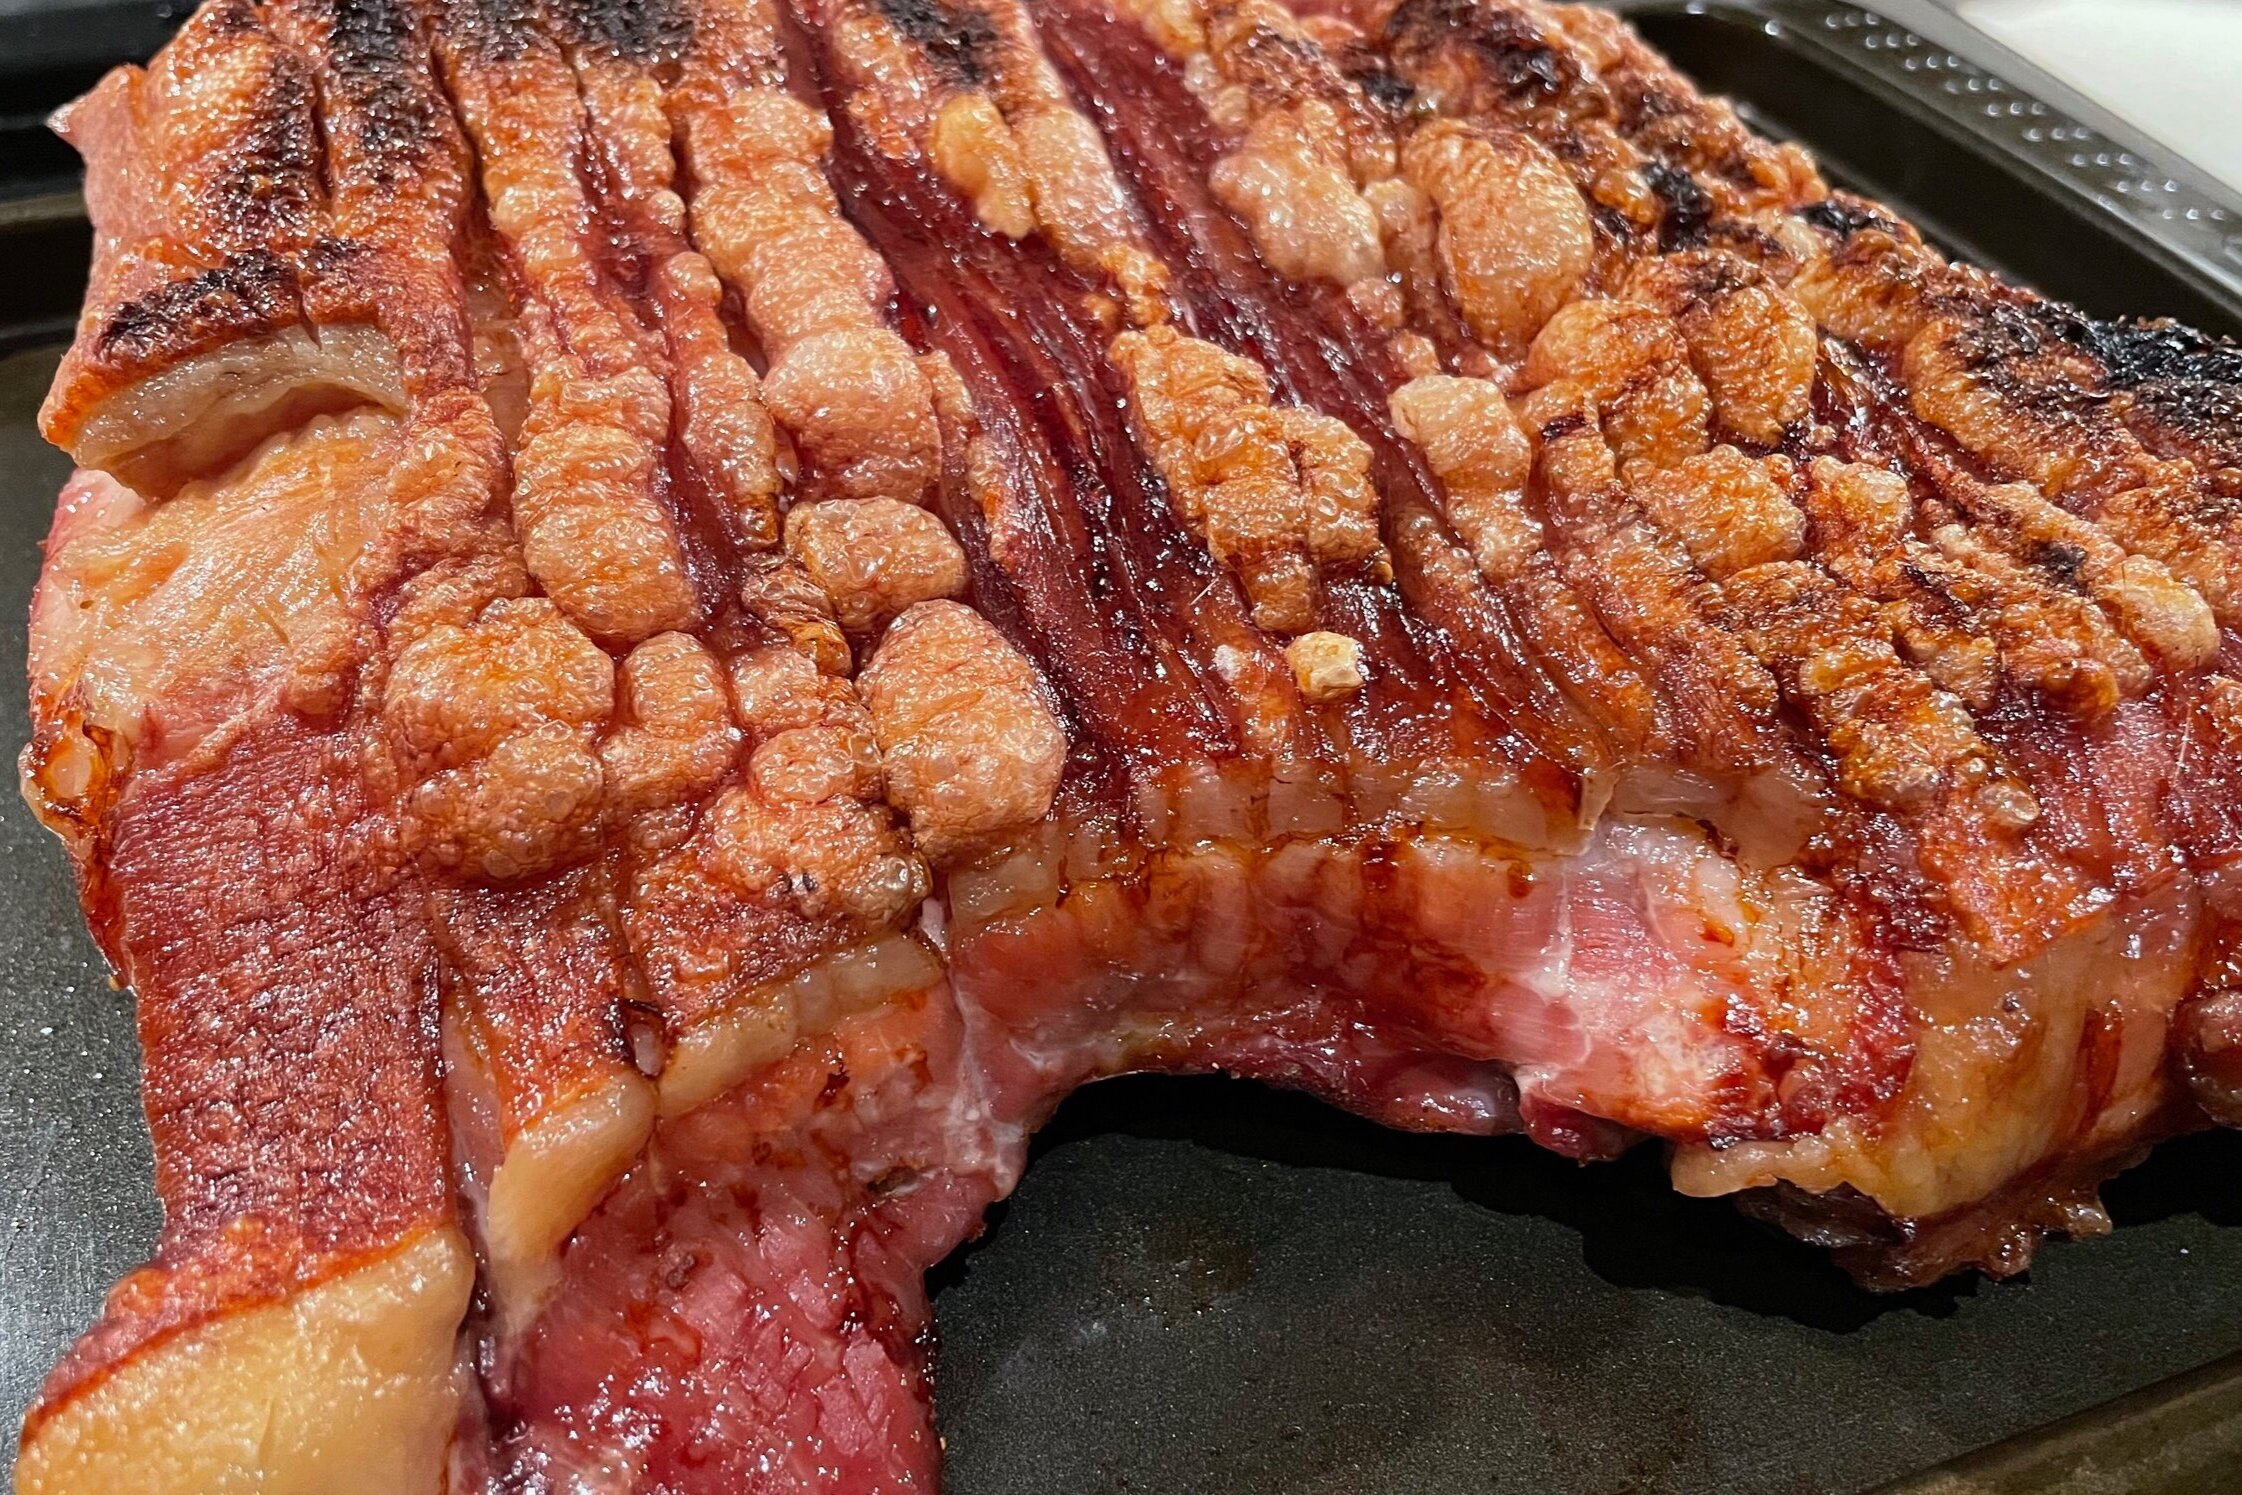
I checked the meat at the three hour mark and removed the ribs and belly
The shoulder had four hours in total
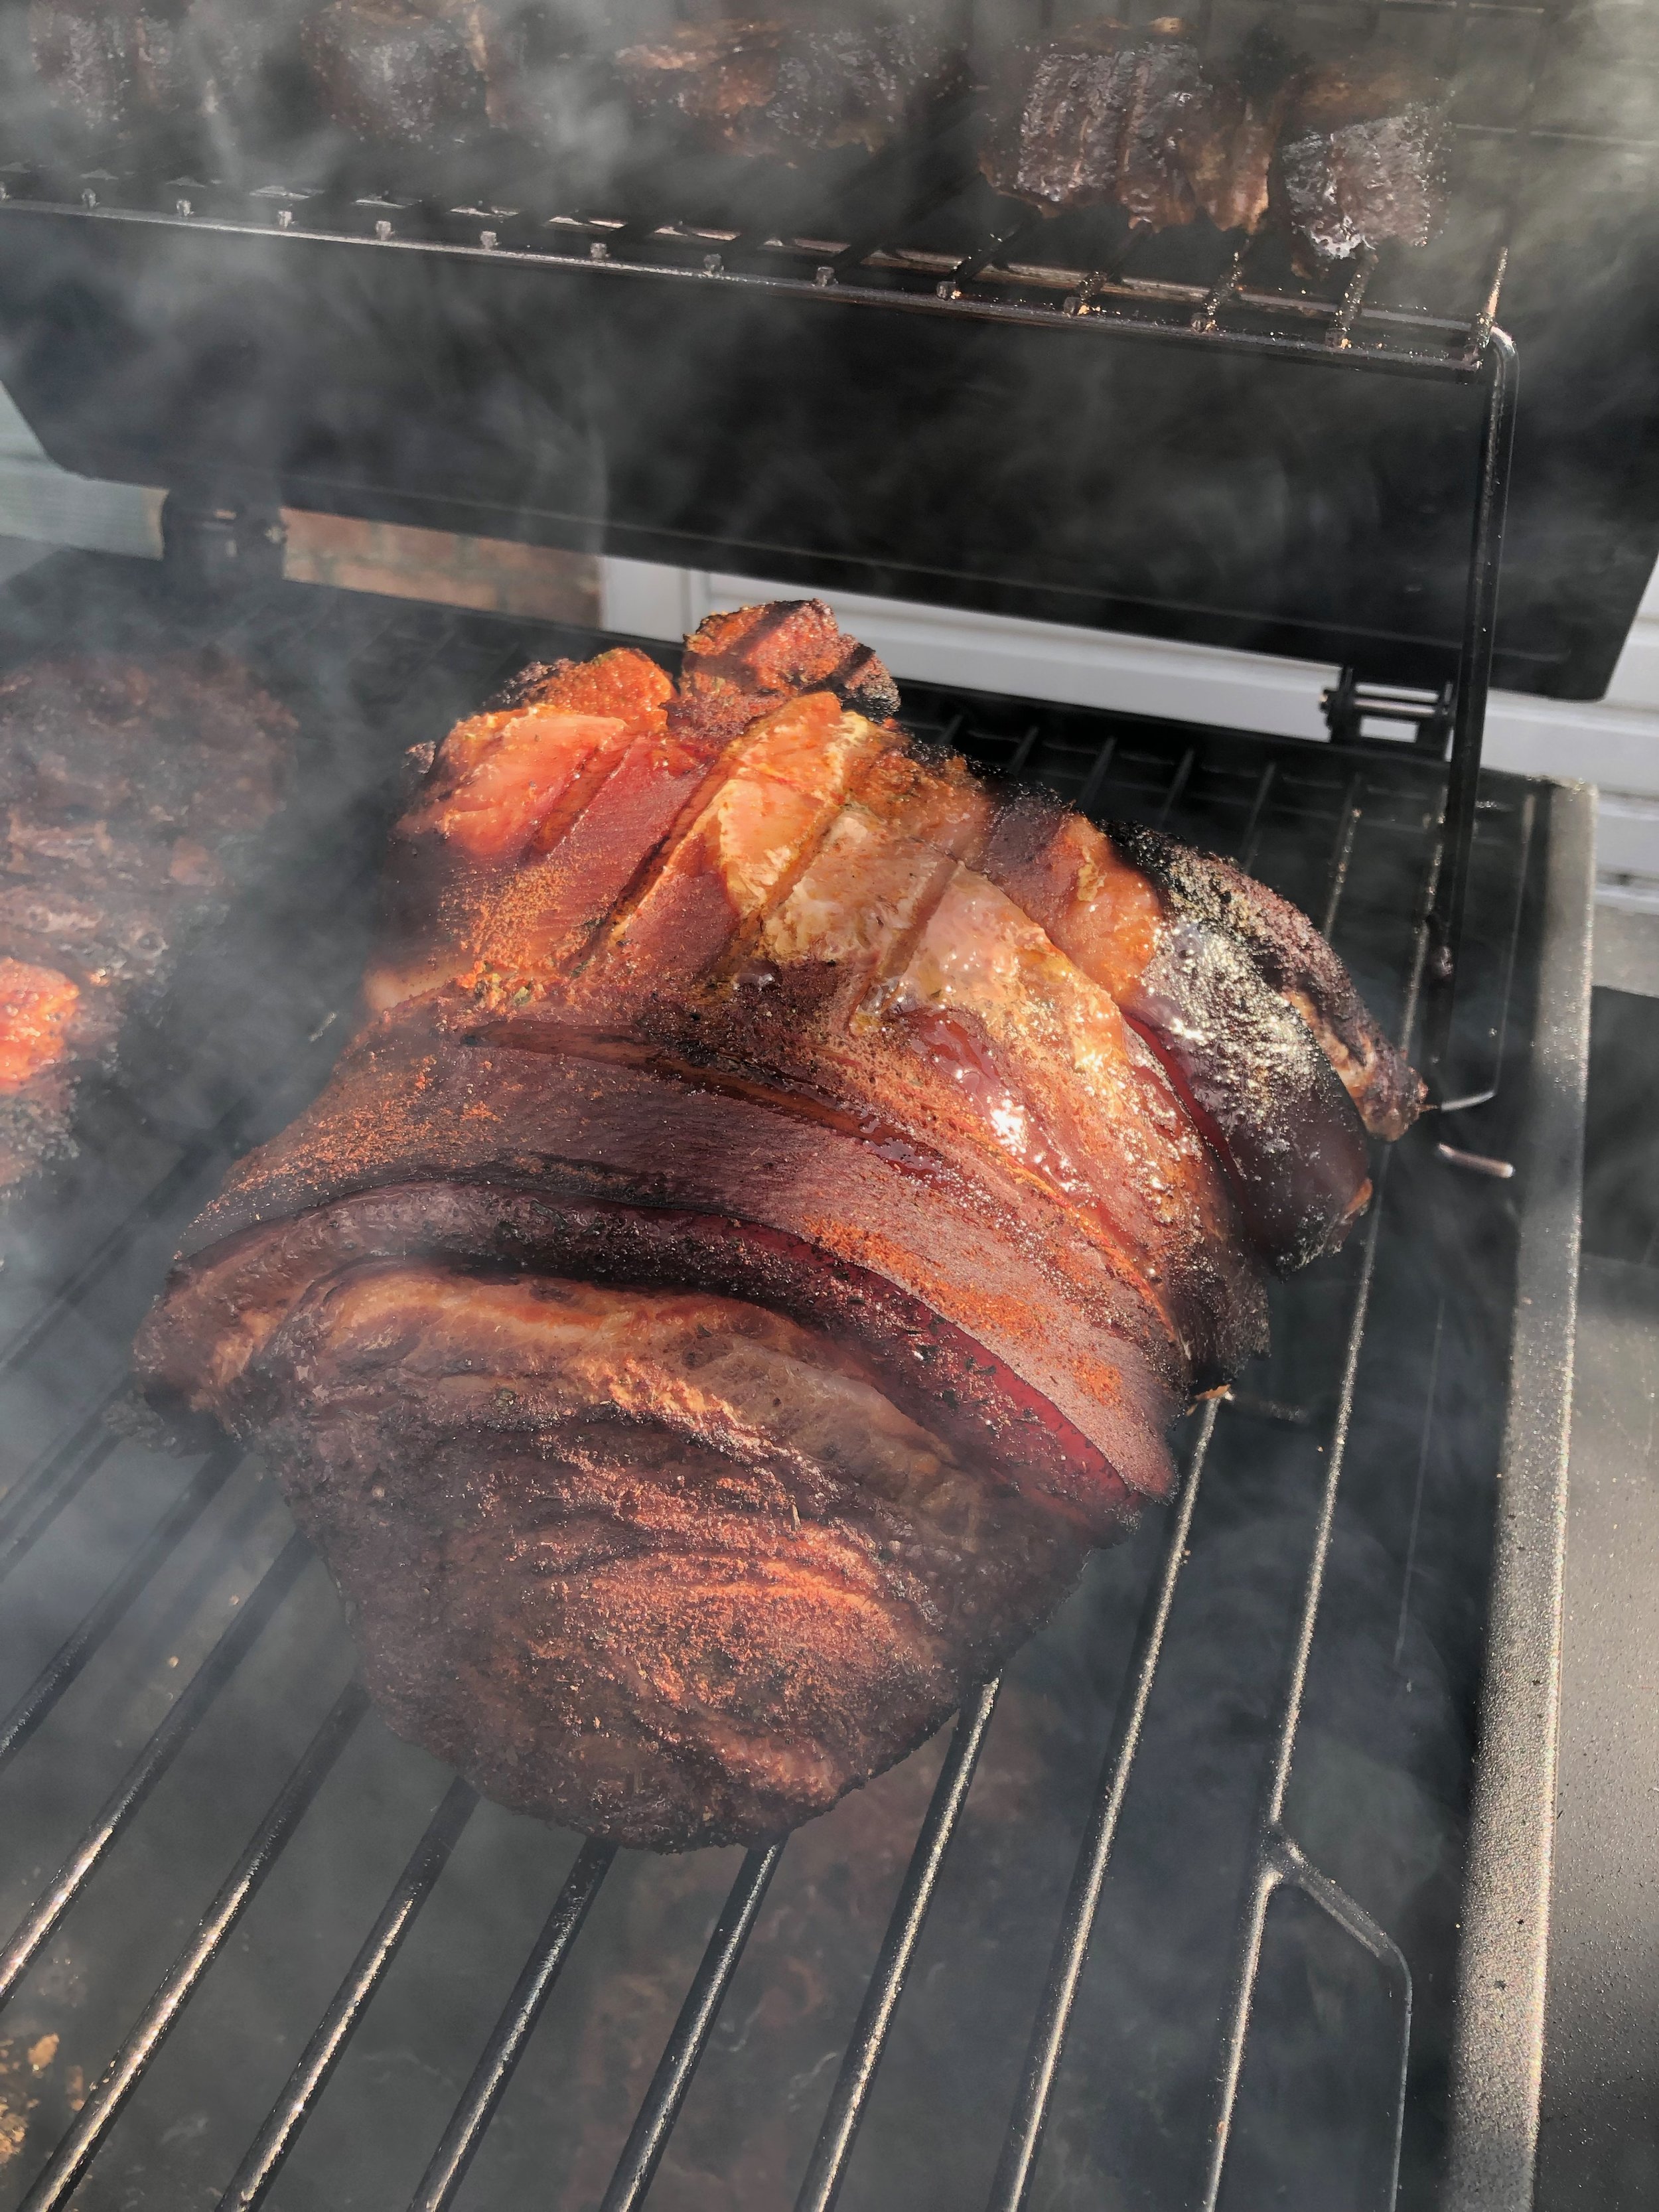
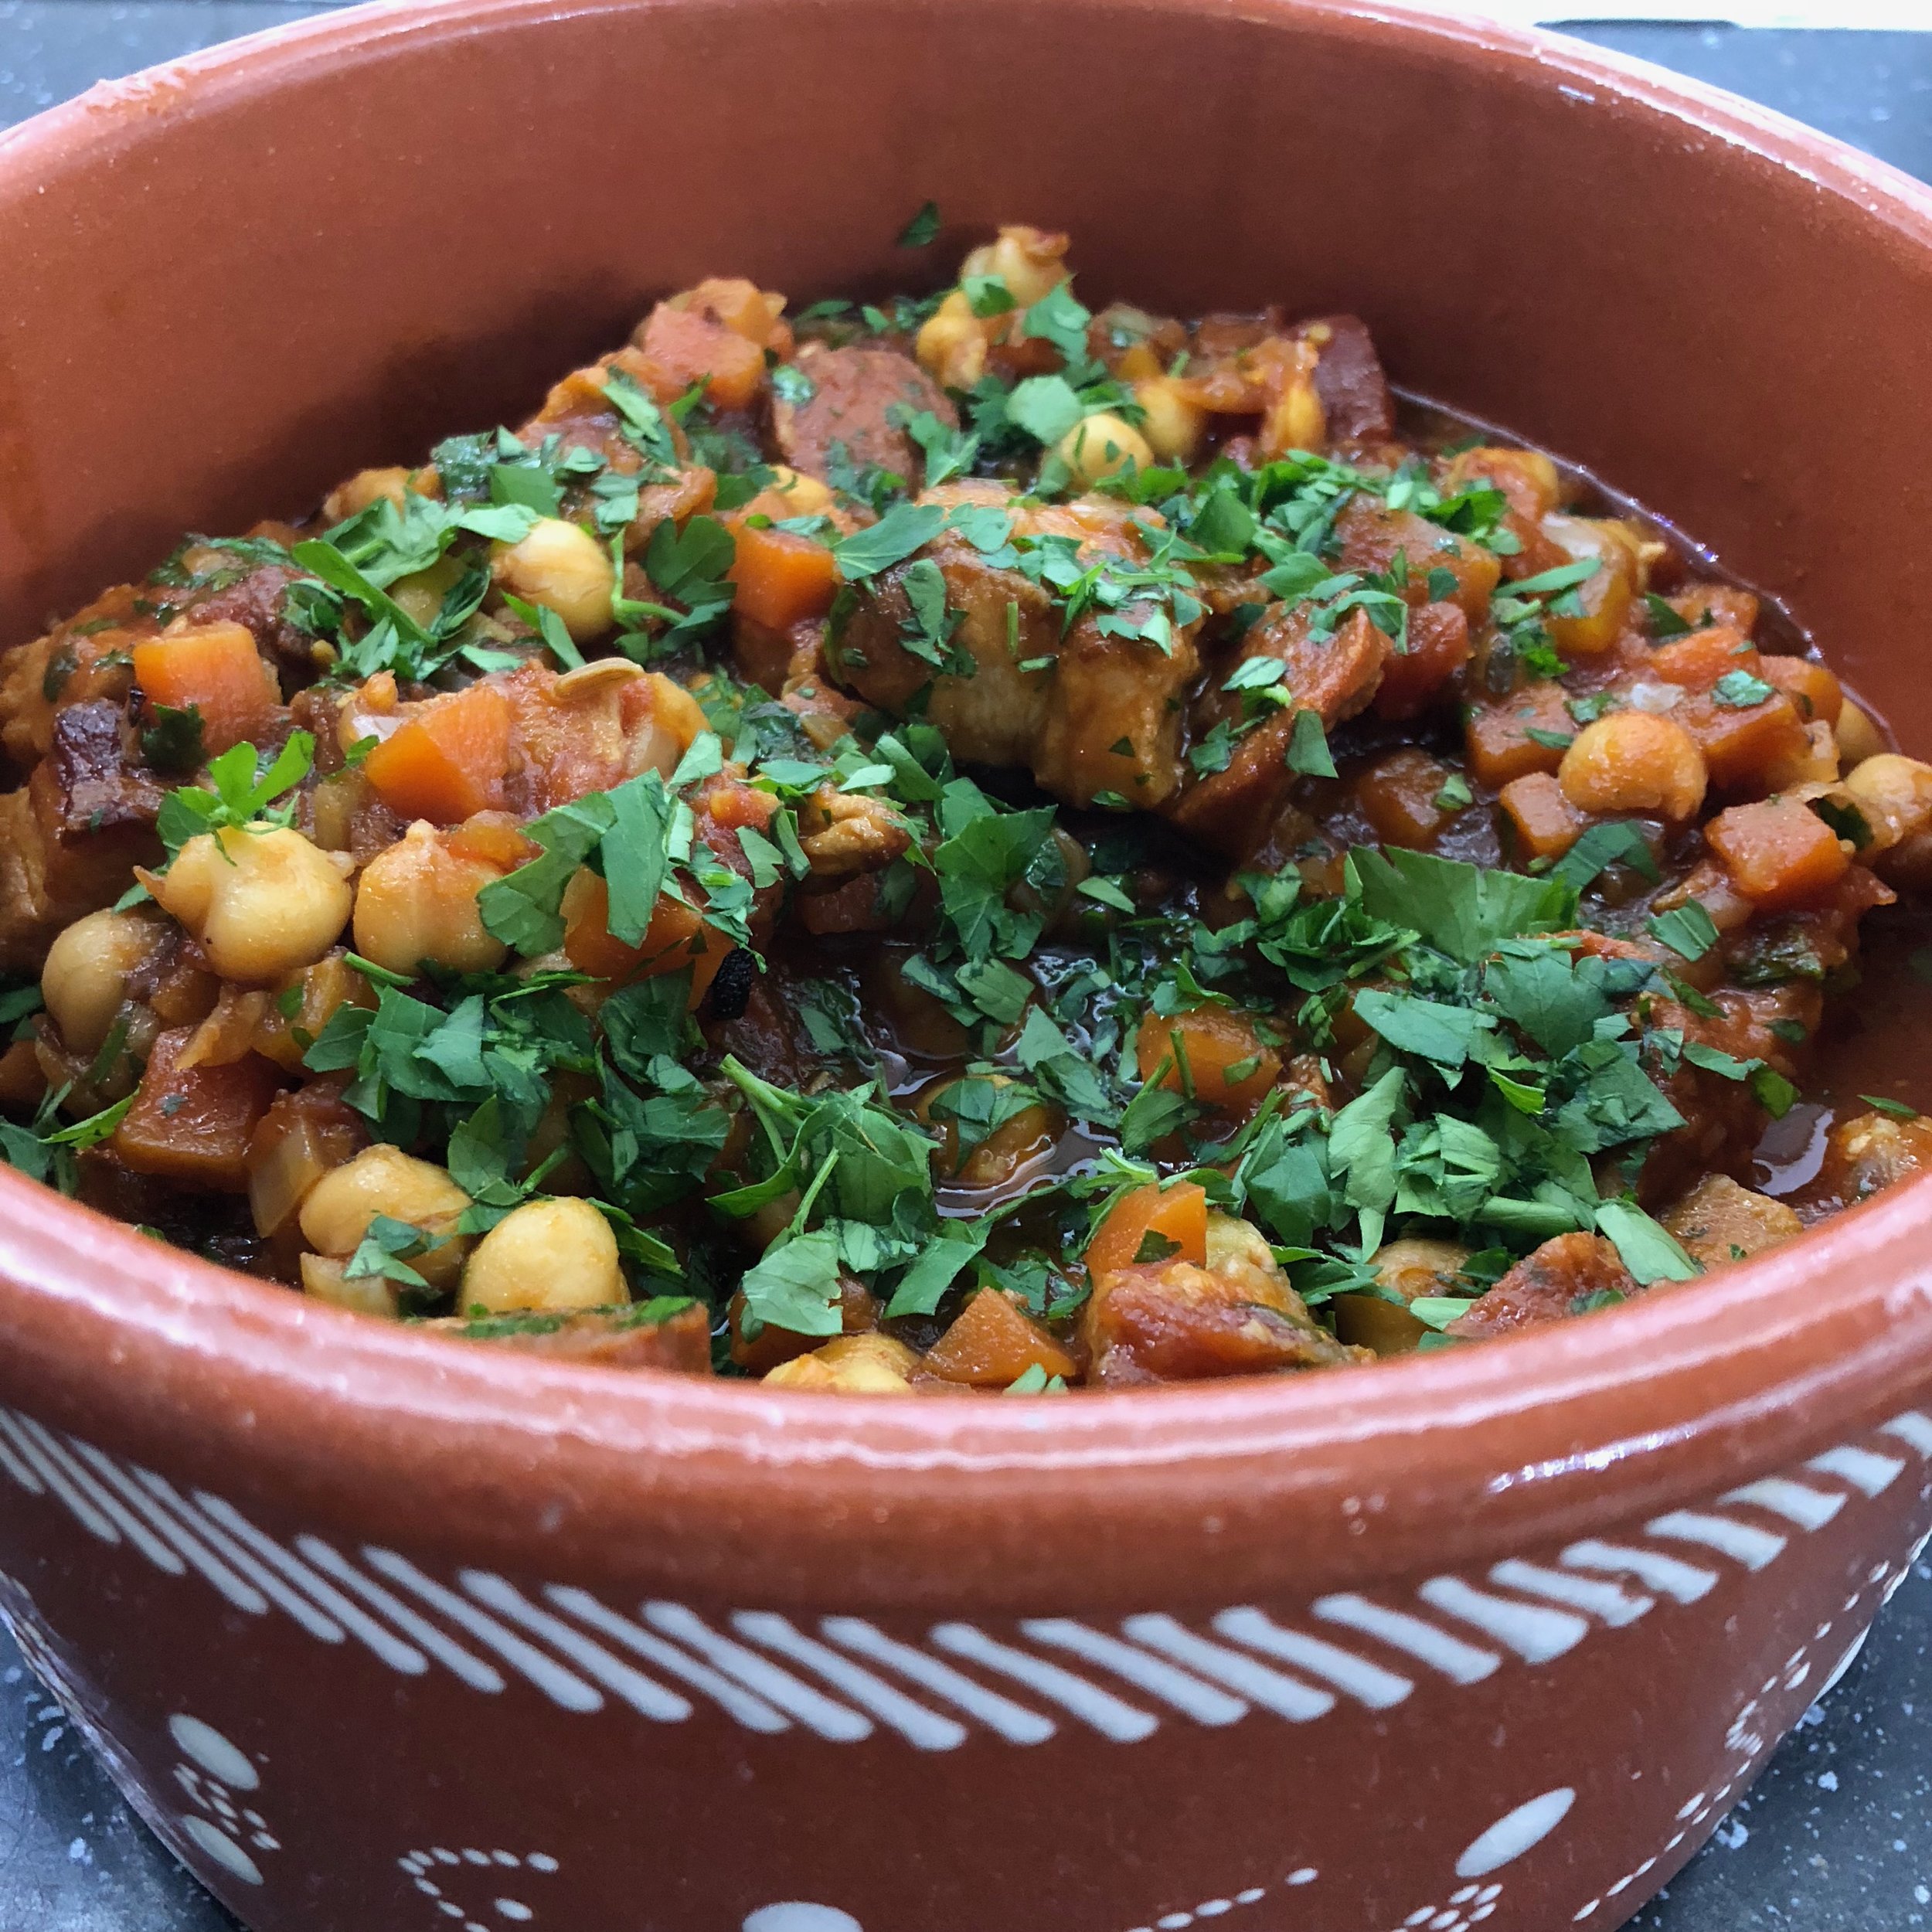
It wasn’t perfect, I admit, but at the end of the day, I was very happy with a plate full of smoky pork products!

Ingredients - Smoked pork feast
1 rack baby back pork ribs
Olive oil
Seasoning
2kg boned rolled pork shoulder
5 pork belly slices