Pretty in pink

Sometimes it takes a couple of tries to perfect a recipe, and with a cheesecake it's not a chore trying! A cheesecake takes time to make and set, whether it is baked or chilled, and I know this, but despite knowing this, it didn't stop me from trying to make this beautiful ombre cheesecake as per the recipe in less than a day.
The recipe I followed is from Jamie Oliver's website and you can find it here.
Trial one was not successful, the taste was there, but the top layer didn't set and the jelly was very rubbery! (See the pictures below under serving).
Lessons were learnt and below I'll try and explain how I made this a success. Lesson one - make the cheesecake the day before you need it.
Step 1 - the base
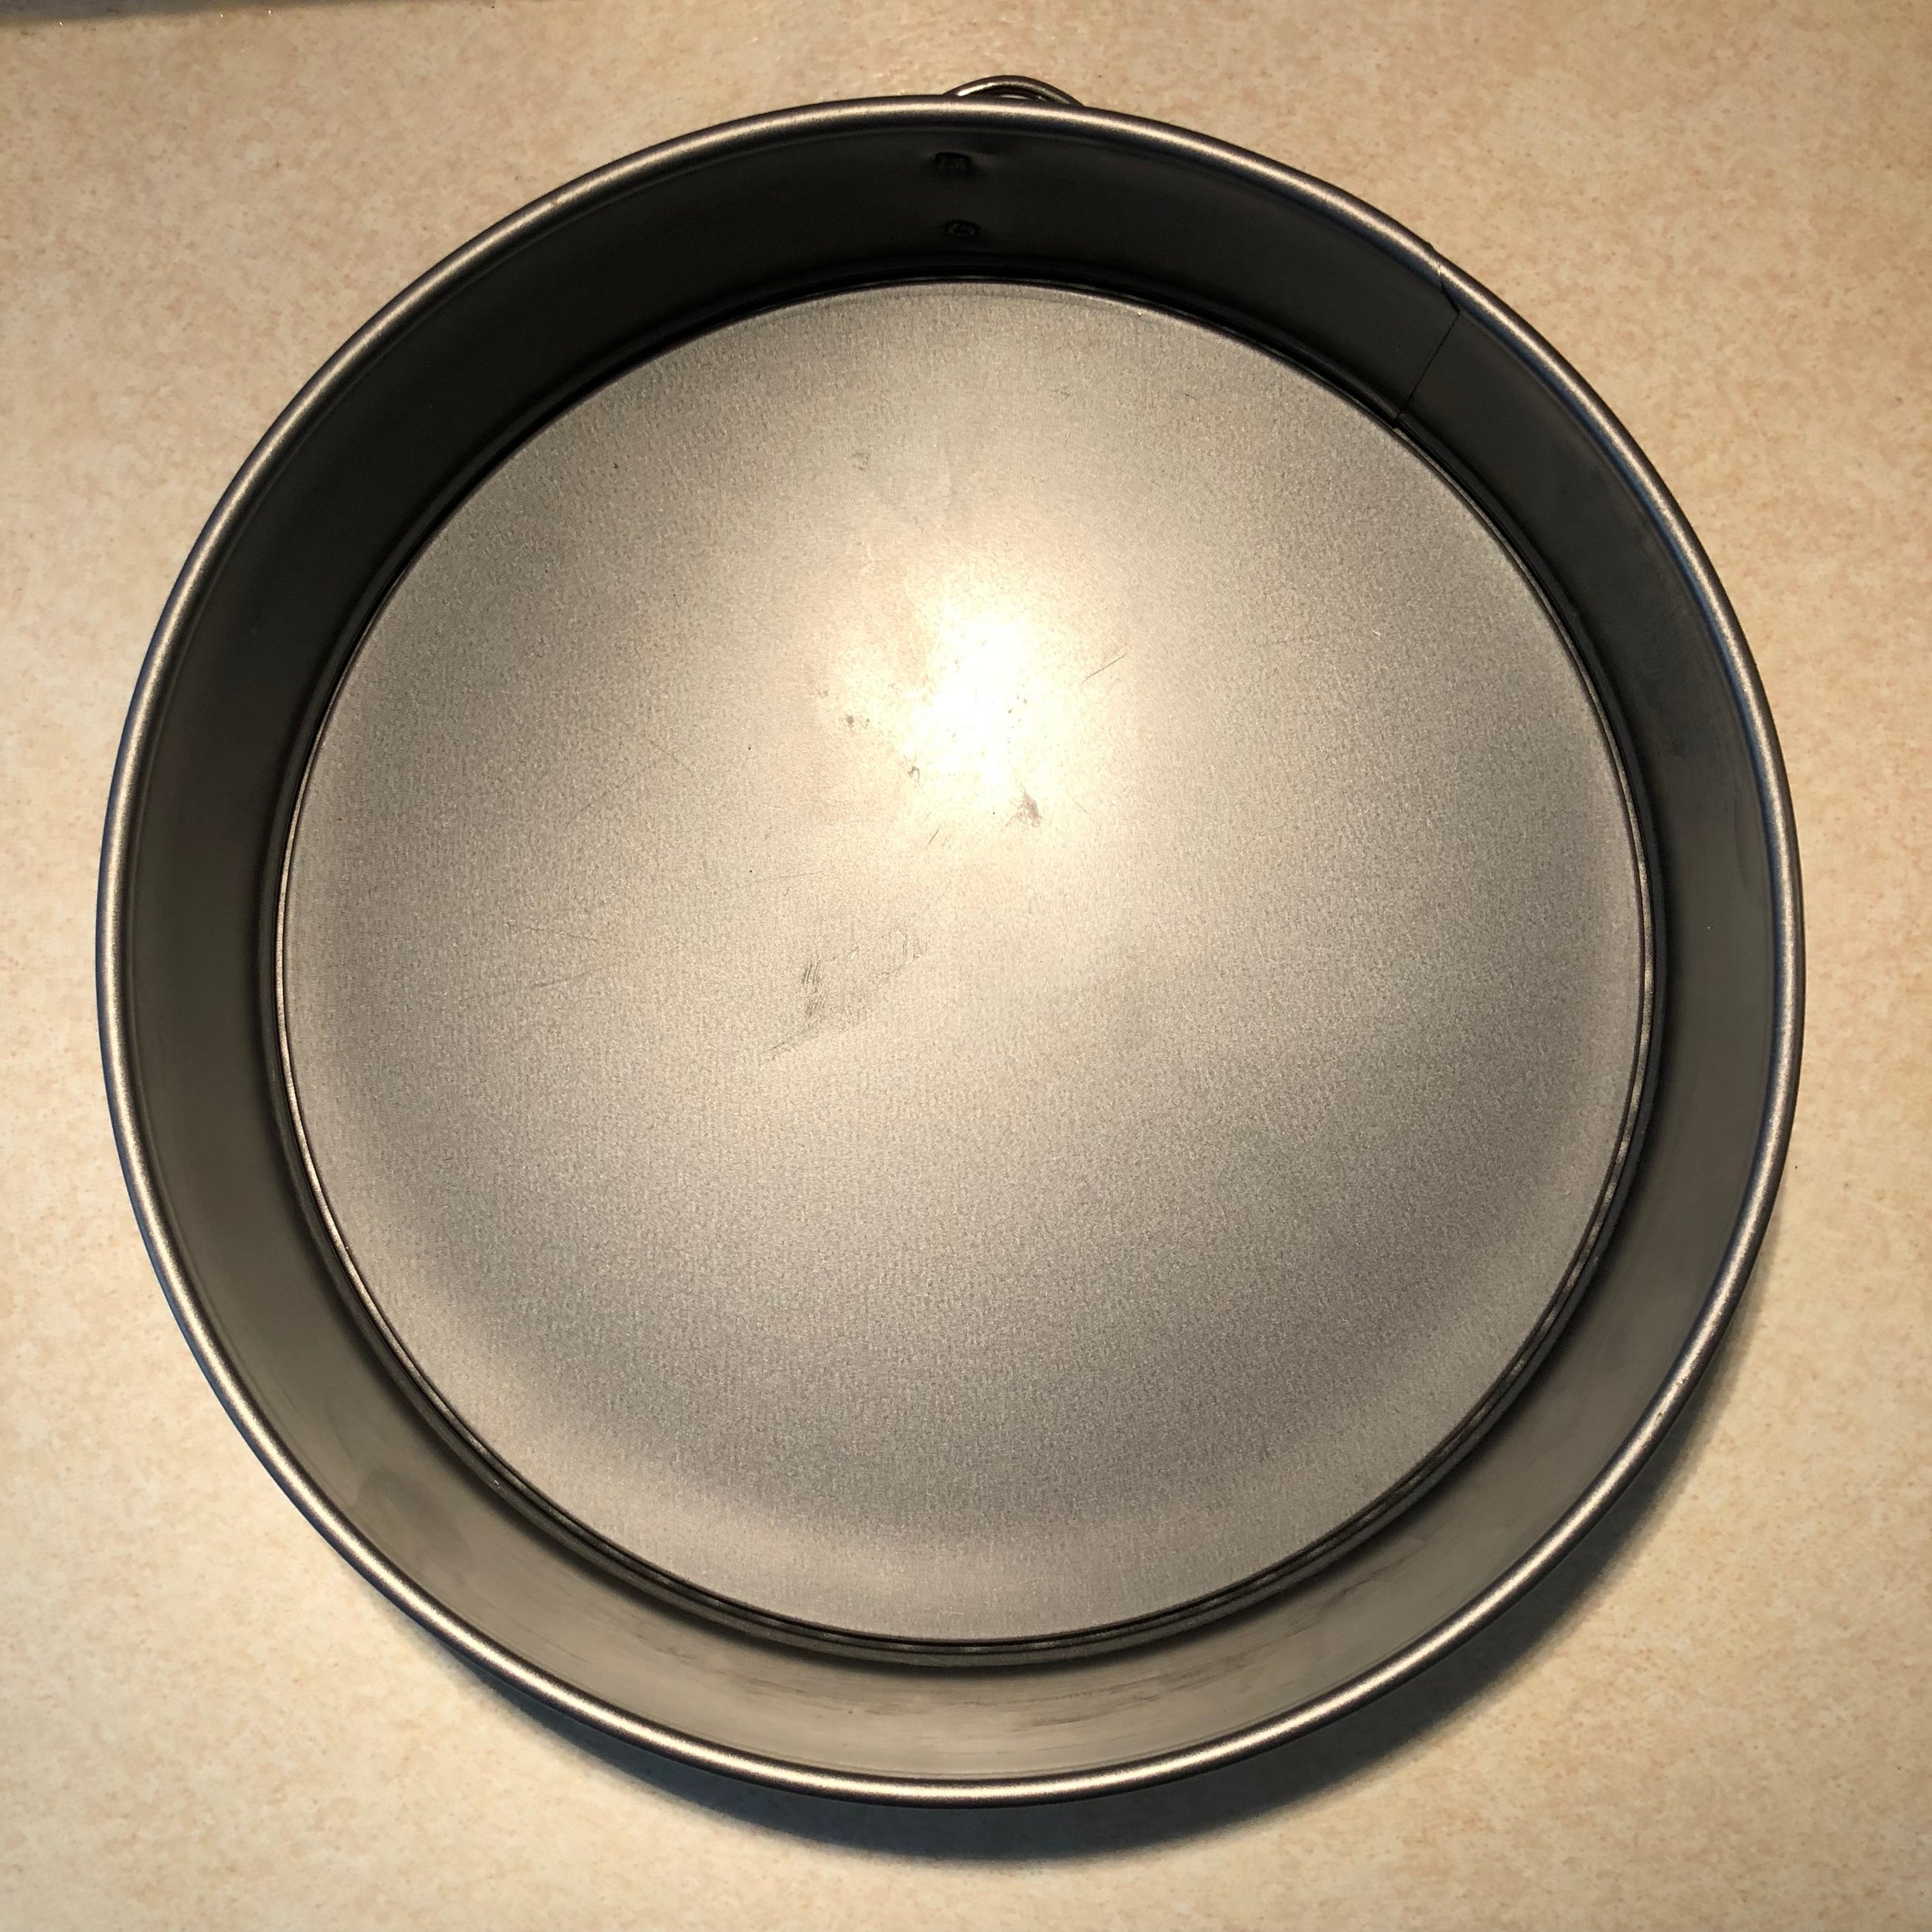
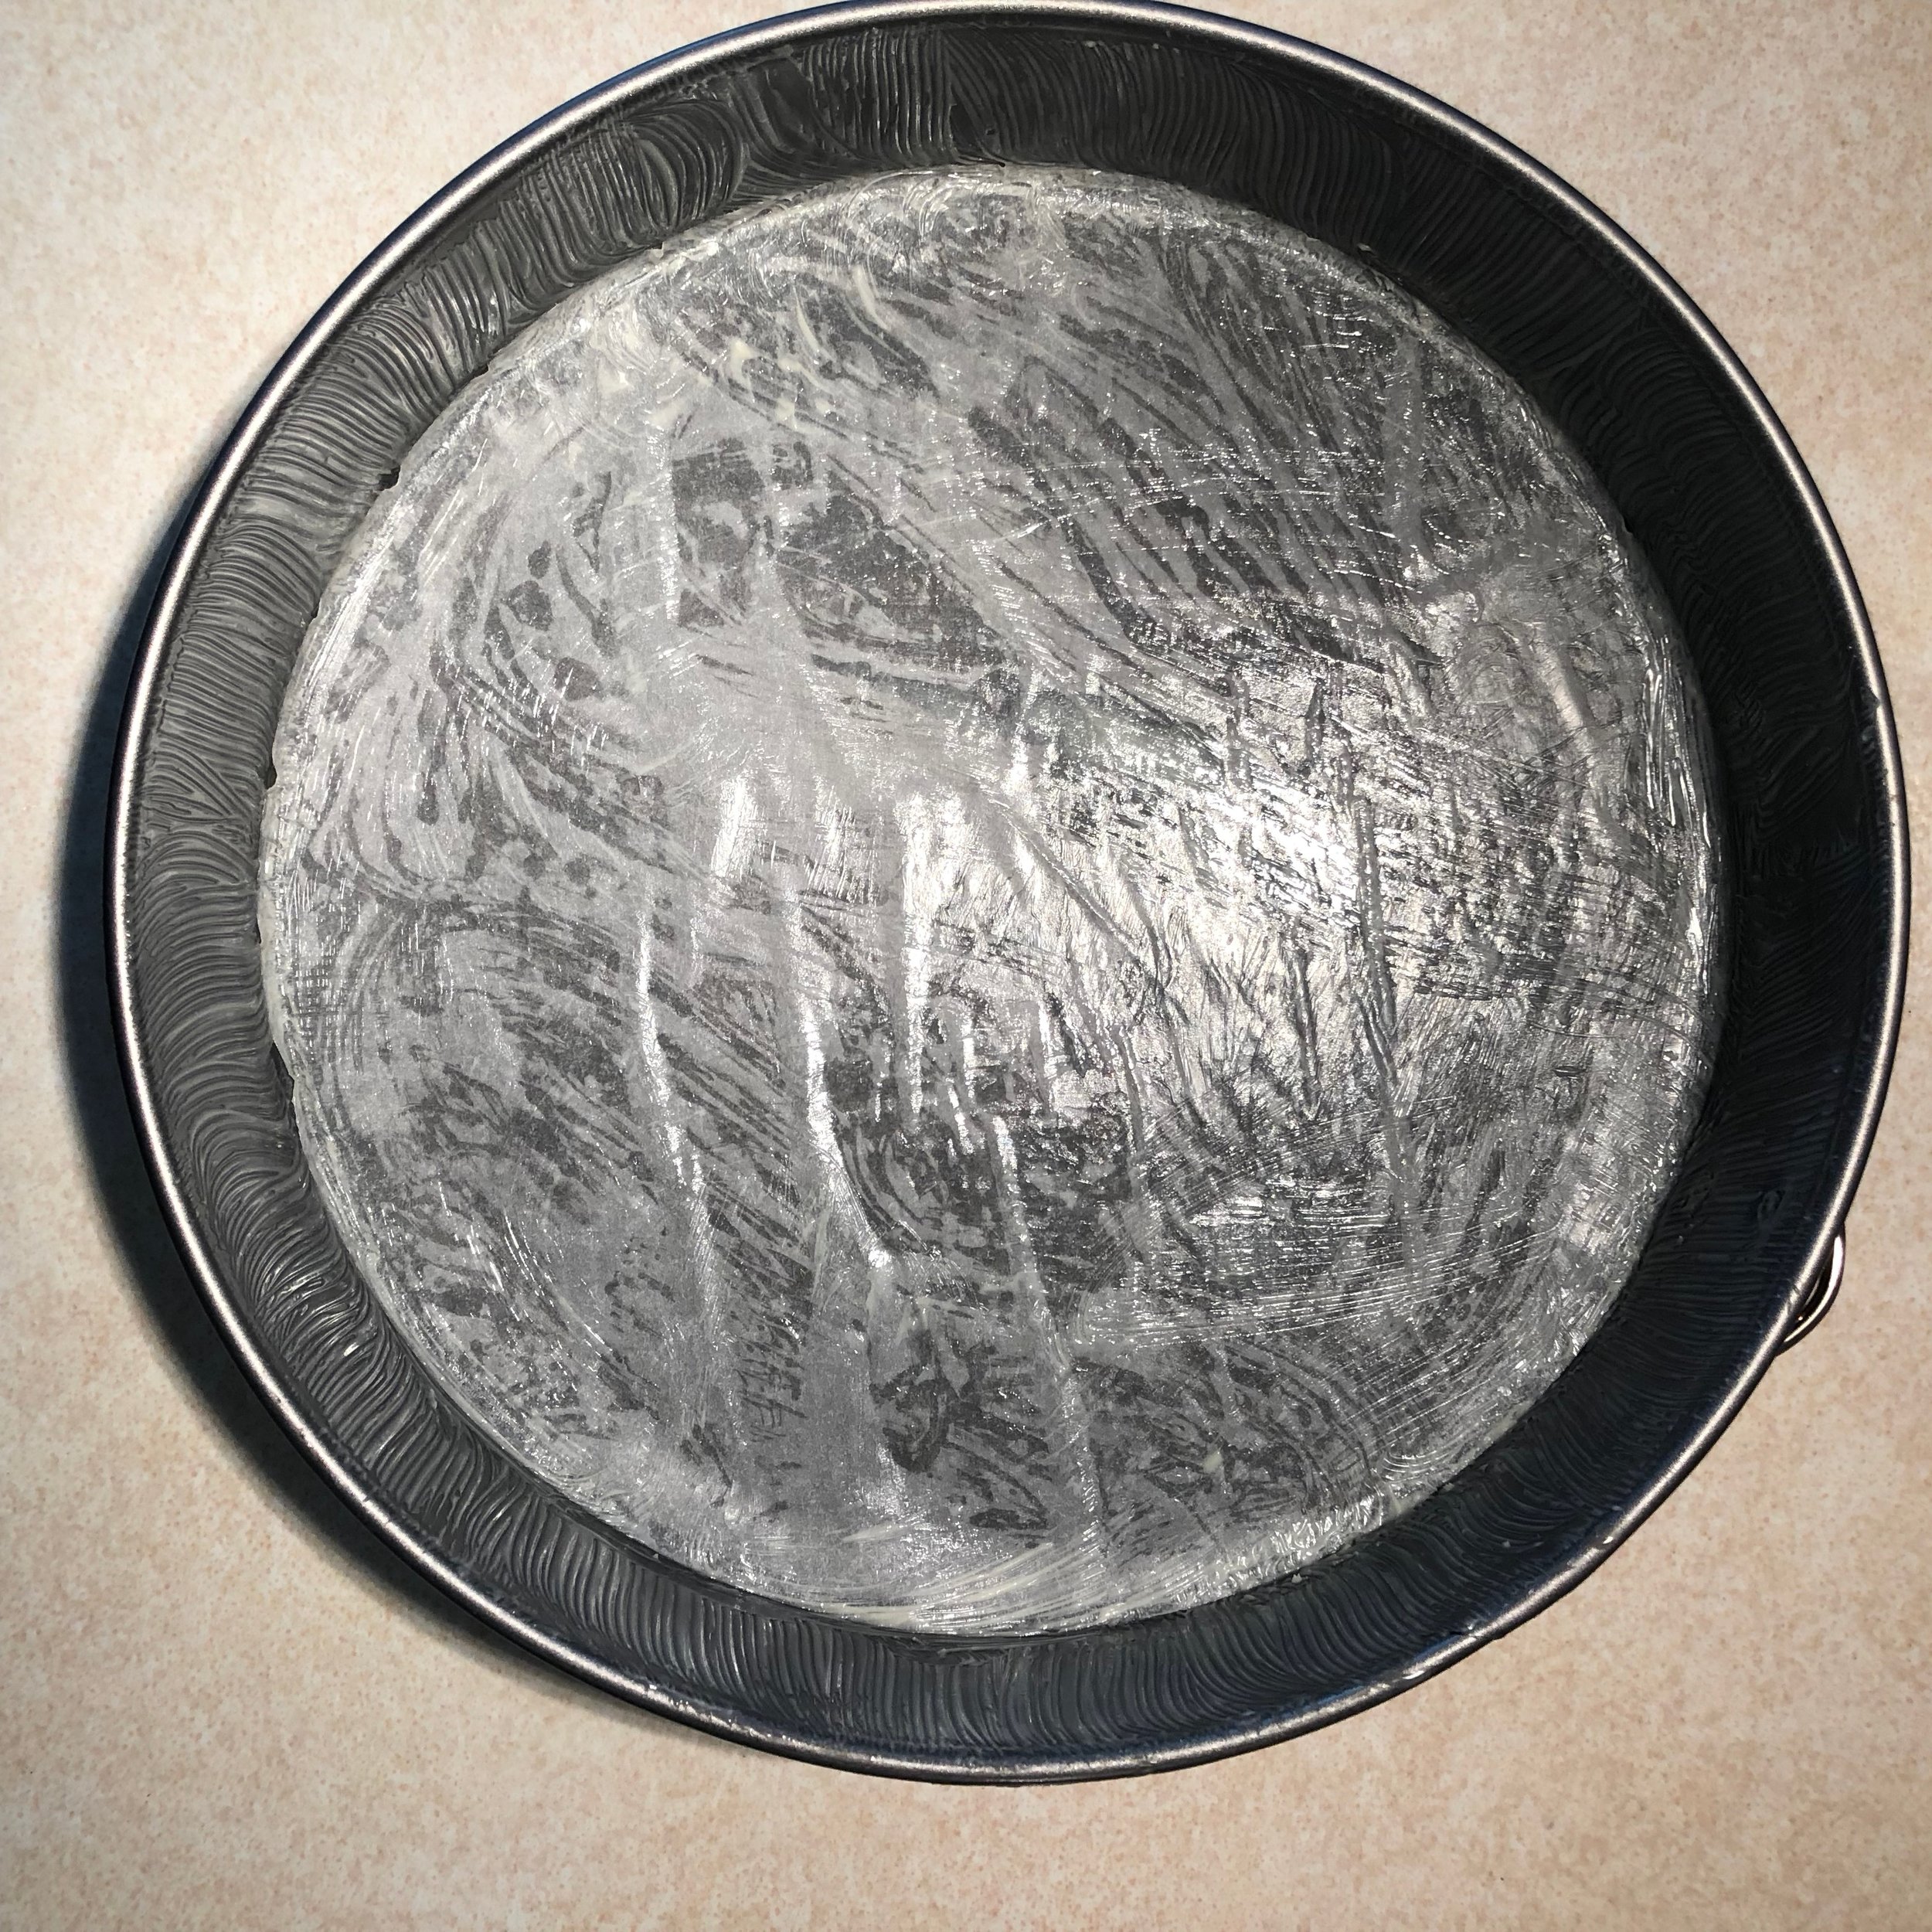
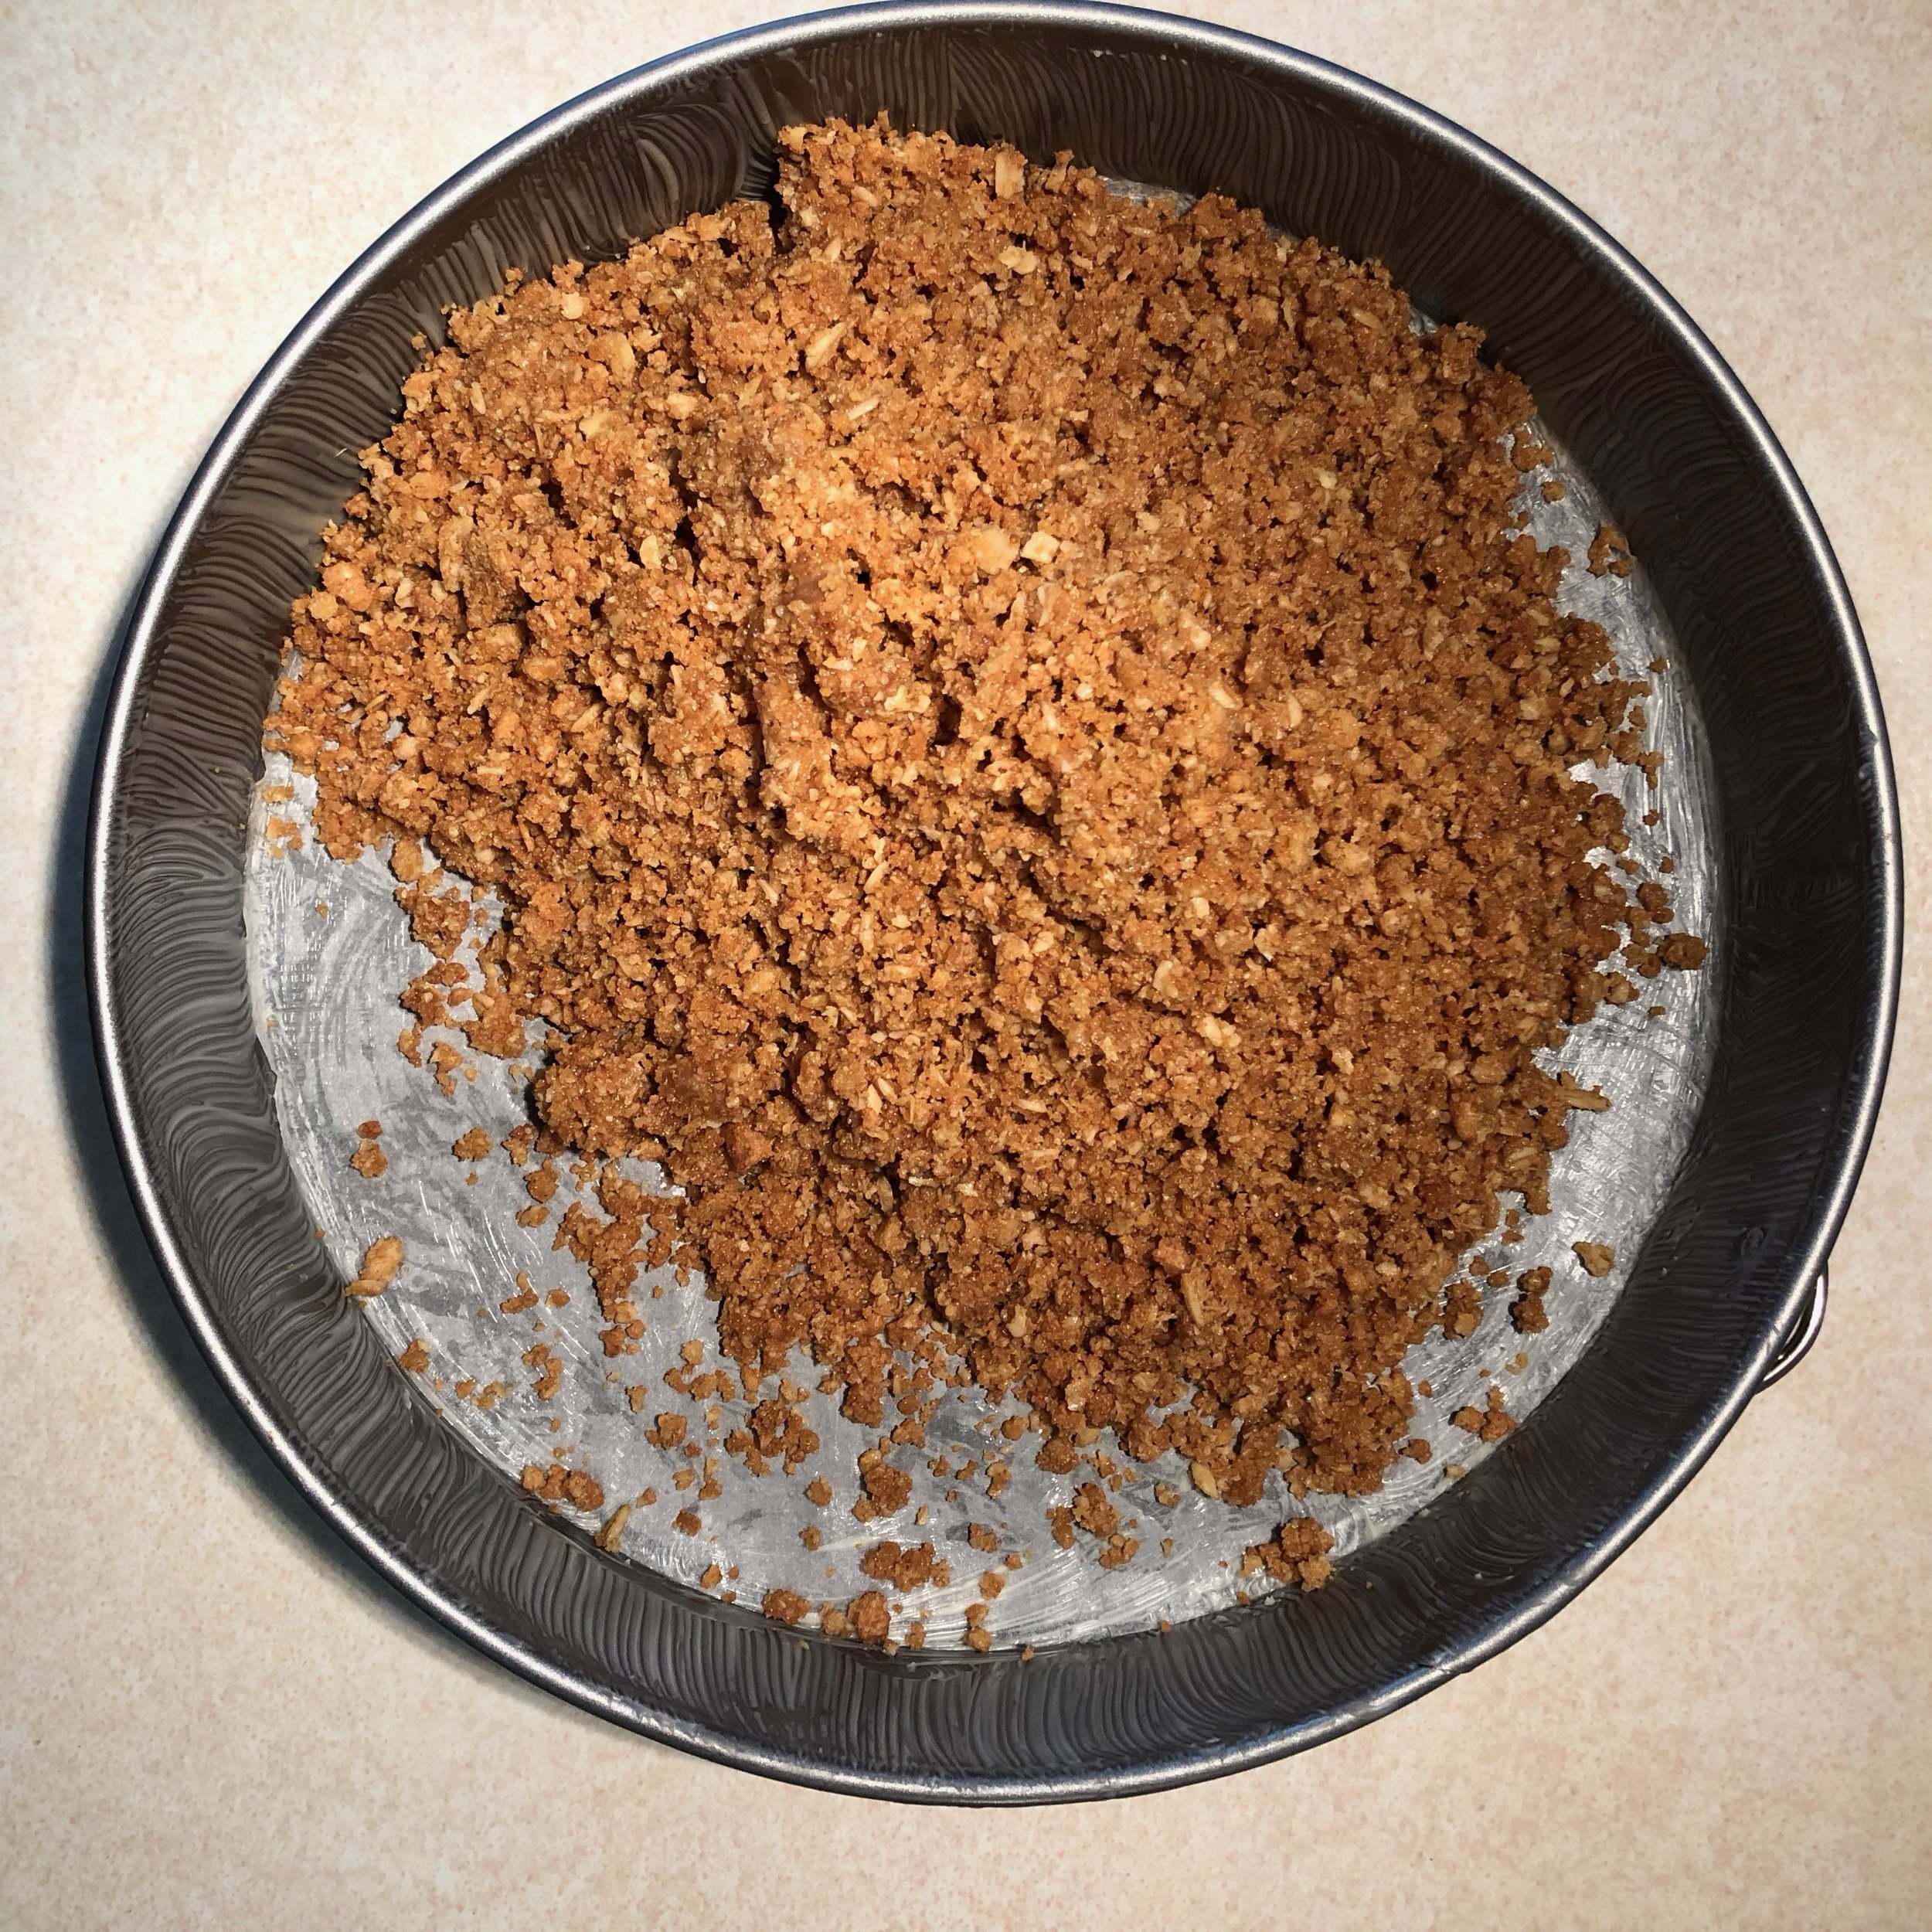
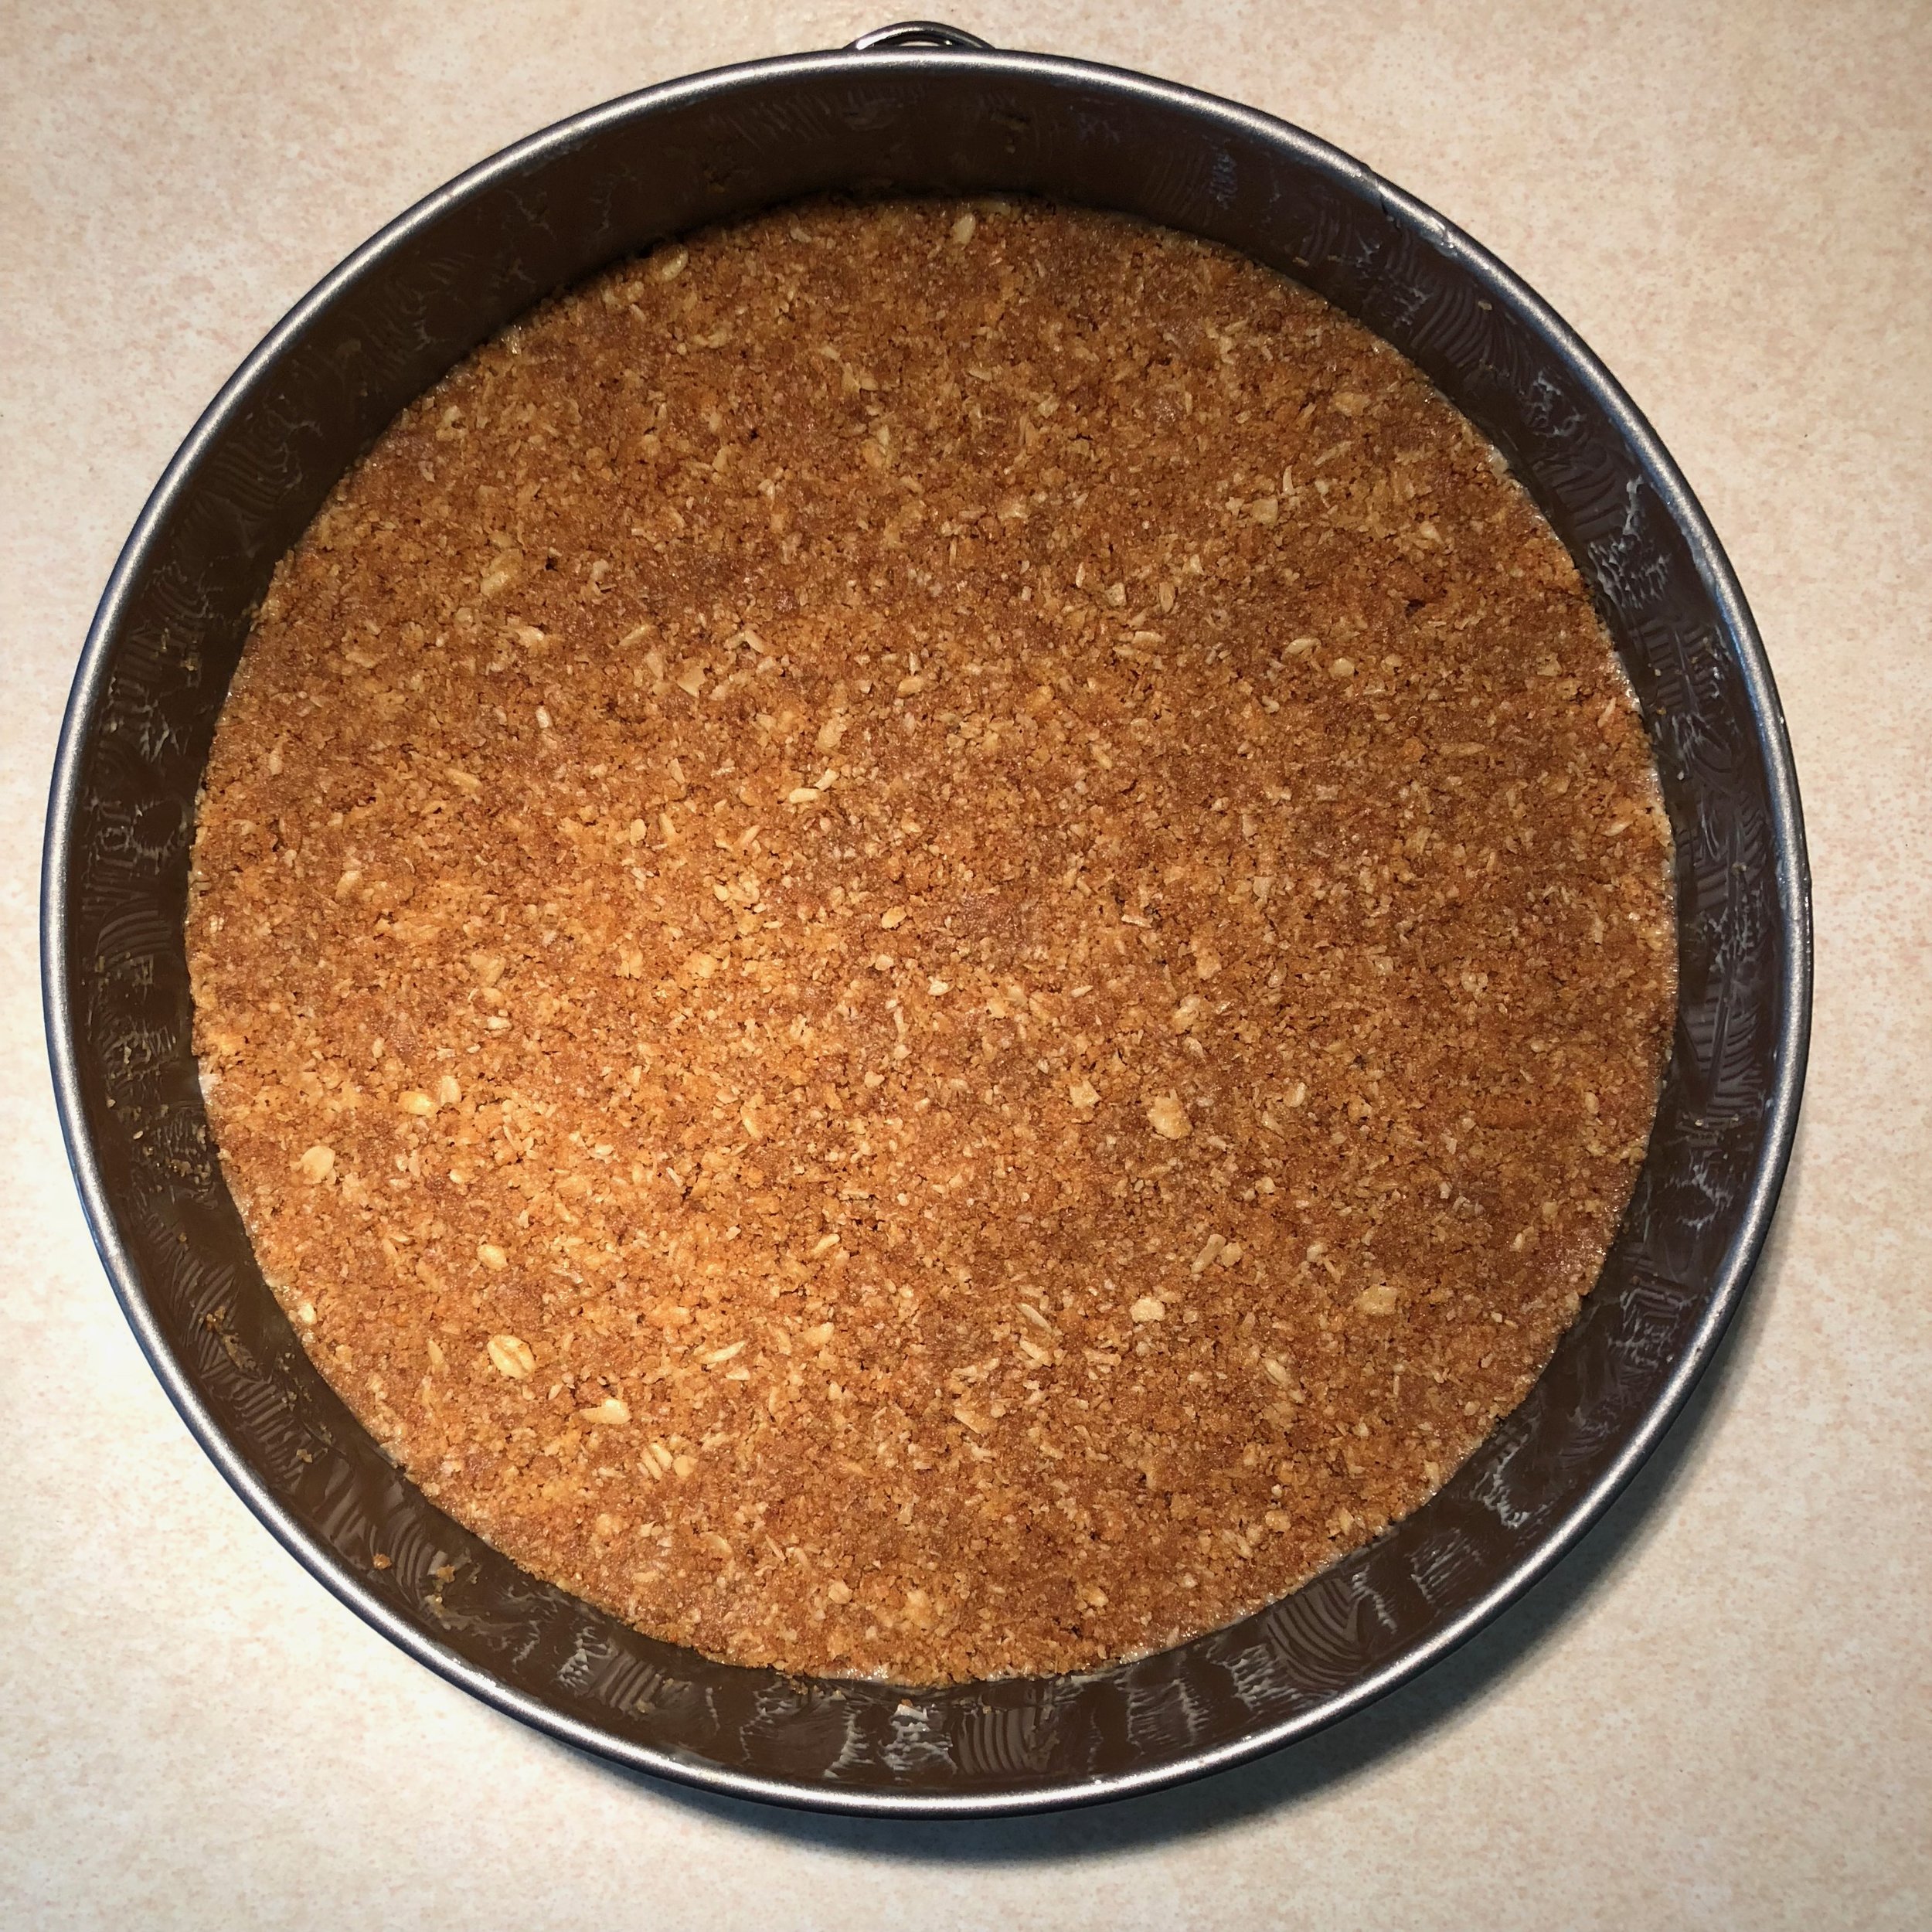
If you want the wow factor of a neat edge to your slice, then line the sides as well as the base of the tin.
This cheesecake uses oat biscuits rather than the traditional digestive which gives a crunchier base. Use a food processor to get a finer crumb. On my first attempt I used a plastic bag and a rolling pin, whilst good for releasing pent-up stress, the crumb wasn't fine enough. Press down firmly.
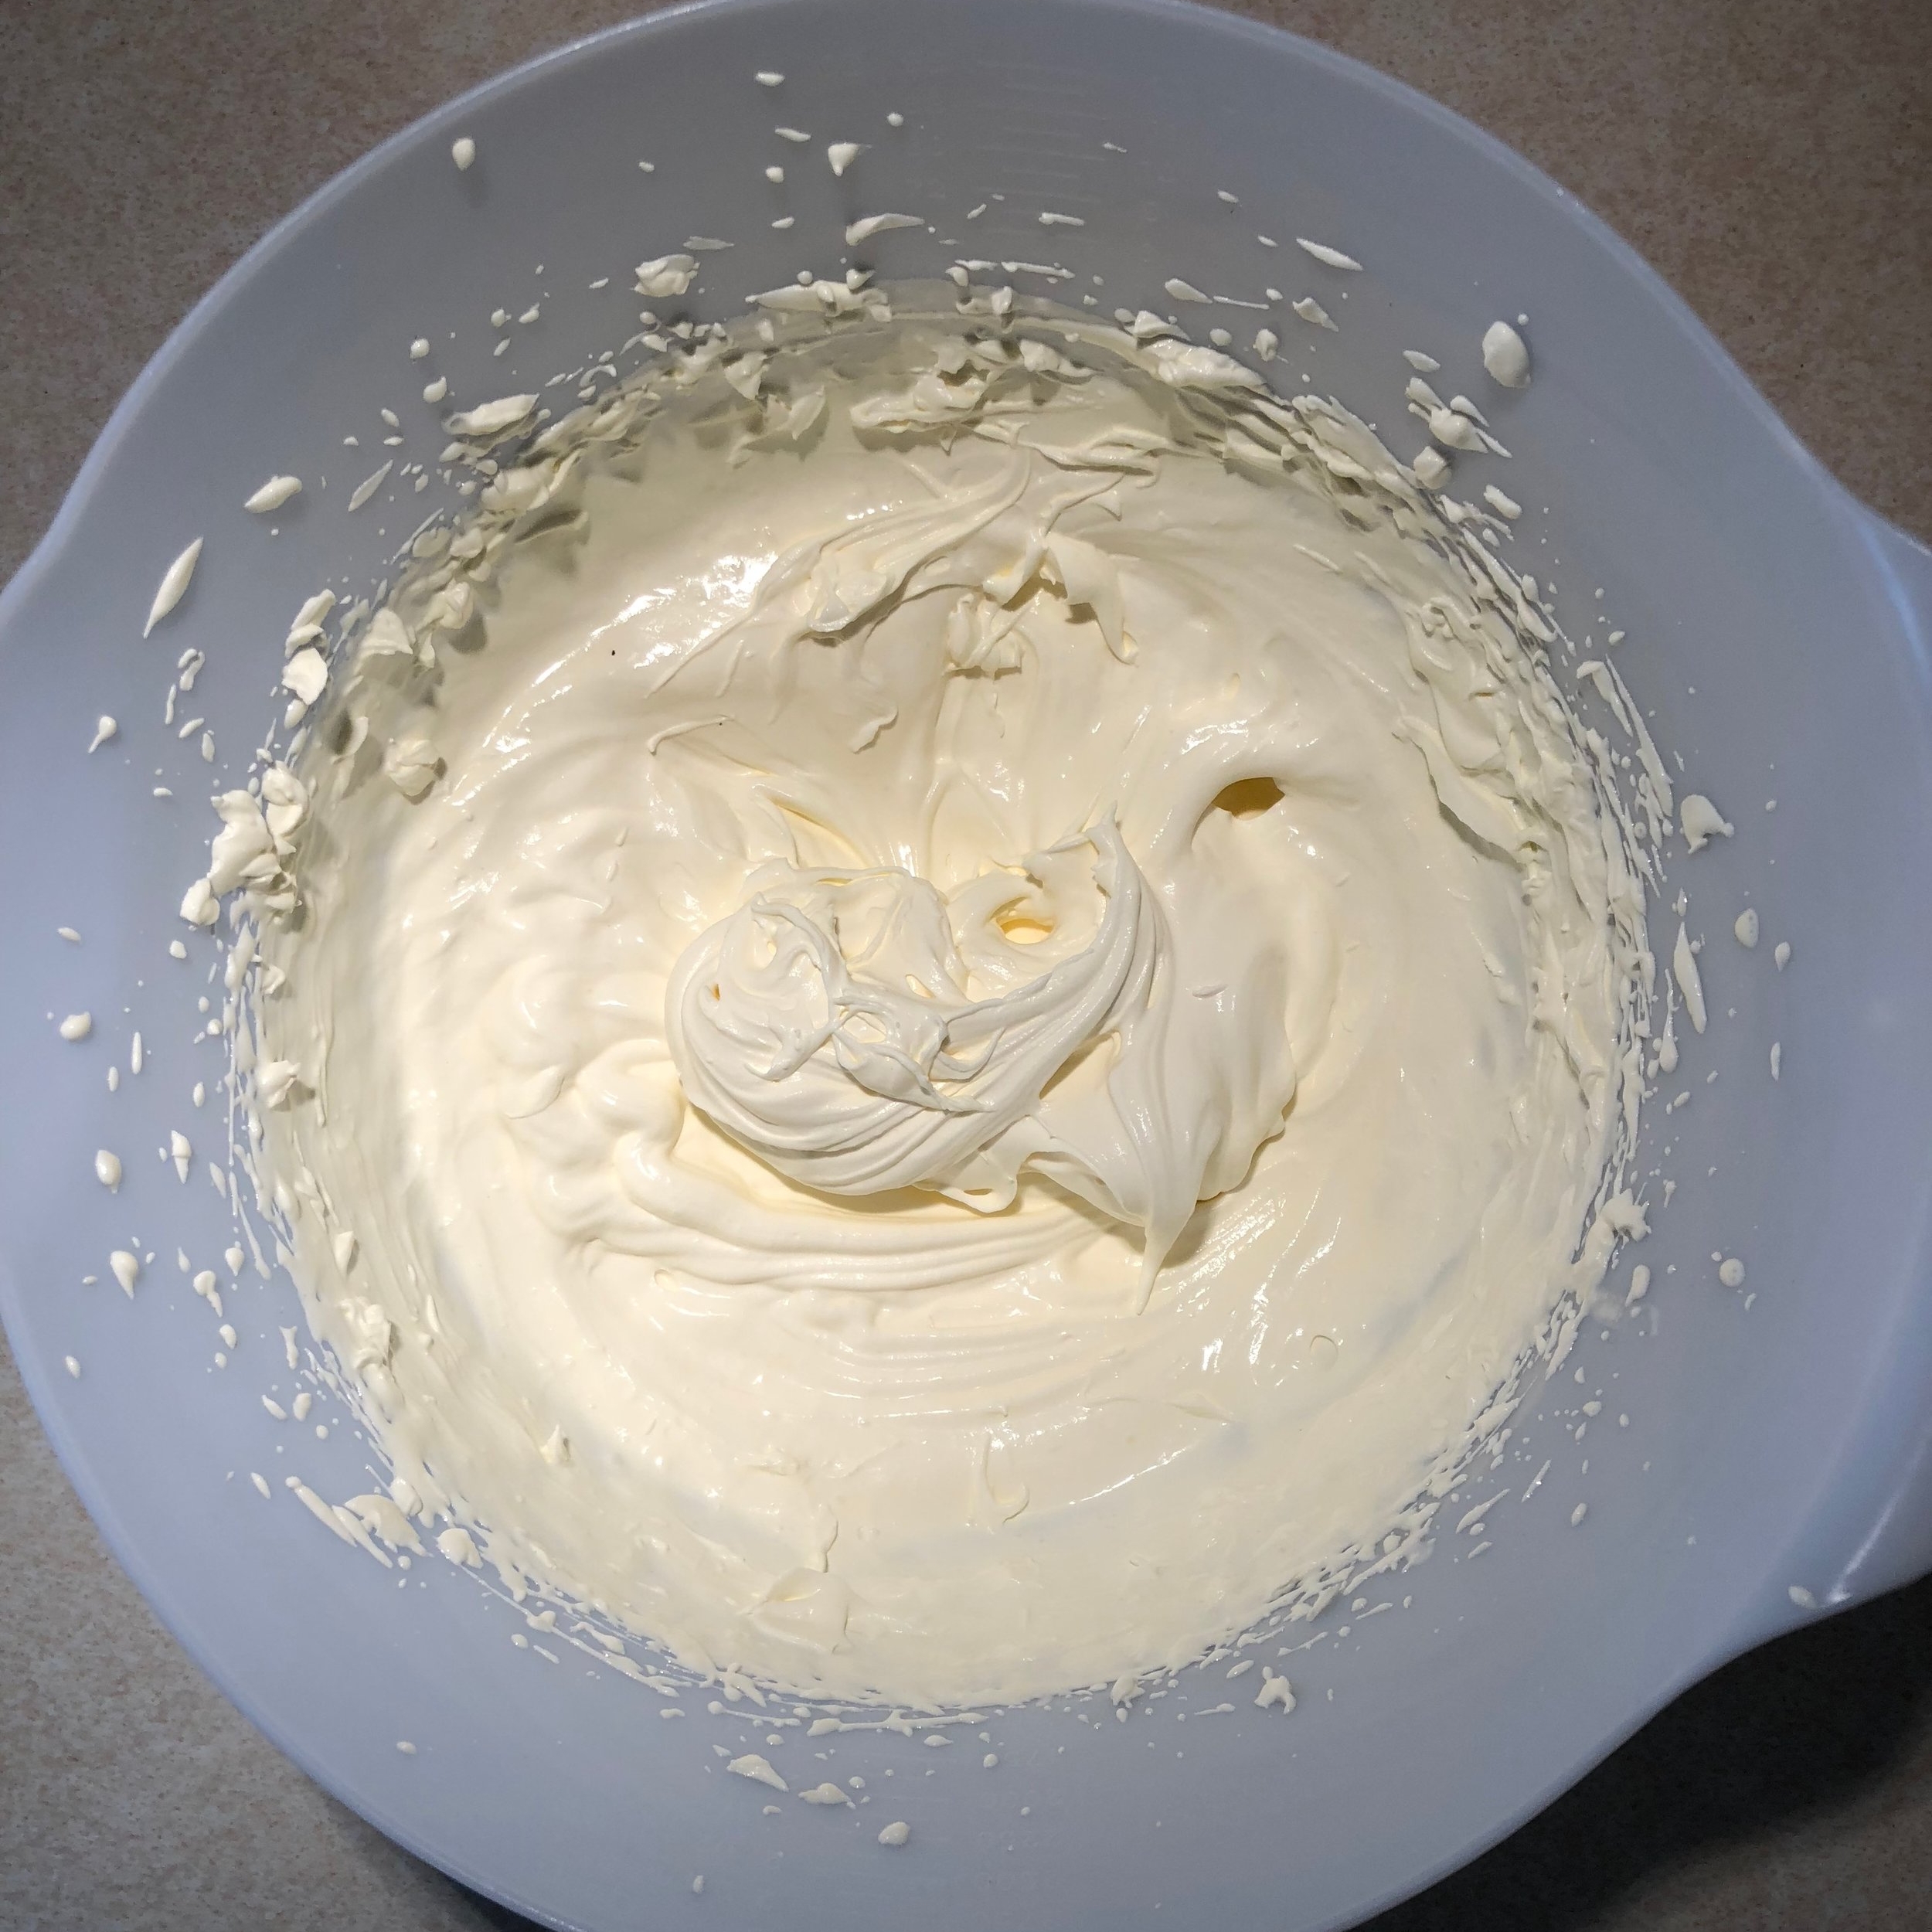
Step 2 - the cheesecake
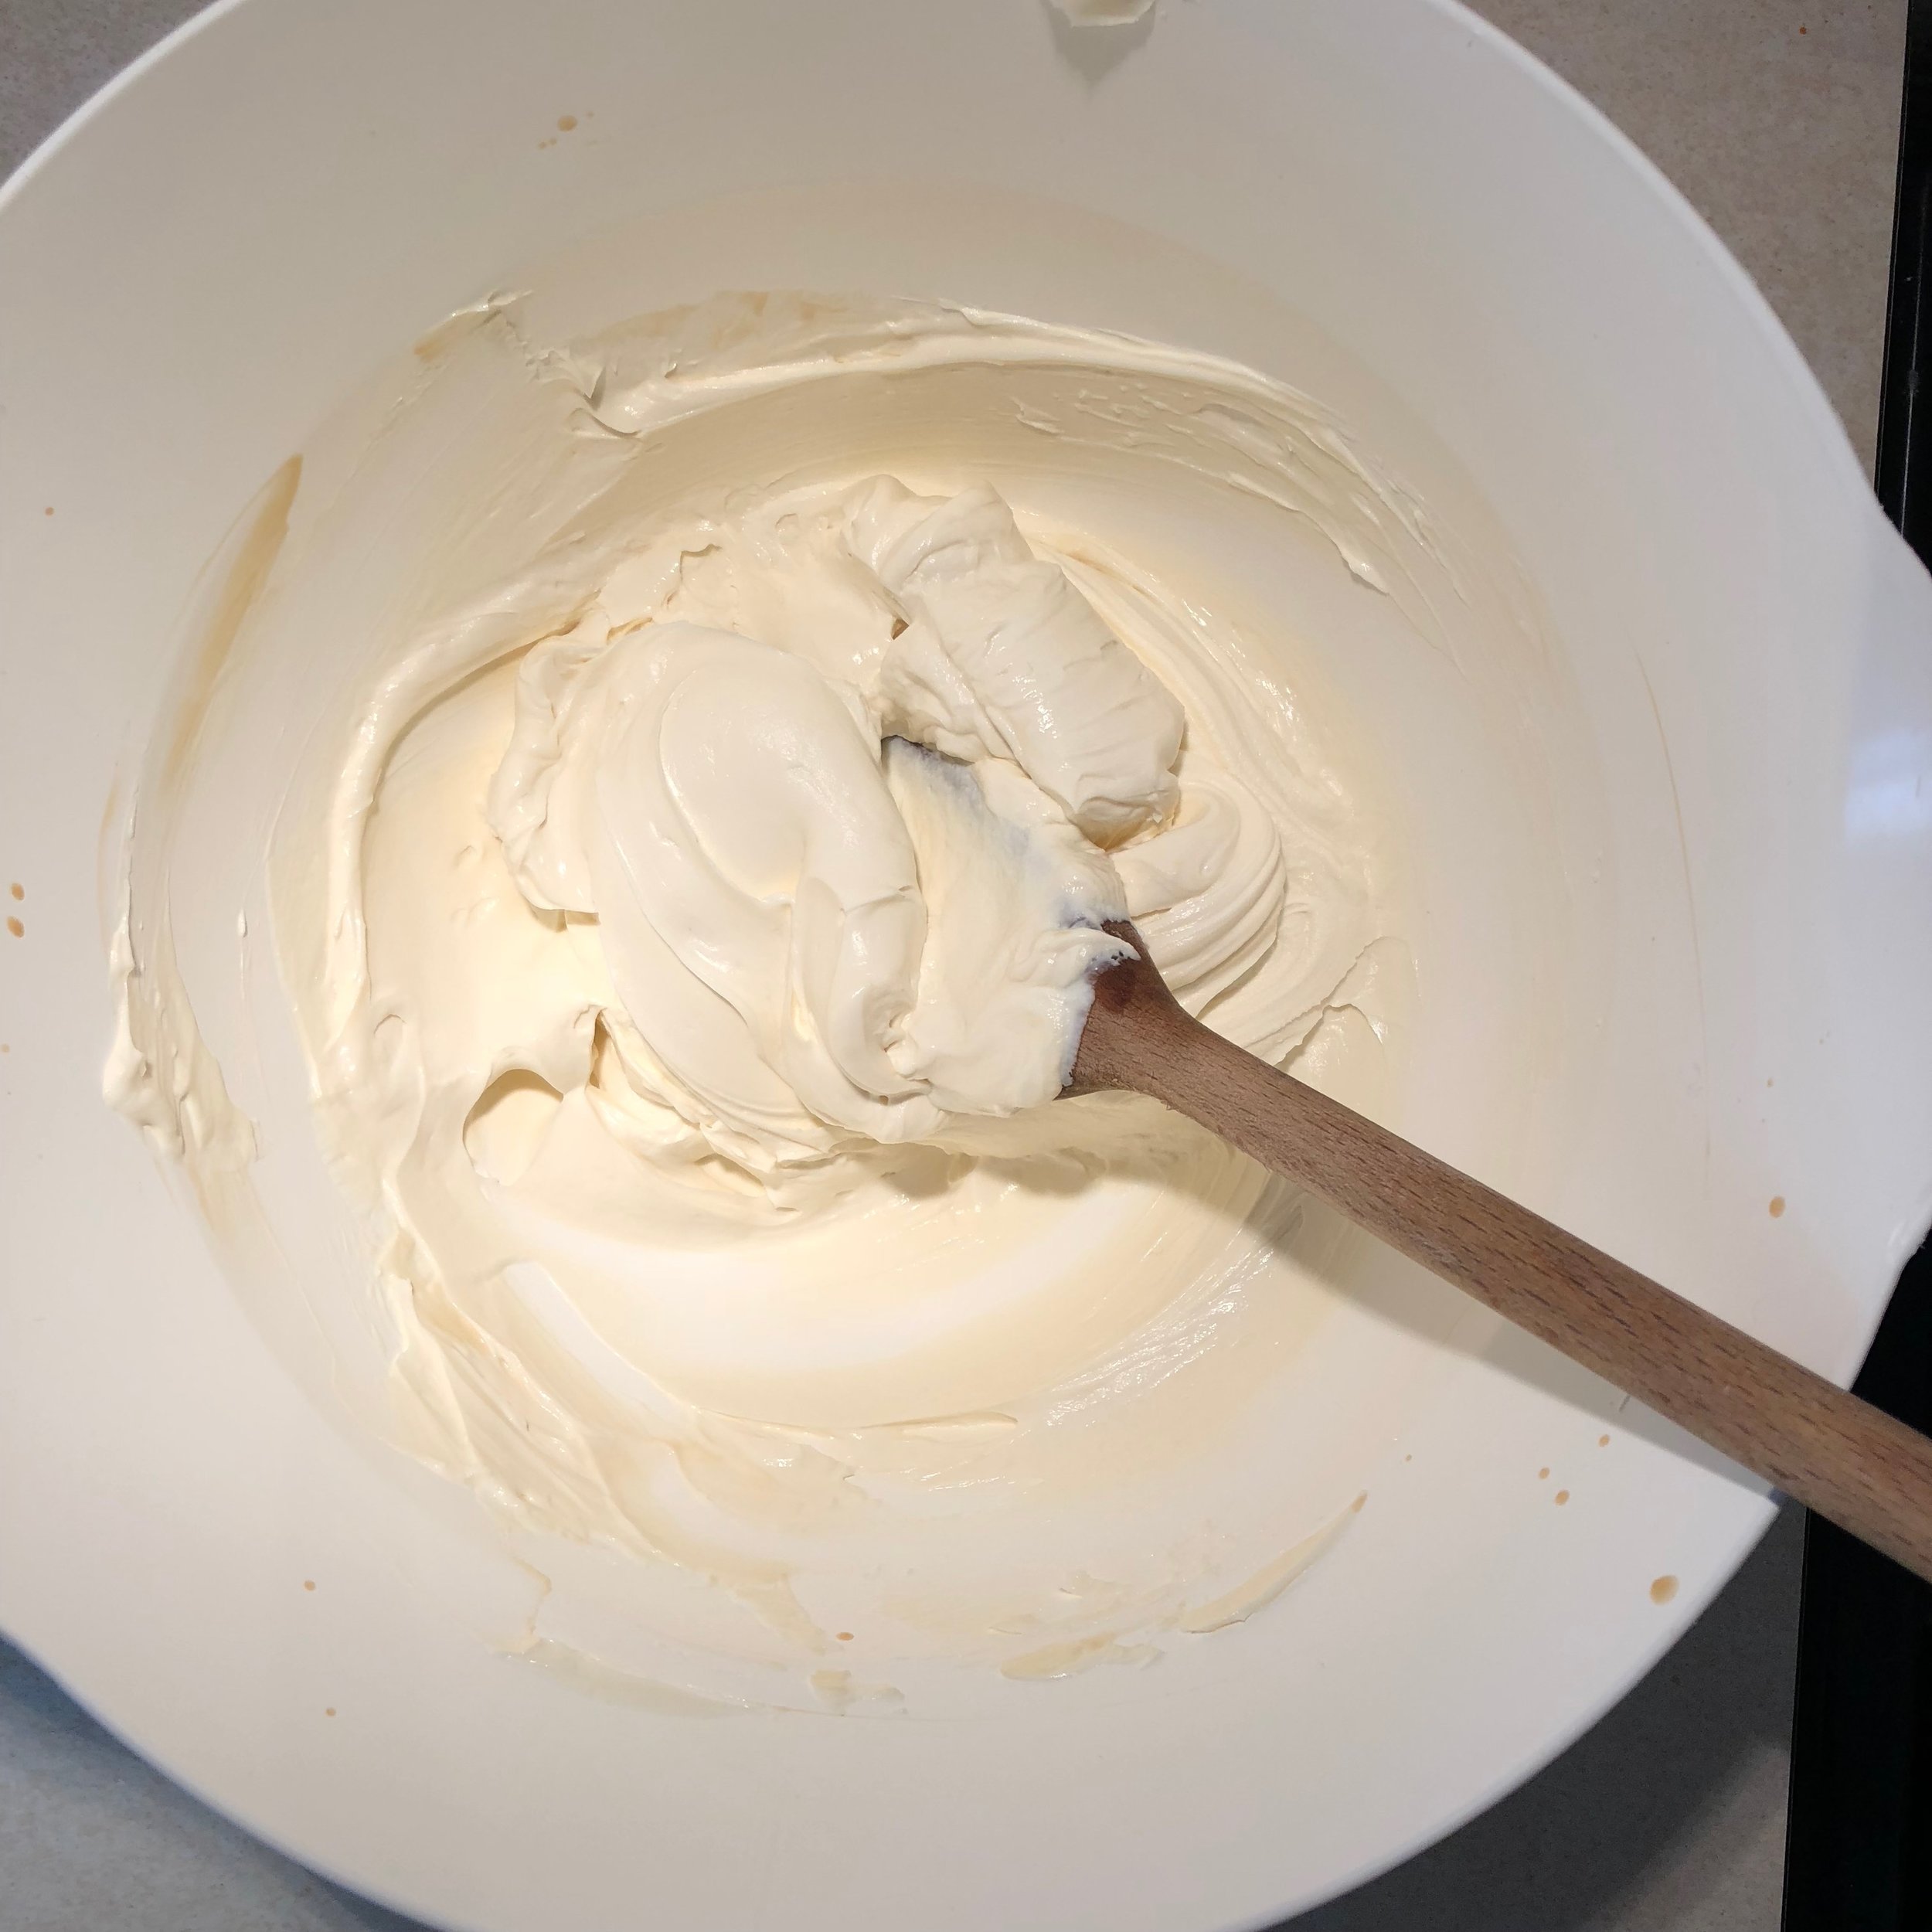
To get the correct consistency and have the cheesecake set, a few changes are needed. The investment in a proper vanilla pod is worth it, if you substitute essence you add additional liquid.
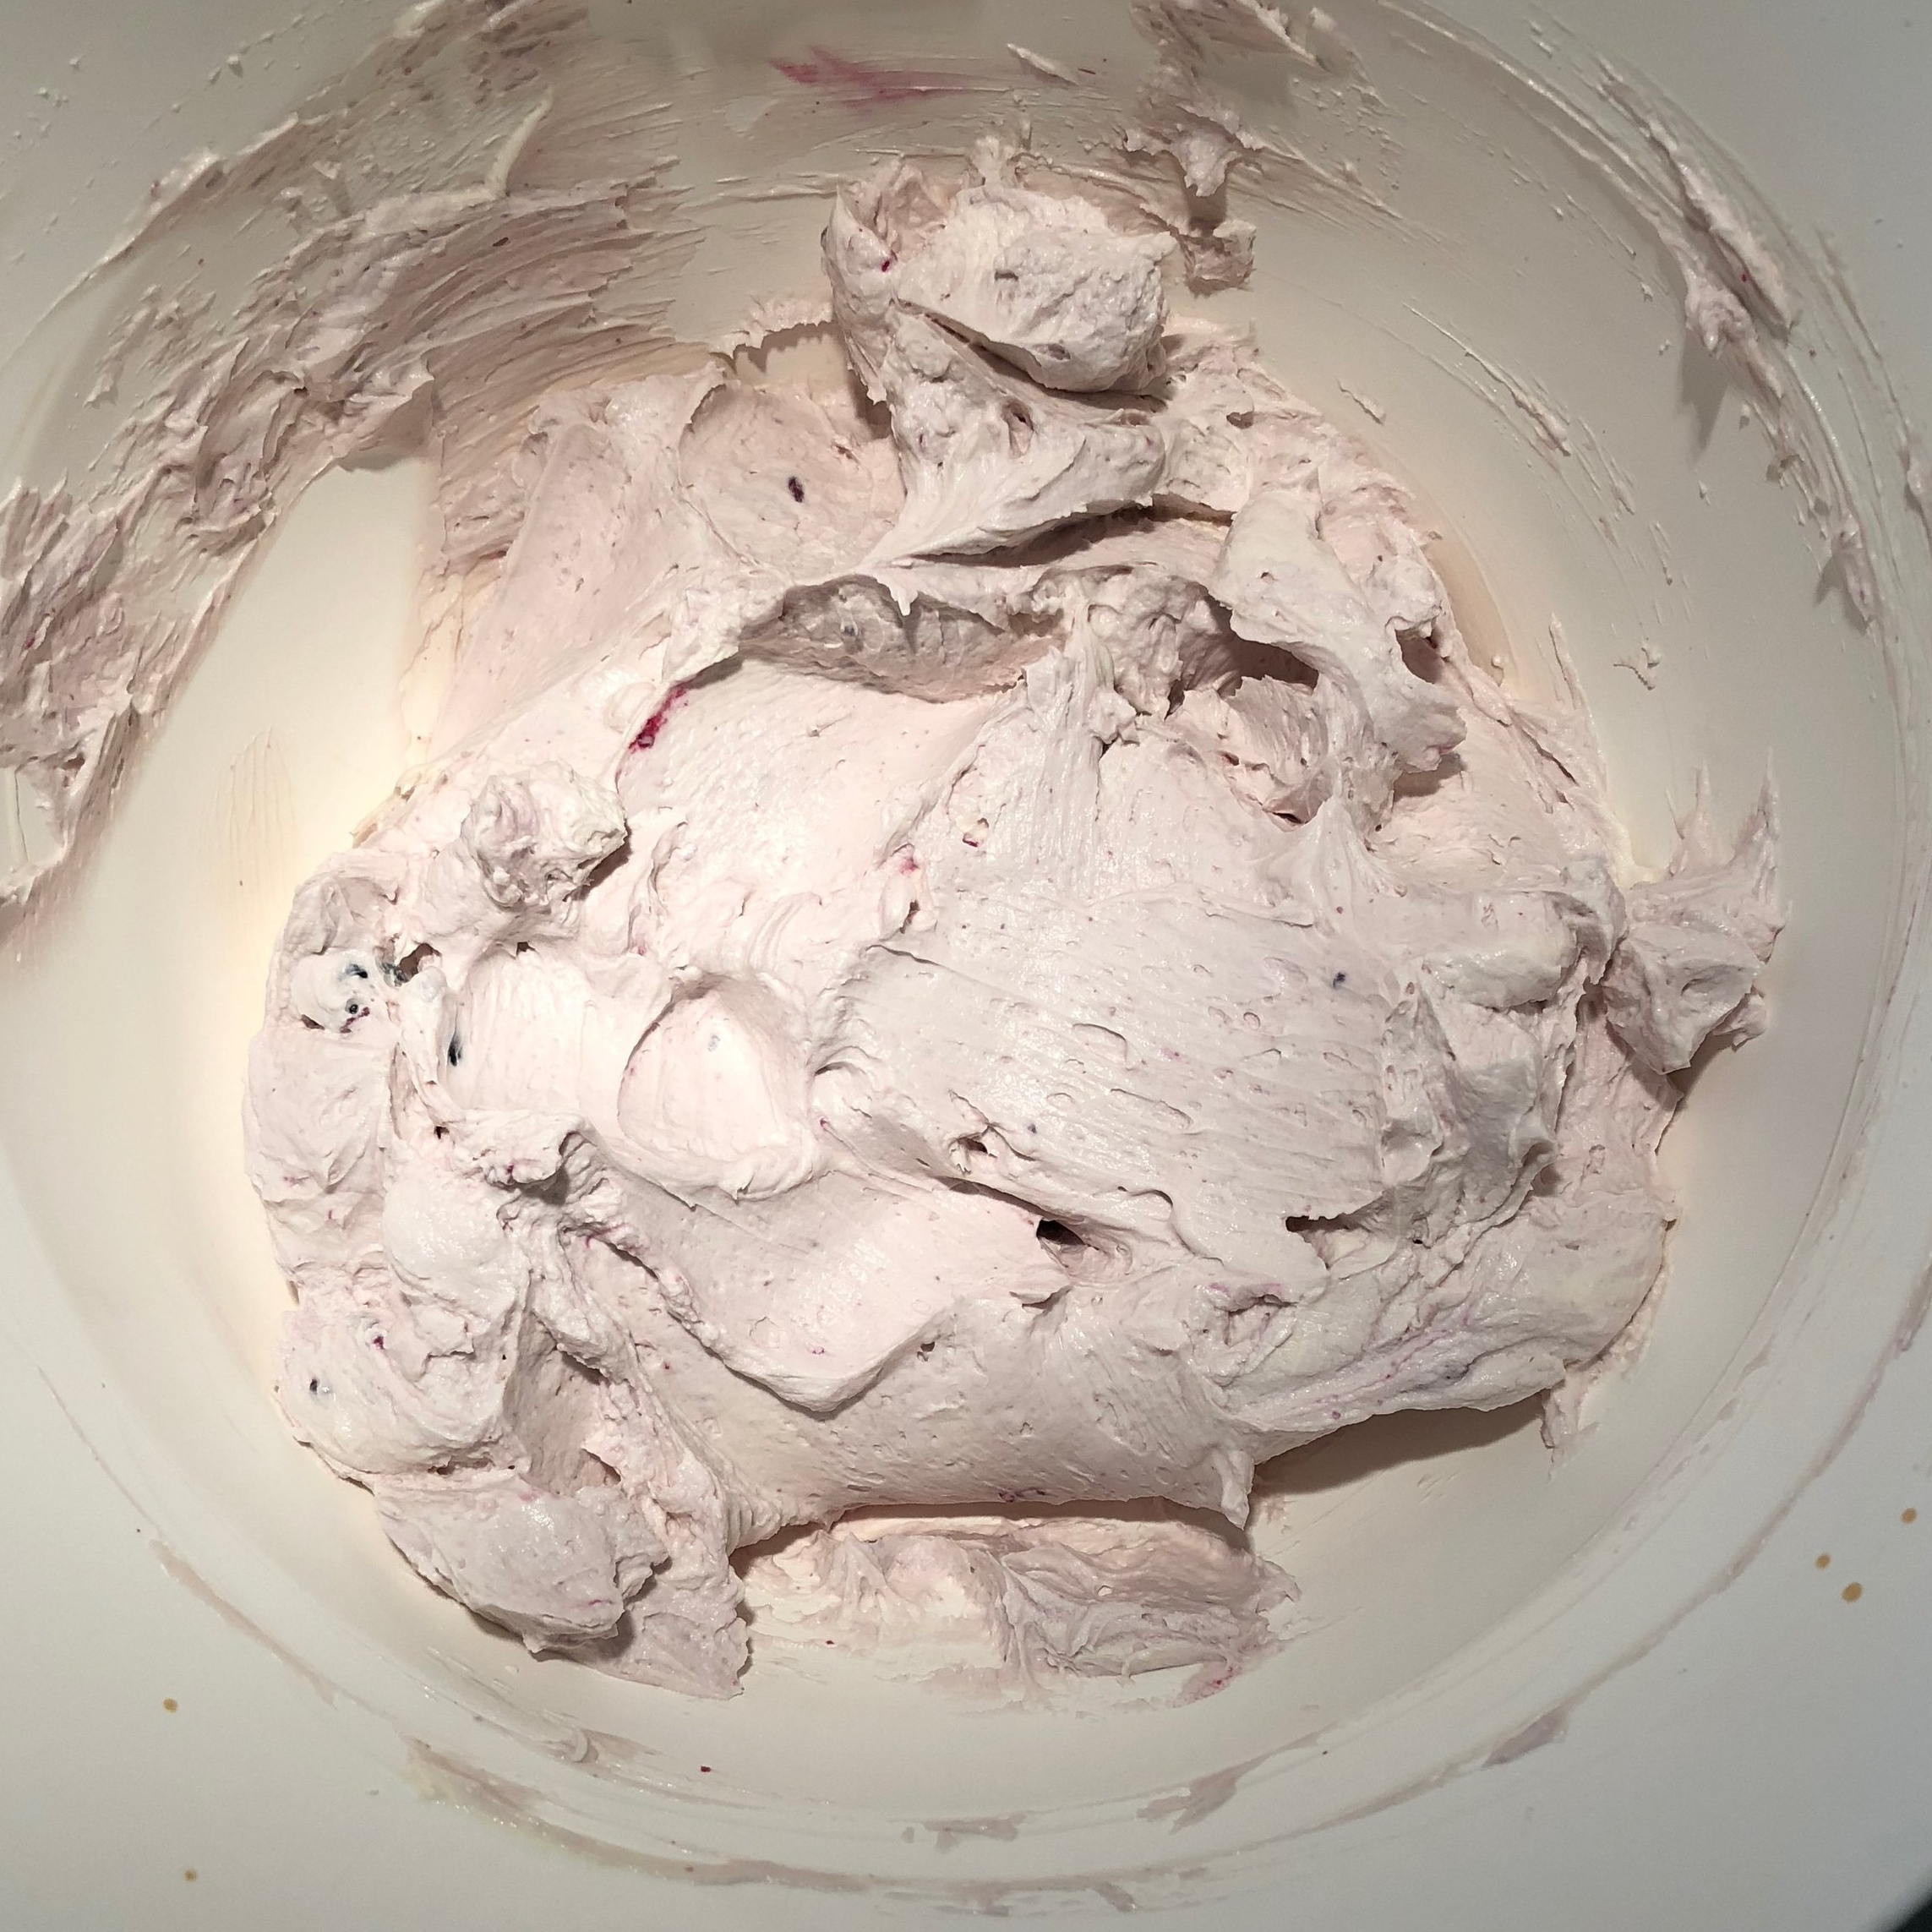
Use the double cream from the fridge and whip to a stiff peak, not soft, using an electric hand whisk.
Use the same whisk to beat the vanilla seeds into the cream cheese. Use a light cream cheese, a full-fat one has a different consistency. This might be the one time you need to cut back on the fat in a dessert!
Step 3 - layering
The recipe mentions a specific brand of jam. Whilst any good quality jam will work well, pay attention to the quantities. The recommended jam comes in a 340g jar. A popular French variety comes in a 370g jar. Either way - you do not need to use a whole jar as suggested.
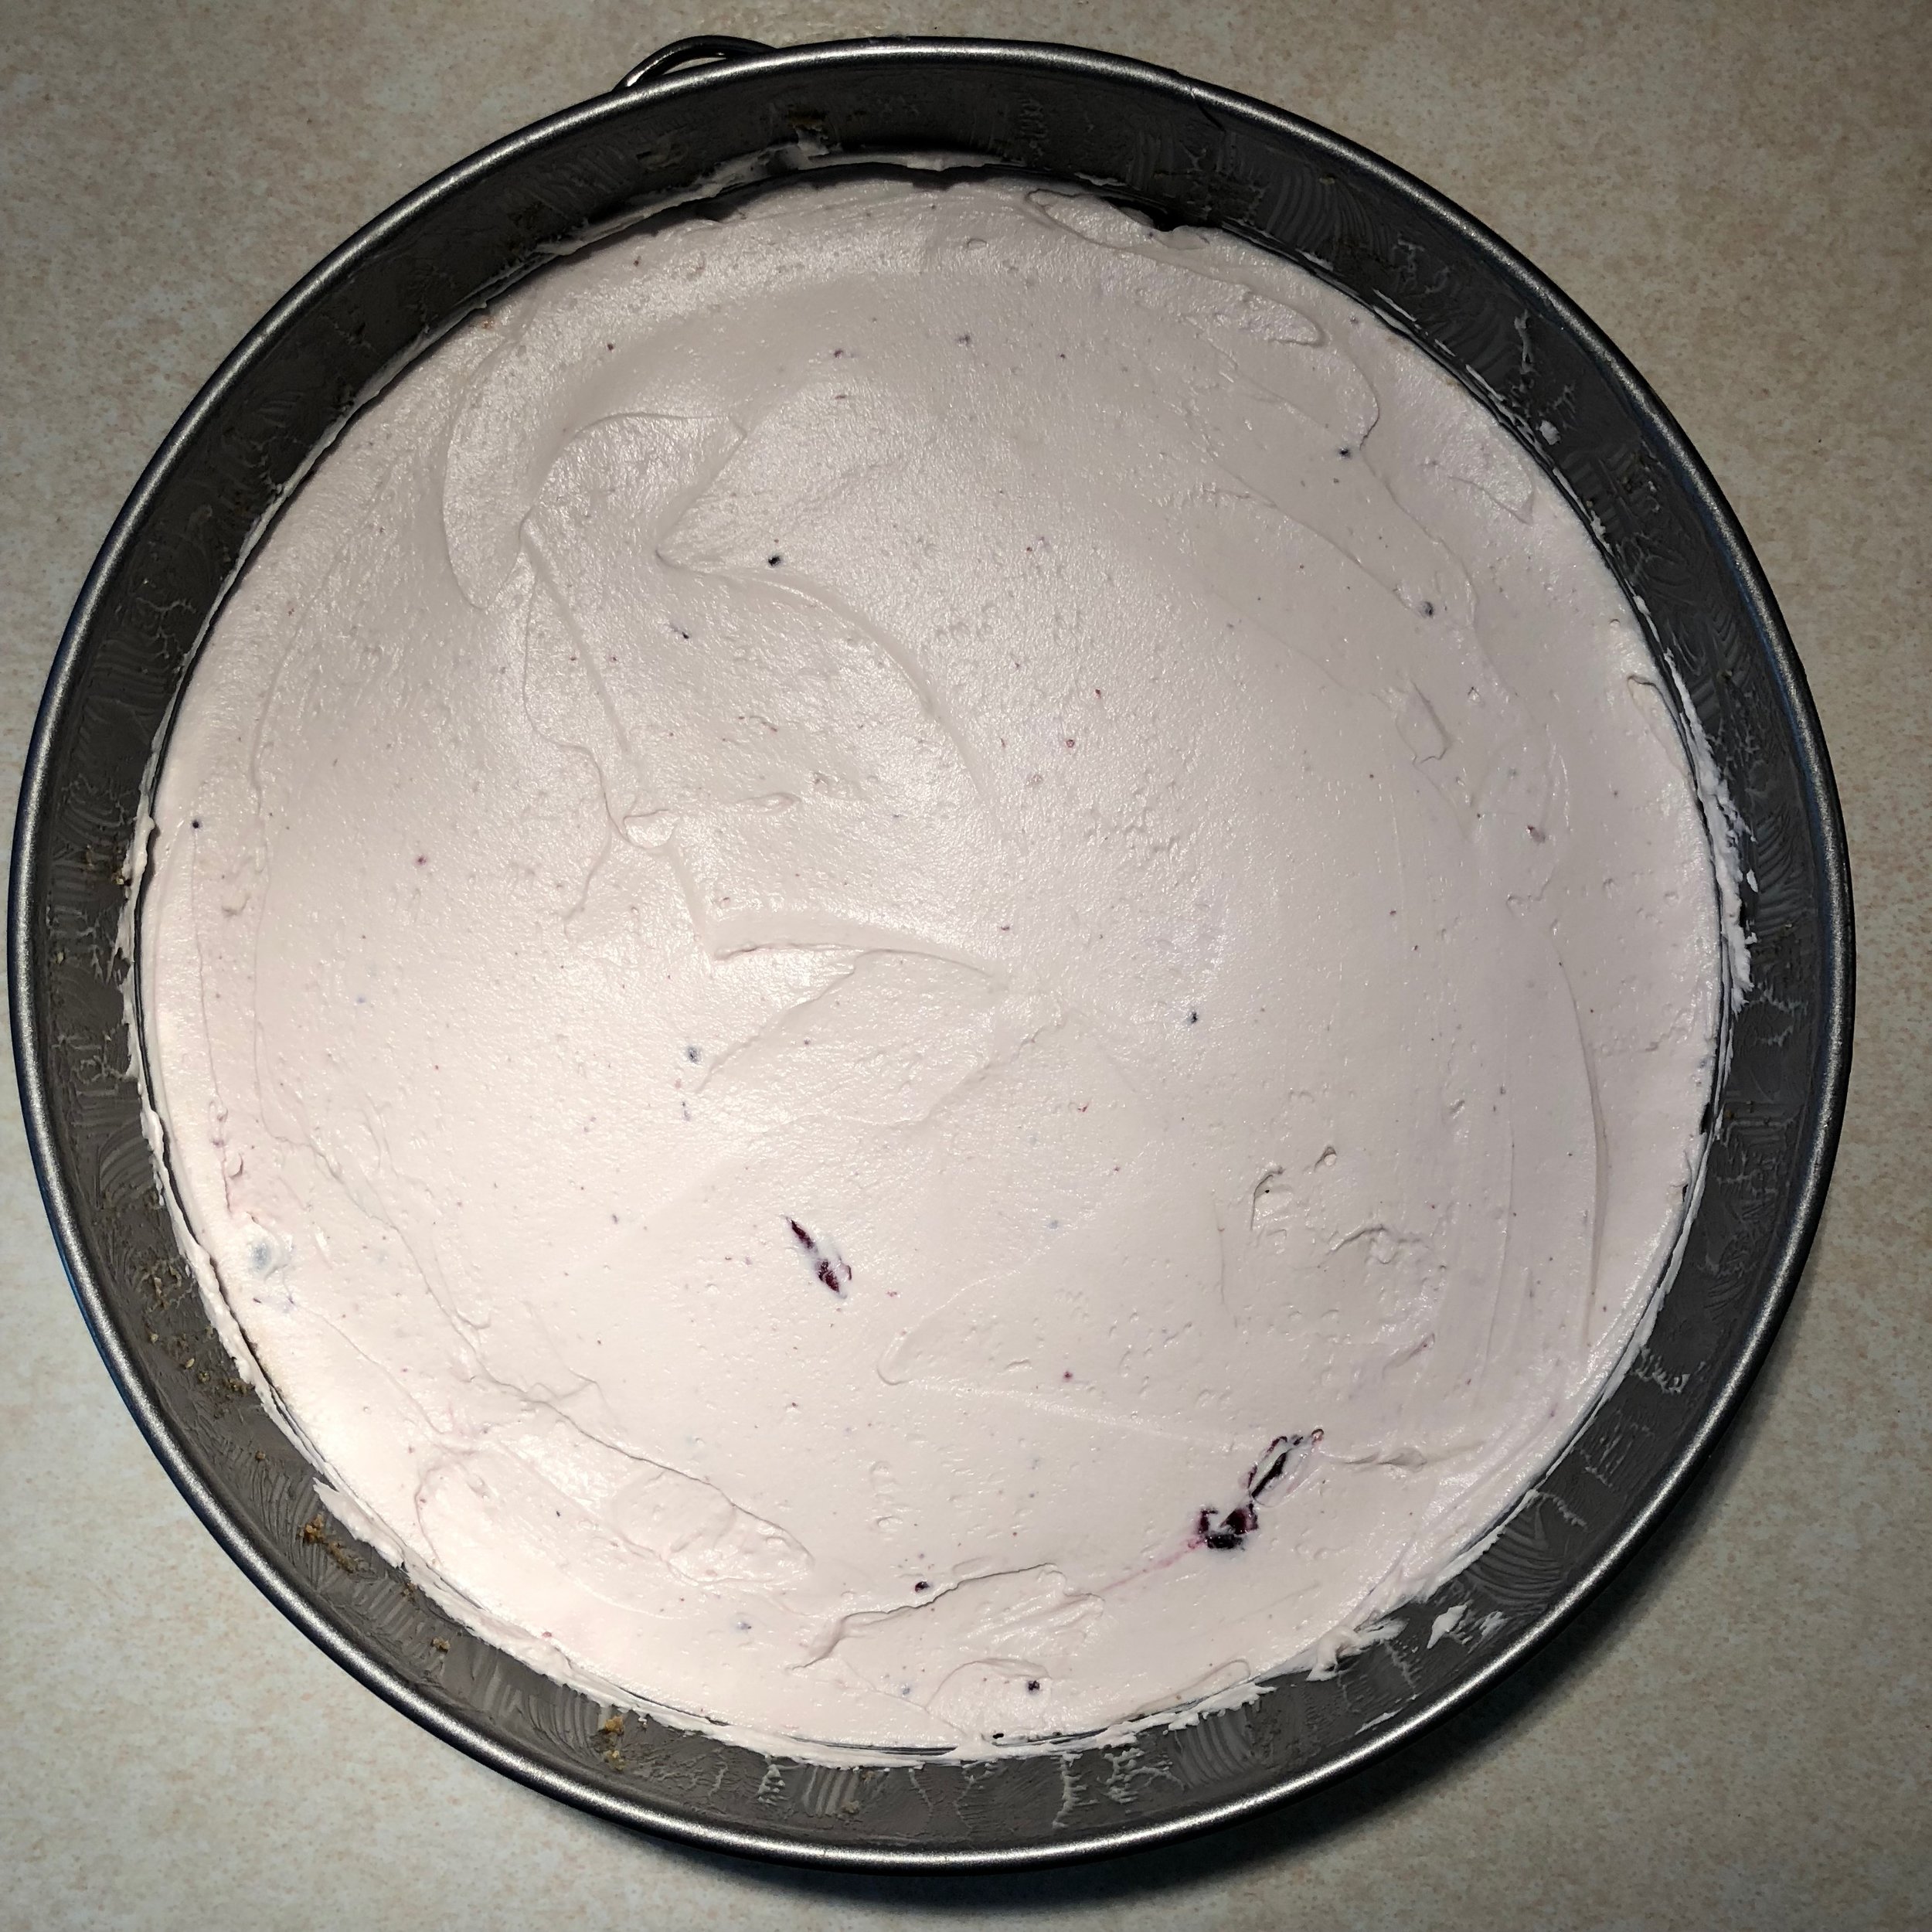
Add a teaspoon of jam to the initial mixture to add a small amount of colour. Using a small offset spatula dipped in hot water spread 1cm of the mix on the base.
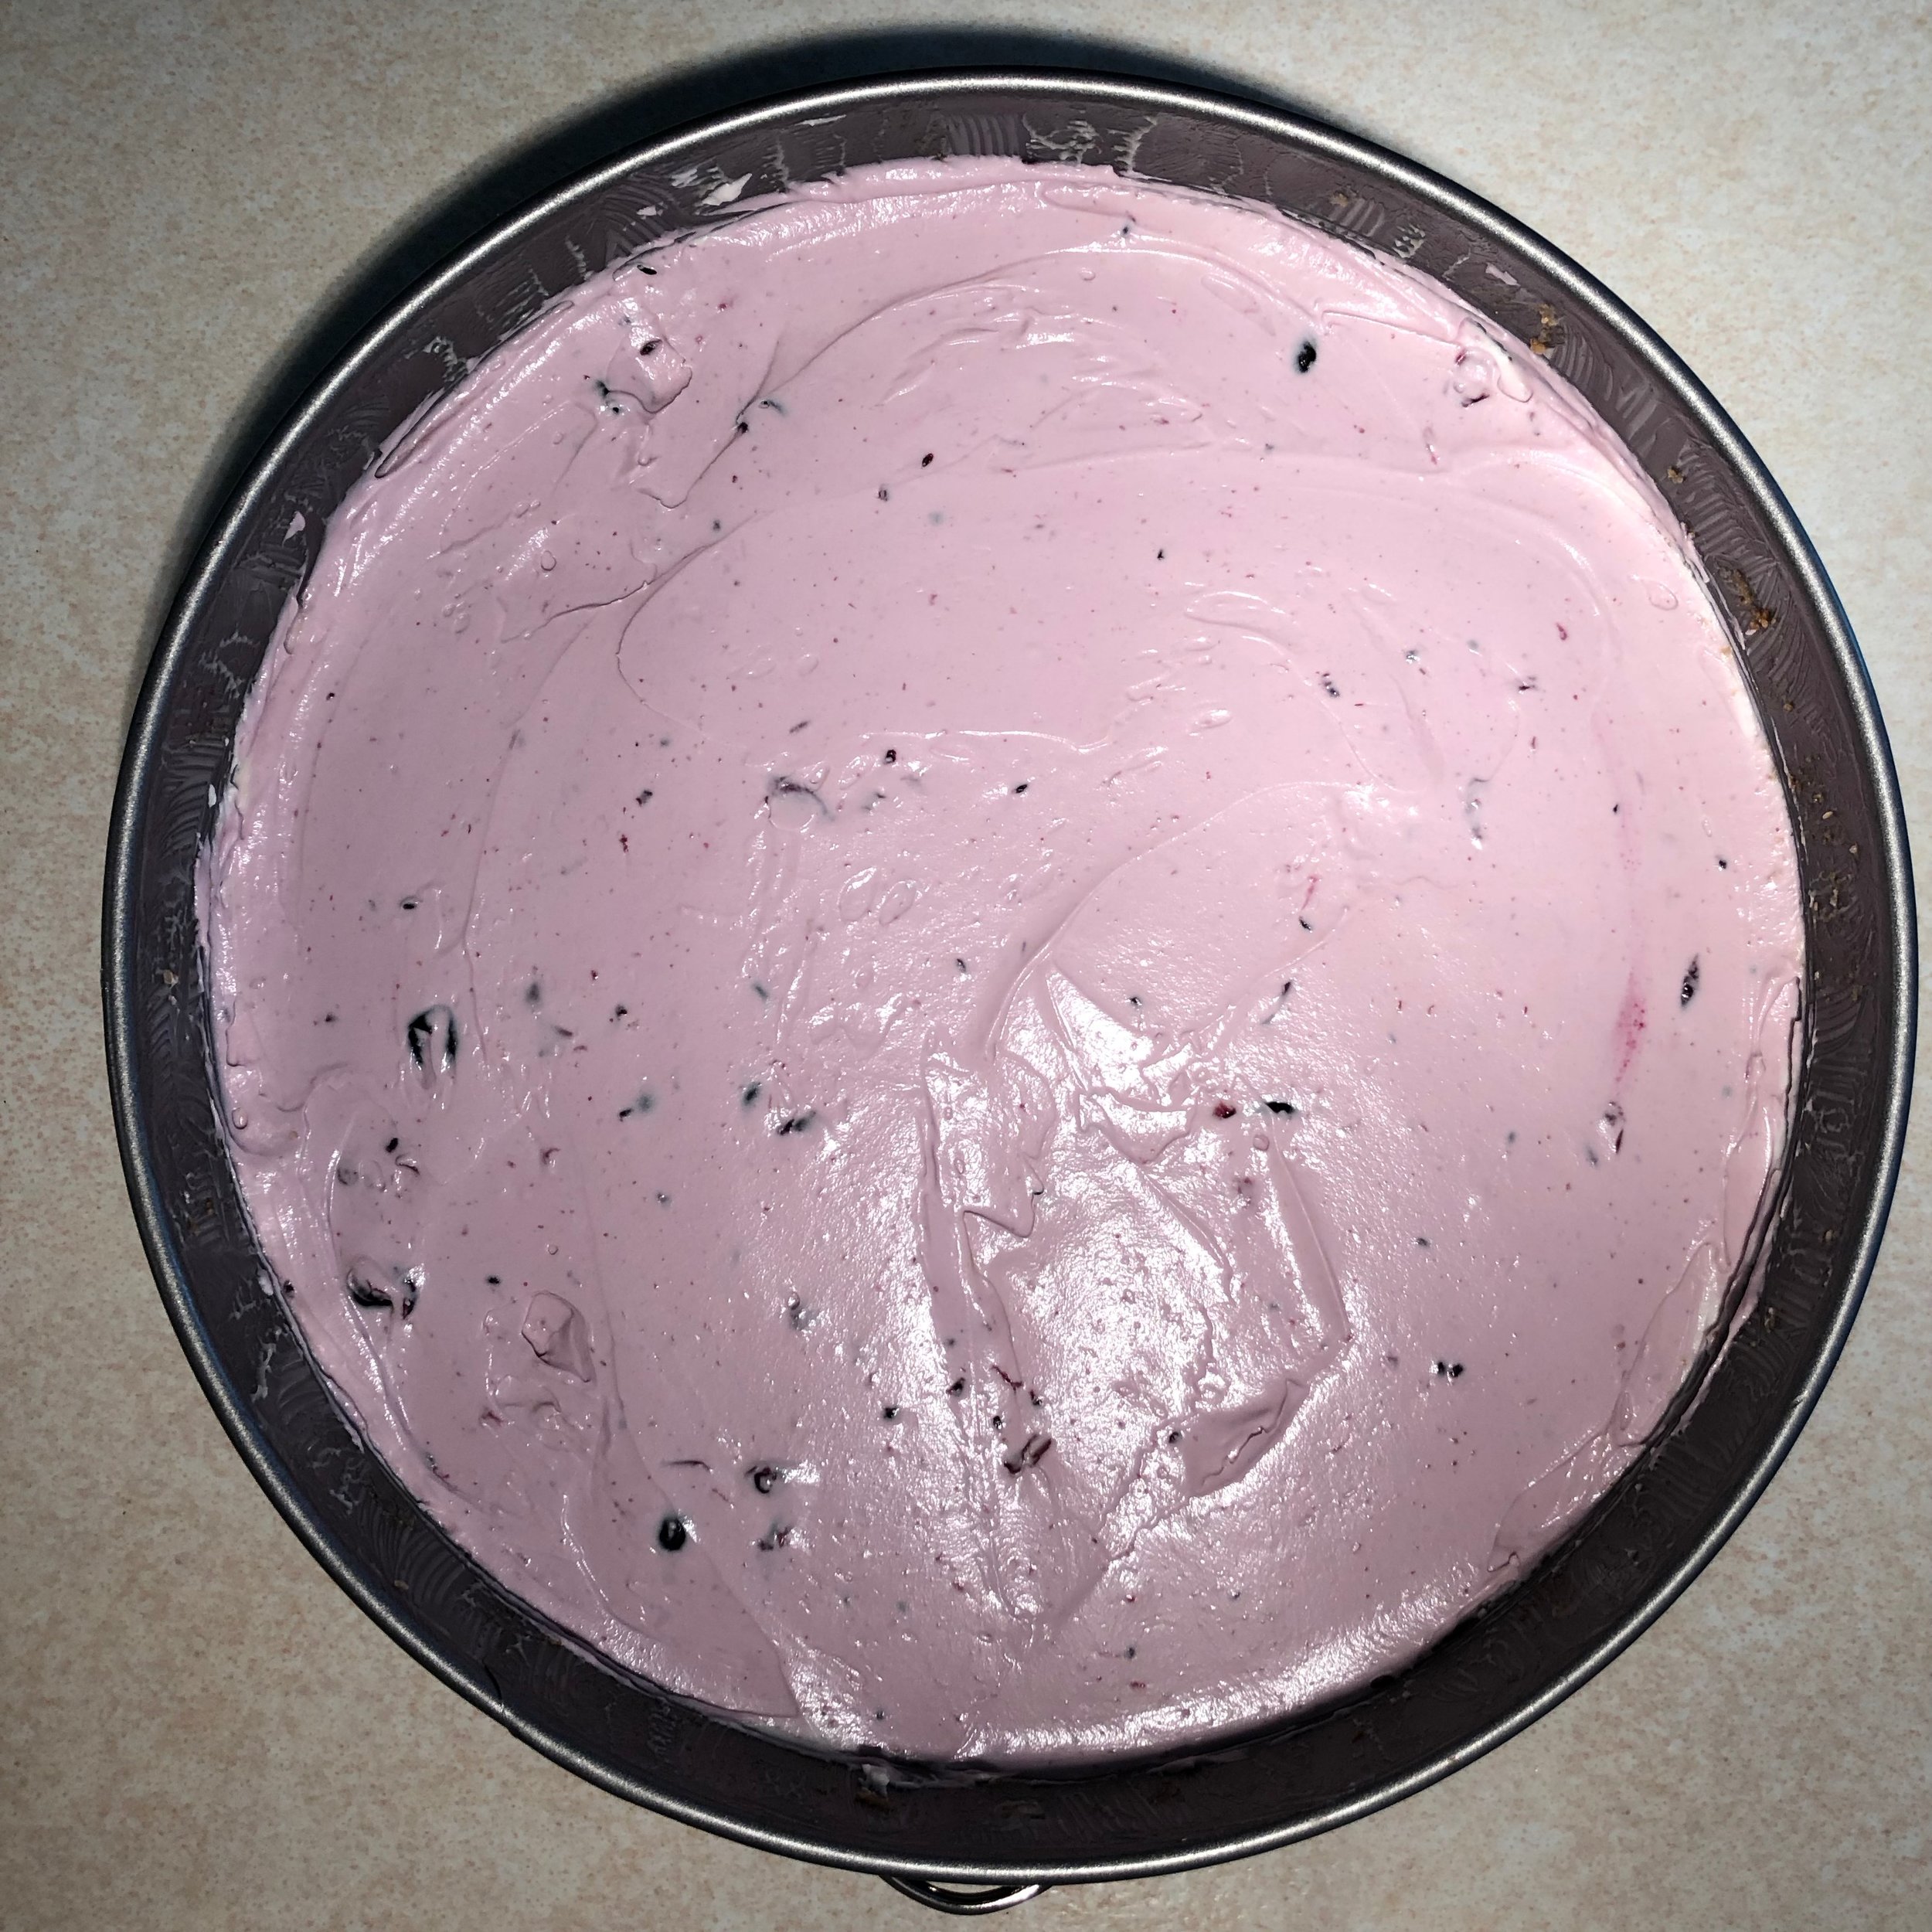
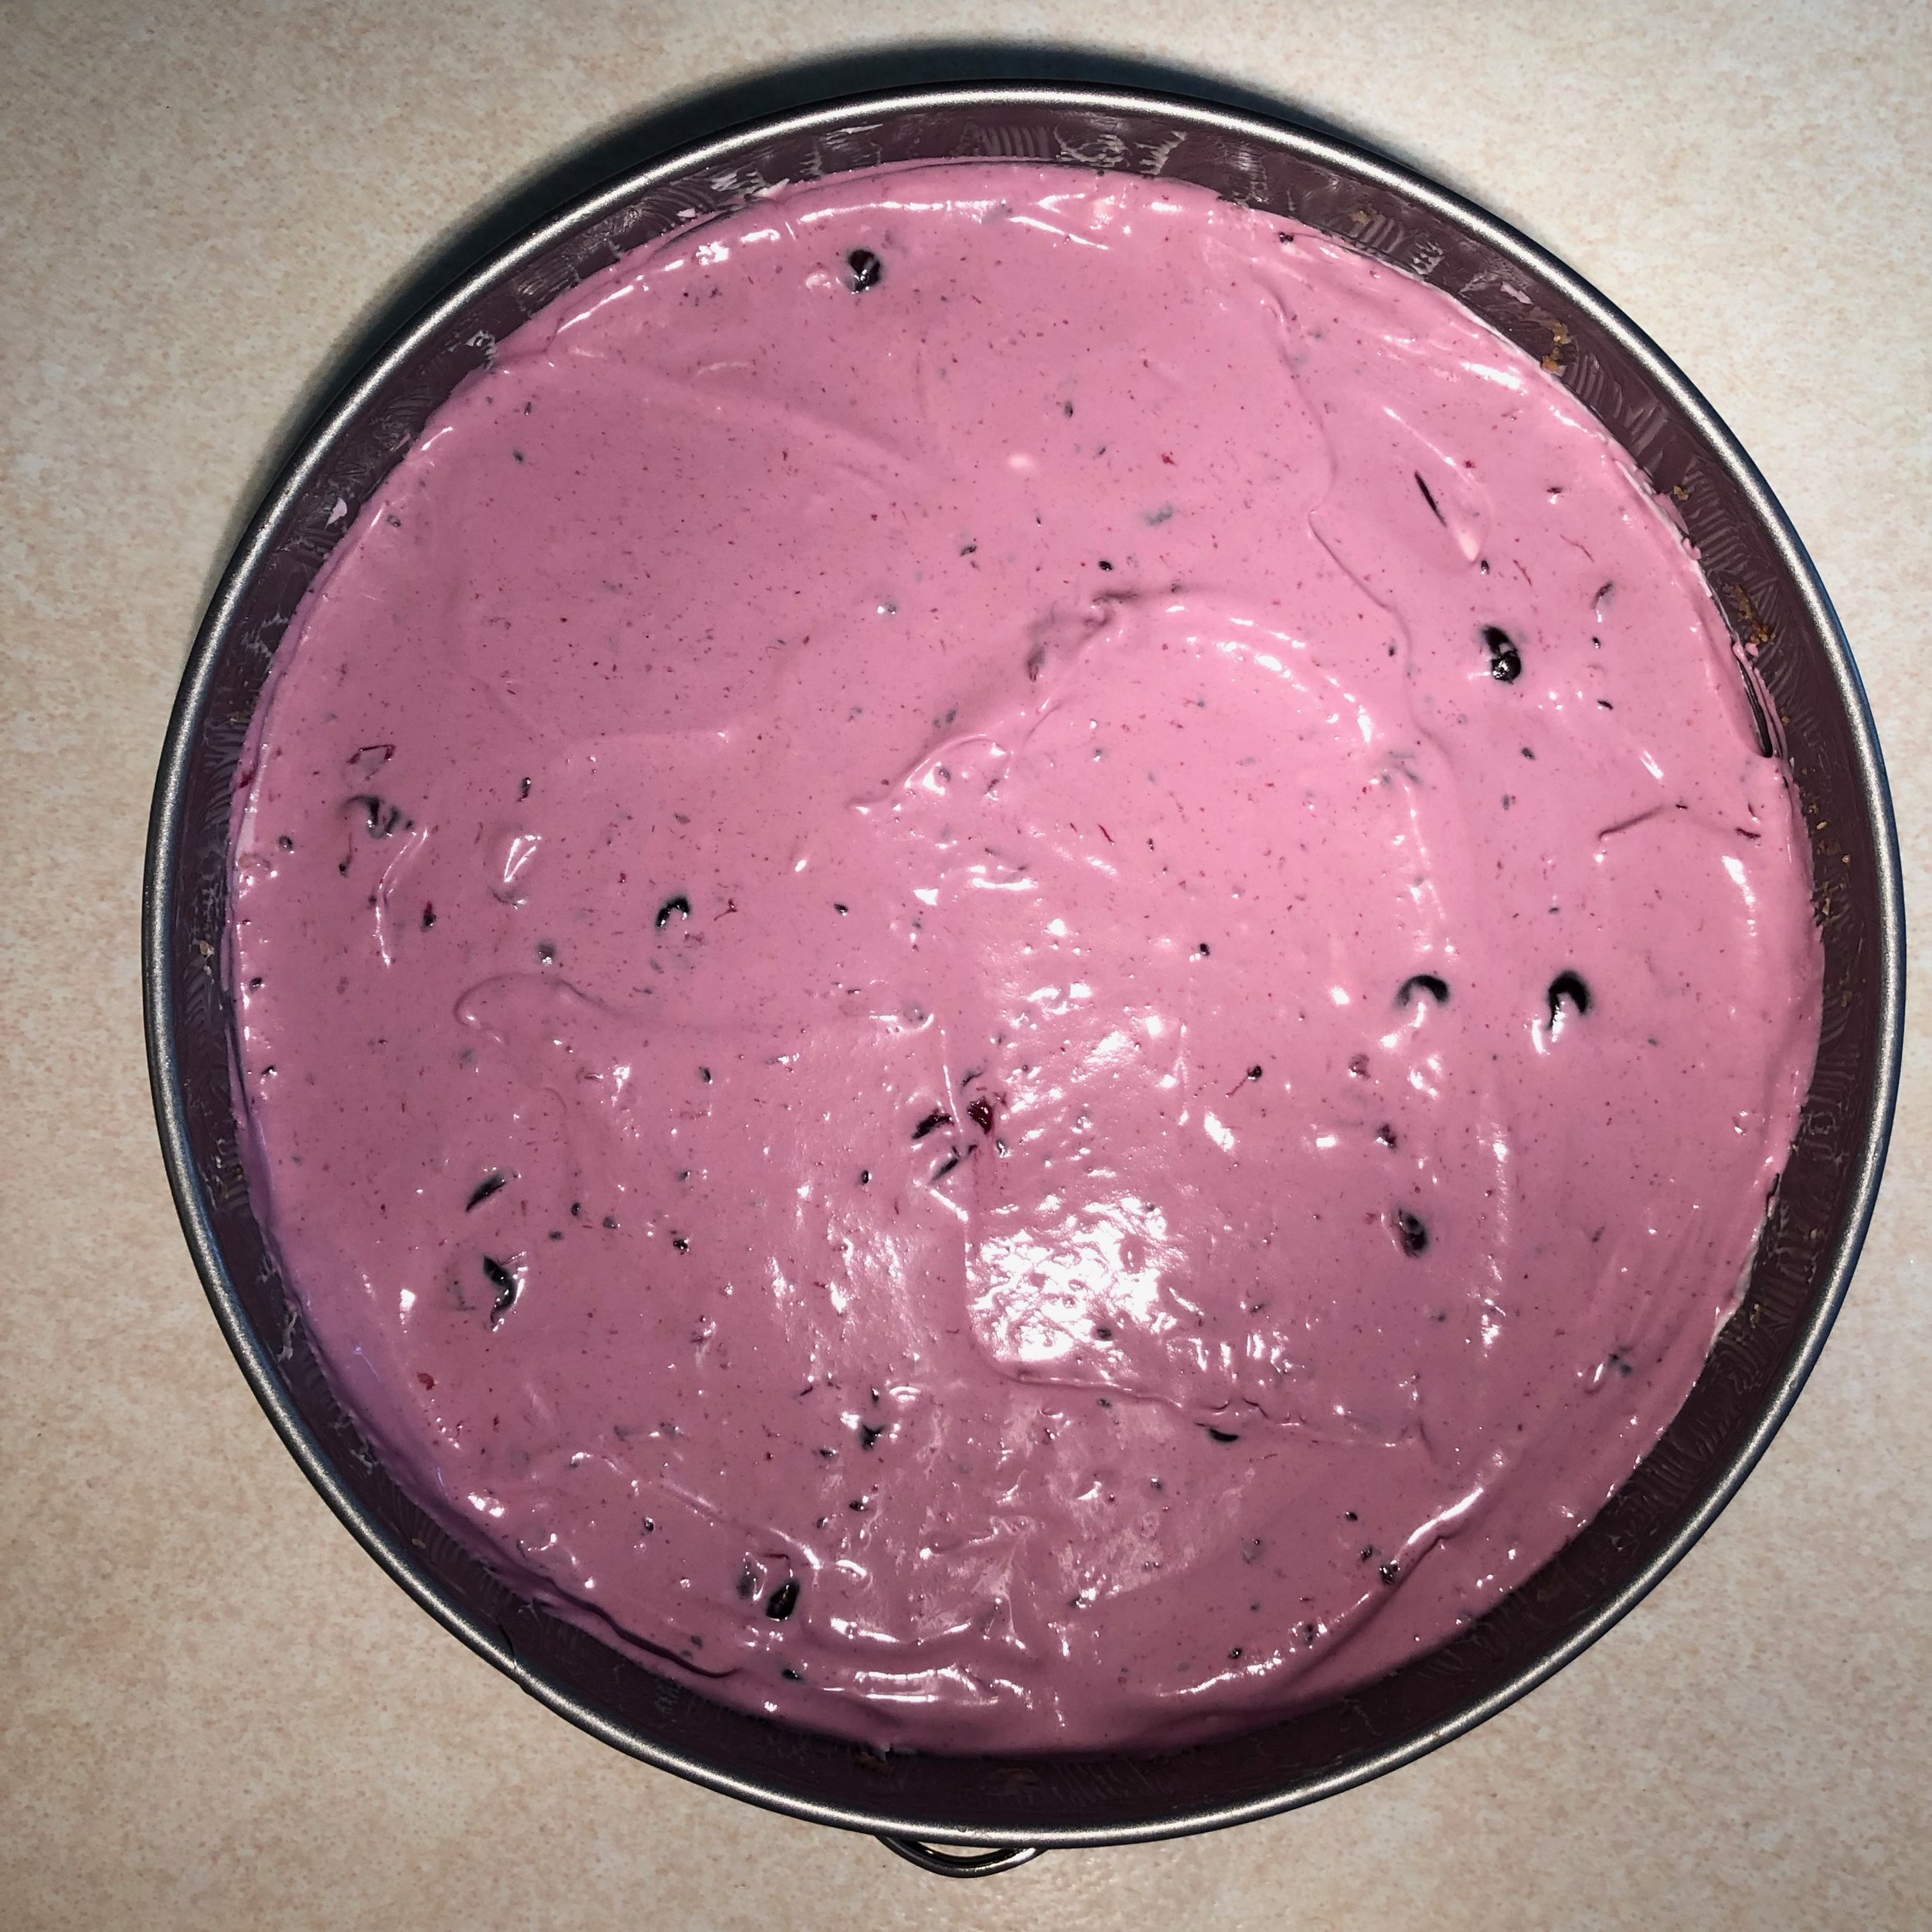
To the remaining mixture add a heaped tablespoon of jam, give it a good mix, and spread another centimetre. Aim for four layers, and don't attempt to use the whole jar of jam. If you do the layers will become too wet and won't set.
Now put the cheesecake in the fridge and leave overnight - an hour in the fridge is definitely not long enough, unless you have a handy commercial blast chiller at home!
Step 4 - the topping
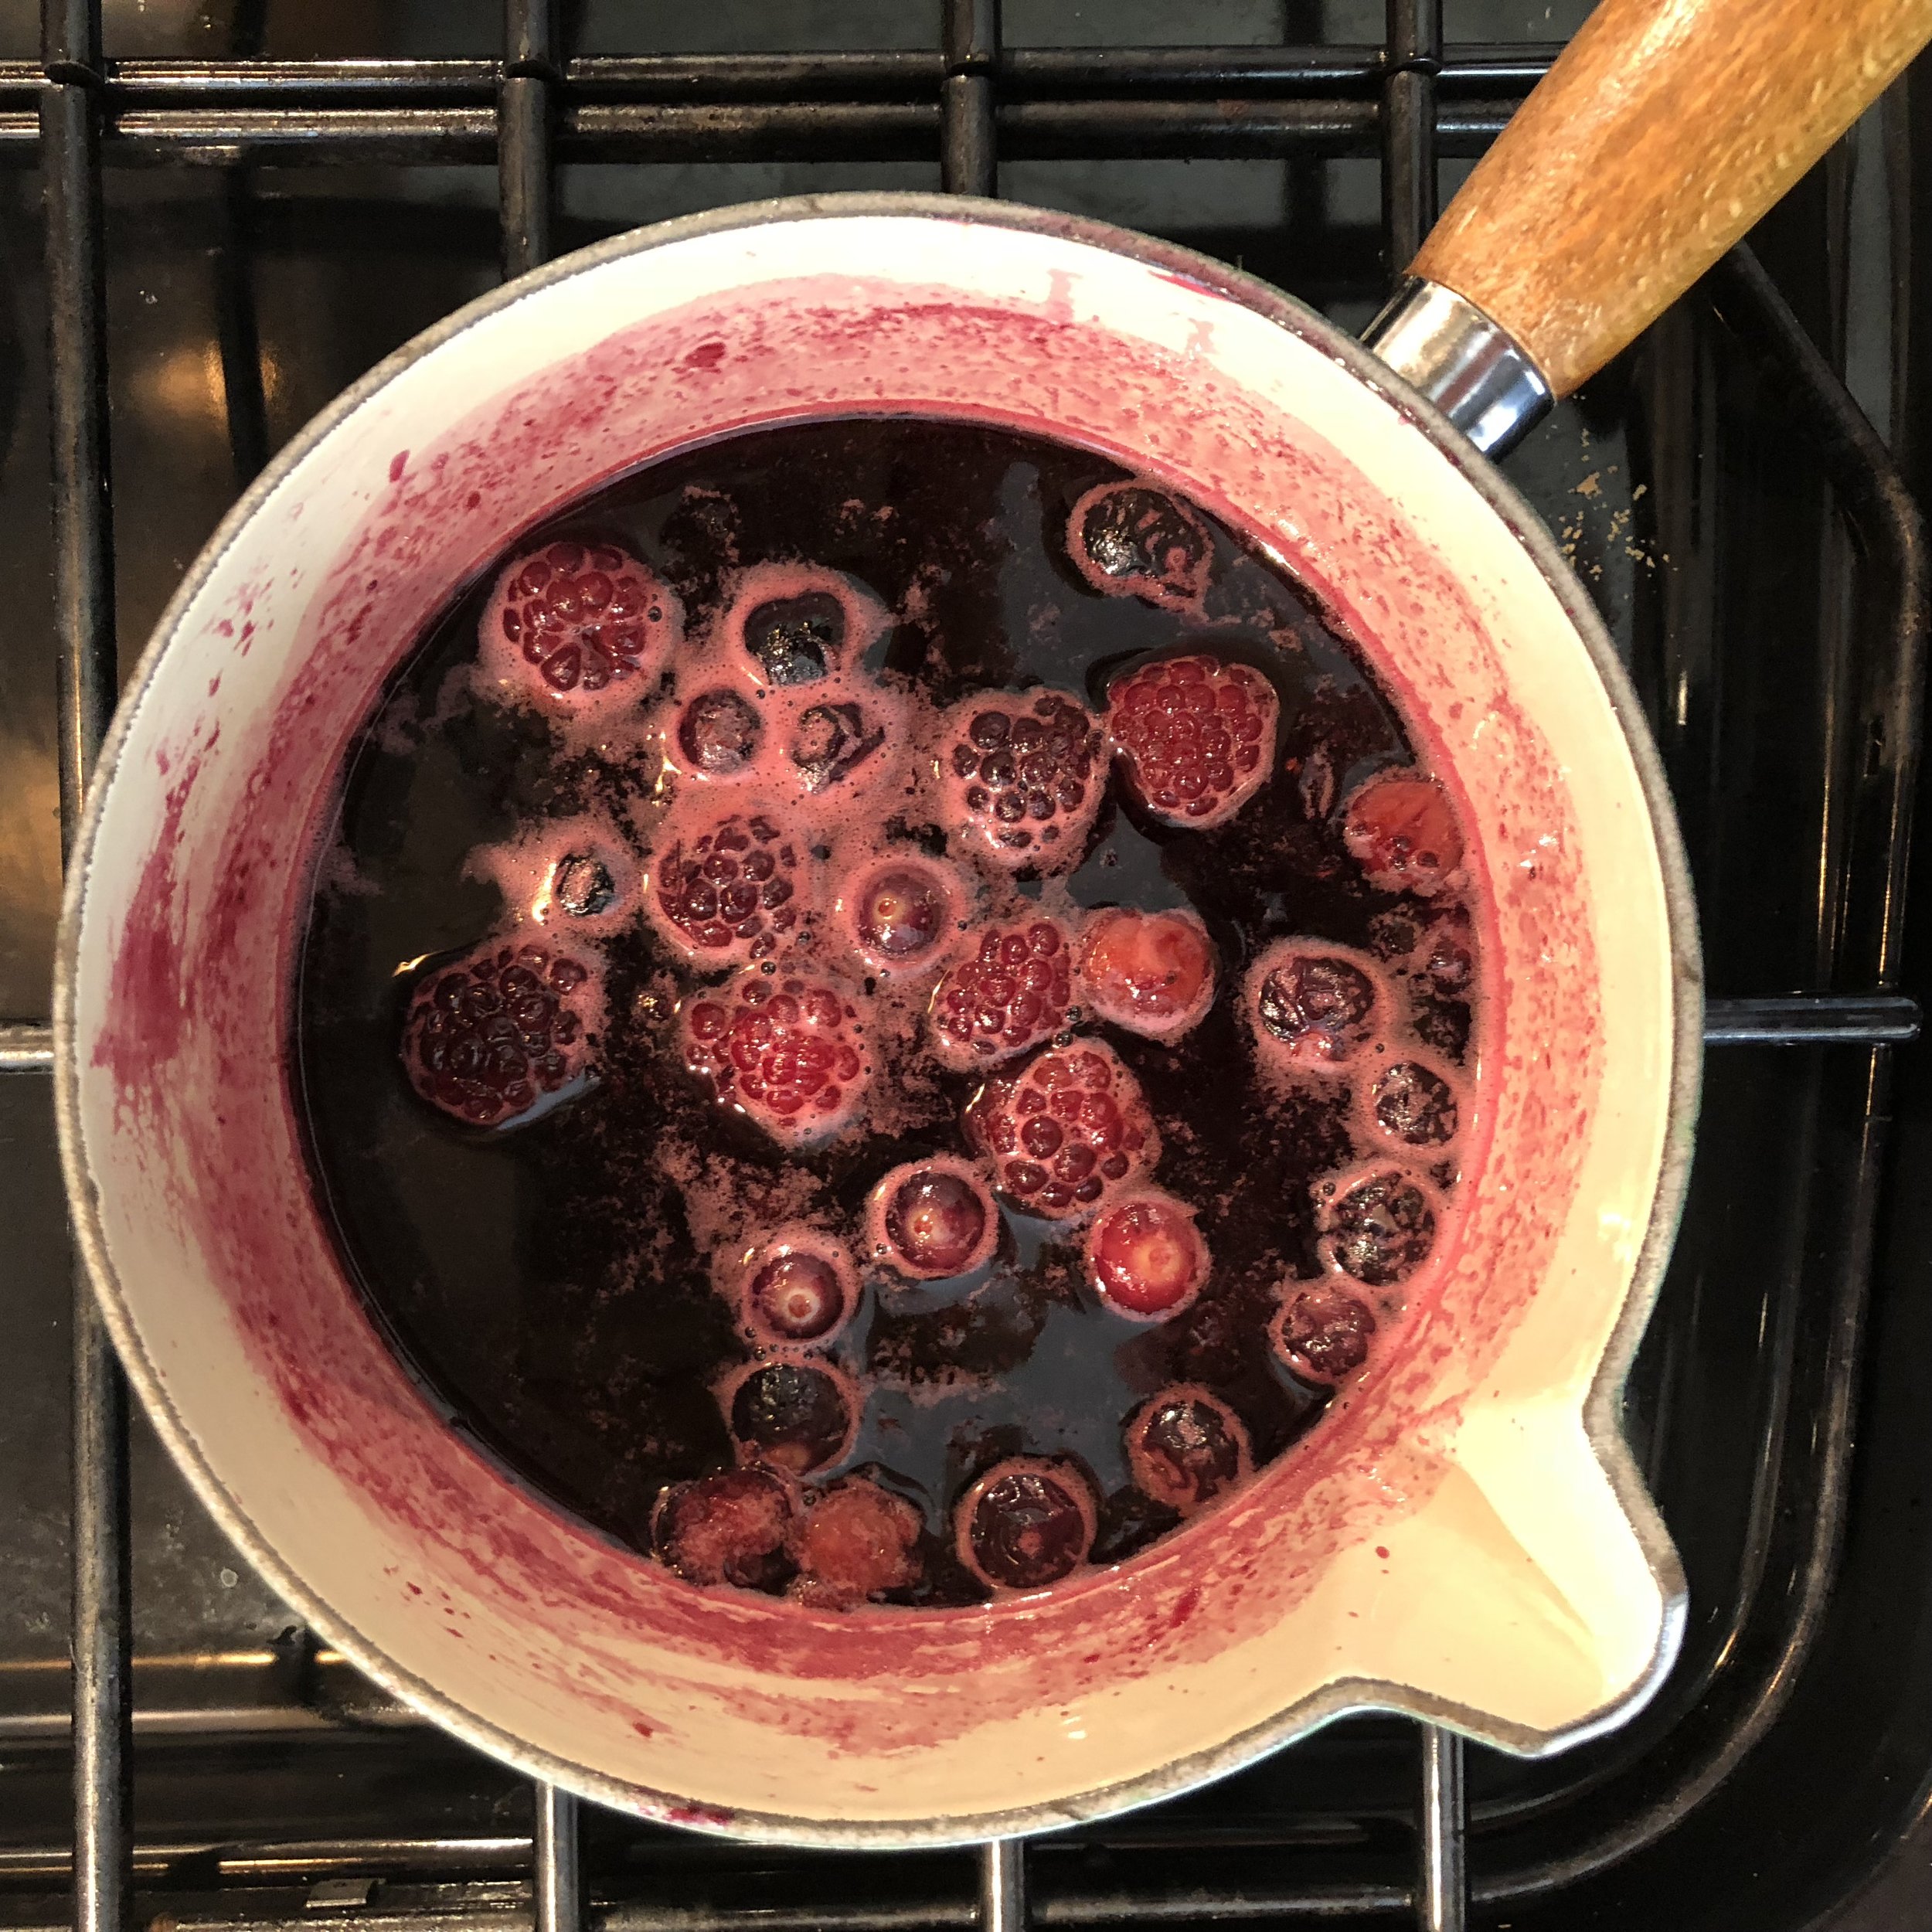
If blackcurrants are not in season, use blackberries cut in half, blueberries give too much extra liquid. Use about 170g of jam and exactly 100ml water. Simmer for 3 - 5 minutes, then stir in the gelatine leaves. On my first attempt, I used four leaves of gelatin, which gave a rubbery texture. Reduce this to three for a better mouthfeel.
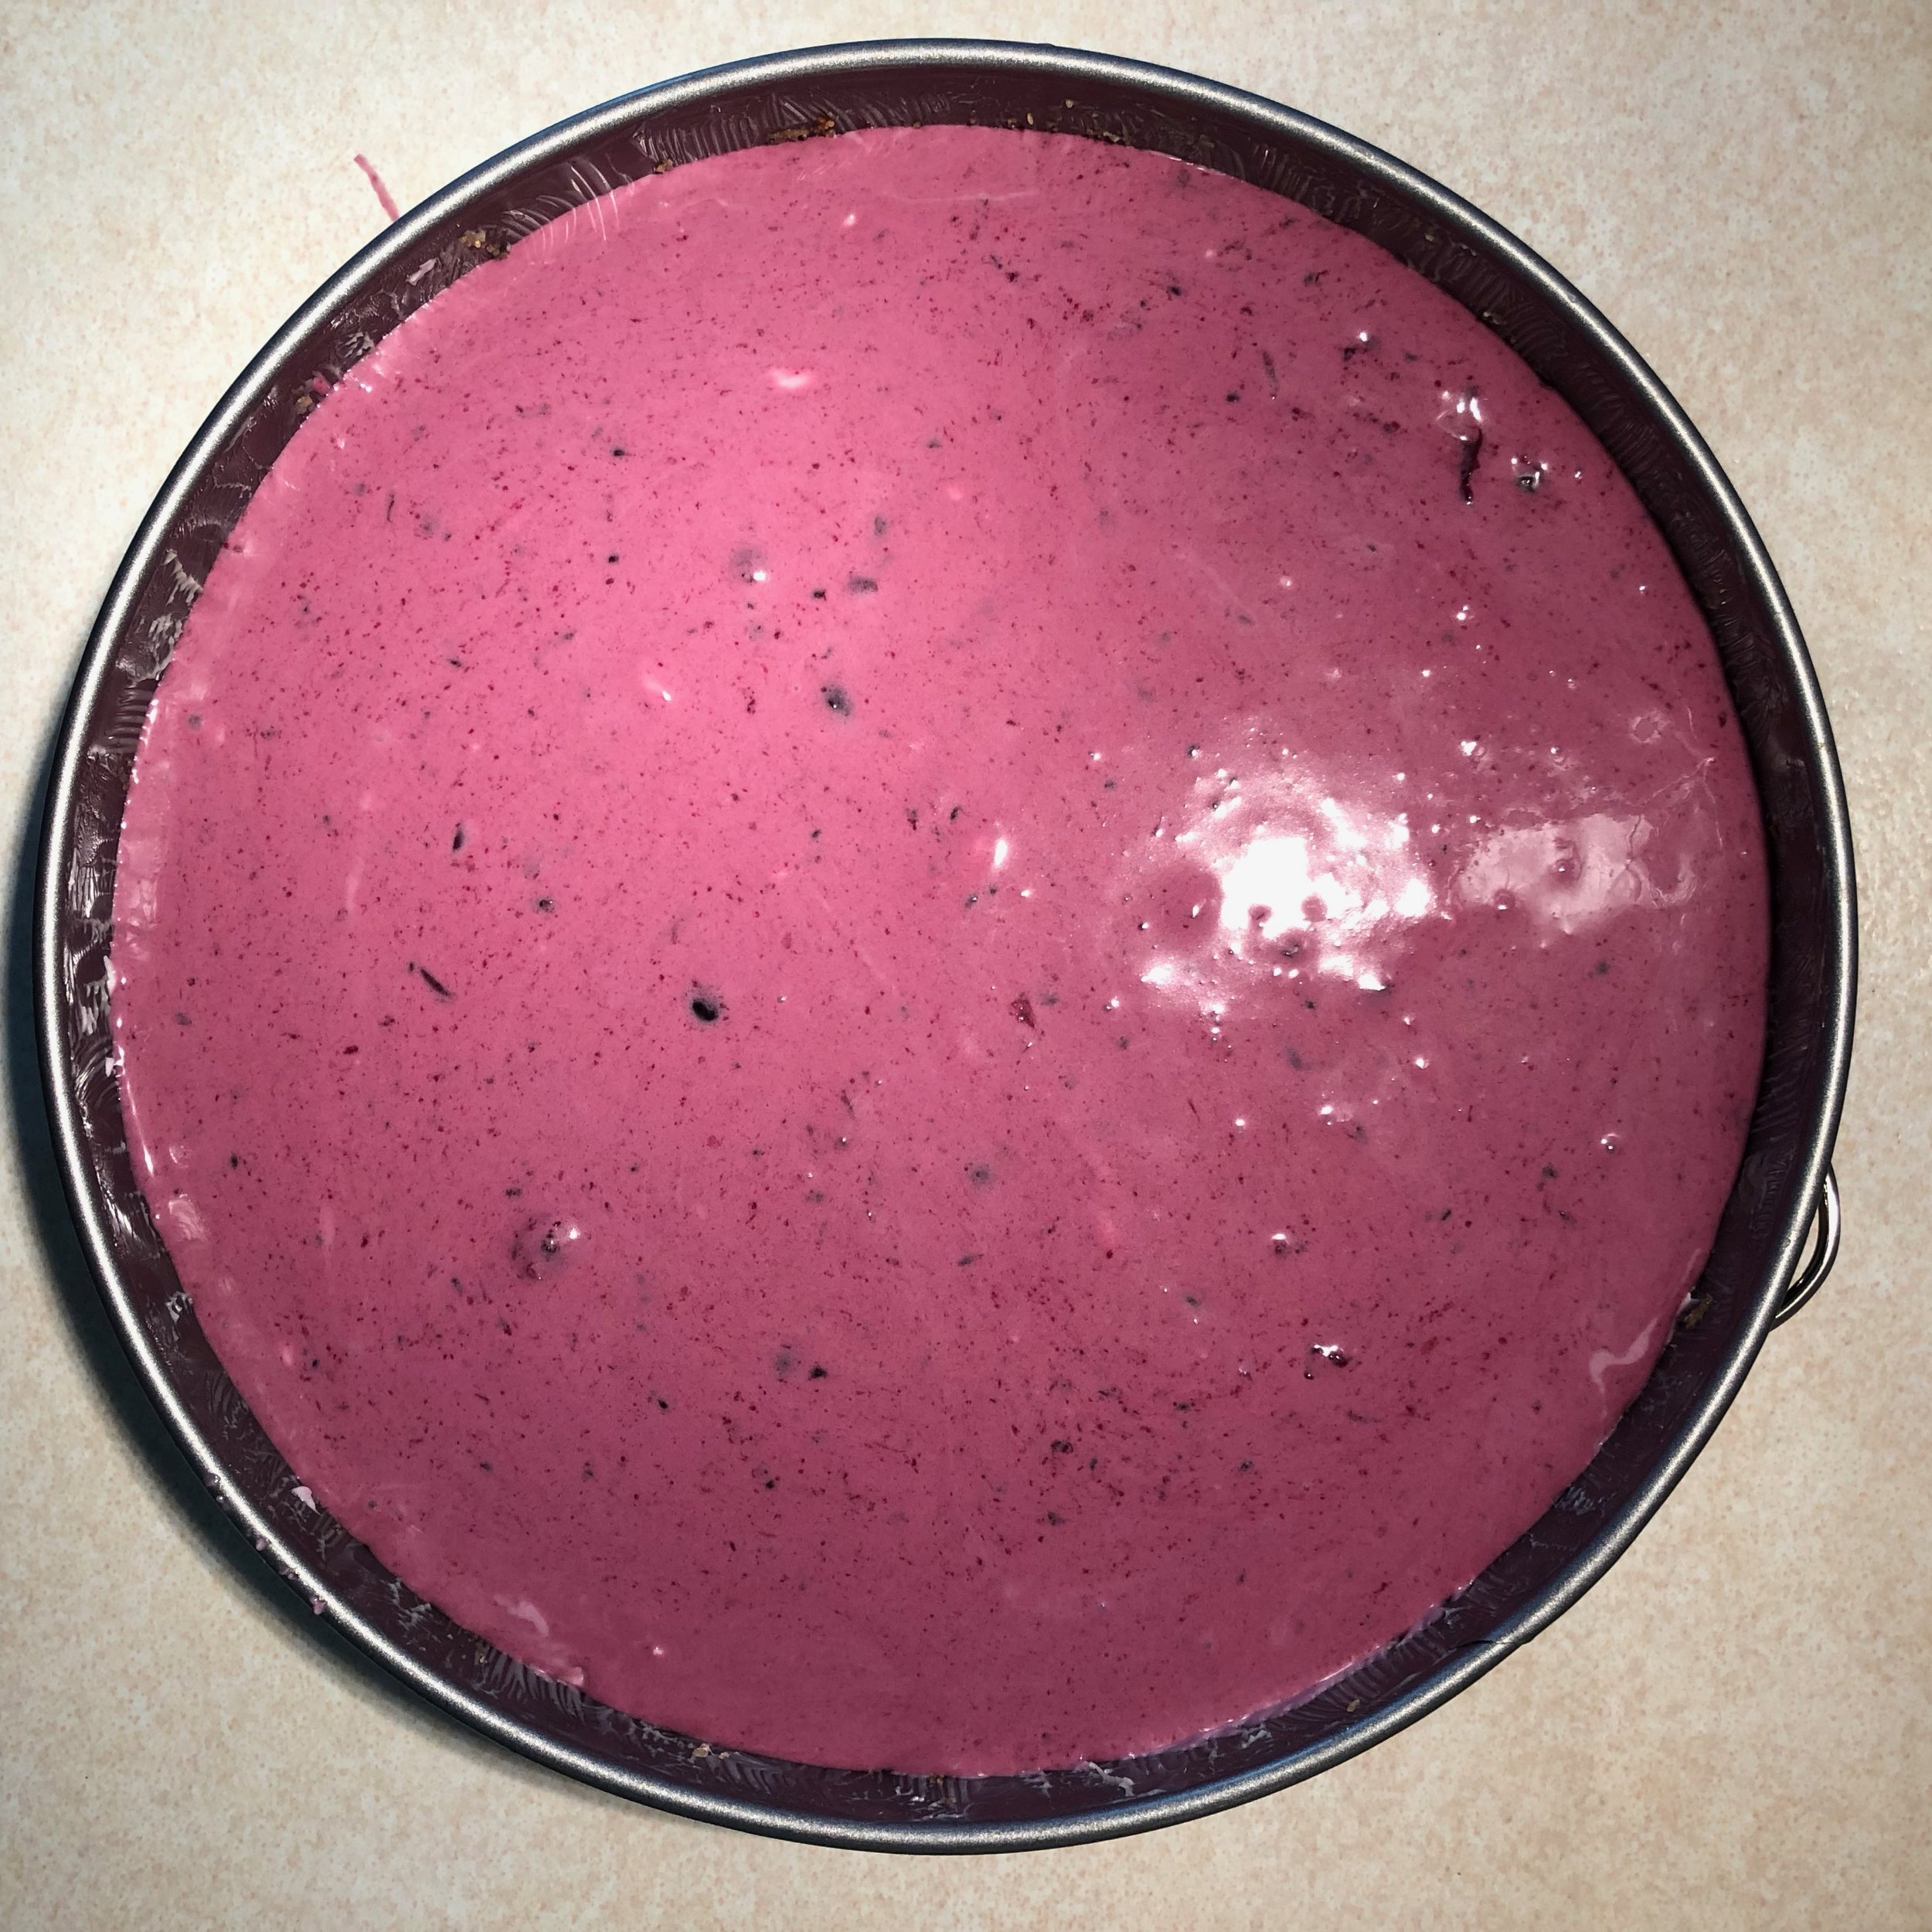
The jelly needs to be cooled to the point where it is almost set. If you attempt to pour warm jelly on the cheesecake it will melt the top layer, see the picture above!
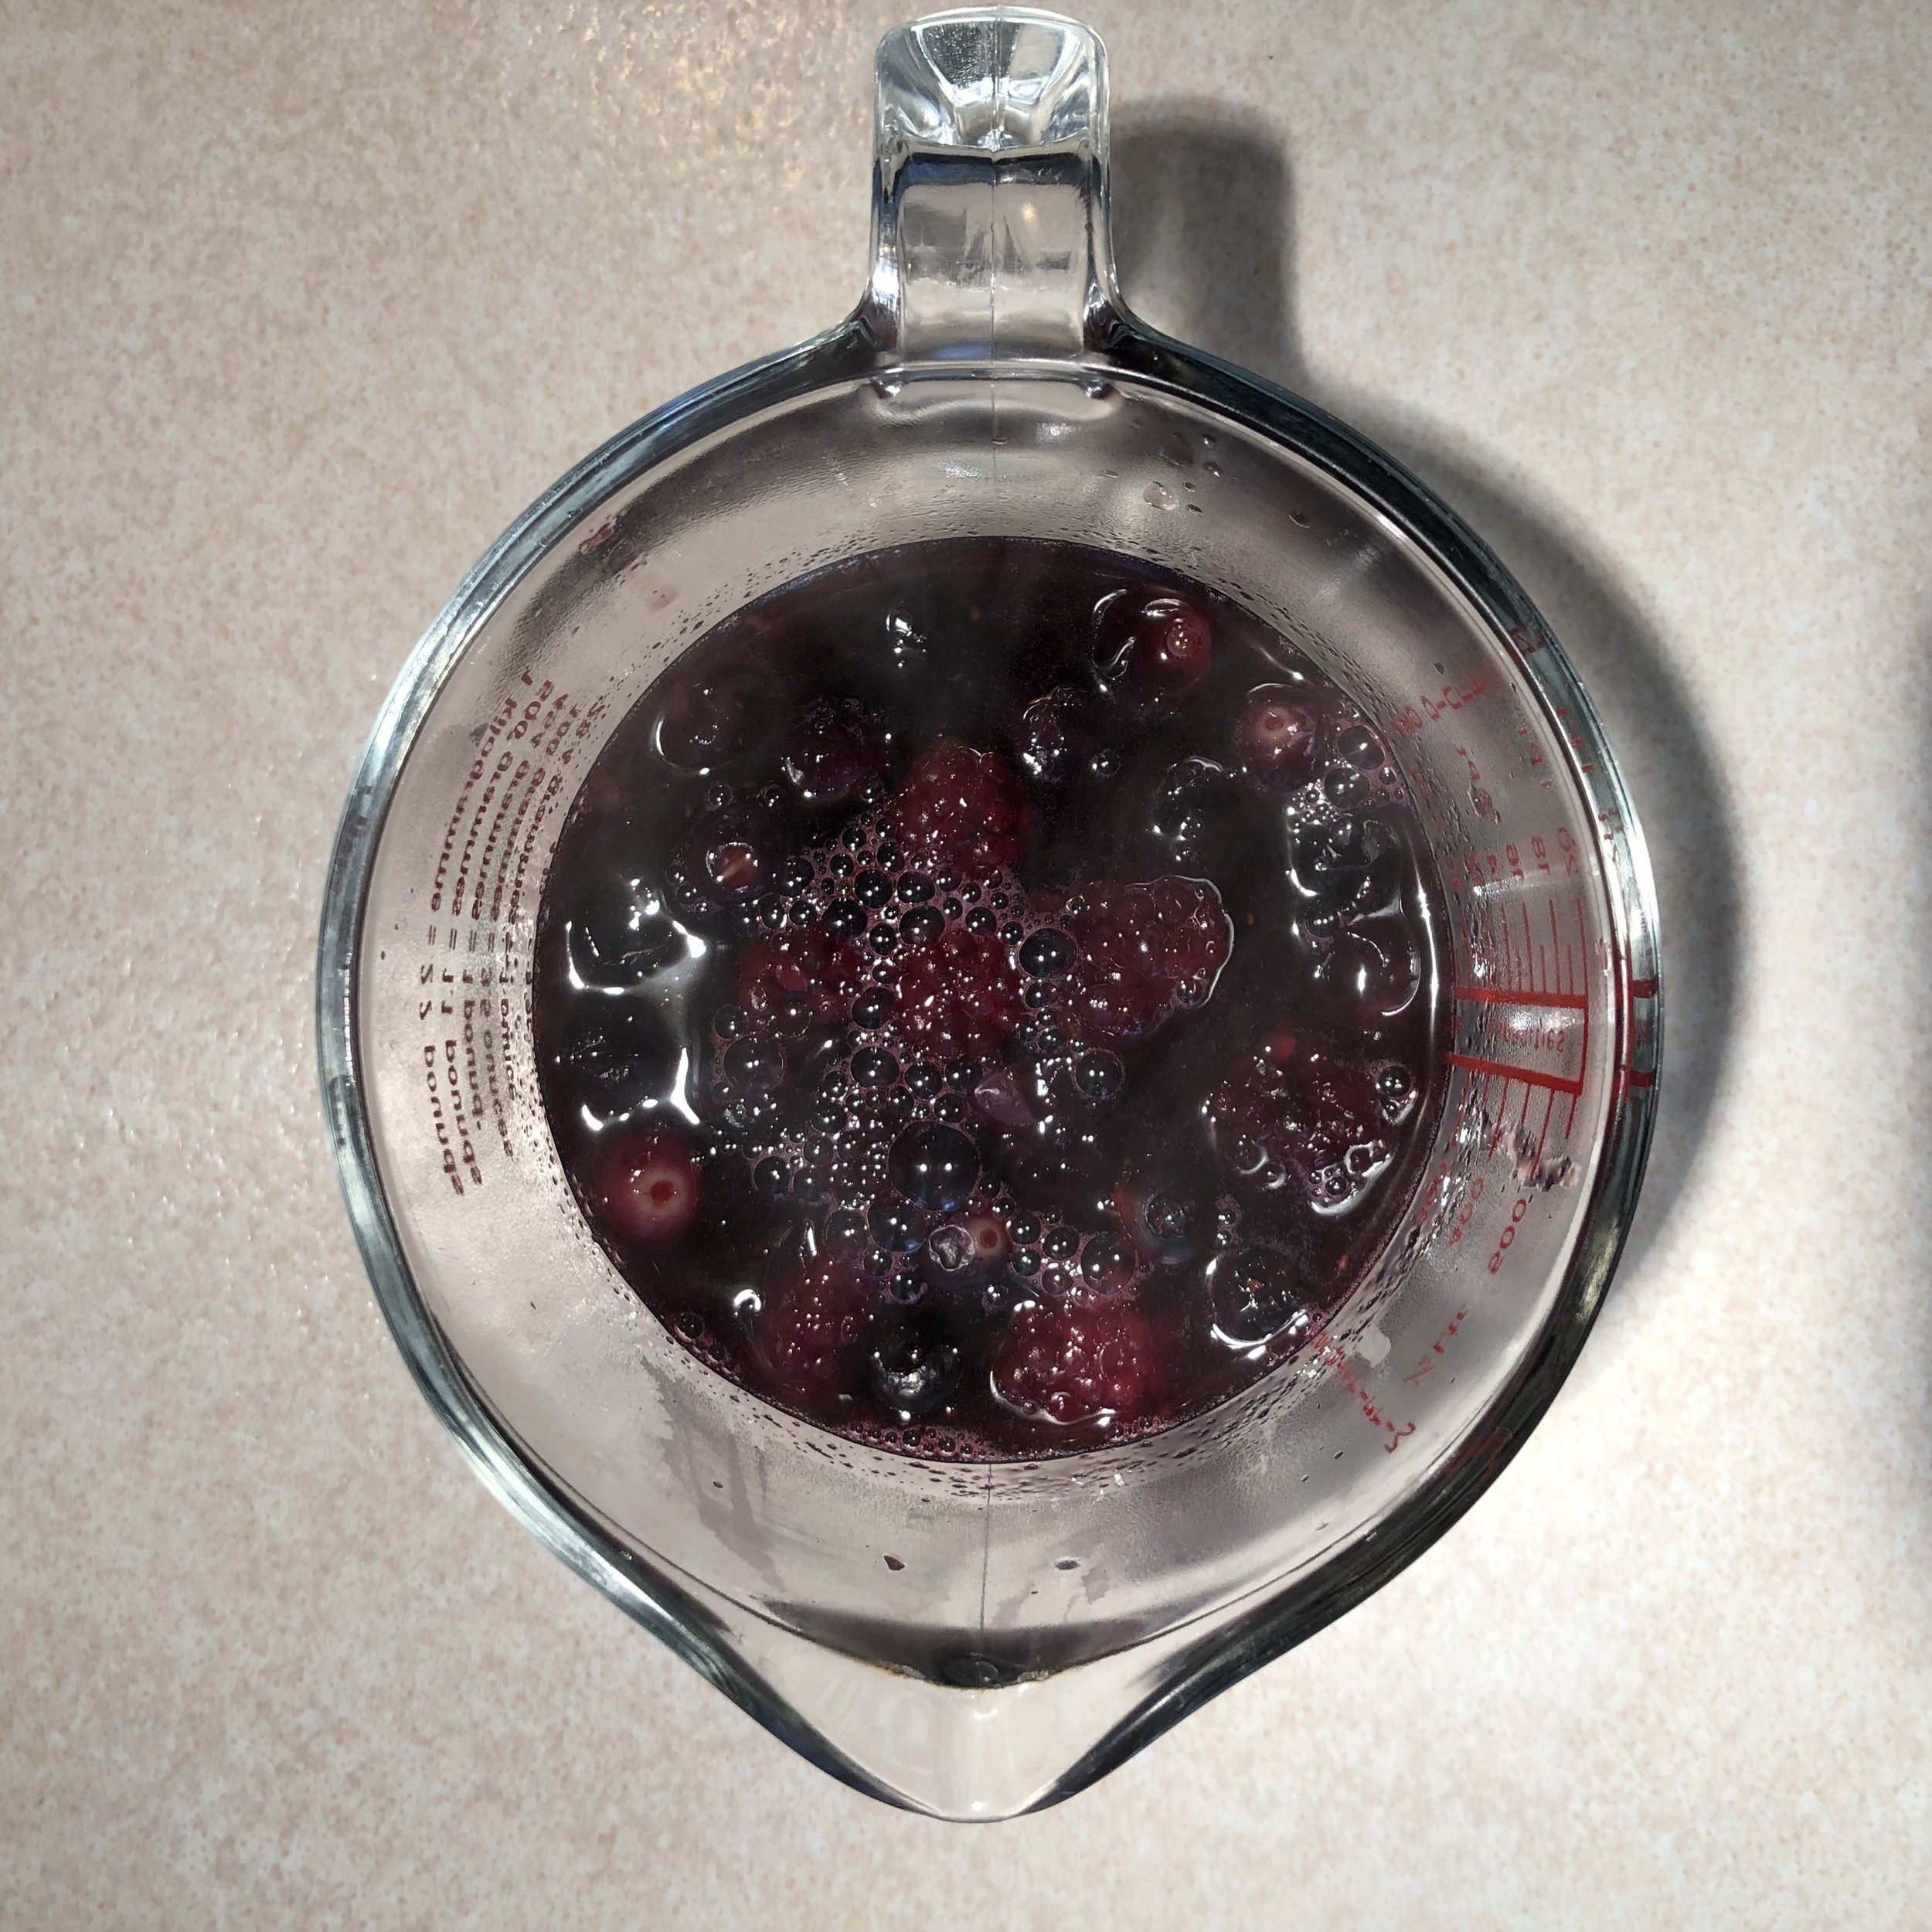
On my second attempt, I chilled a metal bowl to pour the hot liquid into, leaving it to cool to a safe temperature, and then put it in the fridge. At the same time, I put the cheesecake in the freezer for 30 mins.
Once you have successfully poured the cooled jelly on to the very cold cheesecake, put it back in the fridge for a couple of hours.
Step 5 - serving
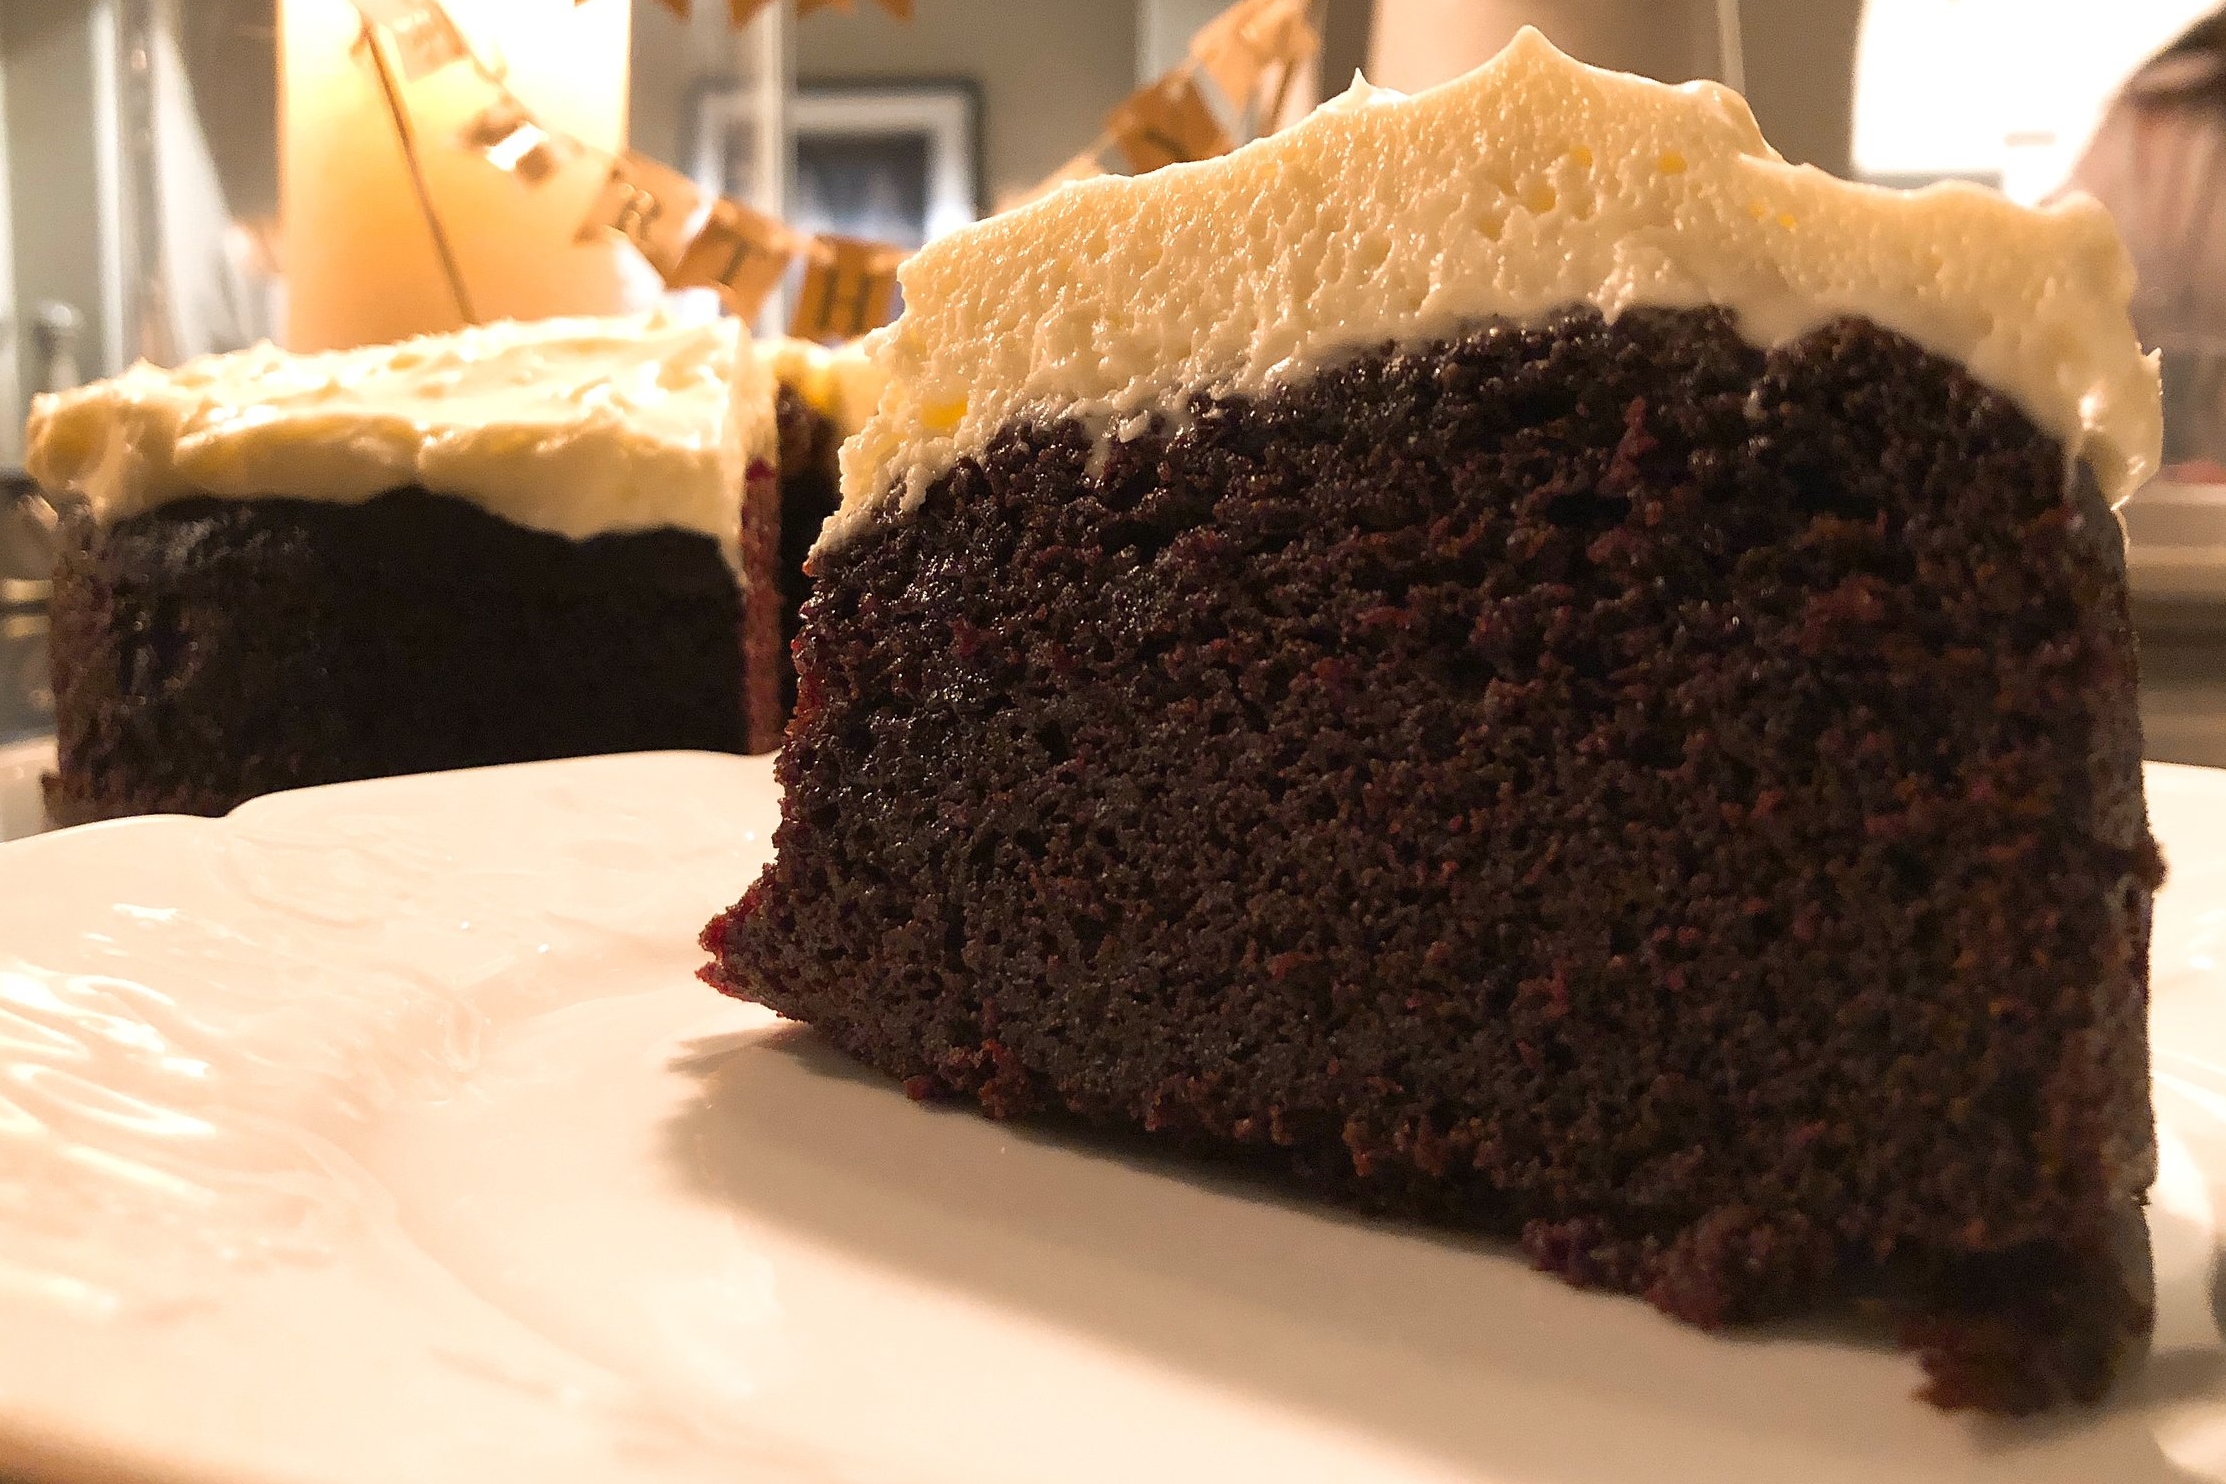
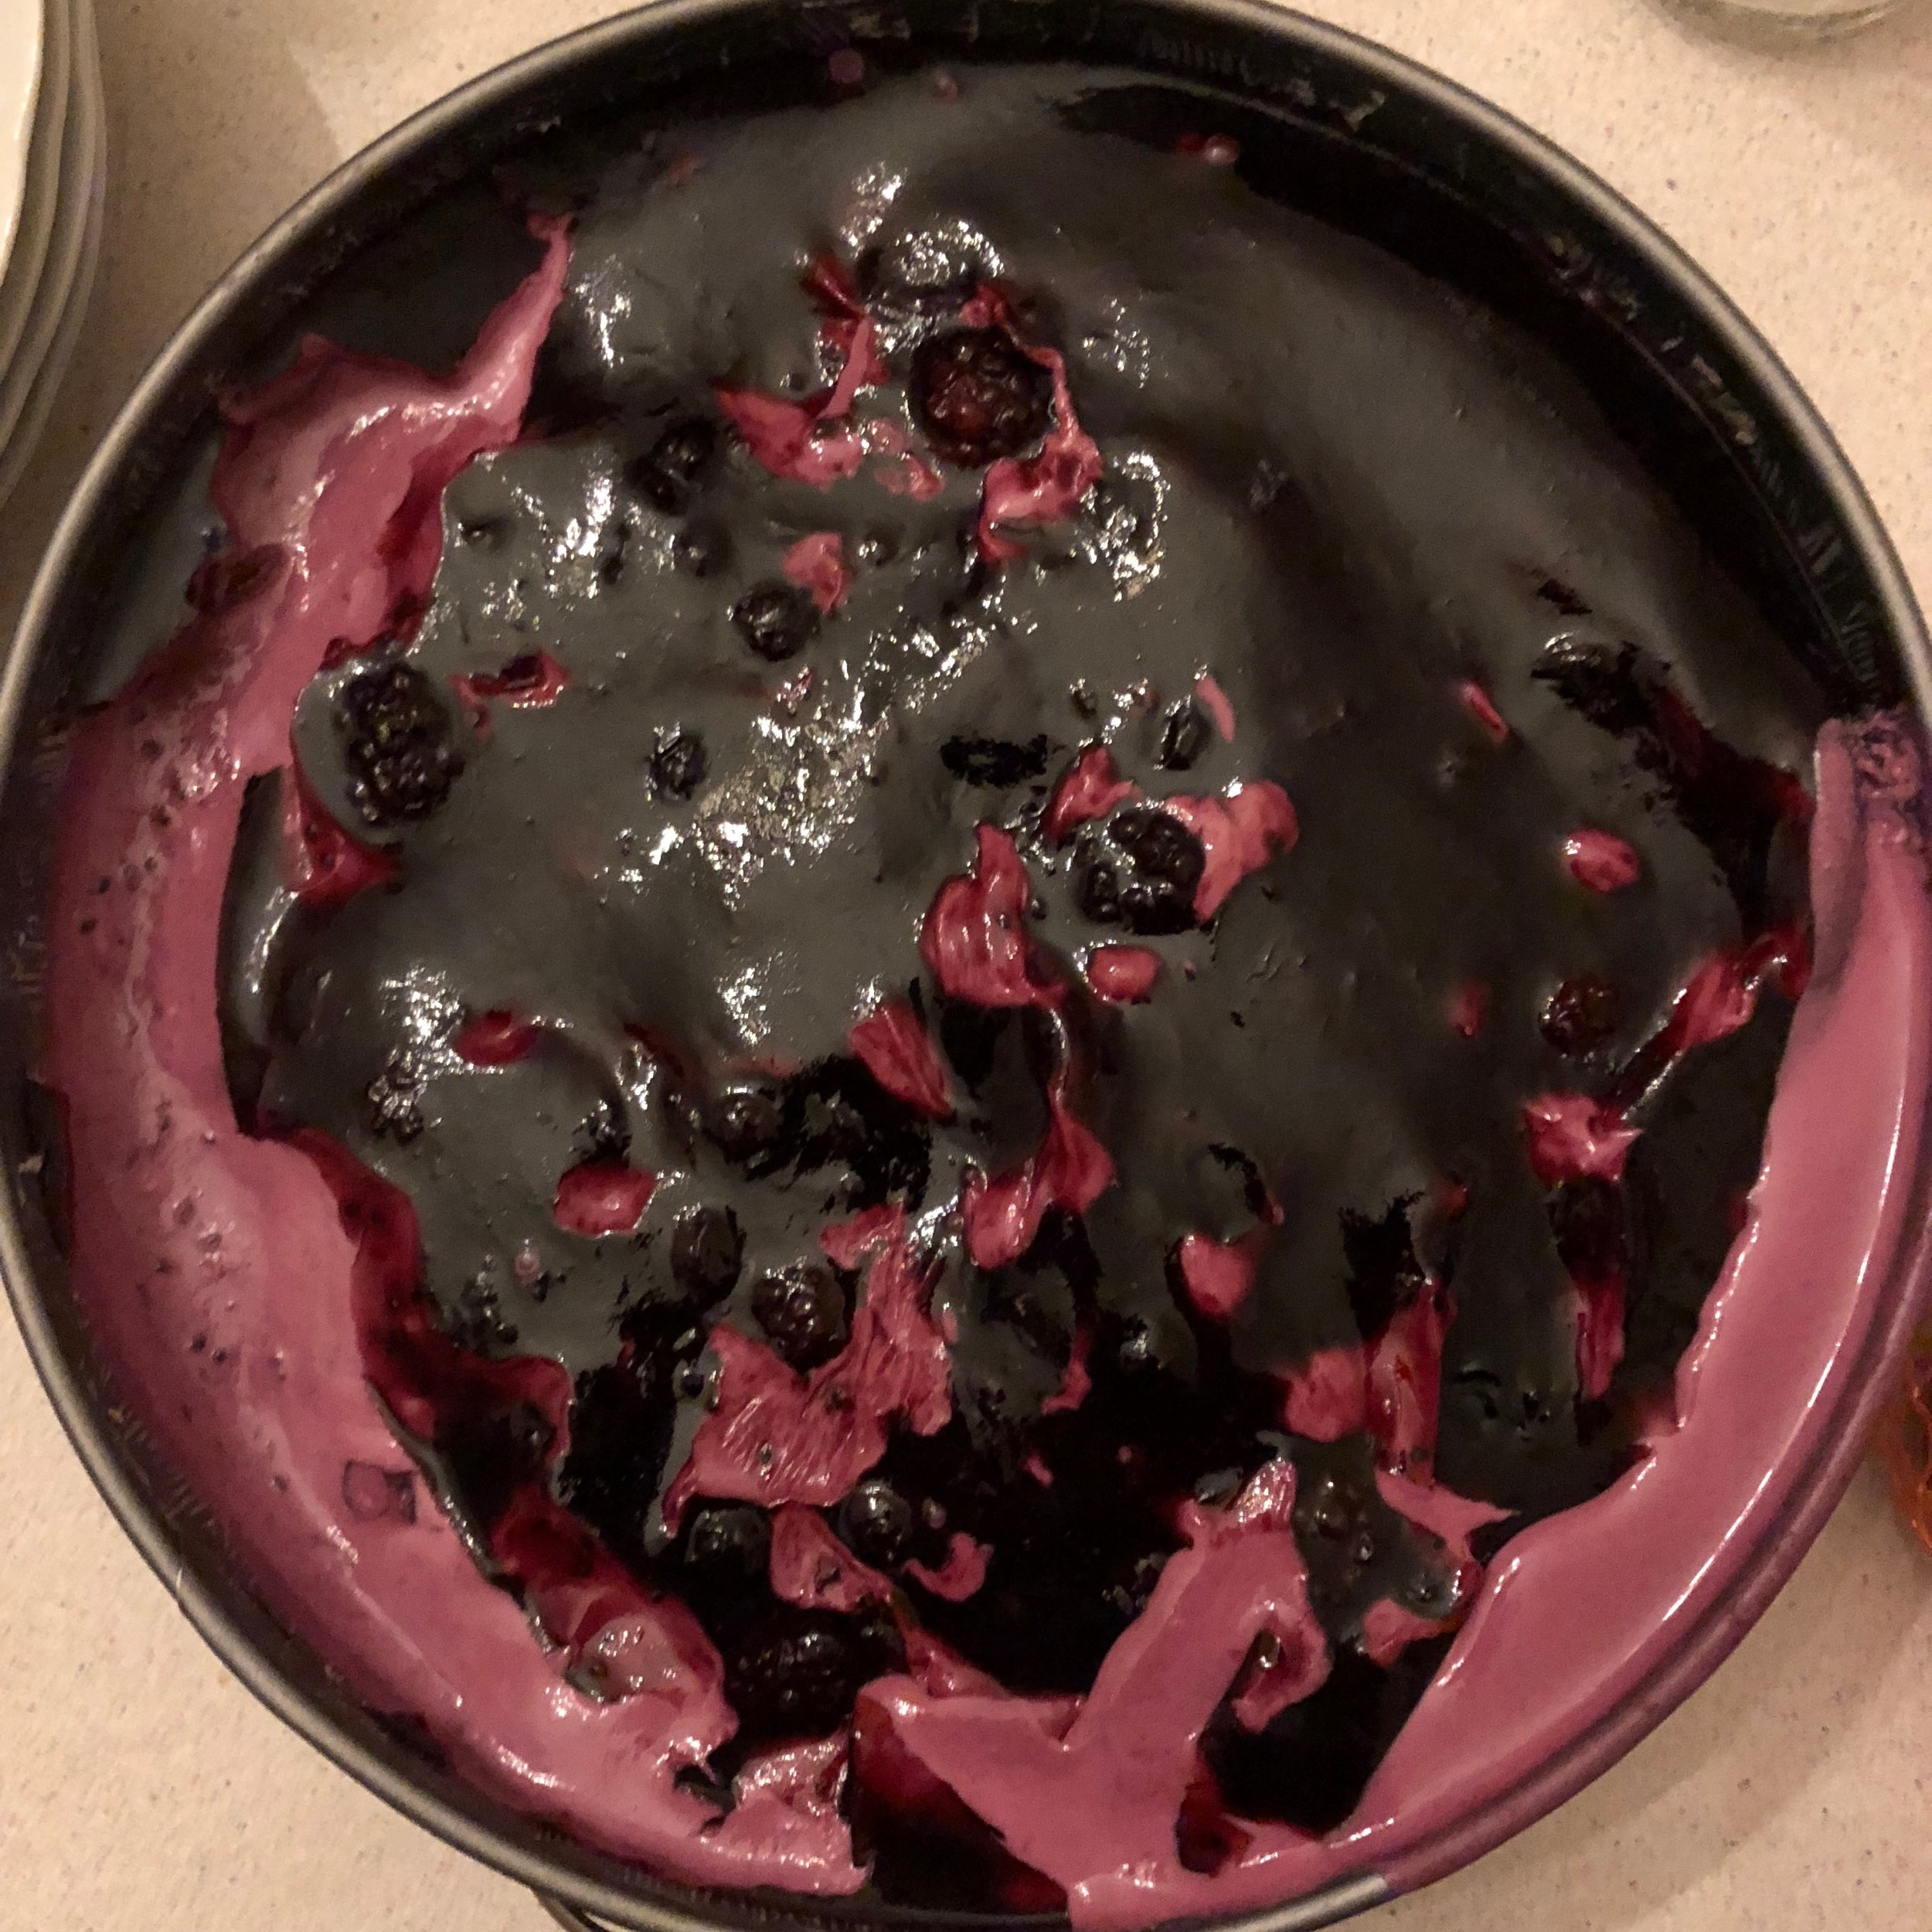
The pictures below are an indication of how my first trial turned out, it still tasted great though!


I attempted to use a whole jar of jam, so the top layer was very wet. The cheesecake only had a couple of hours in the fridge, and I rushed the jelly which caused the top layer to melt even more. The edge had no definition due to the tin not being lined.
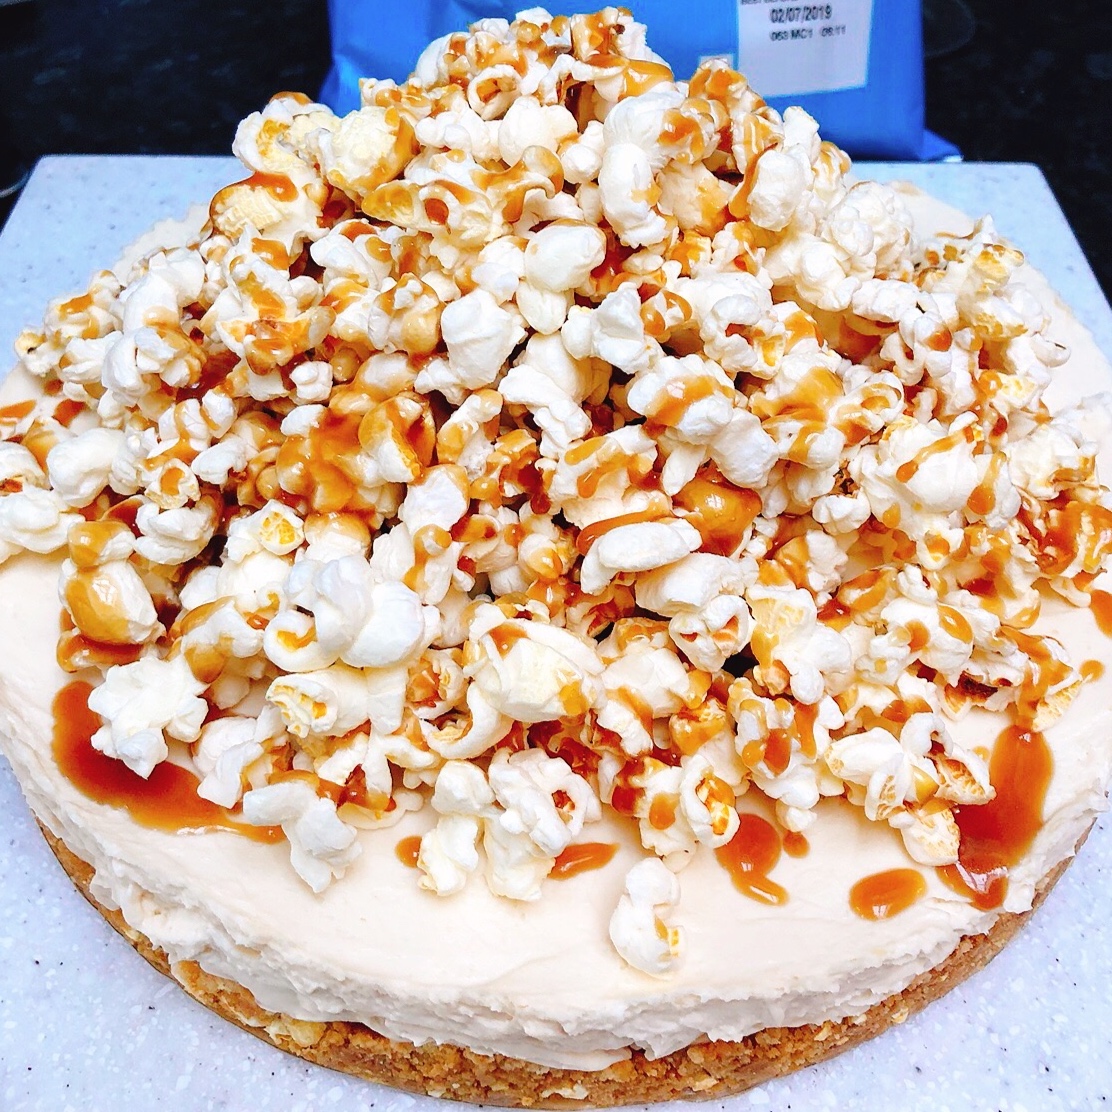
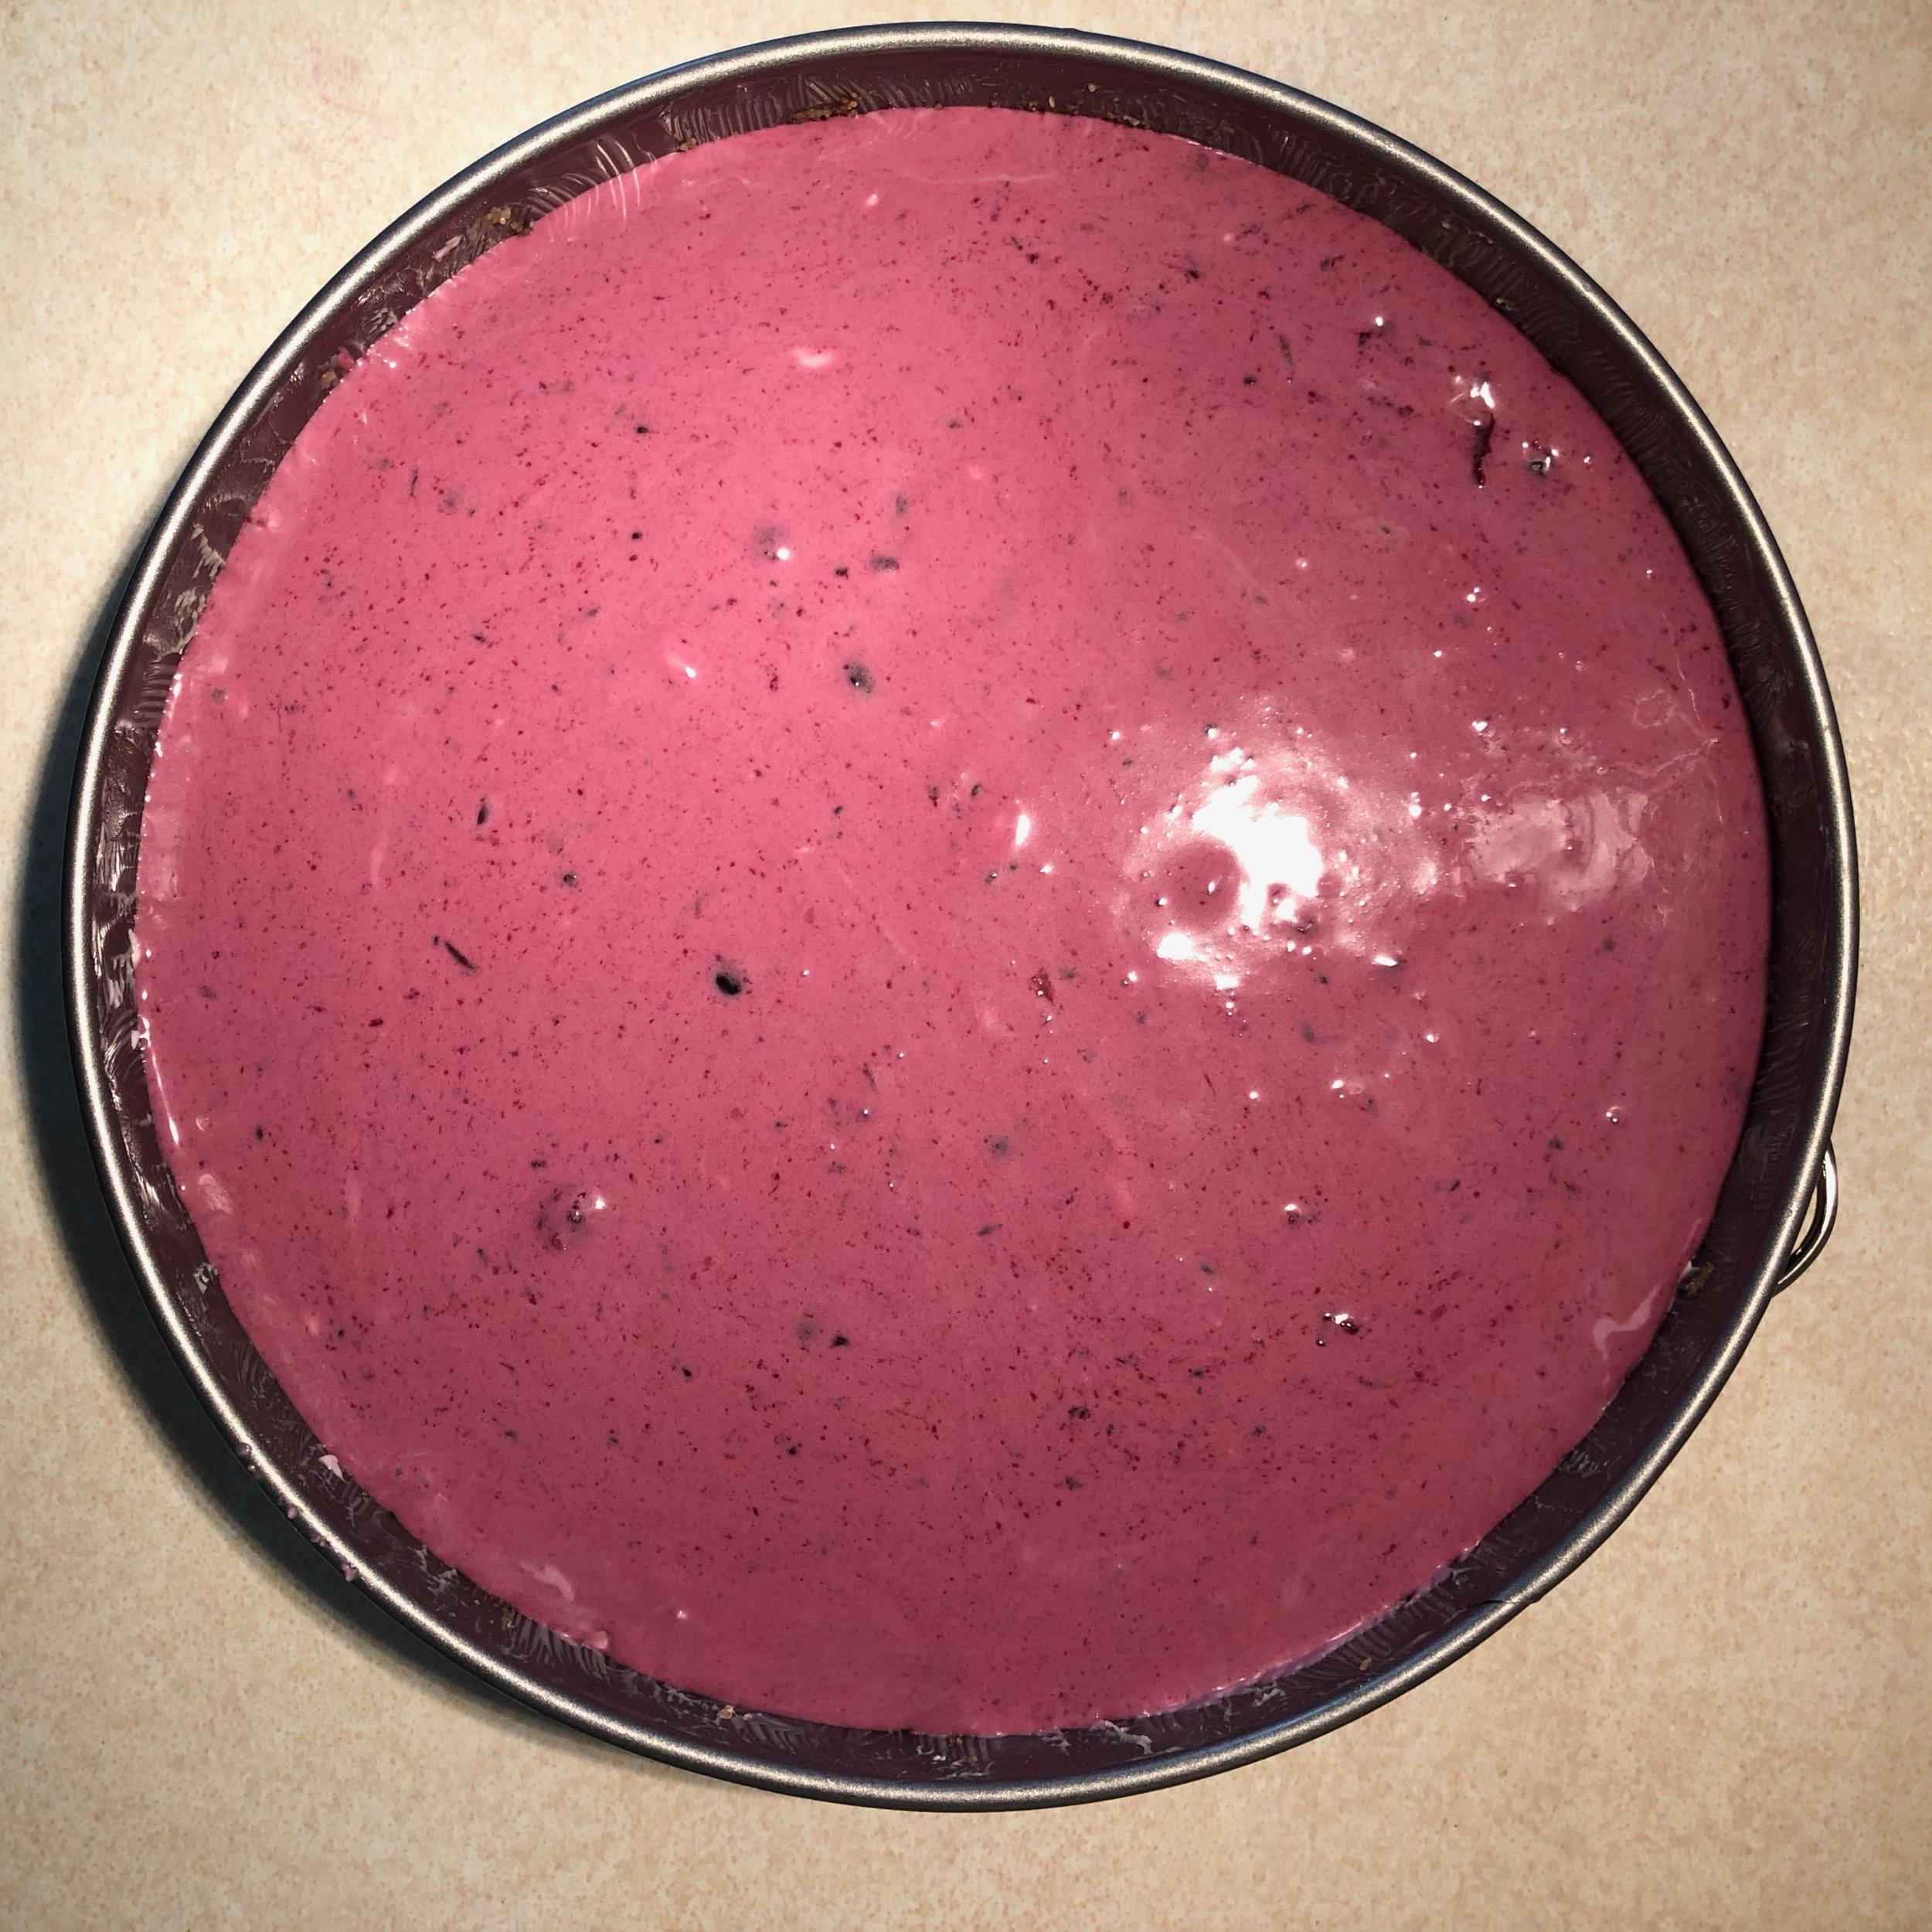
Attempt number two (below) - a smooth gradation of colour in the cheesecake, a shiny set jelly top, and a nice clean edge.

Let me know if you have any other tips on how to make this even better.