Barbecue and Lava Pizza

I love love love pizza. Love making it, love eating it.
I've got a few pizza dough recipes up my sleeve, some of which I'll save for another day.
This is more of an article about a cooking experiment with a barbecue and lava than a recipe.
Its a follow on from my dutch oven bread article in which I made extra dough after the main loaf to play around with. Rather than make 2 loaves, I split it into 4 pieces, put in sealed tubs and threw them in the fridge.
It was at least 4 days since making the bread to pulling it out the fridge to make pizza.
So with my dough removed from the fridge to warm up, I set to work trying something a little different.
Step 1 - Setup the Barbecue
Instead of using the oven with a pizza crisper (which works very well too and is much simpler) I thought I'd go outdoors and make fire. I knew that I could get my barbecue up to about 280C so I wanted to make sure that I had a good supply of heat underneath but still not direct from the fire, even with a pizza stone. Enter the lava rocks.
These had been kicking around my garden for around ten years unopened. I filled the two holders usually used for holding hot coals, with the lava rocks, put these in the centre ready for my pizza stone to sit on.
Heat up the charcoal in a kettle
Fill up the charcoal holders with lava rocks and place at the centre
Open up the vents on the barbecue to get maximum burn
When the charcoal is red hot, pour in around the edges, add some more on top
Cover and give 40 minutes for it all to take
Finally add the pizza stone on top of the lava rock and cover again
Whilst this continuing to get hot, it’s time to prep the pizza

Step 2 - Your Pizza
On a chopping board or pizza peel, cover with fine semolina. This helps prevent sticking and also gives a great chewy coating and taste to the pizza
Tip out the dough and give it a top coating of semolina
Work it by hand into a rough pizza shape, being careful not to make it too thin
Tip : Make sure there are not too many bubbles otherwise the pizza ends up pretty thick. Keep these on the very edge for the crustAdd your favourite base and topping and it’s ready to rock
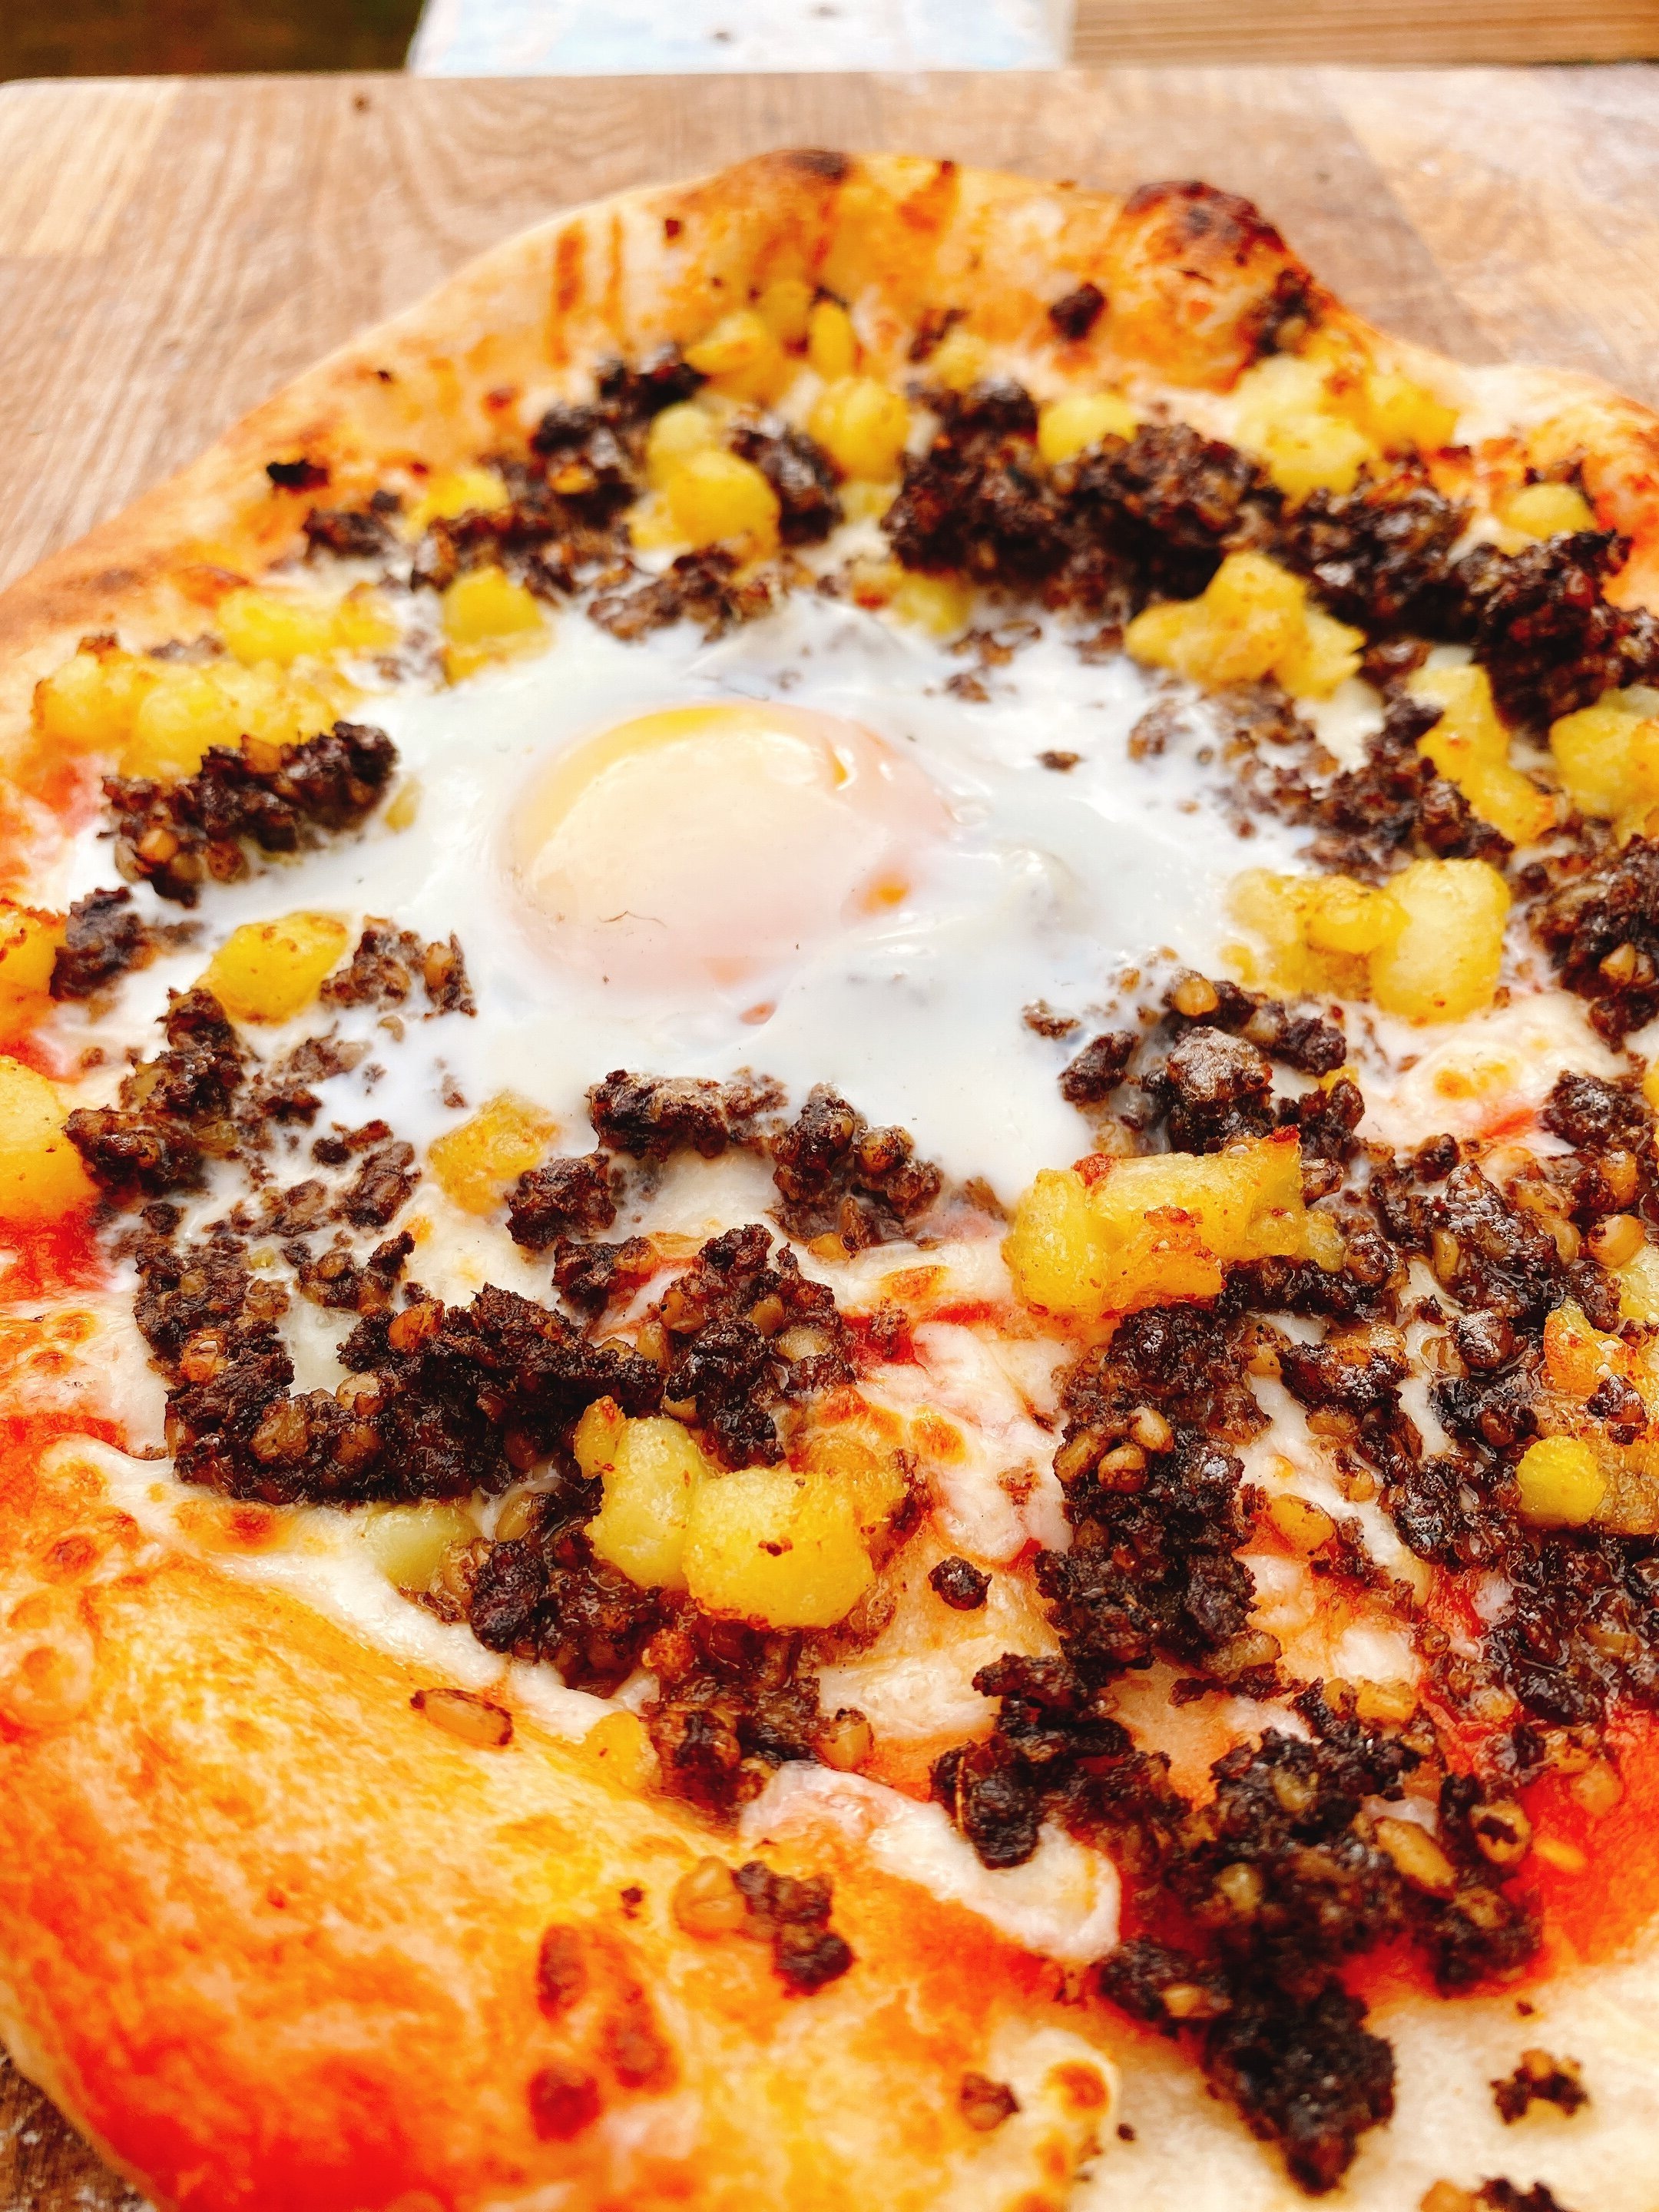
The pizzas were for the kids so it was straight up margherita but this was a technique experiment rather than a topping exploration. Adding a quick spoonful of sauce and spreading it around almost to the edges followed by some grated mozzarella, topped with a few basil leaves and it was ready to go
TIP: Quick recipe for pizza sauce: Blend a decent tin of whole plum tomatoes, a glug of extra virgin olive oil, salt and pepper and a good pinch of dried greek oregano
Step 3 - Cook
Check your temperature. Anything above 250C will do
Slide the pizza onto the pizza stone and cover
Cook for around 5-6 minutes, just as bits start to char.
The thinner your dough and the hotter your barbecue, the quicker it will cook


Results
So, any good experiment you should show your results, pass or fail.
Did it taste good?
Yes, it was a definite pass. Luckily the children weren't mega hungry so I stole more than the customary slice.Can you use over proofed dough and not throw it in the bin?
Using over proofed dough that's been sat in the fridge a few days works well enough for a good pizzaCan you cook a pizza using lava and a barbecue?
YesWhat would I change next time?
I will be investing in a pizza peel, any excuse to add the the arsenal.
I will also be getting some solid chunks of cooking wood to add on top of the coals