Honeycomb
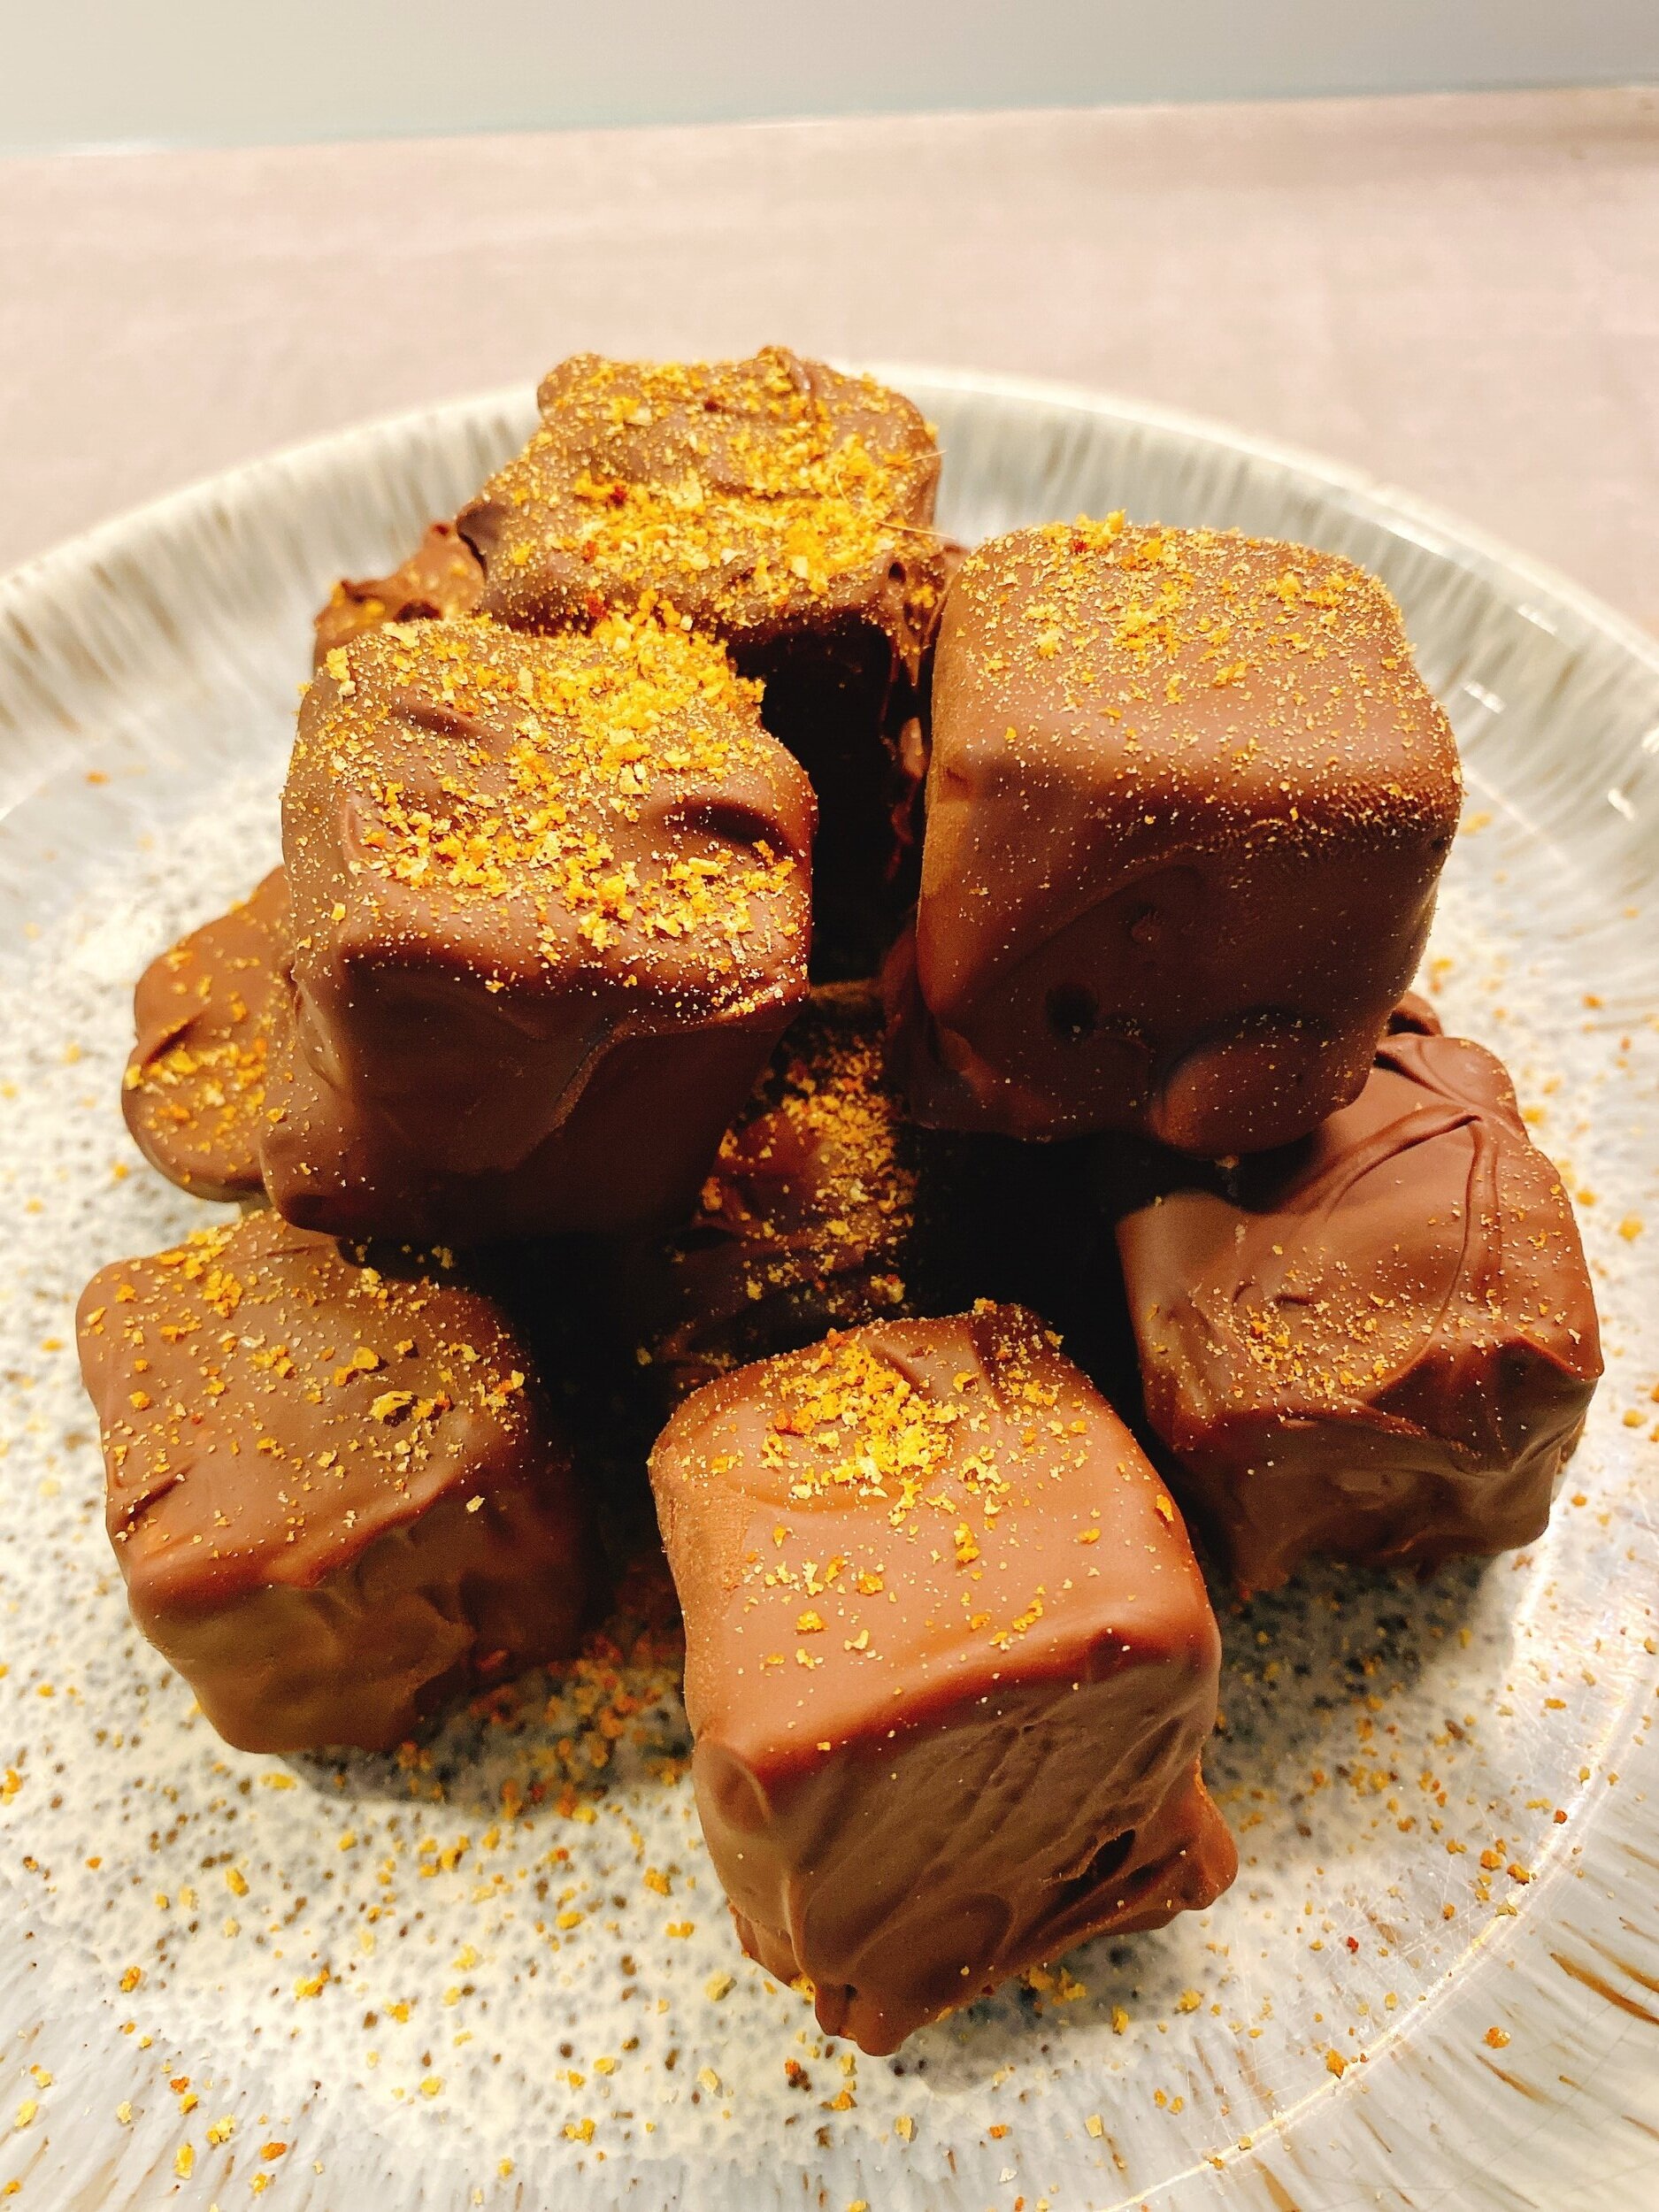
Honeycomb takes me back to childhood trips to the seaside, grabbing a bag of this super sweet treat to devour on the way home. It also is at the centre of one of my favourites, the Crunchie.
One essential bit of kit for this is a decent thermometer to measure the temperature of your sugar. Not hot enough and you won’t get the bubbles, too hot and it will quickly burn.
My first batch wasn’t quite hot enough, and I rushed it into the mould but nailed it the second time, with the right colour, consistency and crunch.
One word of warning, this stuff’s hot so be careful, also it dries rock hard, but a pro cleaning tip is to put some hot water into the pan, stick a lid on and steam it for a bit, then it comes right off.
Step 1 - Measure and prep
Line a cake tin or pan with some greaseproof paper. Make sure it’s metal otherwise when you pour the hot sugar in, it can crack glass or ceramic dishes.
In a large saucepan add the sugar, syrup and water.
Measure out the bicarb into a pot ready for the right moment.
Step 2 - Heat the sugar
Over high heat, melt the sugar with the thermometer in it, stirring to get it all mixed.
When it starts to get close to 150C keep a close eye on it.
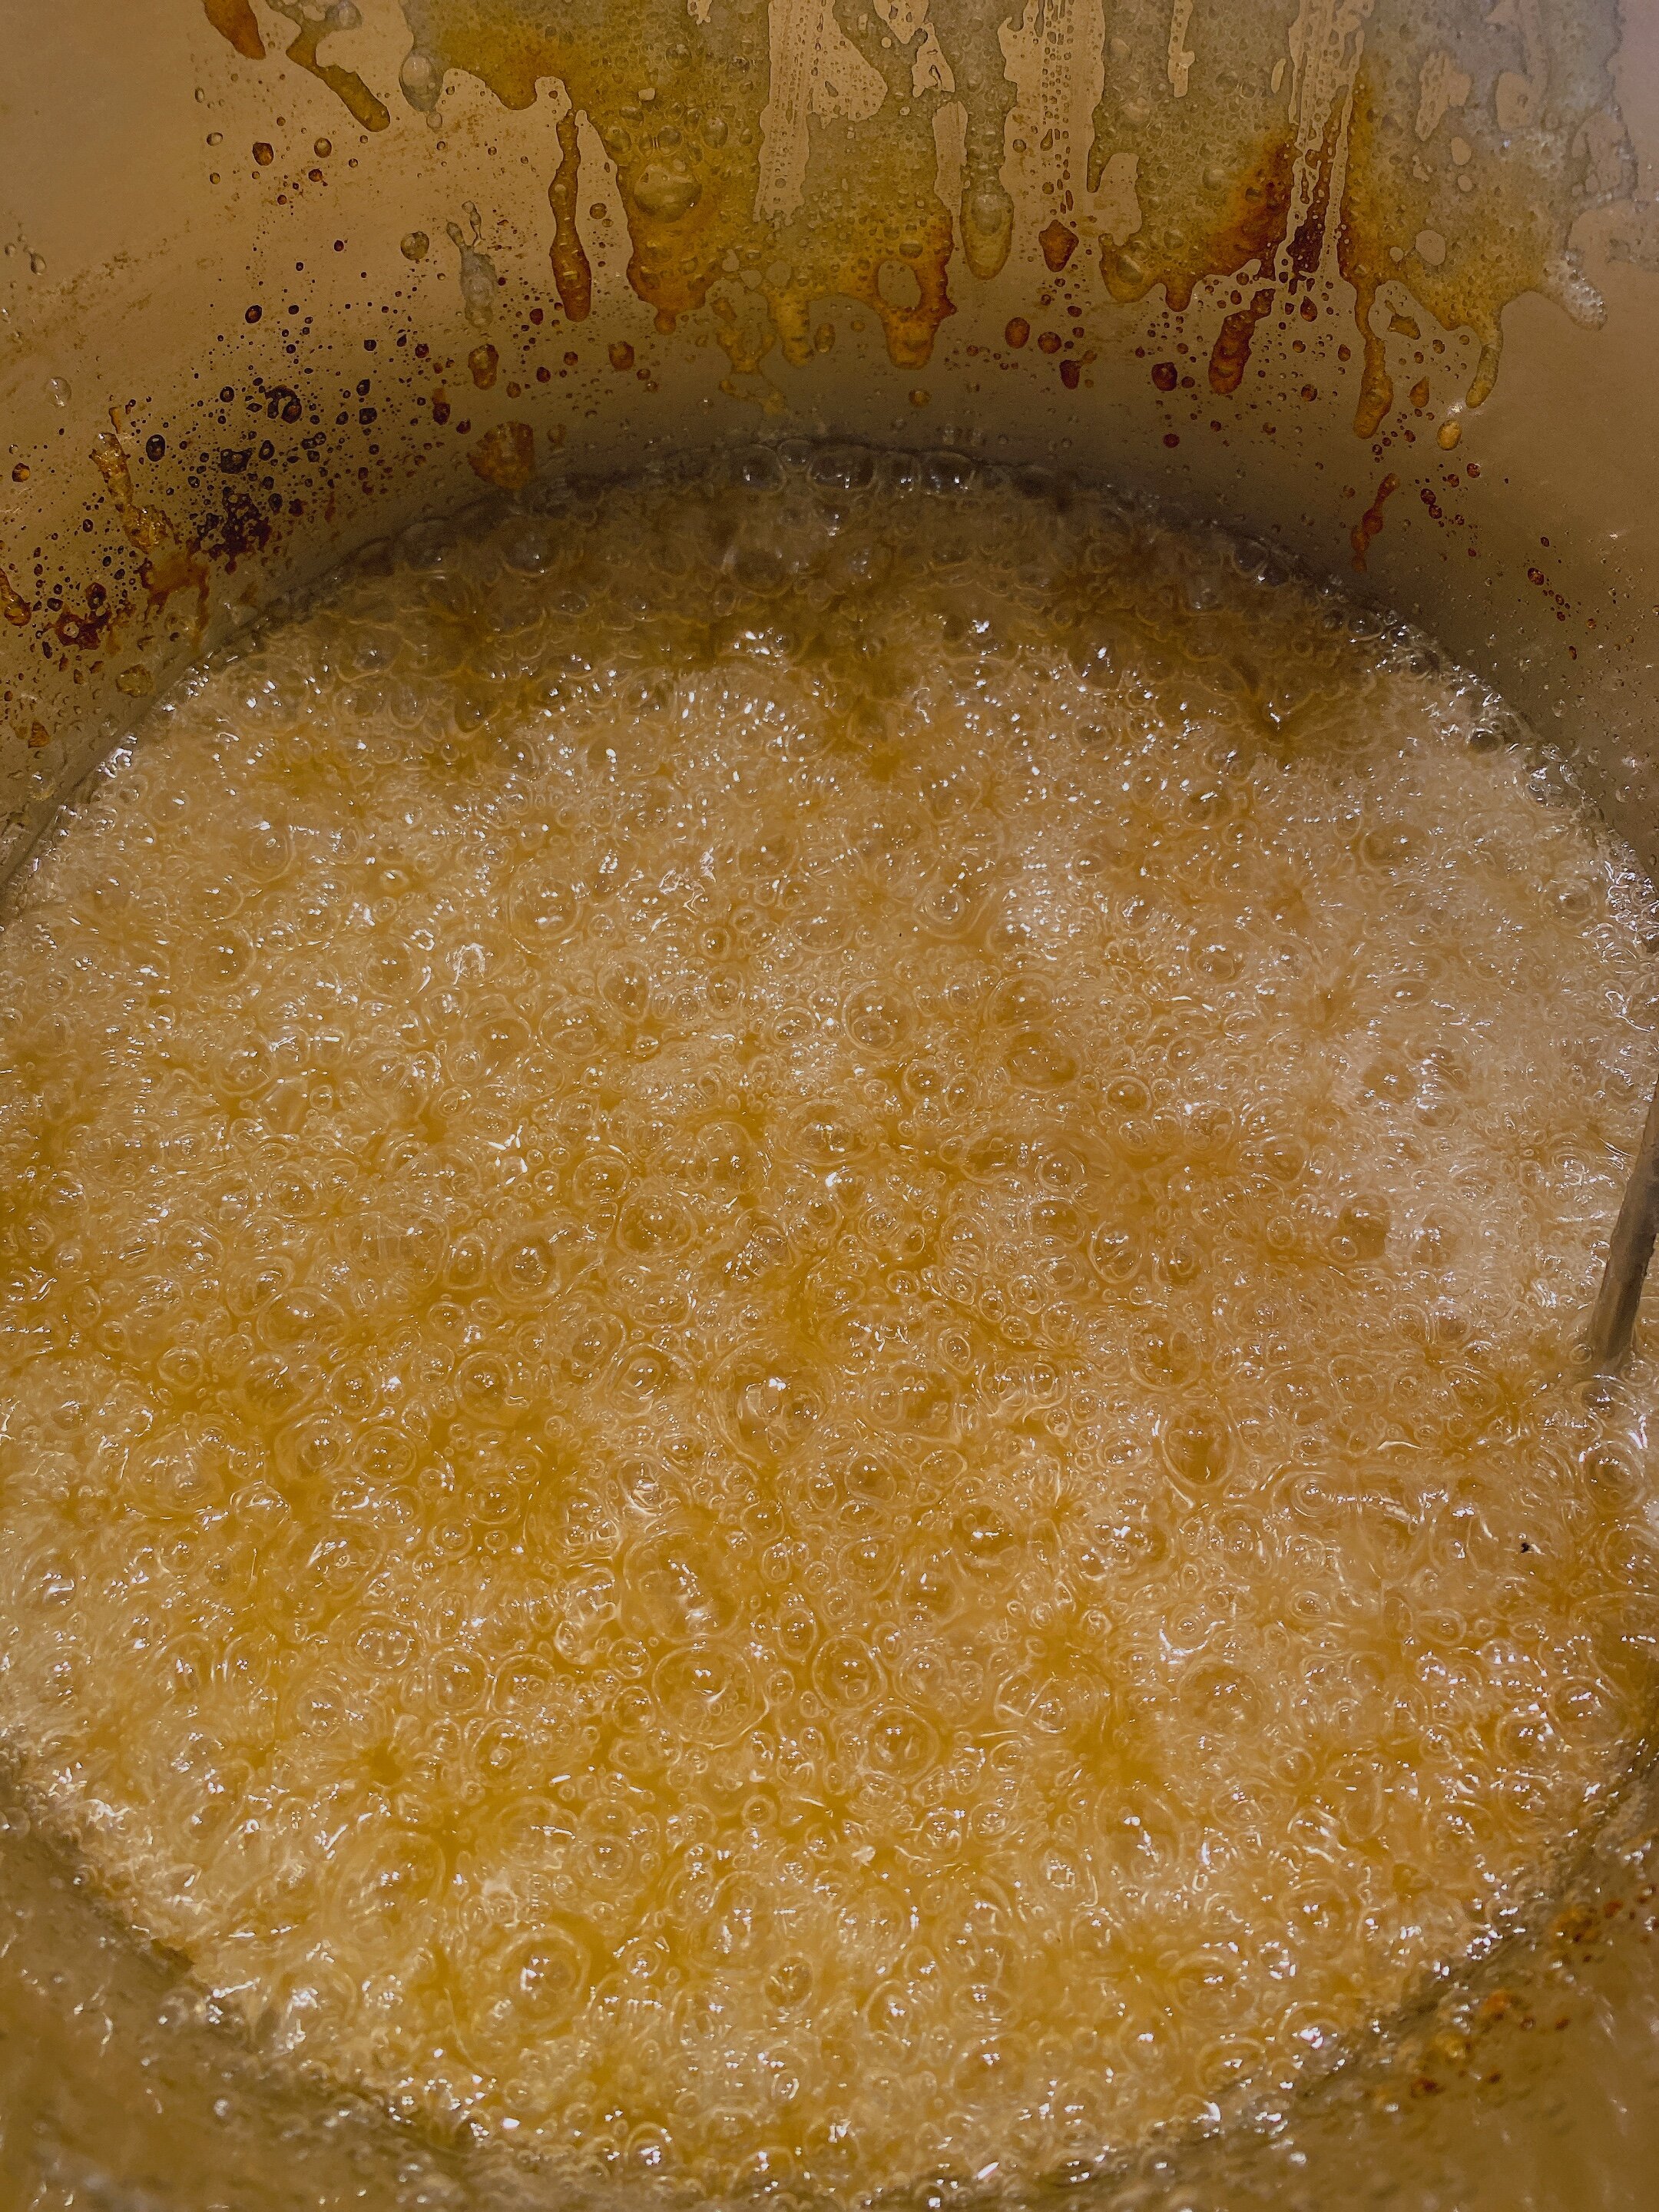
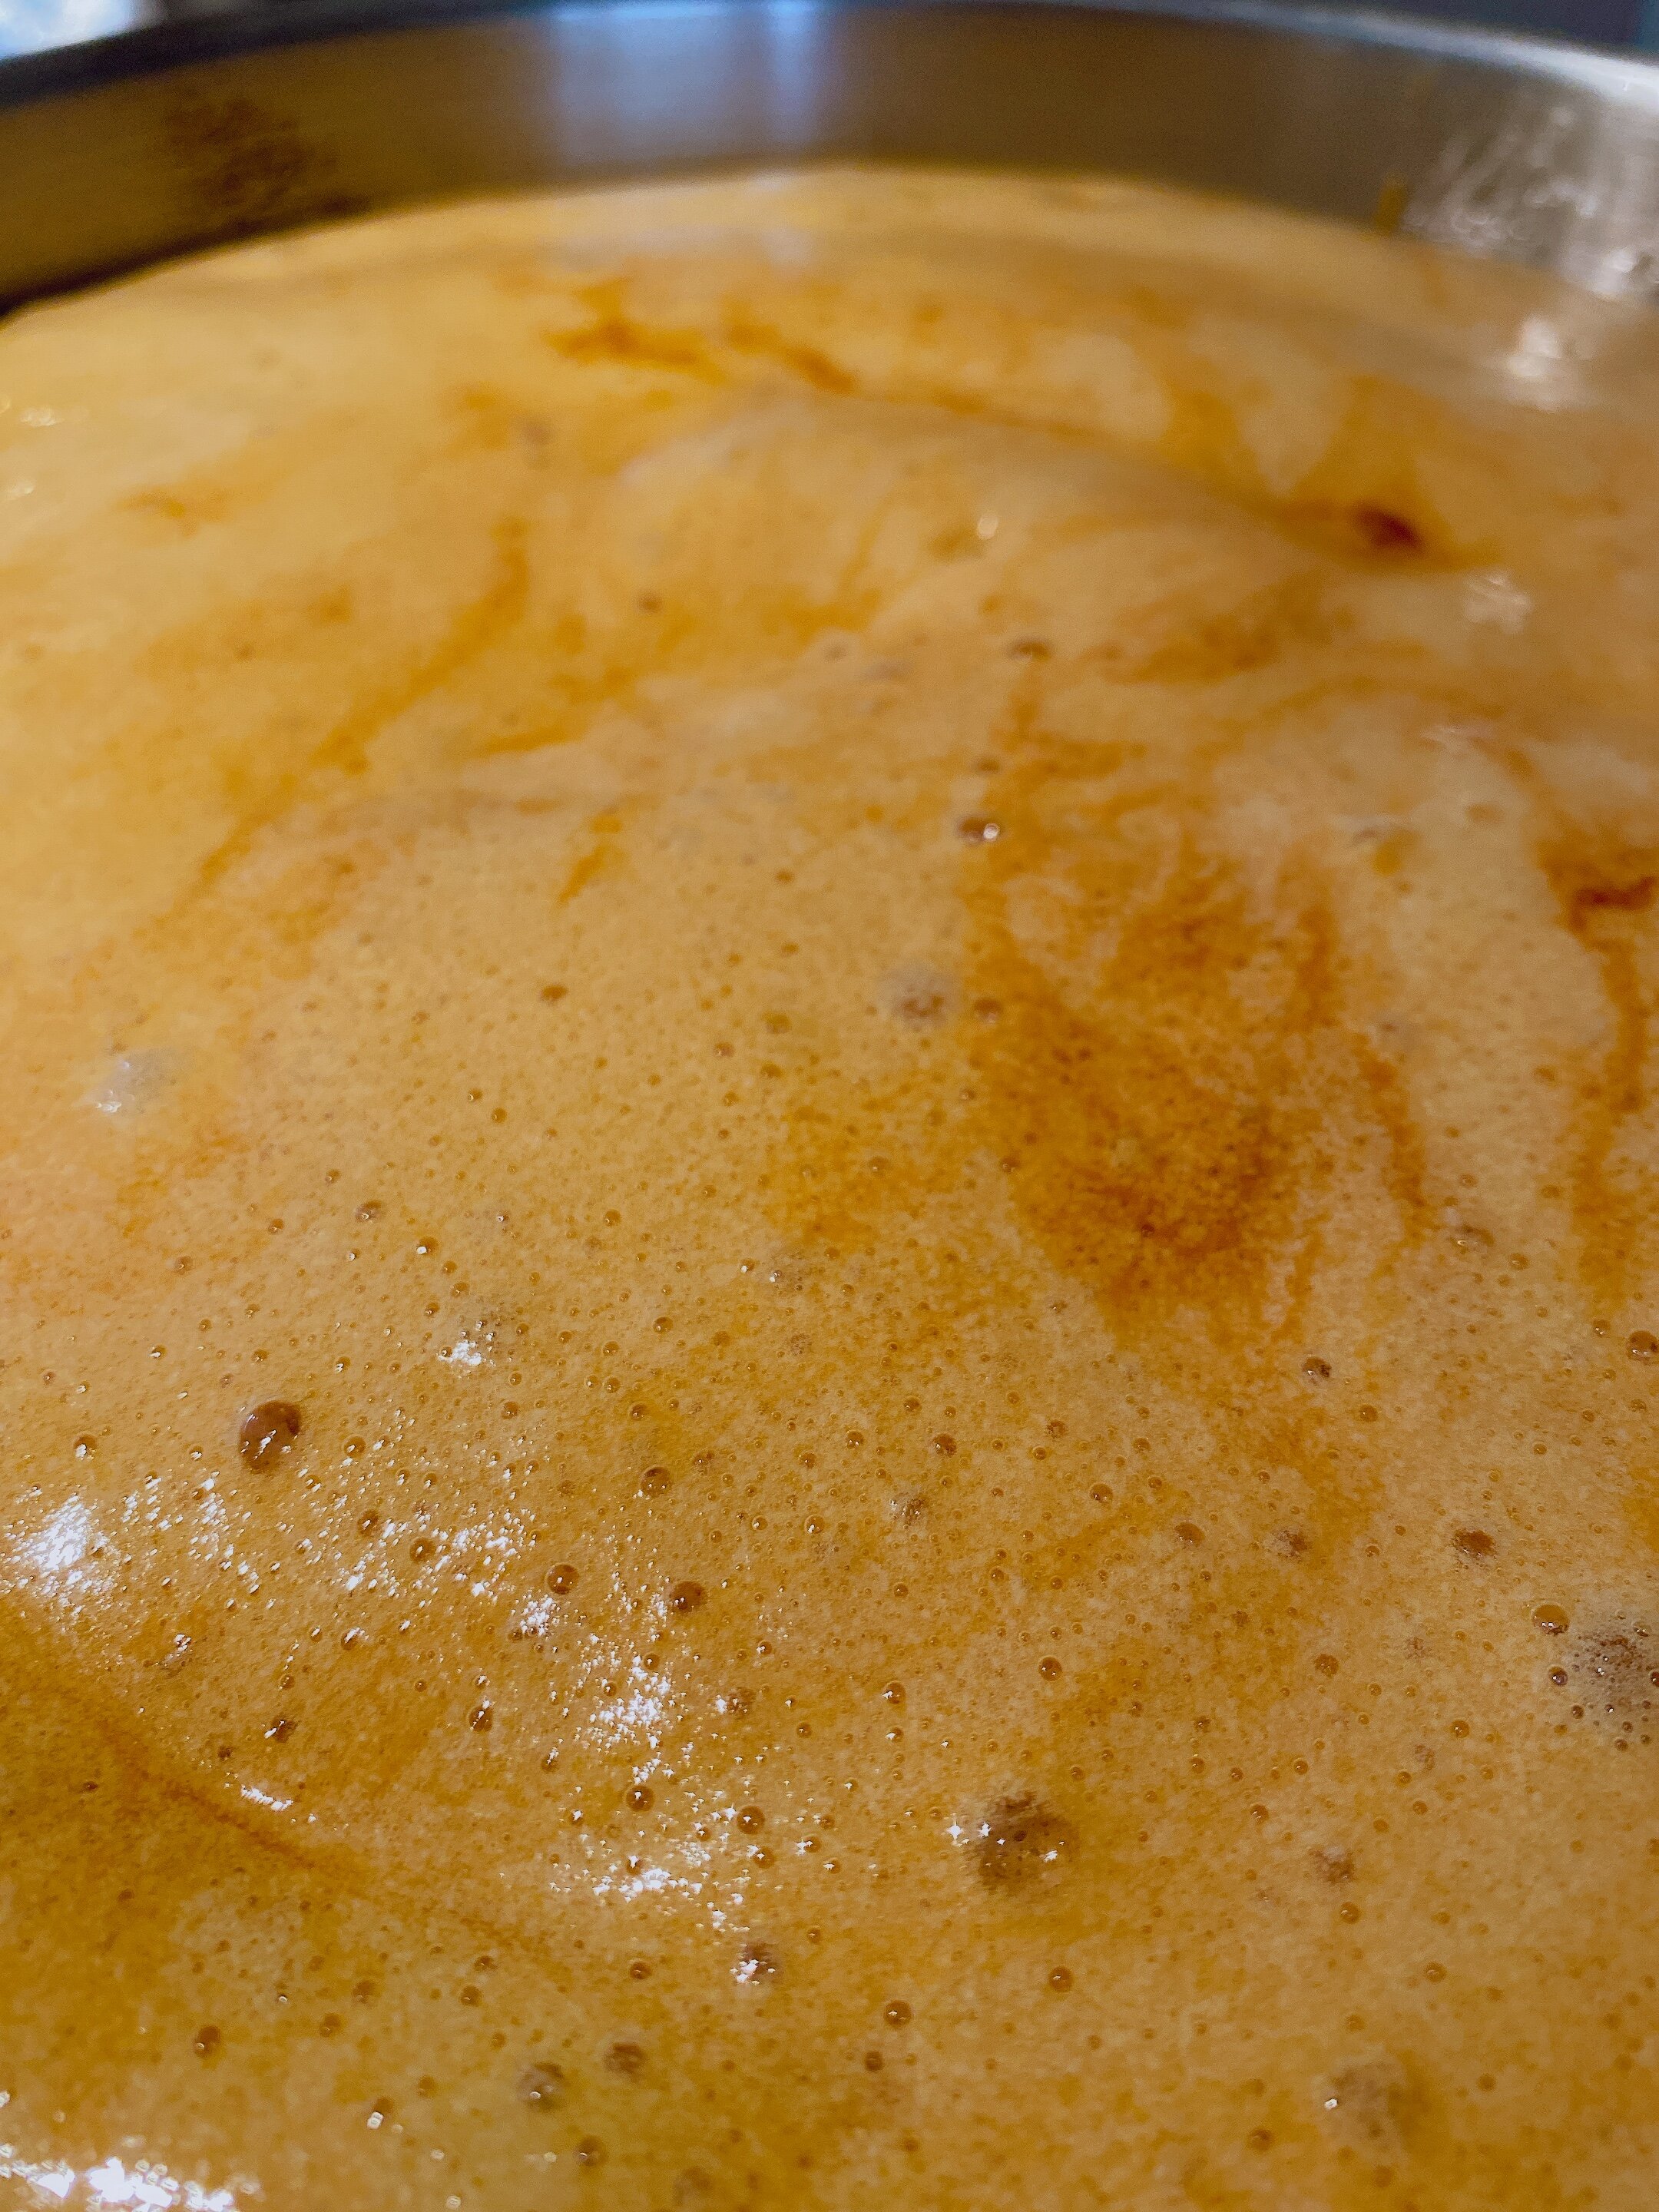
At 150C it will start to bubble and change colour, at this point, add the bicarb and continuously stir. The mix will begin to bubble up and continue to darken.
Once it just starts to show signs of a golden colour, carefully pour it into you the mould. Be careful; this stuff is like napalm.
Leave for an hour to cool down.
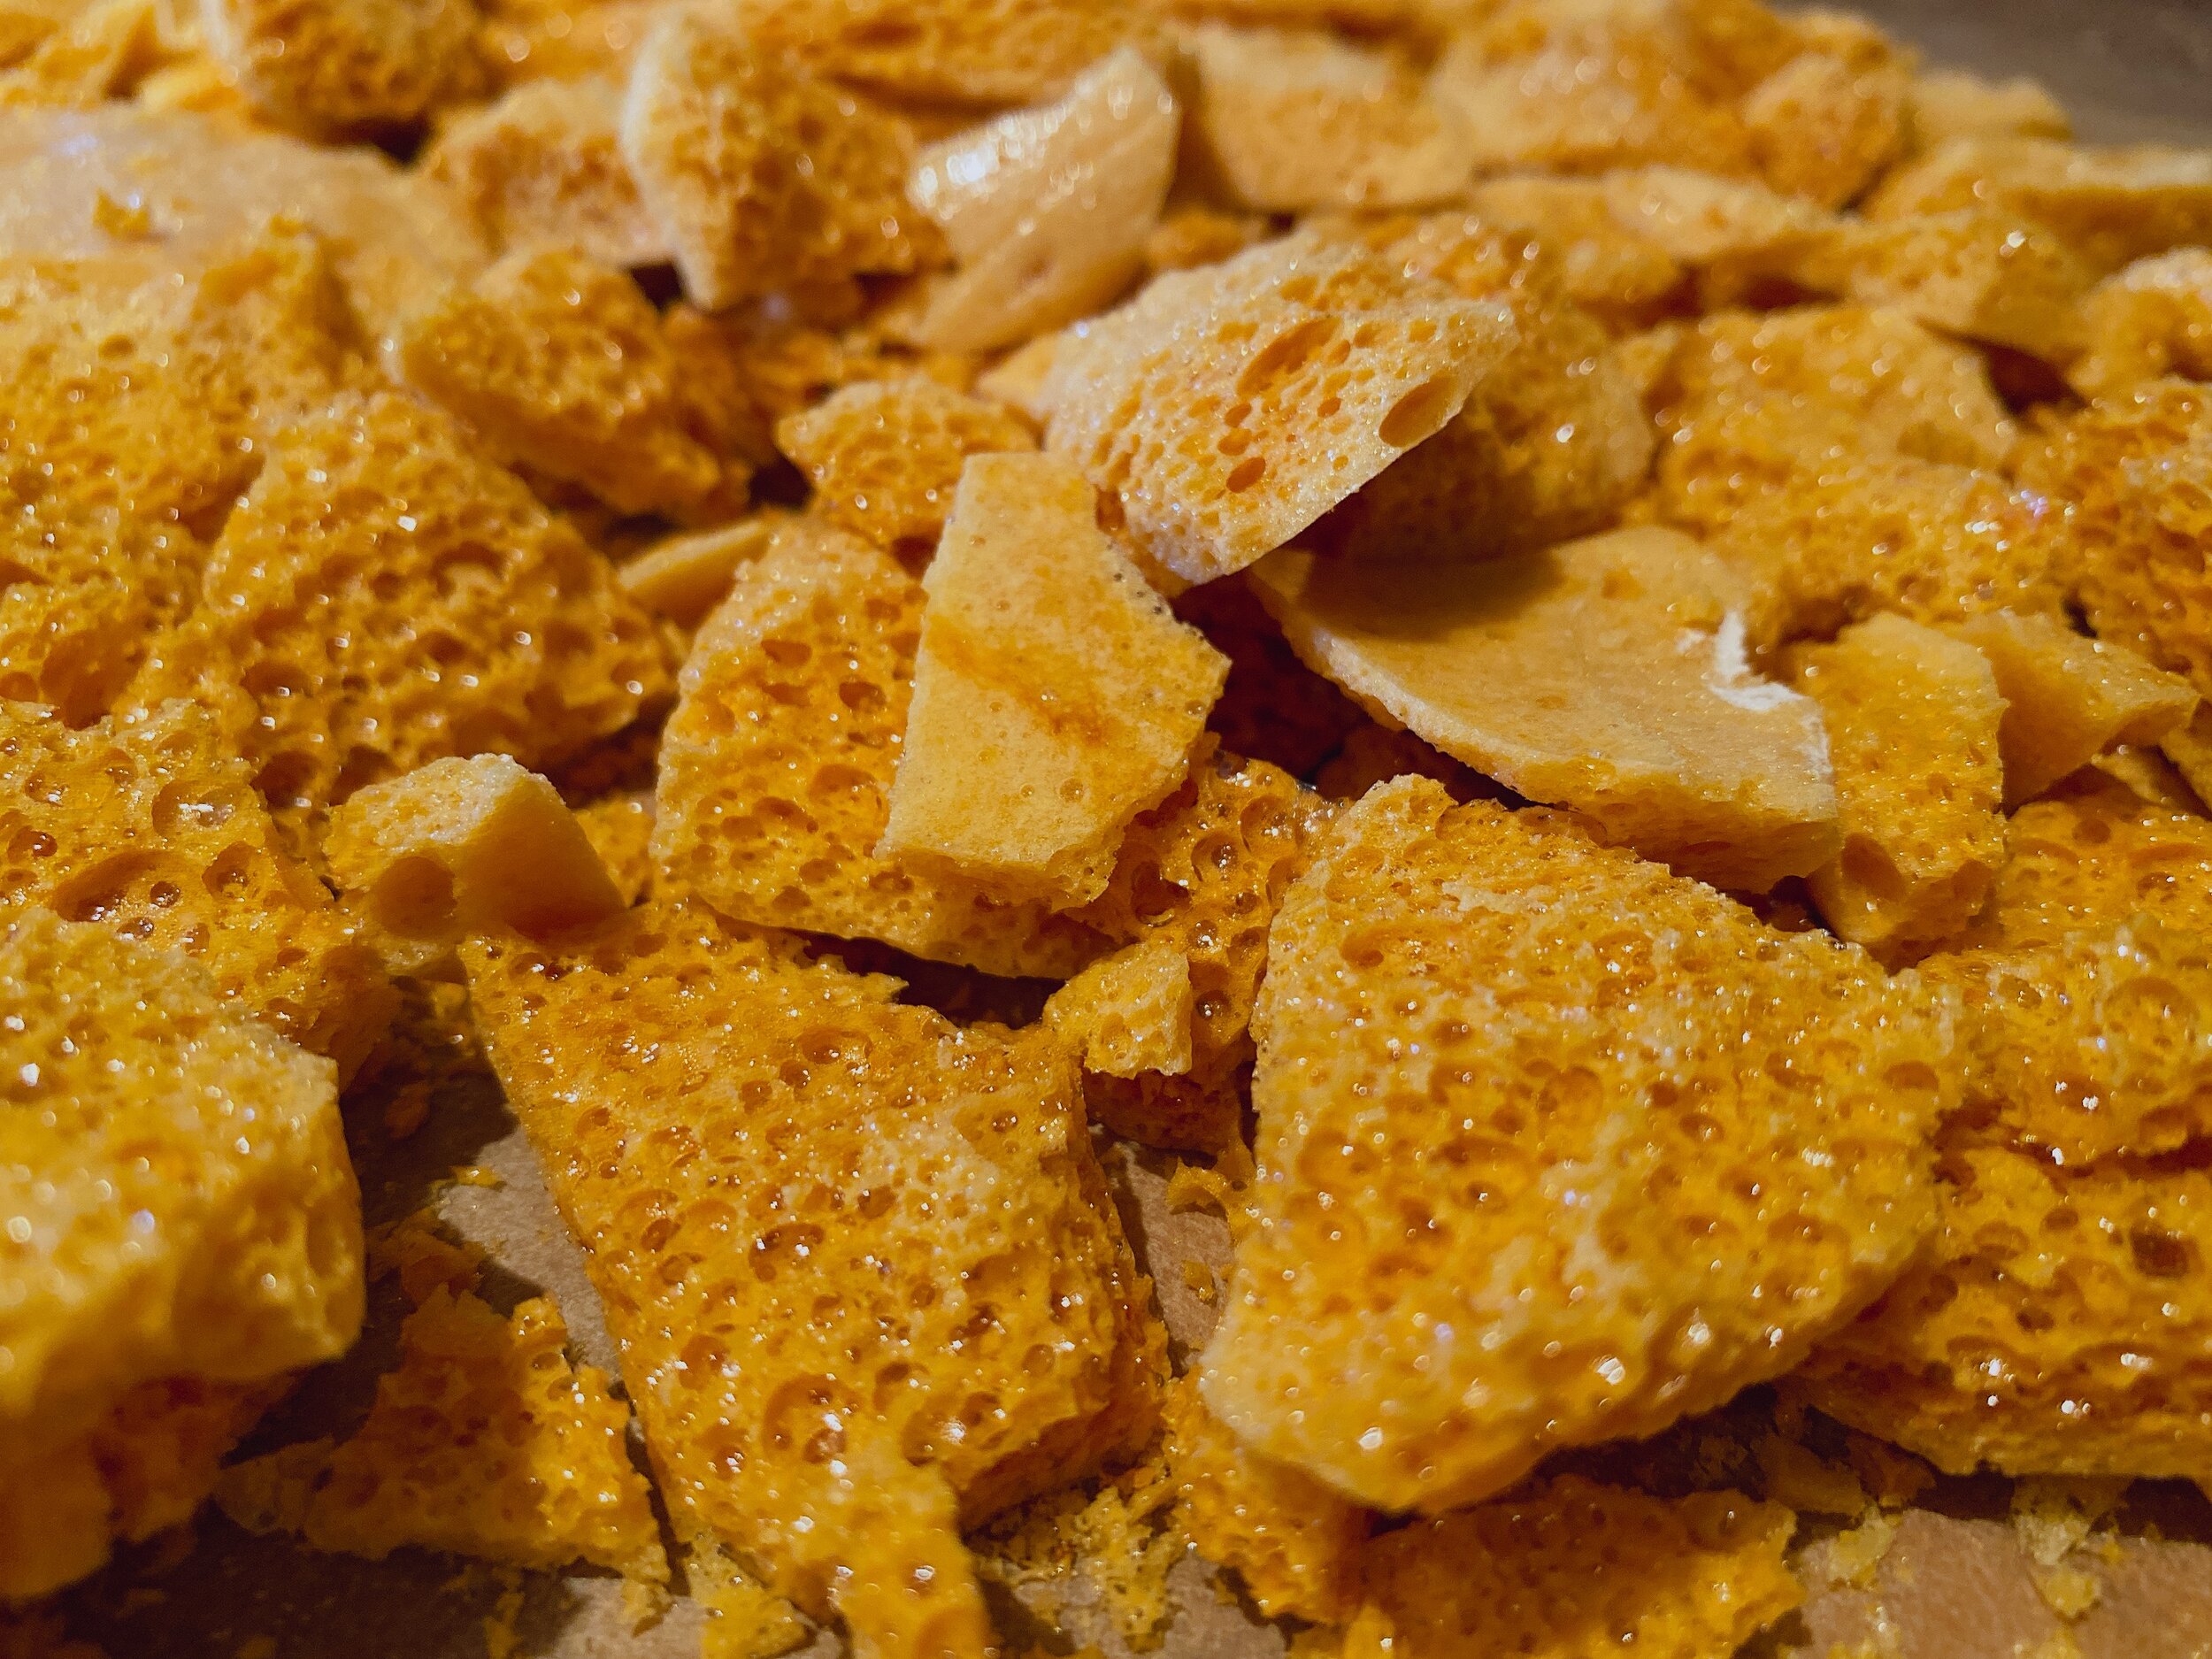
Step 3 - Smash it
Once cool, remove it from the tin.
Before breaking up, I would recommend you cover with a clean tea towel or put in a bag.
Give it a gentle smash to break into chunks with a rolling pin.
Store in a jar for some quick go-to sweet treats
Honeycomb
400g white sugar
100g corn syrup
80ml water
1 tbsp bicarbonate of soda